Monday, November 30, 2020

Season of Giving Kit

 Hello friends!

I have one last limited release Christmas kit for 2020. 
I hope that it might make this season of hope a little cheerier!

Click on the link below if you want to purchase.  
The link will take you directly to PayPal.  
If you would like to purchase more than one kit, this is also where you can change the quantity. 
If you wish to pay with debit or credit card, click on the box at the bottom of the PayPal log in page (you do not need a PP account). 
If you have any questions, please email me at paula@oneluckyday.net


Season of Giving Kit
$89 includes U.S. domestic shipping
The 7” x 10” wood box, with a custom base, is the perfect size for this festival winter scene.  Not only does it have colored Tiny Lights in the tall tree, but Rock Candy glitter and Mica Flakes to make it truly sparkly!  A hole for lights has been pre-drilled, paper has been pre-cut.  This kit comes delightfully packaged and includes a supply list, detailed written instructions and three pages of color step-out photos.


thank you!
paula

Christmas Package Toppers - part 1

Hello friends!

I love the holiday season!  The decorations, the smell of the tree, and the goodies that you only get at Christmas!  I just love everything about it!
I am happy to share the first in a series of three posts this week talking about the toppers and cards I created for the Tim's Facebook Live on 11/28.  If you missed it, please go back and watch the replay (you can find it HERE on Tim's blog).  When Tim and I talked about me creating some gift toppers for the Live I was super happy because I love making package toppers or anything gift related.  So lets get started on the first 3 gift toppers.

To prepare you must create some inked paper backgrounds to work with.
  1. Cut a sheet of the white Heavystock in half (just because it was easier to handle when coloring).
  2. Color both sheets of Heavystock with Rustic Wilderness and just a bit of Crushed Olive Distress Stain.  It's better to cut more greens than you think you need.  
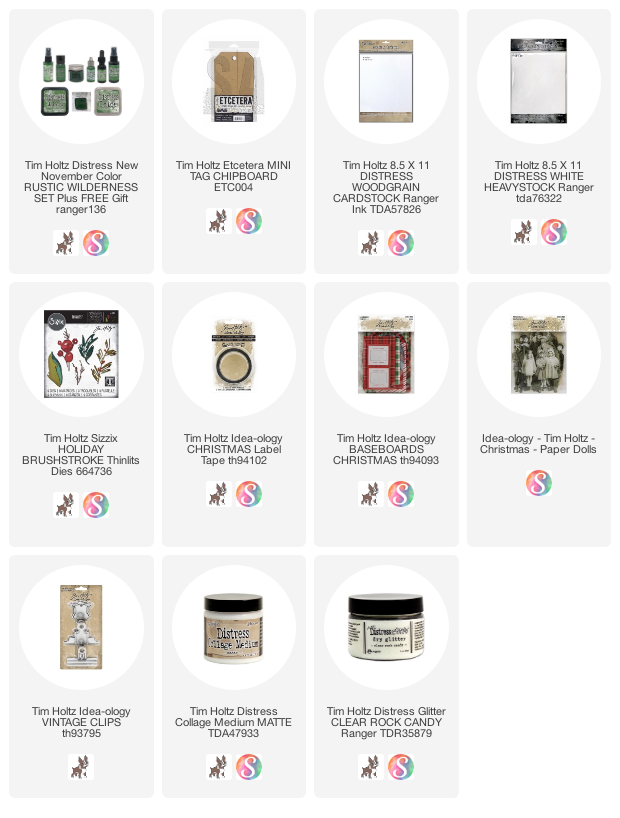
  3. Once the paper was dry, use the Sizzix Mini Holiday Greens to die cut multiples of greens.
  4. Ink the edges of greens with a Blending Tool and your favorite color brown Distress ink.
  5. Using Picket Fence Distress Paint and the Splatter Brush, add a snowy effect over the cut greens.  Let dry.
  6. Squeeze out some Candied Apple Distress Paint on your craft mat. Dip the rounded end of an upside-down paint brush to create berries.  Let dry.
  7. Using your fingers, randomly rub Collage Medium over greens.  Sprinkle with Distress Glitter. (to be honest, most times I just open the jar a press the die-cut with the Collage Medium into the Rock Candy - if the die-cut green is too big to fit in the jar, I just do one half and then turn it around and do the other.  Simple as that)

I'm used 2 of the Stitched Circle dies to create the wreath shape.  The center circle that was cut out will be used in another project. I used Stitched Circles but any circle die can be used for the foundation. 

One thing that is not visible here is the Permanent Adhesive Sheet I added to the back of the Heavystock before I die cut the circle. That way, when I'm ready to add this to a package, I can just peel and stick.

I clipped my greens into smaller pieces to create the tiny wreath. I also created a Velvet ribbon bow just by tying a tight knot in a piece of the Velvet ribbon. Leave the ends long till after it is adhered to the wreath.

I decided to create some lighter greens to create contrast so I repeated the previous steps, only this time using Bundled Sage and Crushed Olive. 
Once the second round of greens were created I was ready to start building the wreath.  I used a hot glue gun to add the greens to the circle.  The hot glue stays dimensional when dry and that helps create dimension in the wreath.
Once the wreath is finished, it's time to add the bow.
Add a spot of hot glue.  Immediately add ribbon to the glue.  Press the knot of the bow into the glue and hold it for a least 30 seconds to secure to wreath and 'flatten' the knot.
Push the ribbon tail toward the knot to create a bump.  Add a small spot of glue on the wreath underneath (see the arrows) then push ribbon into the glue keeping the bump in place and creating the look of a bow. This technique works well when working with a thick ribbon such as velvet.  
To add the white berries, I used Nuvo Drops and a bit of Rock Candy for some sparkle.
The wreath is so pretty on the top of the package.  And the Velvet ribbon is the perfect color red.
For the second topper, we're going to use the Sizzix Winged Impresslit.  Again, we are starting with a round circle base - this one is 2" across.  I clipped the greens just like the last time to prepare.
Using Metallic Cardstock, I cut a few sets of wings in both gold and silver. This is a 3D Impresslit so remember to lightly spritz the paper with water before adding to the folder, then passing it through the machine 3 times to get the best impression.  I love that the folder not only gives you a beautiful impression, but also cuts out the shape with very little halo.
I wanted to add some dimension so I used a damp paint brush to pick up Walnut Stain Distress Crayon and paint it over the wings bringing up the details in the die cut.
I used two 3D foam squares to adhere the wings to the circle.  By raising the wings, it will allow the greens to slip underneath quite easily.
Again, using a hot glue gun for dimension, add your greens until you are satisfied.  I also added a clippings sticker from the Christmas sticker book.  Even though it is a sticker, I used Collage Medium to secure it to the metallic paper.  
I love how this one turned out with the mixed of greens and holly.  I think this would look even better if it had wide ribbon tied around the package and underneath the topper.
For the third topper I used Metallic Kraft-stock - Confections.  This paper pad has multiple colors of pastel Metallic paper that is perfect for a winter vibe.  I used the same Mini Holiday Greens die to cut the Kraft-stock.
I also repeated the Collage Medium and Distress Glitter step to create a frosty look.
This time I created a ribbon slide by cutting a 2 1/2" acetate circle, then punching holes on each end with a standard hole punch.  I slipped grey Velvet Ribbon through the holes as shown below, with enough excess on each side to wrap around my package.
Once the ribbon slide was on the package I was able to add just a dot of hot glue to secure the the ends of the ribbon to each other (not the box).  That way the entire topper can be removed from the package to open the gift.
I used hot glue to add each branch to the acetate.  I personally liked creating it right on the package because I could see how big/wide to make it.
I wanted it thicker so I added a second layer.
I used Collage Medium and Rock Candy to glitter two bells.  Once dry I was able to tie the two bells together with string, then hot glue them to the center.
I tied a small bow and hot glued it right above the bells to cover the string.
I love how the dots on the metallic wrapping paper work with the Metallic Kraft-stock and the grey ribbon.  Yummm...

Well I hope you enjoyed today's gift toppers.  I'll be back on Wednesday for more Christmas package toppers using Flair buttons.  See you then!

now carry on,
paula


Thursday, November 19, 2020

In the Air There's a Feeling of Christmas...

 Hello friends!

Today I have a tutorial over on the Ranger Projects page featuring Rustic Wilderness.  Seriously how did we live without this FABULOUS green?  

Creating the Rustic Wilderness inked paper on the new white Heavystock was a dream.  The white paper shows the true color of the ink, which is something i've always wanted.  Glad it's finally a choice in the Distress line.  

Anyway, I sure hope you pop over to the Ranger site to see the full tutorial to make one for yourself!


now carry on,
paula

Friday, November 13, 2020

Rustic Wilderness - Fall

 Hello friends,

I'm sharing my "fall" project from the Rustic Wilderness release this week.   I started with a Mini Etcetera Tag since it seemed the right size for the Funky Wreath I wanted to use.
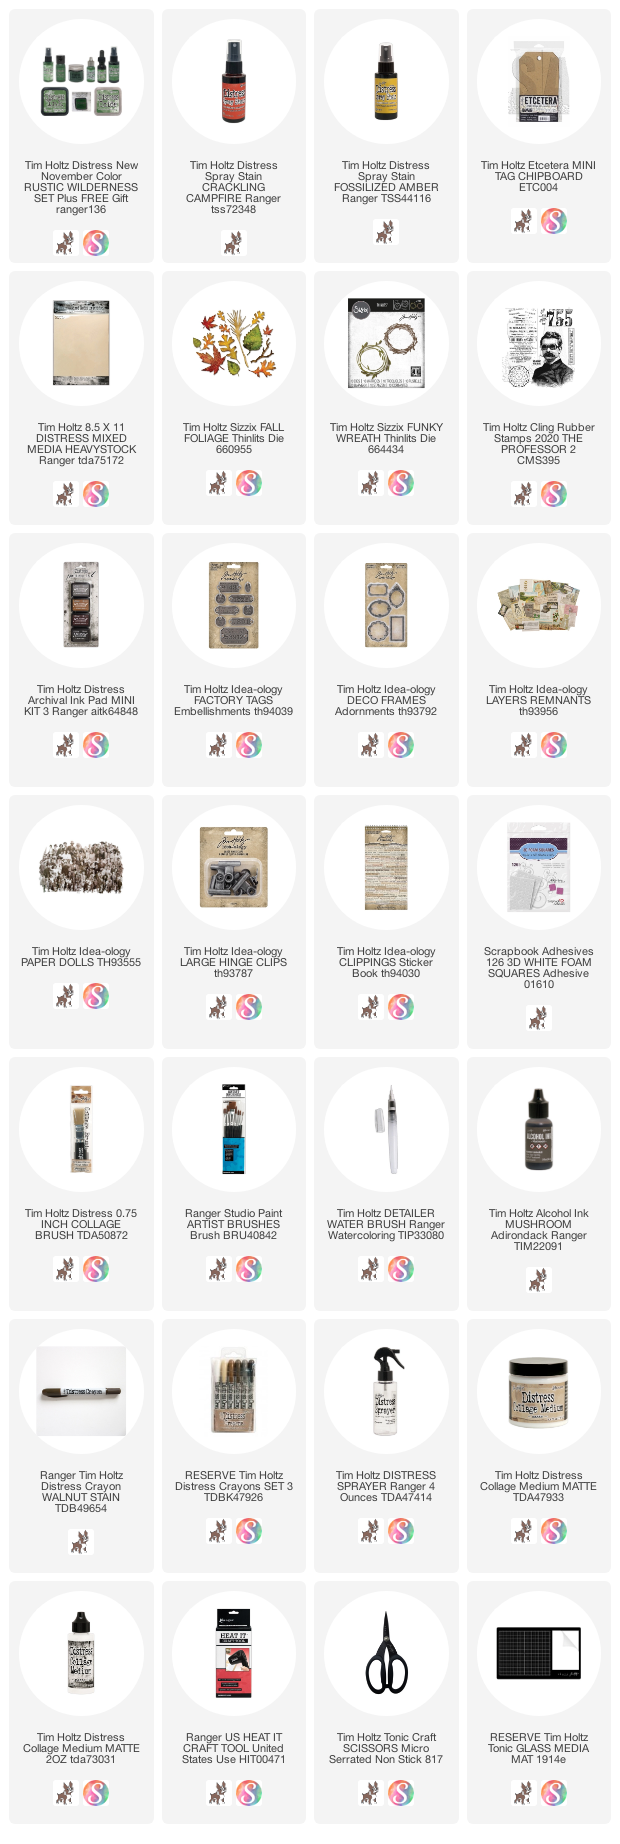
I cut a sheet of Heavystock paper about the size of the Mini Tag.  Then I sprayed Distress Ink Rustic Wilderness, Crackling Campfire, and Fossilized Amber onto my craft mat and pressed the Heavystock paper into the ink to pick up the color.  I dried it with a heat tool then went back into the ink two or three times to create the layered look I wanted.
After I created the main background, I made more inked cards to use for the leaves.  Some of them I dried right away and others I went back into the ink to add layers of color.  The fall colors are beautiful!
Once I had the cards done, I cut two of the Funky Wreaths (from cards that were only colored with Rustic Wilderness) and leaves from the Fall Foliage die set.  The leaves shown are the larger leaves in the set.  One thing I love about the die is that you get large, all the way down to tiny leaves, which worked perfectly for the project.
In this main photo, you can see that I adhered the large inked paper to the tag, cutting away the excess with a cutting knife and self healing mat board.  Once the paper was adhered, I stamped the text (The Professor stamp set) over the surface with Ground Espresso Archival Ink.  I did not use a stamping block, but rather "rolled" the stamped image onto the tag surface to create a worn effect.
I added the Public School card from the Remnants Layers pack to the surface with foam squares
  1. The Funky Wreath die comes with two wreaths + extra branches to add in.  As I said previously, I cut two sets from Heavystock paper I colored with Rustic Wilderness. Layer the wreaths together, adding in the extra branches.  
  2. Adhere the wreath to the card with Collage Medium - I tried not to press it down too much so it looked more realistic.  
  3. Add white paint to the recessed numbers from the Factory Tags pack and let it dry.  Pick up some Walnut Stain Distress Crayon with a damp paint brush and brush back and forth over the top of the white paint to grunge it up.  
  4. Ink a long piece of string with Walnut Stain Distress ink and dry it with a heat tool. Double the string, then thread the metal tag (so two pieces of string go into the hole at the same time). Wrap the string around the tag, coming around on the other side to create the bow.  This sounds much harder than it was to do in person!  Secure the metal tag with part of the foam square 
  5. Add the small colored leaves to the wreath.  I tried mixing up the colors and sizes so there are layers of leaves. 
  6. I also added a bit of cheesecloth under the bow.
The Paper Dolls were very easy to color.  Just color the bows with Distress Crayons Fossilized Amber and Faded Jeans using a Detail Water Brush.  Their cheeks are Aged Mahogany.
I wiped white paint onto a small Deco Frame and let it dry.  The frame was adhered to the card with Collage Medium so it sits off the surface of the tag.  I also added a few words from the Clippings Sticker Book.
To finish off the tag, I added a Larger Hinge Clip at the top.
I love this fall project.  It was easy to to create and very fun to incorporate the new color, Rustic Wilderness along with Crackling Campfire and Fossilized Amber to create such a wonderful Fall background.
now carry on,
paula

Tuesday, November 10, 2020

New Color Rustic Wilderness

 Hello friends, 

I have so much to share this week! Including 4 projects using the new color from Tim Holtz and Ranger. Today I am sharing the Merry and Bright Vignette Tray. This is the large tray that comes in the pack. The box at the bottom comes from the Vignette Box set and it is the second from the largest.

I used Collage Medium to adhere the Holly Collage Paper to the outside of the Vignette Tray. I like the look of the Collage Paper directly over the wood Tray because if you do it right, the woodgrain comes through the paper and the print looks as if it is part of the wood. 
You can see that I followed up the Collage Paper by painting the lip edge and inside of the Tray with Rustic Wilderness.  After the paint was dry, I rolled out the gold Trim Tape (4 separate pieces) onto my craft mat.  I added Mushroom Alcohol Ink to a Blending Tool and pounced over the tape multiple times (letting it dry for a minute between layers) to create the mottled finish that you can see here.  The Alcohol Ink layers really add interest to the tape and give it a vintage vibe.
As you can tell, I did use Tiny Lights to light up the Vellum Scene in the background!
  1. Adhere holly patterned paper (from the Christmas Paper pad) to the back of the Tray.  Add a layer of Collage Medium over the top to seal.  Use damp paint brush to add Distress Crayon Walnut Stain over the paper to age.
  2. Paint the Vignette Box with Rustic Wilderness Distress Paint (inside and out).  Once dry, add plaid paper to the inside back of the box.  Use Collage Medium to glue the box into the tray.  Let dry in place before standing the Tray up.
  3. Thread the Tiny Lights through a drilled hole in the Tray (or in my case I just used an awl and hammer to make the hole).  Secure battery pack to the back as shown in a previous photo.
  4. Wind up lights in a loose circle inside the tray and secure with hot glue on the wire or Scotch Tape over the wire.  I personally think Scotch Tape or cut pieces of packing tape are easier.
  5. Adhere the Vellum Scene to the plaid Baseboard Frame (USE TAPE, not wet glue to do this).
  6. Add risers to the back of the frame - I used small wood blocks but you could use bingo chips or another riser of your choosing.
  7. Add the white Warm and Natural to the top of the box.  Fluff it up with a Tonic Scratch Tool.
  8. Now adhere the plaid frame to the tray, over the lights, so it rests on the top of the box.  Let dry completely.
Use Distress Crayons to color the Paper Dolls of your choosing.  I used Aged Mahogany for her coat and Faded Jeans for his.  Fossilized Amber for the buttons and skate blades.  If you have never colored Paper Dolls before, please refer to my post back in March on Distress Crayons.
I added foam squares to the back of the Paper Dolls so they can be added to the plaid frame. 
The urn pictured here is from the Halloween 2020 and was is called "Grave Relics" but unless you own them already you will need to Google the name to see who still has some.  
I used Picked Fence Distress Paint to wash over the Urn to give it a wintery vibe!  The tree in the urn is the medium size that comes with the Woodlands set.  There is also a small tree to the left, and that one is the tiny tree size in the Woodlands package. I sprayed each tree with Rustic Wilderness and then used Stickles glitter glue to add some sparkle.
At the top left there is a very pretty poinsettia ephemera piece that came from the Snippets Ephemera pack.  I also added two glittered Bells and some pine that has been been cut from paper (Heavystock white) that I colored with Rustic Wilderness.
The bottom box was really easy to create:
  1. Use Alcohol Ink to color Baubles.  I used Lettuce, Crimson, Patina and Butterscotch.  Once dry, add all the Baubles to a plastic baggie and add a few drops of Mushroom Alcohol Ink.  Squish around and dump out onto a paper plate to dry.  Add to the Vignette box before you glue the acetate in place.
  2. Cut a piece of acetate to fit the top of the box.
  3. Stamp acetate with Staz-on Ink and the Stampers Anonymous Sketch Greenery stamp set.
  4. Adhere the acetate to the top of the box with Collage medium, let dry.
  5. Color white Heavystock paper with Rustic Wilderness Distress Spray Stain.
  6. Using the Sizzix Merry and Bright Thinlit, cut TWO sets of the words so they can be glued together to make then even thicker.  
  7. Once they are glued together, paint over each word with Collage Medium (one word at a time) and then add Rock Candy Glitter.  Let dry completely.
  8. Add the black Merry Christmas Trim Tape to the box edge (it will cover the edge of the acetate).
  9. Add the words with Collage Medium.  Let them dry in place before you move the box.  Don't worry that the letters might run off the edge of the box!  It's fine!

I added a Curio Knob to the top of the box + more cut pine and red Velvet ribbon.

Thank you everyone for stopping by!  I'll try and have another new color project up on the blog on Friday!
now carry on,
paula


paula