Nice to see you today!
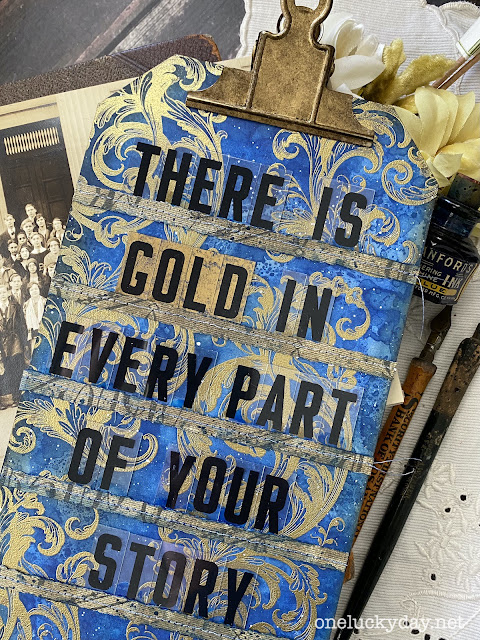
We are celebrating the release of the new Distress color, Scorched Timber!


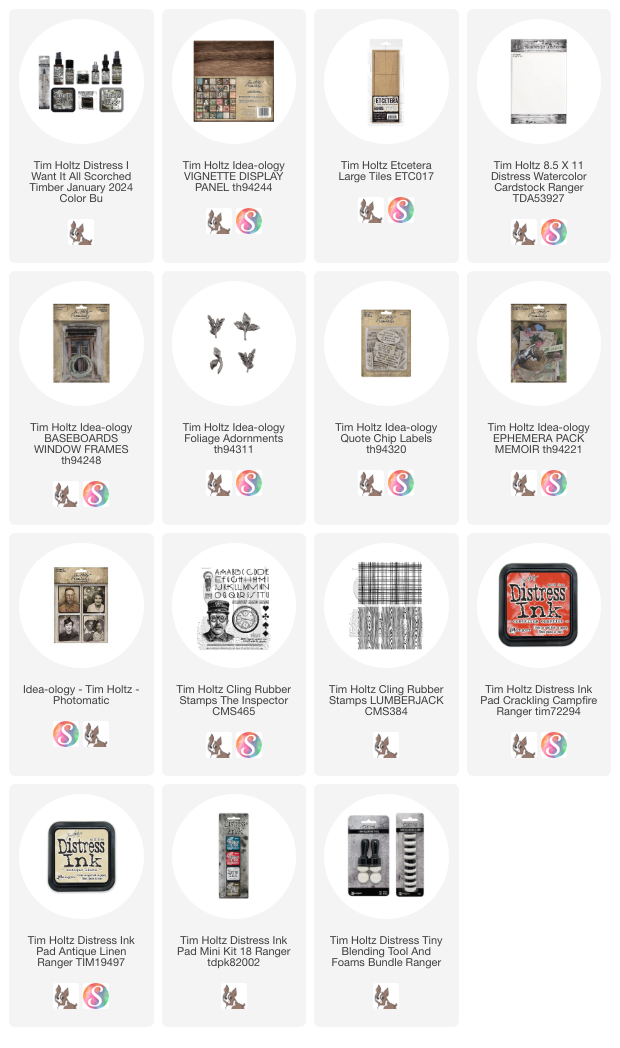
First, I gathered a few supplies: the Vignette Display Panel and TWO PACKAGES of Etcetera Large Tiles. Each package of Large Tiles comes with 9 squares, but I used 12 squares for this project.

Once I had my plan, I separated the tiles from the panel so I could painted the edges of the Panel with Scorched Timber Distress Paint.

 For the Tiles, I gathered:

Once the paint was dry, on the Display Panel edges, I used Collage medium to add Backdrops from the neutral pack to the front of the panel.
I also wanted to add Scorched Timber splatters over the paper. I could have gone the easy route and used Distress paint, that would easily dry over the Collage Medium. But I decided to see if I could use my technique of quickly painting the surface with Collage Medium, then splattering Distress Spray Stain into the wet medium. The Collage Medium has to be wet for the ink to embed into the glue as it dries. Lucky for me it dried (remember most of the paper will be covered with tiles in the end).
I also wanted to add Scorched Timber splatters over the paper. I could have gone the easy route and used Distress paint, that would easily dry over the Collage Medium. But I decided to see if I could use my technique of quickly painting the surface with Collage Medium, then splattering Distress Spray Stain into the wet medium. The Collage Medium has to be wet for the ink to embed into the glue as it dries. Lucky for me it dried (remember most of the paper will be covered with tiles in the end).
I also used Scorched Timber Distress Crayon on the edges of the panel!

- One piece of Distress Watercolor cardstock (cut in half to create two 8.5 x 5. 5" pieces)
- Stamps from Stampers Anonymous: Lumberjack (woodgrain) and The Inspector (alphabet)
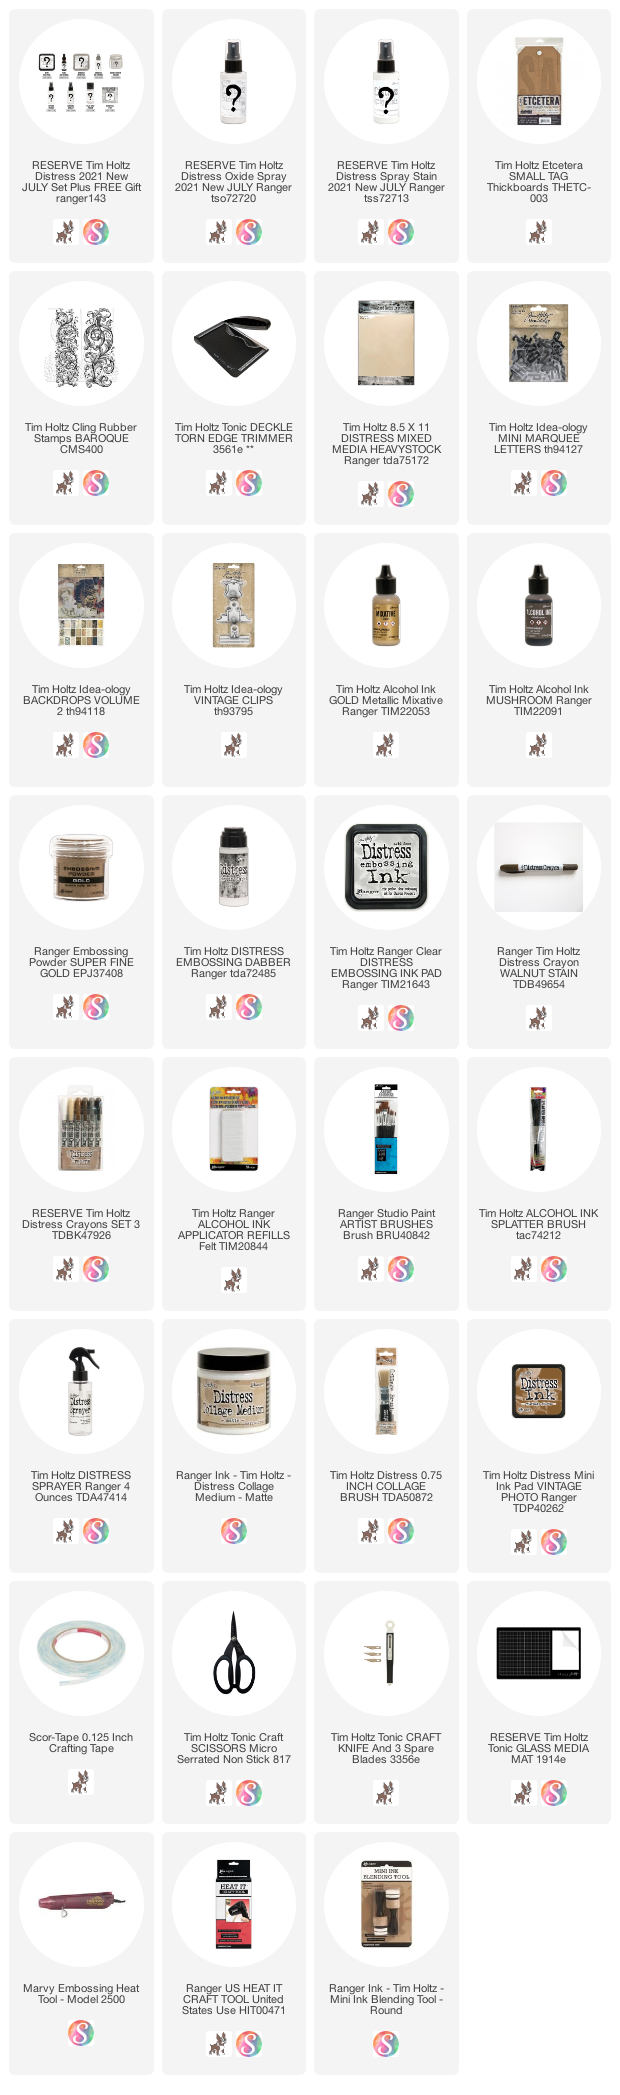
- Scorched Timber Embossing Glaze
- Distress Embossing Ink
- Simon Says Stamp Anti-static Powder Tool - I love this little tool! So much better than the old bag of powder that gets everywhere!

I used the Anti-static Powder Tool to brush across the smooth side of the Watercolor paper. Then used Embossing Ink to stamp each image (alpha + woodgrain). You will need to stamp each image twice per sheet before melting with an embossing gun.

You will have enough paper to choose how many pieces you want of each pattern. In the end, I had 3 woodgrain and 6 alphabet. The center Tile gets covered so that one doesn't really matter, either pattern will work.
Once the Tiles are covered with the embossed cardstock (Collage Medium), use a craft knife to cut around the edge, removing the excess. The next step is to adhere the tiles directly to the panel with Collage Medium. Let dry before adding the collage.
You can easily see the double stacks in this photo


For the center collage,
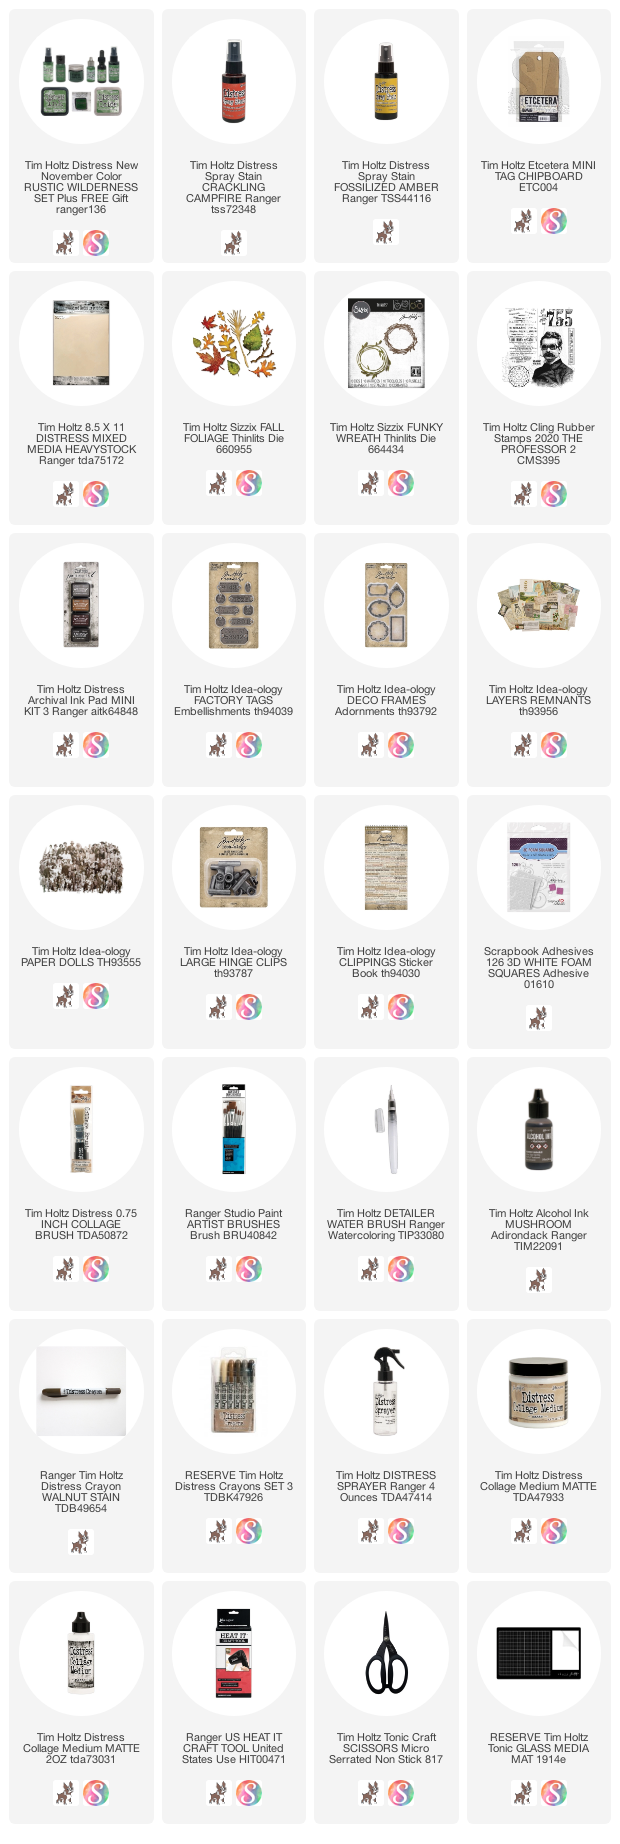
- Cut the Window Frame in half with a craft knife.
- Wipe white paint on metal leaf. Wipe watered-down Scorched Timer paint over parts of the leaf. Wipe away any excess. Splatter with white paint, let dry completely.
- Add Gathered Twigs Ink to mat, add water to make a puddle. Press Quote Chip Label into ink and dry immediately. Repeat.
- All ephemera is from the Memoir Ephemera Pack. Add ruler image to chipboard and cut out.
- Add all pieces to the panel, including a piece of string (also dyed with Scorched Timber ink).
- Cover the face of the man, then splatter with white paint using the Splatter Tool.
* I created/assembled all the pieces for the collage (took a photo for reference), then glued them to the panel as quickly as possible, so I could easily manipulate before the glued started to dry.


I sure hope you like this project as much as I do. Scorched Timber is just perfect with the other colors. So rich and wonderful! Keep watching for more projects next week!
Now carry on,paula