Showing posts with label festive tin. Show all posts

Monday, November 7, 2022

Festive Christmas Tin

Hello Friends,
Happy to be here to share another Christmas make, the Festive Tin.  This is an easy project to create so follow along and I'll show you the steps.


Start by punching hole through the tin with an awl.  
*This photo shows the tin on my glass mat.  In reality, I punched the hole over a cork trivet on my craft table so the awl would not damage my glass mat.

I added Backdrop paper to the back side of the tin top and punched a hole through the paper where I previously made the hole with the awl.
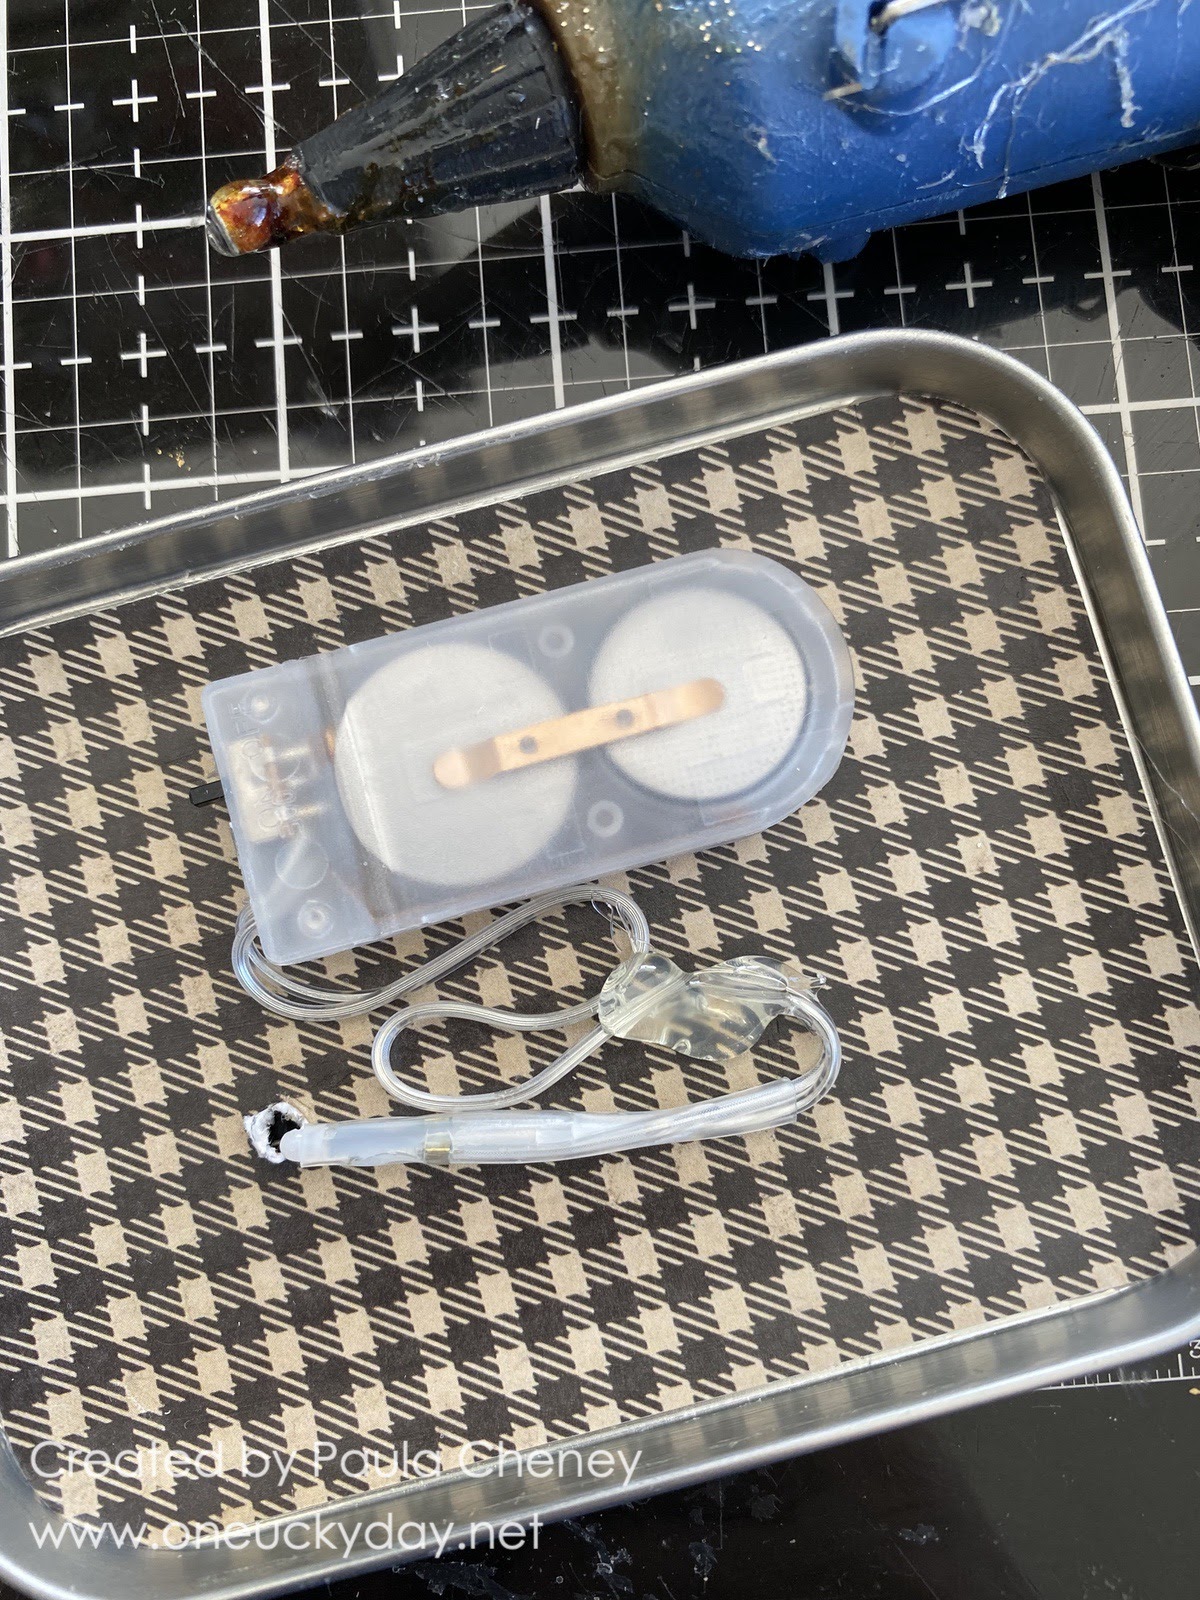
Run a string of Christmas Tiny Lights through the hole.  
Add foam pads to secure the battery pack to the lid.
I secured the wire (the thick part) to the tin with hot glue.  Hold the wire in place until the glue is stable.  
Hide the battery pack (except for the light switch) with a poinsettia from the Layers Botanical pack. The words are from the Baseboard pack - I just cut the flags at each end with sharp tipped scissors.
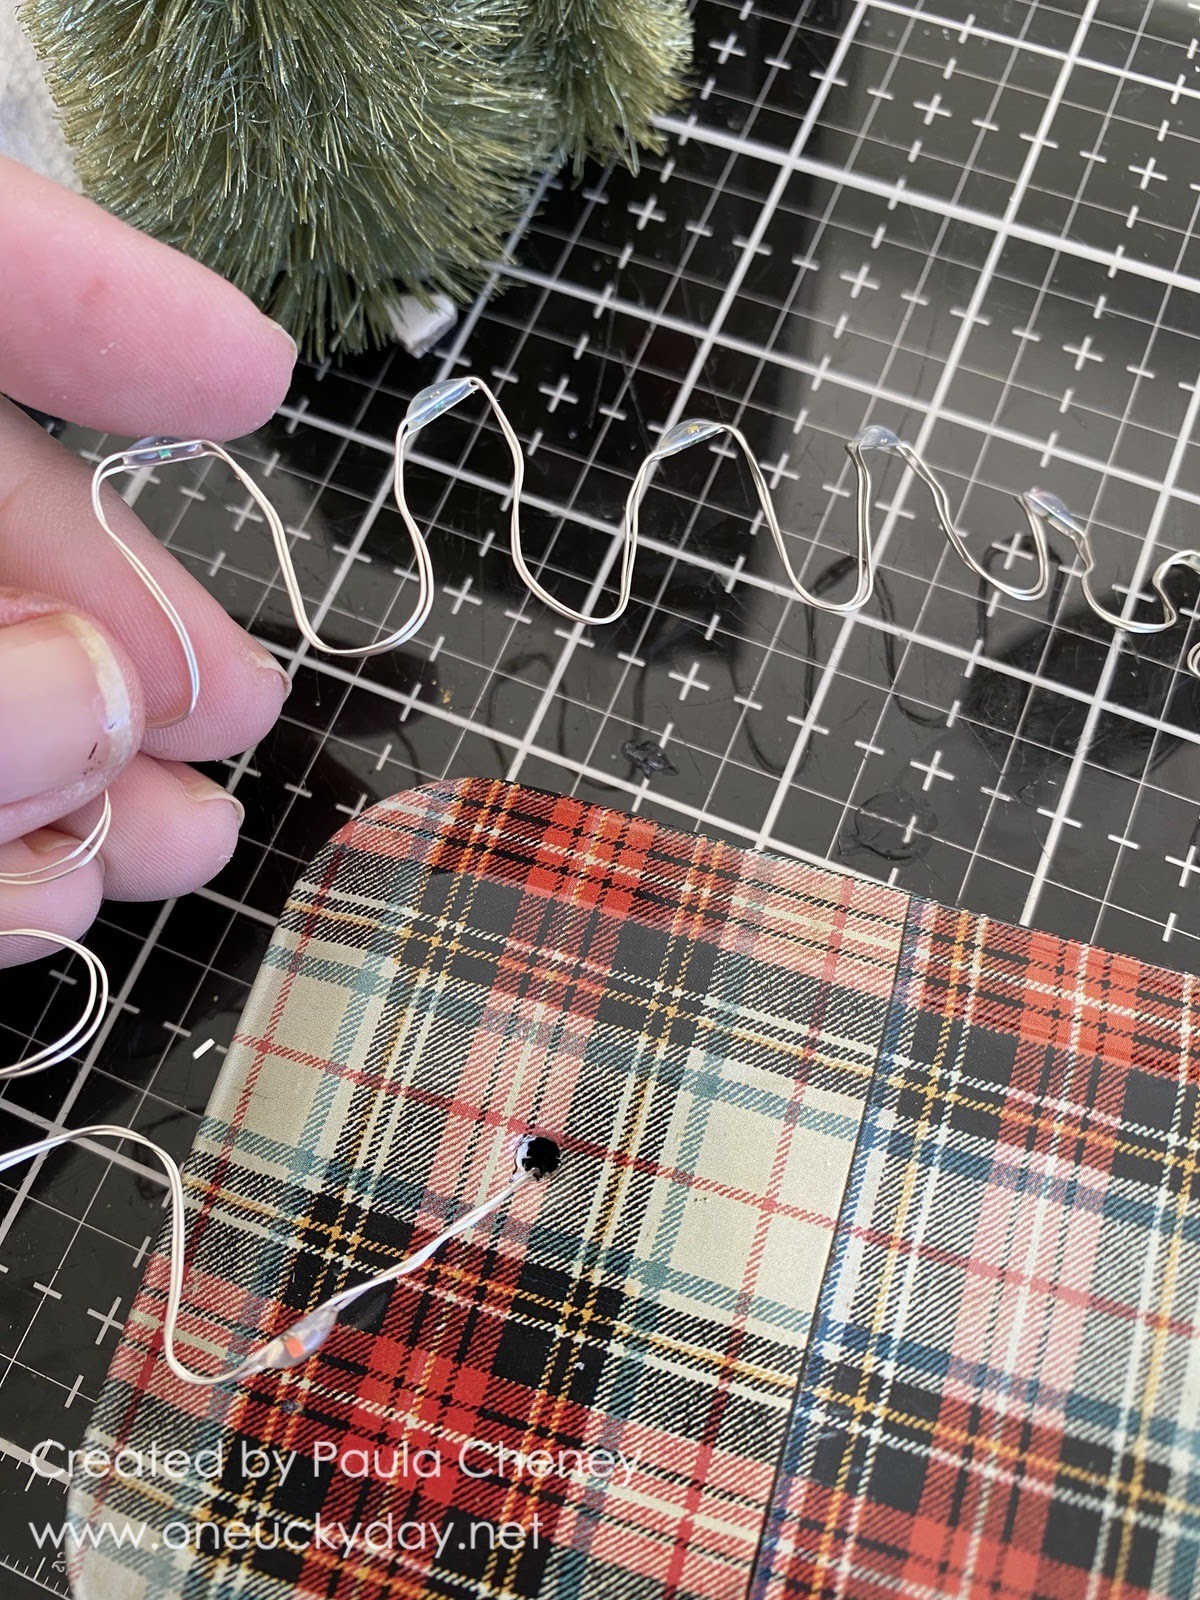
Moving back to the top of the tin, I did my special "wire wave thing" (that's a technical term) that I like to use when feeding tiny lights around large Woodland Trees.
Now for the trees.
I used wire cutters, to cut off the base of each tree so the branches would be right on the snow.  I used hot glue to add a chipboard square to the bottom of the trees (for stability). 
You may want to hot glue the trees to the tin top, but I think they would just pop off the metal at some point in time.  So I used Collage Medium to glue the trees and let them dry in place for a few hours.
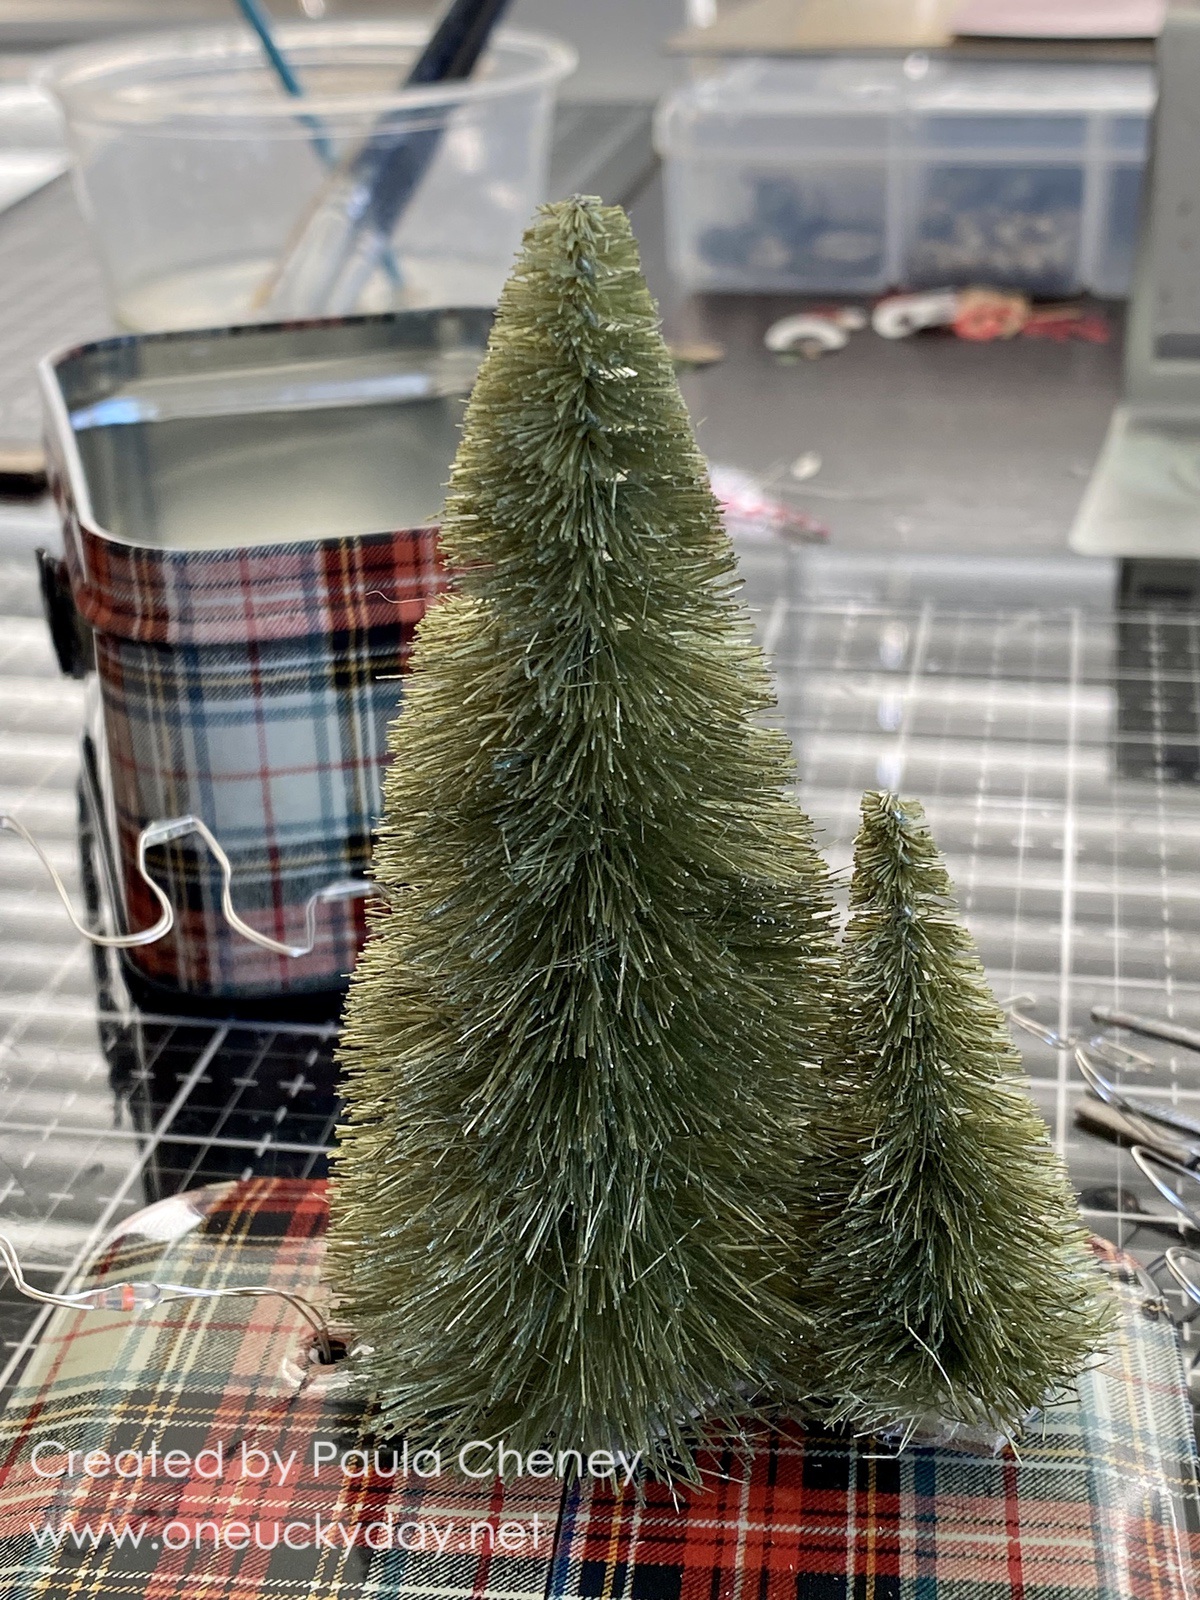
Notice how close the trees are together.  I did that so the lights could go seamlessly between the trees (no hanging wires). 
Once stable, I wound the lights around the larger tree, then over to the small tree.

At first I was going to wrap the Tinsel but when I was trimming it, the tiny pieces kept piling up and I thought, I could use it on the tree like the old fashion tinsel.  
So that is just what I did.  
I used a brush to add Collage Medium on the tips of the branches and then sprinkled the cut Tinsel over the trees.
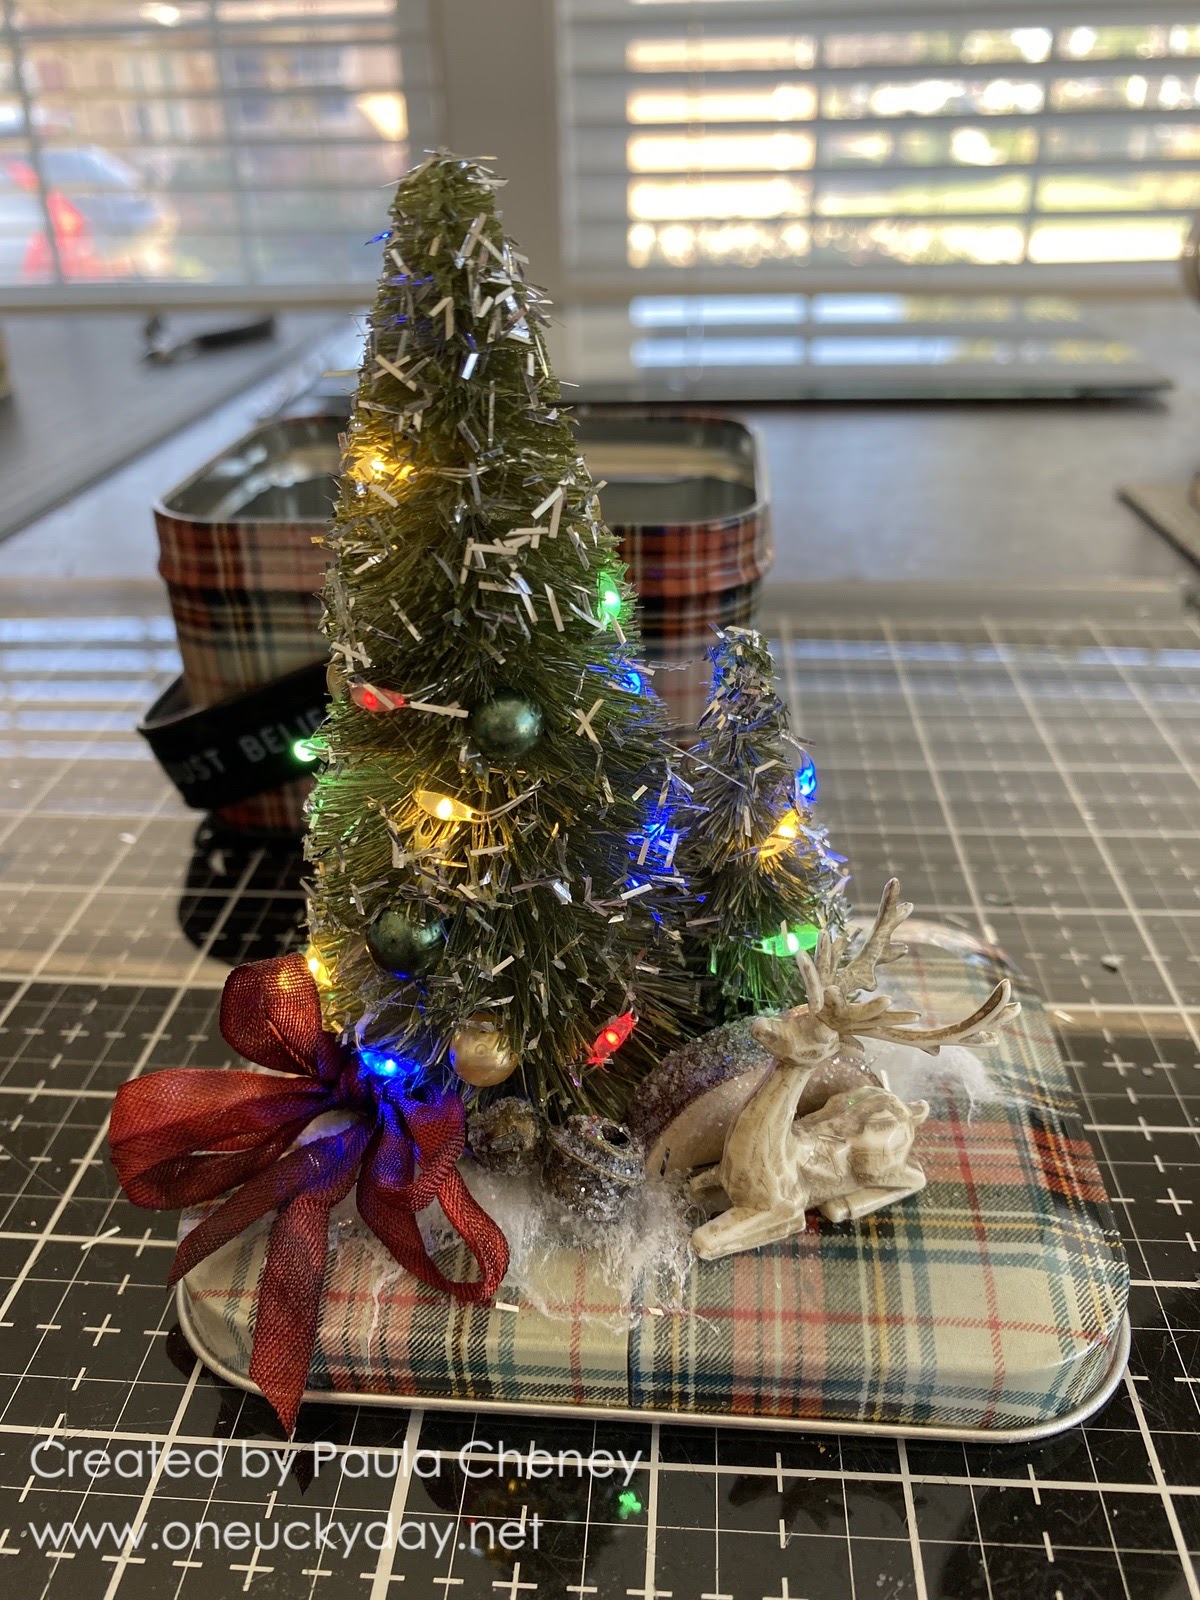
As for the other details, I added cotton batting around the trees for snow - that helped ground the trees to the tin top.
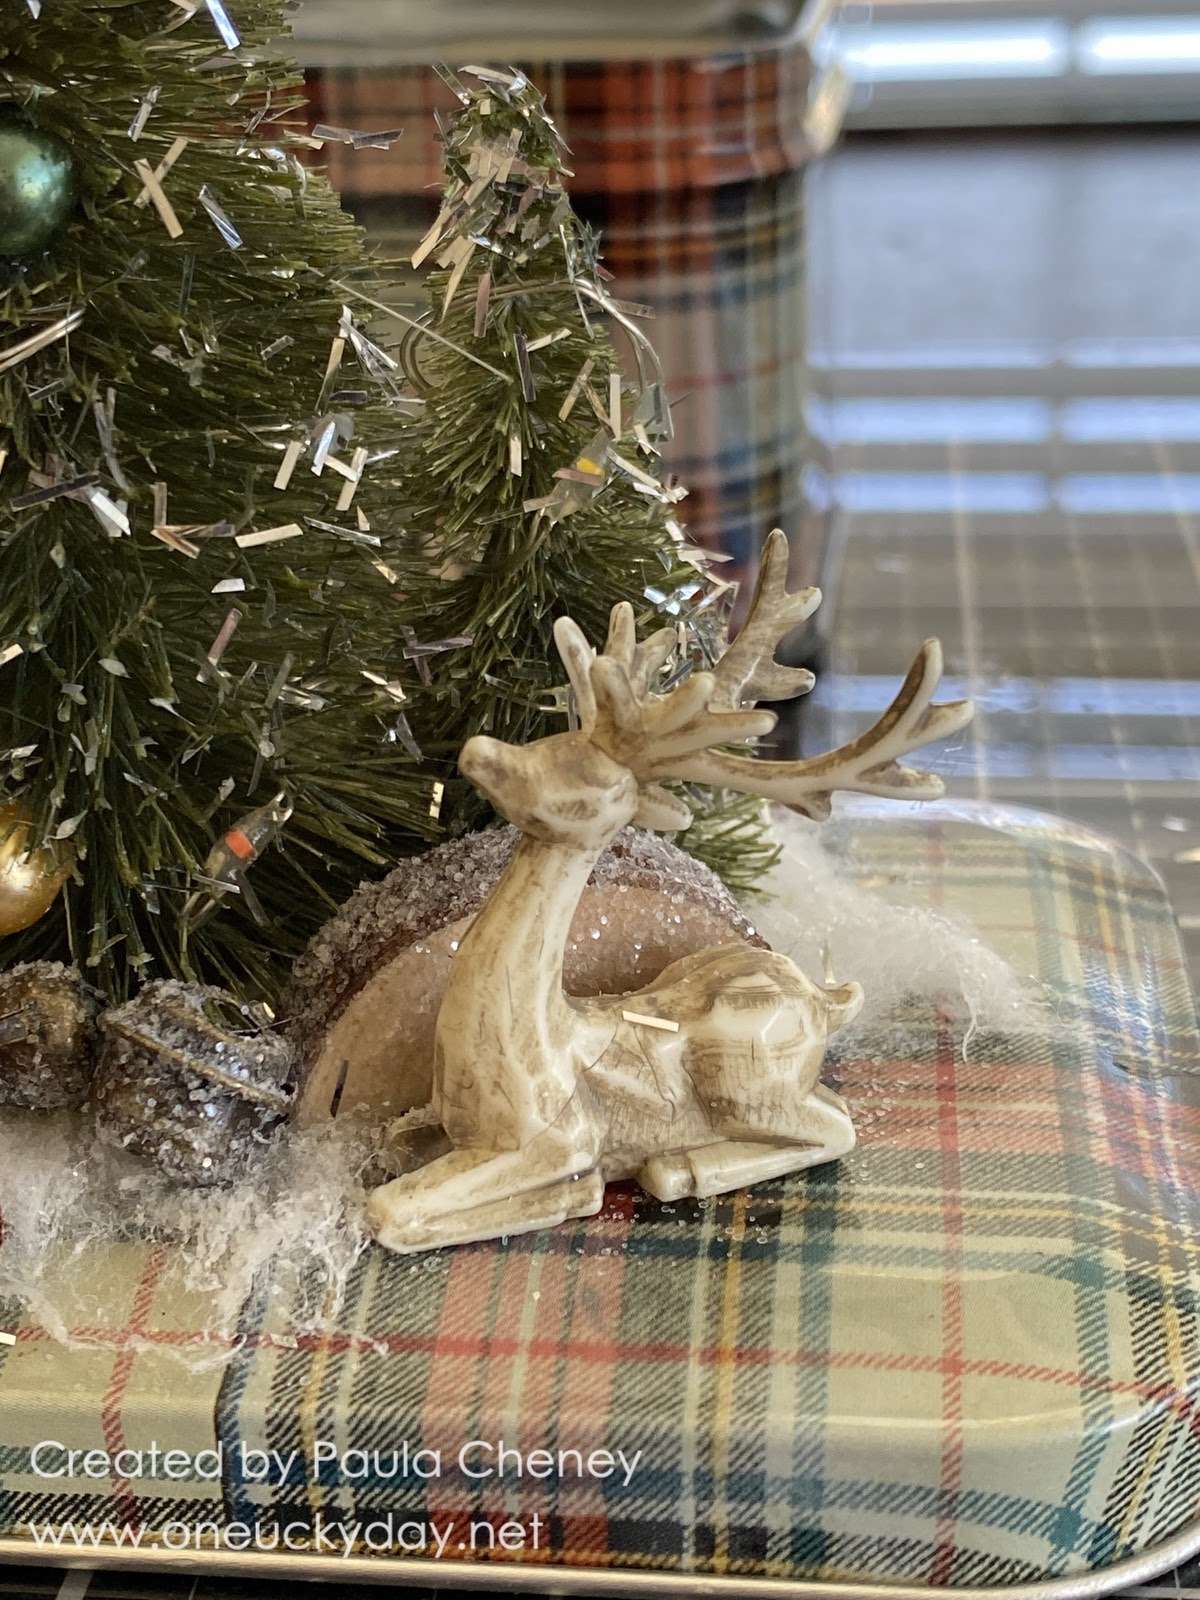
I used a damp brush and Distress Crayon Walnut Stain to color the Salvaged Deer. It is amazing the transformation of the deer with just a little bit of crayon.  Once the crayon dries, it will not come off on your hands.
Cut the Wood Slice in half and sprinkle with Rock Candy glitter.  Once dry, add to the tin with Collage Medium.  Glue the deer as close to the Wood Slice as possible.
Add old fashion Jingle Bells to the scene.
The 1/4" ribbon has been sprayed with Aged Mahogany Distress Spray Stain.  I made a double bow and hot glued it to the snow, tucking it into the tree.
Peppermints were added to the right of the bow.  You could add as many as you wish!


Add the Remnant Rub 25 to a label from the Sticker Book, then add it to the tin.
I used Label Stickers to decorate the black handle.  You will need to use Scor-tape underneath on the strips that go around the two corners.
Now just fill with candy and you are good to go.  What a fun gift for a friend or family member.  It would be a fun project for a"girls night" party, especially if you had all the holes punched, trees and ribbon pre-dyed, and deer colored with crayon!
Now carry on,
paula

Monday, December 13, 2021

idea-ology Festive Tin

Hello Friends!

I cannot believe it is only 2 weeks before the holiday - this month is speeding by so quickly!  I started decorating the week of Thanksgiving so I have been able to enjoy the lights and smells of Christmas each evening!  I am looking forward to taking some time off in the next two weeks to be with family and just enjoy the end of the year.

Today I am sharing my cute little Festive Tin.  This tin was a last minute addition to the Christmas line!  It is just so darling, I'm glad we did not give up on the idea, even though we knew it wouldn't arrive till November.  I just love it! And I sure am hoping it makes an appearance next year too!

Follow along and I'll show you how I created it...

So what you are seeing here is the beginning stage of the thin.  This is what I have done so far:
1.  Filled the cavity of the tin with green floral foam (it should fit very tightly) .
2. Used Collage Medium to glue the lid to the very back of the floral foam (I painted my lid green but found that was unnecessary since I covered up the entire back).
3. Cut two pieces of white cotton batting.  I used scalloped sheers to cut one long strip that wraps around the edge of the tin (about 1 1/2" wide).  The second piece covers just the top. Use Collage Medium to adhere the long strip around three side of the tin.  That glue is hidden under the second piece of batting.
4. Use a thin foam square to secure the Tiny Lights to the back of the tin.  Pull the lights around to the front and wind light into a circle (this will need to fit up inside the Paper Village house).  You can see in the previous photo that I just used tape to secure the light wire to the tin lid.  

*notice the tin lid sits inside the tin, and is glued directly to the top of the floral foam.  I left this to dry overnight before moving on to the cotton batting and lights.  Another trick is to use multiple T-pins to hold the lid in place while the thick Collage Medium is drying.  You can just push them into the floral foam and one side the T-pin holds the lid in place.
Background
I did not take a picture of the background before I added the house and tree so I have recreated how I did it.  All I did was cut another piece of cotton batting the size of the tin lid with scallop scissors.  Then stitched the Layers ephemera to the batting.  I added a flower from the Worn Wallpaper Pack in the original, but here I used a poinsettia from the same Layers pack that the red card came from. Both will work.
I glued two bingo chips to the inside of the lid so the batting piece would not sit so far back into the lid itself.  The flowers (no matter which ones you use) were added with foam squares to create even more dimension.  I would suggest waiting to add the flowers till after you add your tree and house so you can position it better.
I sprayed some Woodland Trees with Bundled Sage Spray Stain and dried them with the heat tool.
Next up, the Baubles in Crimson, Laguna and Lettuce (with Mushroom added for good measure...)
I cut the wood base off the big tree, added gobs of hot glue and stuck the end of the wire right into the floral foam.  Hold in place till it is secure! You do not want a leaning tree!
Again, using hot glue, add the colored Baubles to the tree.  As I have said many times before, I like to add the hot glue into the tree, then push the Bauble into the glue.
Next is the Mica Flakes...use your finger to wipe Glossy Accents down the tree.  Then sprinkle the Mica from the top so it looks more like falling snow on the tree.  Once the glue is dry, just turn the tin over (over a piece of paper) to pour off the excess Mica and return to the jar.
The bow is Crinkle Ribbon from my secret stash - if you have rayon seam binding that is dyeable, then use that to recreate the look.  I colored the ribbon with Aged mahogany and Barn Door Spray inks.  Once dry, fold a long piece of the ribbon in half and tie a bow (thats how you get multiple loops).  Adhere to the background (and behind the tree) with hot glue.  
To keep the ribbon from sagging over time, spray lightly with aerosol hairspray.
Cut a "Paper Village 2" house using Watercolor cardstock.  Color roof and door with Candied Apple Distress Ink before adding to the house to the tin.
Use Collage Medium or Glossy Accents to add clear Rock Candy Glitter to some Confections pieces.  You can also add Rock Candy to the Decorative Deer at this time.
Once dry, cut the confections stick to add to the front of the house.  Add peppermint drop above the door.
Cut the back needles off the medium sized tree so it can be hot glued directly to the house, once the house is in place over the Tiny Lights.
Use a paint brush to add Collage Medium to the roof and tree, then sprinkle more Mica Flakes.
Use Label Stickers to add Christmas sentiments around the black handle of the tin.
A view from the back showing the light pack.
You can almost see the dried Collage Medium that the tin lid is secured with.

Well, I hope you like the tin tutorial!  It was fun to be one of the first people to use the tin!  I know there are so many more ideas out there now (and more to come I am sure)!!
now carry on,
paula