
Behind the scenes, I’ve been quietly cooking up something spooky! For the past month, I’ve been playing with the new idea-ology Halloween collection, and I’m thrilled to finally share this Pocket Folio with you all.
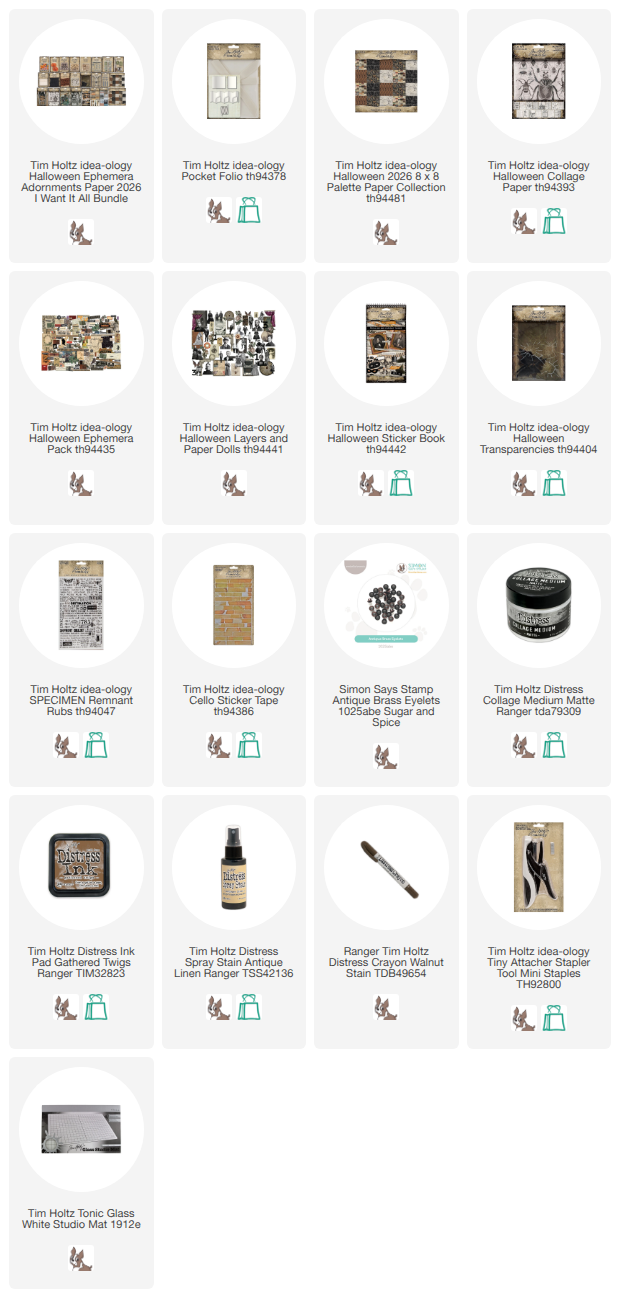
The best part? It comes together with just a handful of Halloween essentials: the Pocket Folio, Palette Paper Halloween, the Layers & Paper Dolls pack, Ephemera, and a Sticker Book. Because each of the six pages acts as its own self-contained scene, you can take your time and build it out page by page without feeling overwhelmed.

Inside Cover
I have used the new 8 x 8" Palette Halloween paper throughout the book. It really doesn't matter what paper goes where because they all coordinate perfectly.
The black measuring tape is from the Layer pack and the pinked black trim is from the Sticker Book.

*The Pocket Folio is a zig-zag book so I am calling each page a section.
Section One
All the Paper Dolls have been added with Thin Foam Squares so they appear to float over the page. I like to spray water on the thick Layers pieces (spider card) so I can tear and bend the edges after I have sewn around the edge. I also like to dip the Layers into a puddle of Gathered Twigs Distress Ink and use a heat tool to dry it. I takes time and effort to dry the ink over a slick surface, but its worth it every time.

Section Two
I wanted to close the pocket enough to contain the cards. So on this section I added an eyelet and sewed on some black seam binding. Once you untie the bow, the flap drops down and the cards are revealed.

I cut three cards to fit the pockets from Distress Heavystock paper. I also used three #5 tags (one in each pocket). Both were sprayed with Antique Linen Distress Spray Stain and splattered with ink. All stamping throughout the project was done with the Stampers Anonymous stamp set, "The Obscure" CMS471.

Section Three
More of the great Palette Halloween Paper and a Layers card.

I had moss on my table from my other project and decided to add bits here and there.
 Theres some good ink spots that were left when drying ink on a slick surface.


 Making the card and tag was fun because you really could do anything. Just layer, layer, layer! Collage Paper, Layers, Ephemera, Remnant Rubs...it all work perfectly together! The transparent wings are from the Halloween Transparencies pack.


Section 4
I added numbers from the layers pack to the pocket, then stitched them into place before gluing the pocket on the right side to hold the cards in place.
NOTE: In the end, I added a eyelet to the pocket at the top of the left side because it kept coming unglued and I couldn't have that.


Collage Paper, ephemera, mini staples rubbled with Distress Crayon.

Section Five
This one is my favorite page. I love how the bug cards turned out. I stitched them on the machine, then added the ink (dipping and drying), then added them to the page with Scor-tape. The dipping and drying after the sewing is how the ink soaks into the thread...looks so good in person!

I made sure the cards were ripped and bent enough to push the moss into the rips. Collage Medium helps with that! Cello Tape really adds to the page (can't stop using this stuff on everything!)

Section Six
Last section of the zig-zag!
This pocket is covered with paper on the inside because the pocket opens completely.

I added the clock from the Layers pack and some Clipping Stickers from the Sticker Book to the front of the pocket.

When the pocket is open, it reveals a card that has been stapled at the top. Again, more stamping, more ephemera and stickers.

Collage Paper background, Layers frame and a creepy Portrait. A little Distress Crayon to make her green!

Back Cover
The back cover was added after I had adhered paper with Collage Medium and the black pinked sticker from the Sticker Book. The stitching came last, before closing the flap to create a pocket.

I painted Collage Medium over a floral card from the Ephemera pack. Once dry, I stitched around the edge a few times. The crazy stitching was done by sewing over separate bunches of thread I wadded up. After the stitching was done, I fell back to my Gathered Twigs ink puddle, then dried the card with a heat tool. If you ask why the Collage Medium first?...it's because the Collage Medium seals the paper and makes it seemingly impervious to the ink. So when I dip the now coated card into the ink puddle, the cotton thread soaks it up and only small amounts stick to the card once it has been dried by the heat tool.


Hope you have enjoyed todays walkthrough of my Pocket Folio!
See you tomorrow with another Halloween make!
Paula



No comments:
Post a Comment