I'm so excited to be here and share a fun idea-ology project with you all! Before I dive into the details, I wanted to talk about the spark of inspiration behind it. As I do every year, I recently watched the captivating entrances at the Met Gala. This year, Janelle Monae's truly brilliant outfit, a Thom Browne creation featuring a striking monocle suspended from a bowler hat, completely captivated me.

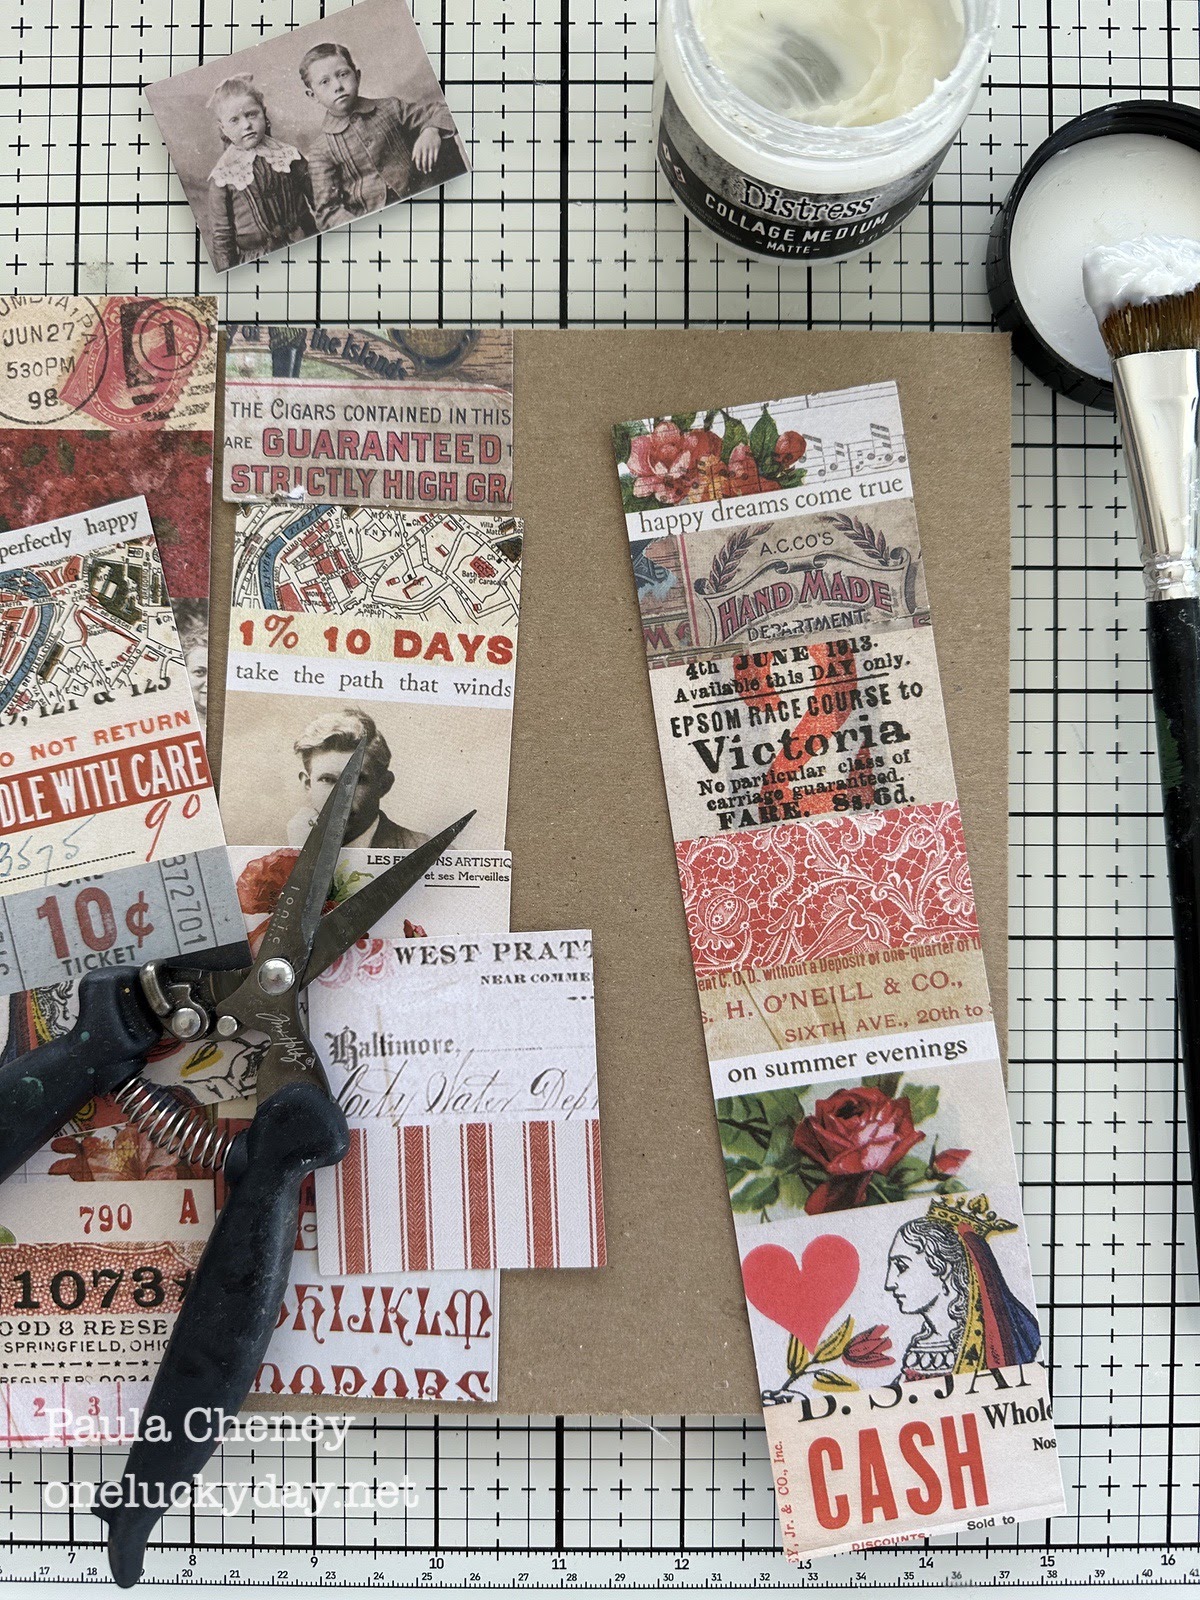
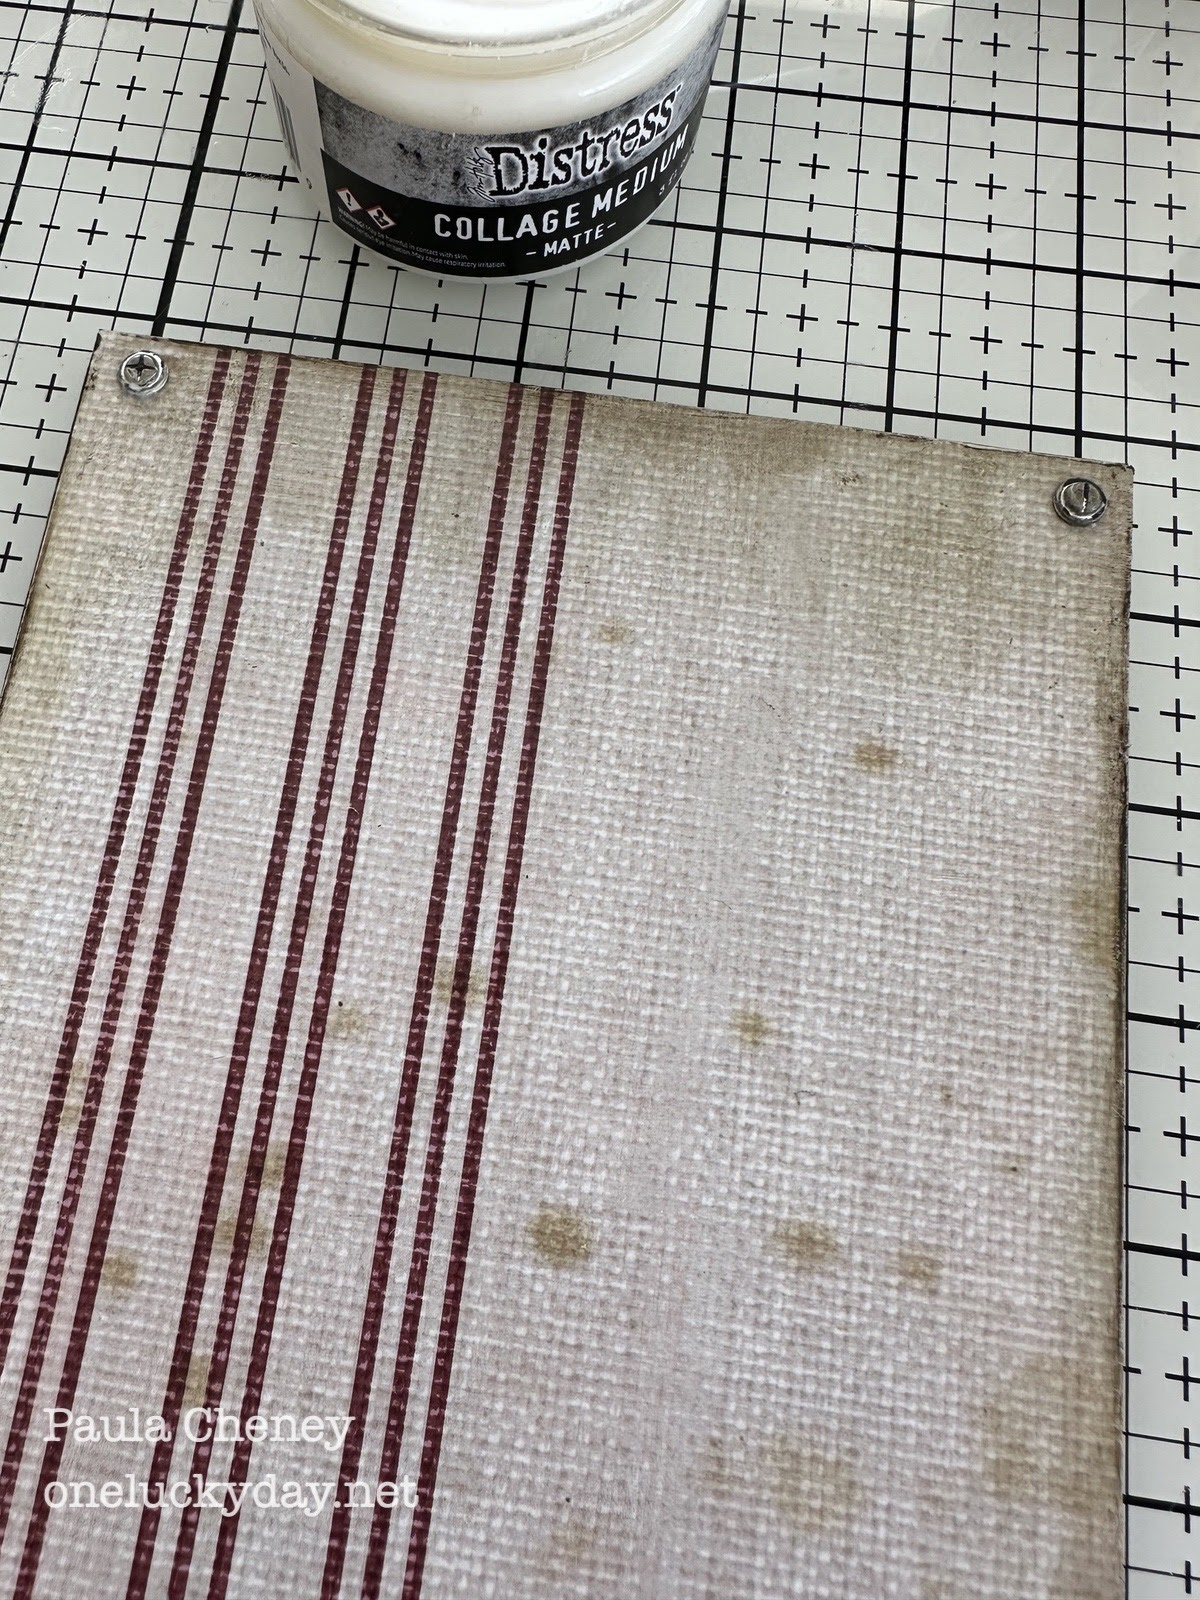
To get started, I pulled all the red Collage Strips from the package. You can use any color combination from the package, I just decided to go with red.
I decided to cut up the the Collage Strips to edit out the photos since my centerpiece is a big photo image.
NOTE: The open space will be covered by the 2nd panel.


TIP: just between me and you, I should have waited to add the Screw Heads till after I had sandwiched the two boards together, so I could have placed heavy books on top for the drying process. It was difficult to do this with the Screw Heads in place. Live and learn!
 Use your clear ruler to get a 1" straight line on the left side, then add the panels together with Collage Medium.
  While the panels are drying, I worked on a Baseboard Frame. Even though I did not take photos of the process, here's what I did:

1. Paint frame black
2. When dry, sand heavily with steel wool
3. Scribble heavily with Walnut Stain Distress Crayon
4. Pounce over crayon with wet wipe to remove some of the crayon
 Add Scor-tape to the back of the frame.
 Add a transparency to the back.


(Now you can see the finished texture of the frame...paint, sand, crayon, wet wipe)
 Use 3D foam squares to add the frame to the vertical panel. The foam squares are important so the frame sits up above the panel. A gear will slip under the frame at a later stage.
 Next up, a wood ruler. I needed it to be thick so I decided to sandwich two rulers together. Here are the easy steps:


1. Cut rulers to size (use your Tonic scissors)
2. Punch holes at ends with Crop-A-Dile
3. Glue rulers together
4. Once dry, rub ink directly over wood surface
5. Use your fingertip to add Collage Medium over the ink so it wicks and creates a smooth surface.
6. Dry with a heat tool or set aside to dry
 Add the ruler to the bottom of the black frame with Scor-Tape. Drive two Tack Nails into the holes to secure (no I did not hammer on my glass mat).
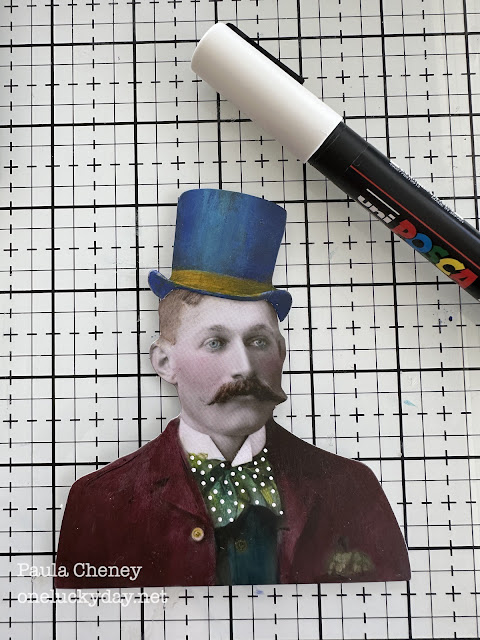
 For our centerpiece, I chose this Portrait figure and colored him with Distress Crayons. The Aged Mahogany over his jacket is just divine. The jacket, vest and neck scarf were colored directly with the crayon, then rubbed over with my index finger. I also used a Detailer Water Brush to color the buttons on his coat and his eyes. Cheeks are always done with a cotton swab + pouncing with my fingertip.
 I wanted some kind of hat, so I cut this guys hat off!
 Then colored it with Blueprint Sketch, Salvaged Patina (highlight) and Fossilized Amber for the hat band.
 I added the hat to his head with Scotch Tape.


I loved the scarf color but then I thought it might be even better with the white dots. I made those with a POSCA Paint Pen.
 Now the gears!

I added the man with double stacks of 3D foam squares.
I used Collage Medium to add the "monocle" under the brim of his hat. It was made with a Memo Pin that I painted white, then added Walnut Stain Crayon to. He is looking mighty dapper, don't you think?
PLEASE NOTE: If you choose to cut the Memo Pin shorter, you must wear protective eyewear and cut with wire cutters. Memo Pins are made from steel so you cannot cut them with the standard Tonic scissors.

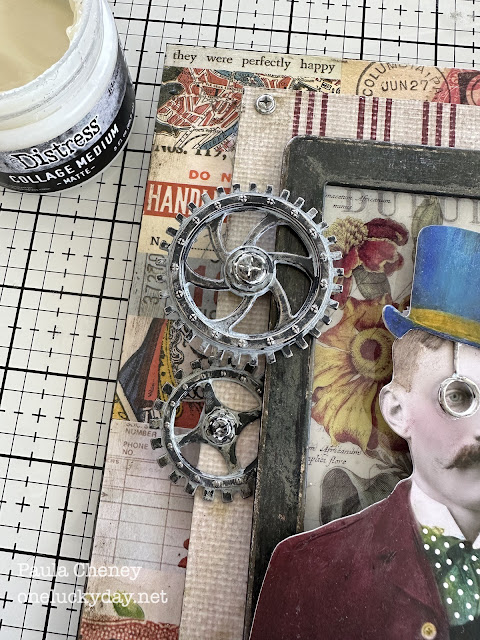
I used the entire pack of Industrial Gears.
Here are the four easy steps:
1. Paint with Iced Spruce Distress Paint.
 2. Use a wet wipe to wipe away (or pounce over) the paint to give more variation. If you wipe off too much, just add more.
 3. Use your fingertip to randomly add Black Soot Paint.
 4. Once dry, sand gears with steel wool to remove the harsh black color and reveal the metal or paint below.
 Add a wood plug to one of the gears. Add a Quote Token to anther gear with 3D Foam Squares.
 Now to add everything to the panel.


On the right - the large half gear and the Quote Token (use a Tack Nail to secure to the frame).
 On the left - the gear with the wood plug. The wood plug helps it to sit up above the frame and not fall off to the left. Then the small gear slips under the frame that was raised earlier with 3D Foam Squares.
 Add a stamp from the Postmarked Sticker Book to the top of the frame. Secure with a piece of Cello Tape.


Paint a Hinge Clip with Black paint, then sand with steel wool to age. Tie a bow with heavy string and add the Hinge Clip to the top of the frame. Again, another reason to have that Baseboard Frame raised from the surface.

I love all the layers of the Industrial Gears - I think that is what makes this so interesting!


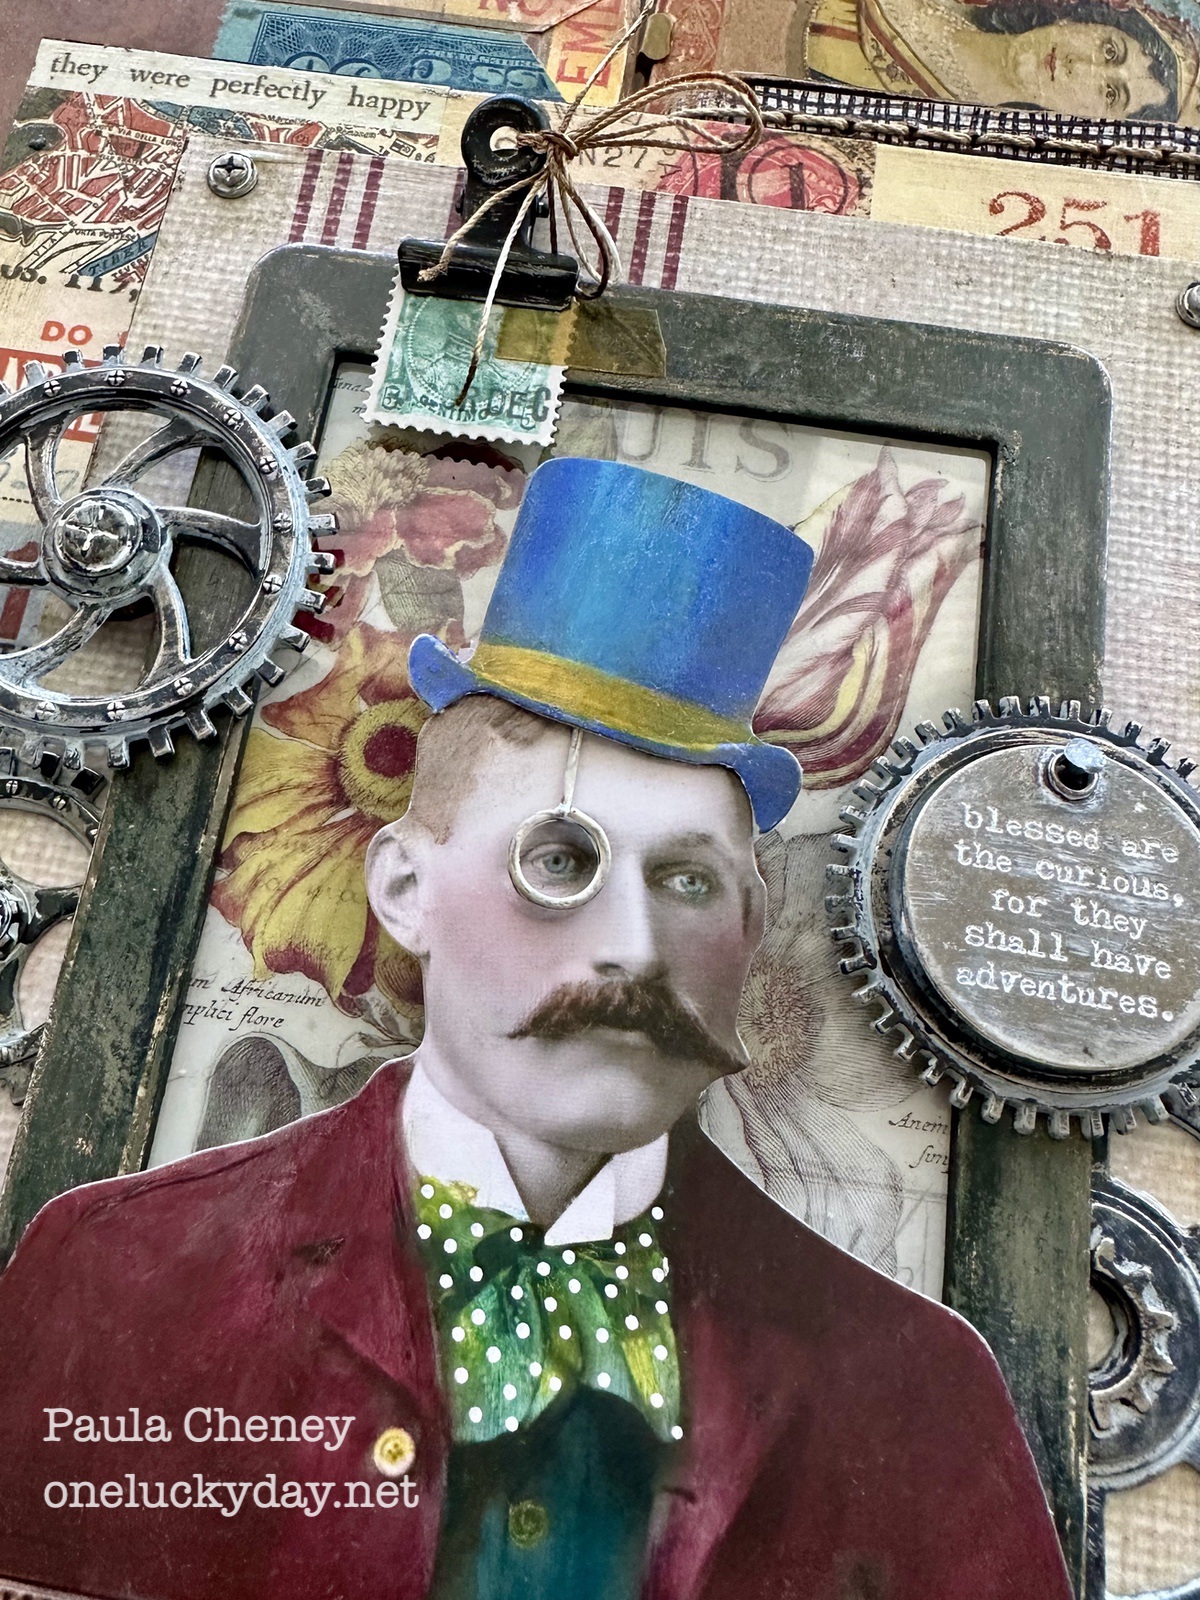
I guess its time to share my inspiration!!

Now that you've read all the steps, you can see just how easy and straightforward this project is. I sure hope you'll give it a go!
Now carry on,
paula