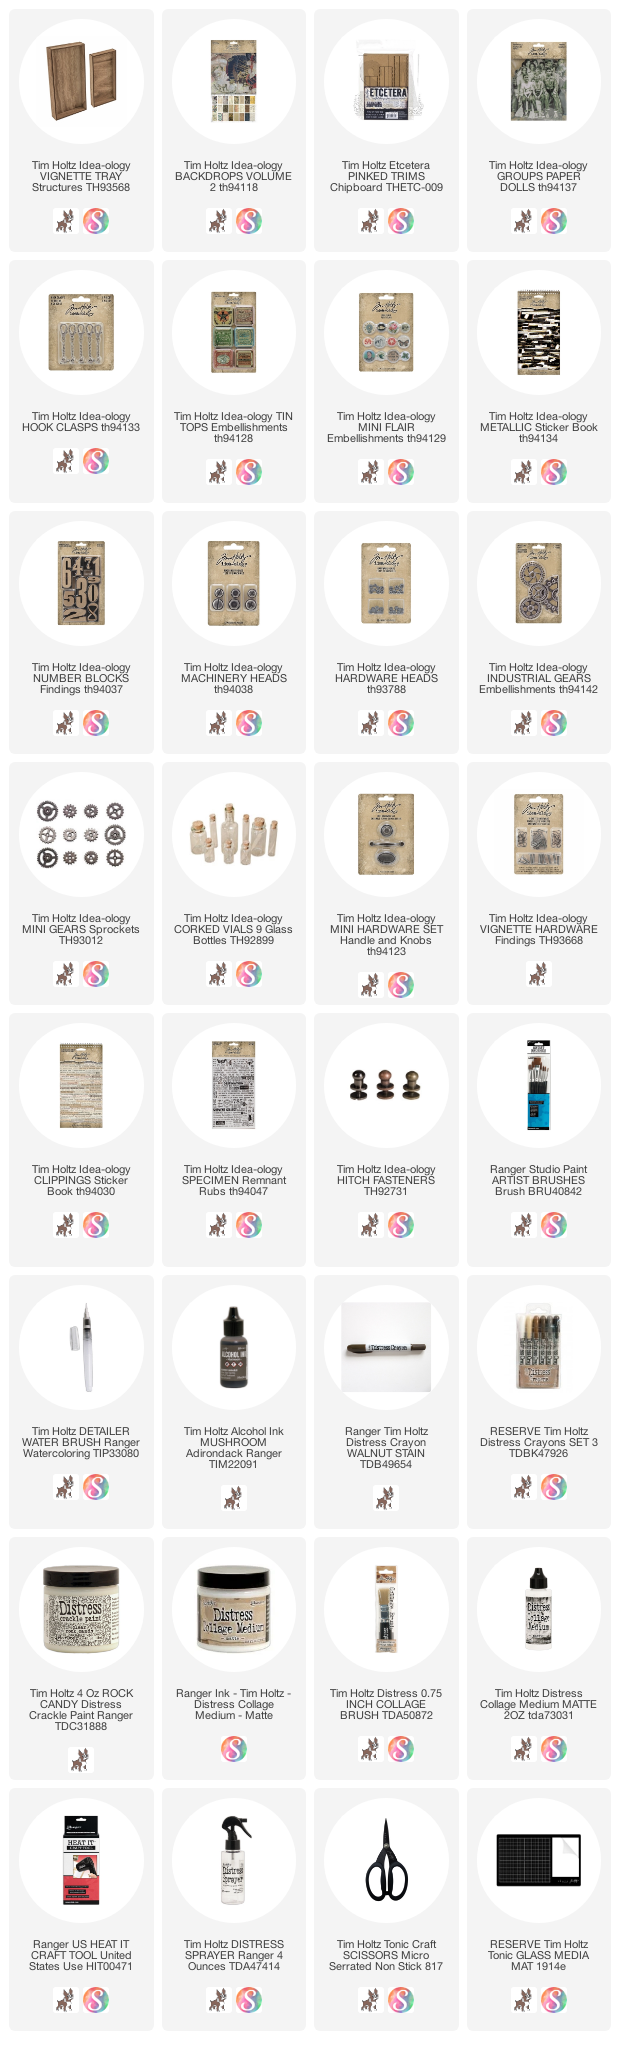
Hope you are well today and that you had a wonderful week! I have been lamenting the lack of traveling as we always take a vacation over Easer break when my husband has time off (he's a High School teacher). Well, no traveling for us so we have been busy doing a few things around the house and trying a few new recipes. Enough about what is happening here and onto sharing the project for today.
This piece was all designed around the group of ladies from the new Paper Doll Groups. They fit perfectly in the large Vignette Tray so I started with that and then filled in. Let me show you the details...

 I took a few step-out along the way but I need to explain how I got to this point.
I have covered the tray with Worn Wallpaper from the new pack called Worn Wallpaper Scraps. We called it that because there is a mix of traditional wallpaper as well as cut pieces. No fussy cutting, we've done it for you. You might notice in later photos a strip that says "made in England", that is on one of the papers that I did not choose, so I just cut it off in a long strip to ad later.
Once the Worn Wallpaper was added to the tray with Collage Medium, I added a layer over the top to seal so I could use a Walnut Stain Distress Crayon over the now slick surface. The Distress Crayon always adds to the age of a piece. Here I scribbled it on and then used a damp paint brush to move it around, especially into the corners and where the papers meet.
I love the new wooden Vignette Advert Panels. They come in a set of five, this is the largest panel in the set. To "color" the wood I use a two part technique. First, rub a Hickory Smoke Distress Ink pad directly over the panel. Then, using my finger, I rubbed Collage Medium over the surface of the wood to allow the water-reactive ink to "bloom". You could use a paint brush for the Collage Medium but the ink will react with the wet medium and you could transfer the ink into the jar. Dry the Collage Medium with a heat tool. TIP: use the back of the panels to test multiple colors of ink if you are unsure and note that the ink looks very different once the collage medium is added. It also dries a lighter shade than when it is wet. Testing is good (and you will never see the tests on the back).
I have covered the tray with Worn Wallpaper from the new pack called Worn Wallpaper Scraps. We called it that because there is a mix of traditional wallpaper as well as cut pieces. No fussy cutting, we've done it for you. You might notice in later photos a strip that says "made in England", that is on one of the papers that I did not choose, so I just cut it off in a long strip to ad later.
Once the Worn Wallpaper was added to the tray with Collage Medium, I added a layer over the top to seal so I could use a Walnut Stain Distress Crayon over the now slick surface. The Distress Crayon always adds to the age of a piece. Here I scribbled it on and then used a damp paint brush to move it around, especially into the corners and where the papers meet.
I love the new wooden Vignette Advert Panels. They come in a set of five, this is the largest panel in the set. To "color" the wood I use a two part technique. First, rub a Hickory Smoke Distress Ink pad directly over the panel. Then, using my finger, I rubbed Collage Medium over the surface of the wood to allow the water-reactive ink to "bloom". You could use a paint brush for the Collage Medium but the ink will react with the wet medium and you could transfer the ink into the jar. Dry the Collage Medium with a heat tool. TIP: use the back of the panels to test multiple colors of ink if you are unsure and note that the ink looks very different once the collage medium is added. It also dries a lighter shade than when it is wet. Testing is good (and you will never see the tests on the back).
Rub white paint over the surface of the metal Adornments Butterfly. Once dry pounce with Mushroom Alcohol Ink. Adhere to wood panel with Collage Medium, let dry.
Now to assemble -
Now to assemble -
Adhere the wood Advert Panel with 3D Foam Squares to raise it off the surface of the tray.
Adhere the large cut floral with Thin 3D Foam Squares.
Adhere the metal butterfly with Collage Medium.
 If you look closely you can see the I have cut off the leaves on the lower right side. This area will be hidden by the Paper Dolls so I determined to cut off the leaves and use it elsewhere on the tray.
 The ladies are from the new Group Paper Dolls. I love that polka dot dress, don't you? The only thing I did with the ladies is tint the group using a detailer water brush and a variety of Distress Crayons. what you cannot see here is that the group of ladies is pushed out from the Advert Panel with three 1/4" wood blocks. One block is behind the neck of the standing lady, one is in the center of the group and the last one is at the base. The wood blocks make a huge difference in the dimension of the tray. By using the blocks, it created the exact amount of space needed to slip the CROWN Tin Top between the Advert Panel and the Paper Dolls. Notice the use of the snipped-off leaves? That little element ties the right side to the left...now that I like.
 On the right side I used 3D foam to adhere a Timepiece with added Clock Hands (did you know the have Clock Hands?) The Timepiece got the same treatment as the Butterfly, then I sanded down the high points to reveal the metal numbers below.
 Clippings stickers were added to the Advert Panel. There is more to the saying I created but I didn't want to cover more of the wood so I placed it on the bottom lip edge of the tray (you can see it in a later photo).

 You might notice that I gave the standing lady a "halo" of sorts. This is just a white and gold sticker from the Metallic Sticker book.
 I also added a vintage button next to the Snippets butterfly ephemera.

paula
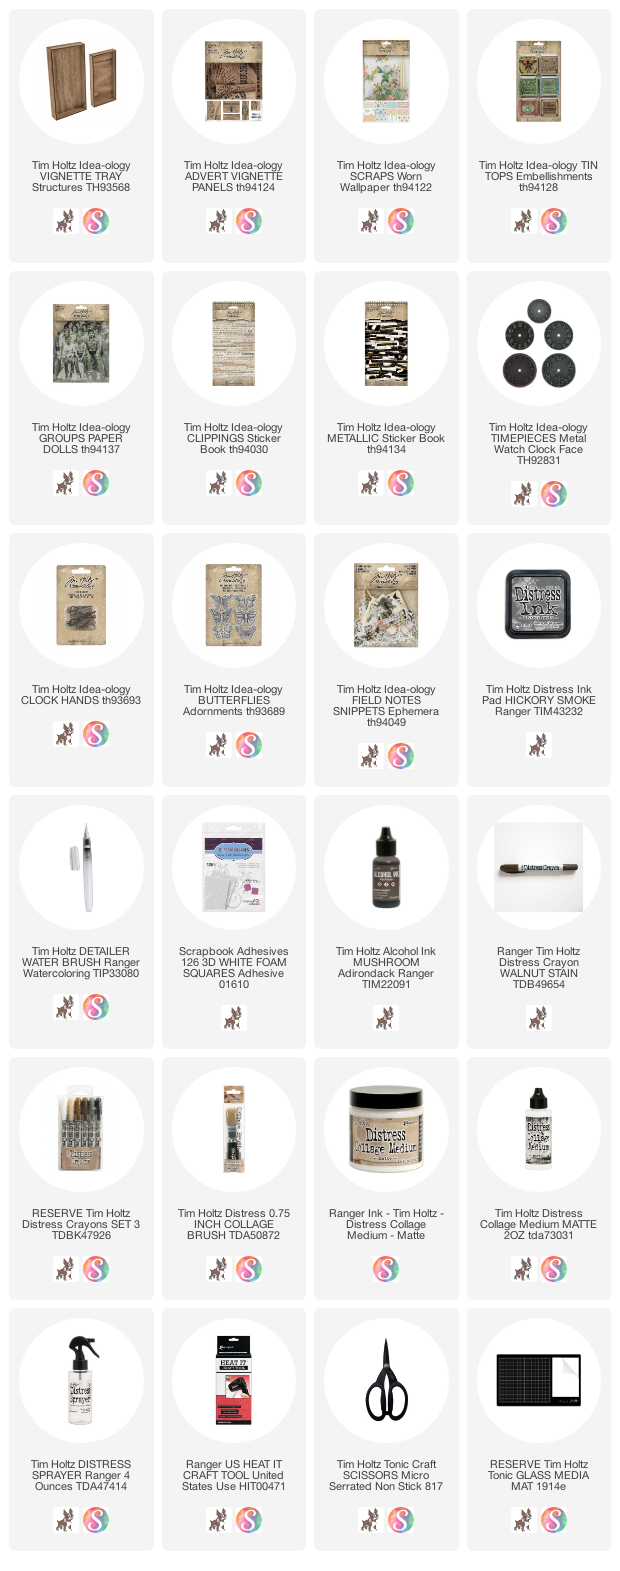
I used more Worn Wallpaper Scraps + tiny pieces of ephemera from the Field Notes Snippets pack. I love the TINY pieces!
Here are some photos of the finished tray.
And there is the rest of the saying, "as if this were a travelled road", right at the bottom.
I hope you like this tray as much as I do! I love working with the new Worn Wallpaper Scraps as well as the paper. I also love these new Paper Doll Groups...more people to tell a story about!
now carry on,paula