Hello friends,
It has been a slow week around here due to the fact I tested positive for Covid on Monday. It's my first time having it and it has given me a heck of a stuffed up head. It's hard to think when you're stuffed up like that! But things must press on! Monday and Tuesday were a wash (
it was all napping and no working) but by Thursday I felt good enough to actually put some words together.
Today, I going to try and tackle the Advent Calendar that I made for the Live. The calendar itself is very straightforward. If you are a sewer, you can see right away how it was made, so I guess I'll just try my best to give you a rundown with a few snapshots (and they really are snapshots) of the making process.
Finished size is 20 x 25"

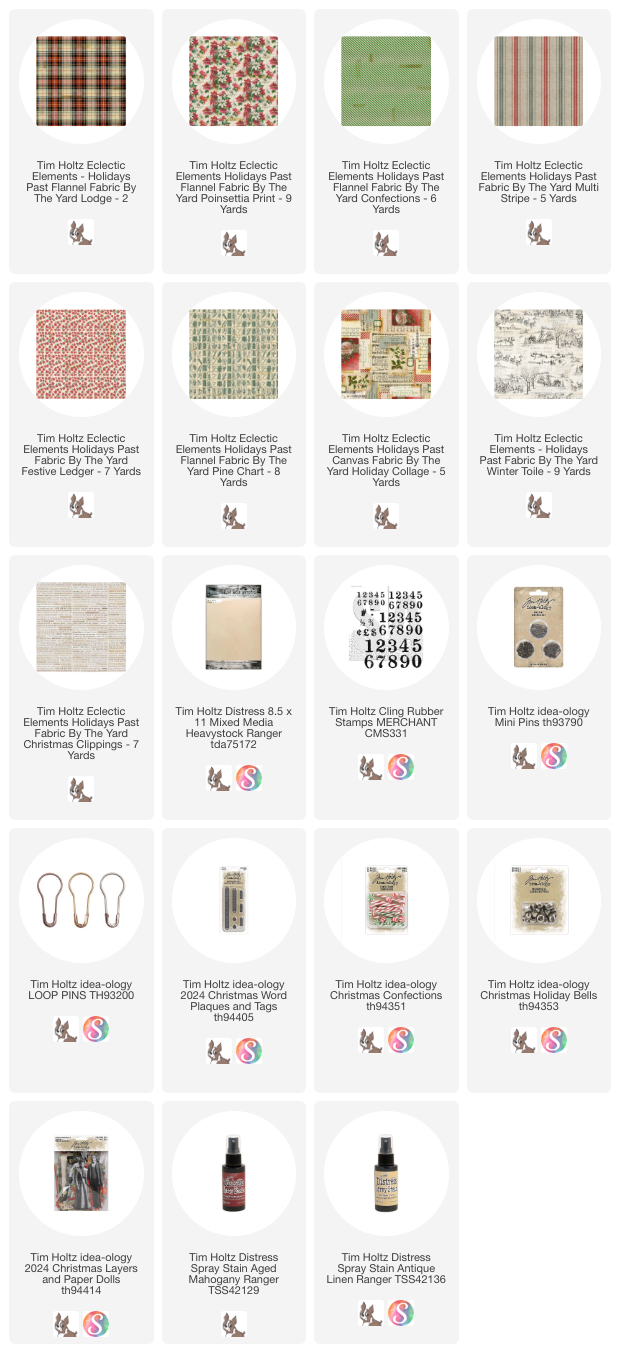
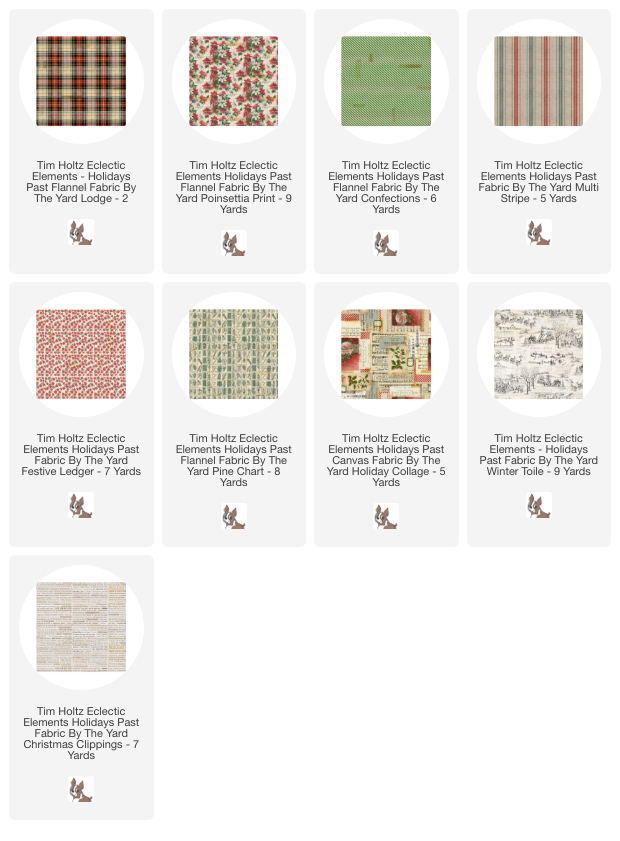
I used 9 Holidays Past cotton prints for the calendar. Admittedly, the more prints I added the harder it got to make it balanced. My rule of three, meaning use at least three of each print, was easier with eight prints. Nine was challenging, but I got there in the end. Here is the fabric from the collection I used:
Poinsettia Print (large poinsettia print)
Confections (green stripe)
Winter Toile (white winter scenes)
Multi Stripe (green and red ticking)
Pine Chart (green pine illustrations)
Christmas Clippings (text)
Holiday Collage (collage print)
Lodge (plaid)
Festive Ledger (small poinsettia print)
*Lodge was also used for the binding and Holiday Collage for the backing.
BACKGROUND:
- Cut one 5 1/2" wide strip of each of the nine fabrics (5 1/2 x 44").
- Cut three, 4 1/2" pieces from each strip (set aside the leftover strip for later). If you use less than 9 fabrics, you will need to cut a few more pieces
- Lay out the pieces in 5 rows of 5 (the photo below shows 8 different fabrics - which was easy to stick to 3 of each + 1 plaid (25 total squares). But then I decided to add the ticking stripe, so I ended up having to move the squares around again.
TIPS: Use a sharp rotary cutter for cutting. Be accurate with your measurements/cuts.
5 1/2" x 4 1/2" background squares
4. Going back to the leftover strips that were set aside, cut at least three, 4 1/2 x 4 1/2" squares of each pattern.
5. Fold the squares in half and press on the fold line.
6. Work out a pleasing group, moving the patterns till it suits you. This part took me a while because of adding the ticking stripe. You can see the addition in comparison to how it was in the last photo. I obviously ended up changing the position of the some of my base rectangles to get all the patterns to work. Honestly there is no wrong way to do this!
NOTE: I think it is wise to take a photo of the squares before you start to move them. That way you can put them back in the same spot once basted. I swear, even if I stack them in order, I still question myself when putting it back together. The photo will save you a lot of grief.
Adding the folded 2 1/4 x 4 1/2" pockets
I did not take a photo of the next step, but once I have the fabrics in place, I basted the pockets to the matching background. I also used a sewing gauge (ruler) to make sure my pockets were even, before basting in place. I admit, I tried it without basting and my pocket was out of whack, so don't skip this part. It's worth it in the end.
So the next step is to start sewing the strips together (1/4" seams). This photo is showing the bottom two rows after stitching. Again, be very aware of where the pockets meet when sewing the strips.
Once you finish stitching the 5 rows as shown, then you can stitch the 5 rows together. Again, this takes some matching but it wasn't as hard as I thought it might be.
NOTE: when you are done stitching the rows, remember to open the seams and iron flat before sewing the strips together.
SIDE NOTE:
In our guest bedroom, I have a small desk that I can convert to a sewing table when needed. I also lower my ironing board to a sit lower than my desk and place it on the right side of my chair (I'm right handed). I have a swivel chair, so I can place my pieces on the ironing board, then pick up, sew, then go right back to the ironing board to iron flat, and repeat. I don't even have to get up, I just swivel! This set up has been a wonderful change for me because previously I was sewing in the craft room and ironing in the guest room. So much walking back and forth between the two rooms. I don't know why I didn't think of this 4 years ago when I bought the little desk. I share this because maybe sewing might be more enjoyable if you look at what space you have and how you can improve it for use. I did spend about $100 at Office Depot for a super comfortable swivel chair and that alone has made my sewing journey better. If need the guest room for an actual guest (like my father-in-law who just visited in October), I just put the cover on my machine and store it in the closet. The iron and ironing board goes into its storage space and I'm good to go. Easy transition to a bedroom again.
So this is what it looks like all stitched together! It really is satisfying to see it sewn together!
Let me explain what I am doing here with the black plastic. I like to use a temporary spray adhesive to stick the fabric to the cotton batting (Warm and Natural) before I quilt or stitch it together. So I got a large black trash bag and cut it open to cover my kitchen table. Then I can lay the batting on the plastic, spray the temporary adhesive, then add the advent (or whatever I'm working on). After pressing the batting and fabric together with my hands, I remove my piece from the black plastic, then hang the plastic on the back of a couple kitchen chairs till its not tacky anymore. I can fold it up later to store in my craft room, then use again the next time I need to spray.
After the black plastic has been removed, use a quilting ruler and rotary cutter to square up the advent.
Next I will cut the back piece to fit the front. I used one of the collage fabrics but you can use what you like. In all honesty, the large poinsettia would be the best fabric to choose for the back, because it is the only one that is really random so you would never know if its crooked!
Once I had the front and back together, I stitched across the advent 4 times, right under each row of pockets (broken green line).
I think you can see one of the stitching lines here, right under the pocket.
A view from the back.
Before the binding was added, I made two folded triangles for the top two corners. I have a dowel that will fit across the back and slip inside each corner for hanging.
I will quickly talk about binding.
First of all there are a million videos on YouTube about making binding and sewing it on. The corners are always the hardest to wrap your mind around if you don't use binding regularly. They are really easy, you just need to know the fold trick.
The Lodge fabric was cut 2 1/2" on the bias (going across the grain) to get the diagonal plaid. Whenever it has been a long time since I have sewn corners, I go to this
video and watch her do at least one corner (
at the 2.52 mark - she will repeat the corner three more time so you get it). Then I remember, yep, that's how you do it. I'd rather watch, then do it right the first time and not have to pick it out. It's an easy trick and I NEVER would have figured it out on my own.
I still finish my binding by hand since I am always terrified to finish with the machine. Richele has tried to talk me into trying it, but I'm not that good of a sewer!
Okay, well thats it for today. I will be back shortly to talk about the tags and the decorations for the calendar. I know this is a big project, but it is one that you could keep and use year after year.
Now carry on,
paula


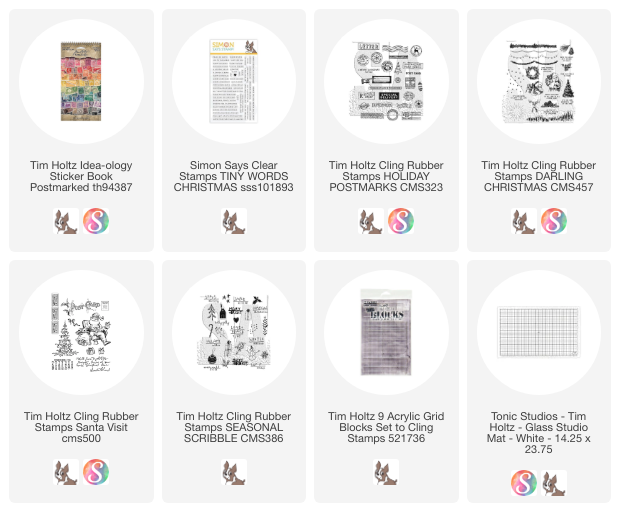
 I used 4 Stampers Anonymous Stamp sets:
 I also used a great stamp set that I purchased from Simon Says Stamp - Tiny Words Christmas. They are absolutely perfect for the size of the Postmarked stamps. So, so tiny and absolutely essential for this project.
 I used a grid block for stamping + a few post it notes to mask off the edges if the stamp was going to run over the edge (like the candy cane).
  I love the ones that use two stamp images on one stamp so you get two colors...then there is the ornament I colored with Distress Markers (yes, mine still work beautifully) that has red, pink, yellow and blue scribbled on and then stamped. Even though I know these will be use separately, my mind still wants to make the sheet cohesive! I'm funny like that!
 There are larger stamps at the bottom, so I was able to use many of the longer phrases from the Stampers Anonymous sets there.
 Well I hope this gives you an idea of how to use the blank stamps! They don't even have to be Christmas stamps - think friendship or birthday, thank you...so many ideas when you have a blank slate. In fact, Simon Says Stamp makes the Tiny Words stamp sets for Birthdays, Encouragement, Faith, and Everyday. I think I need to buy another set!