I’m excited to share a new idea-ology project blooming with springtime florals. My inspiration for this panel actually came from a beautiful fabric bag created by my friend Richele Christensen. She used a Palette Orange fabric called Botanical—a long-time favorite of mine—and I couldn't get the print out of my head. I decided to translate Richele’s textile vision into a paper version, bringing a bit of her "fabric side" over to the paper side of the Palette.

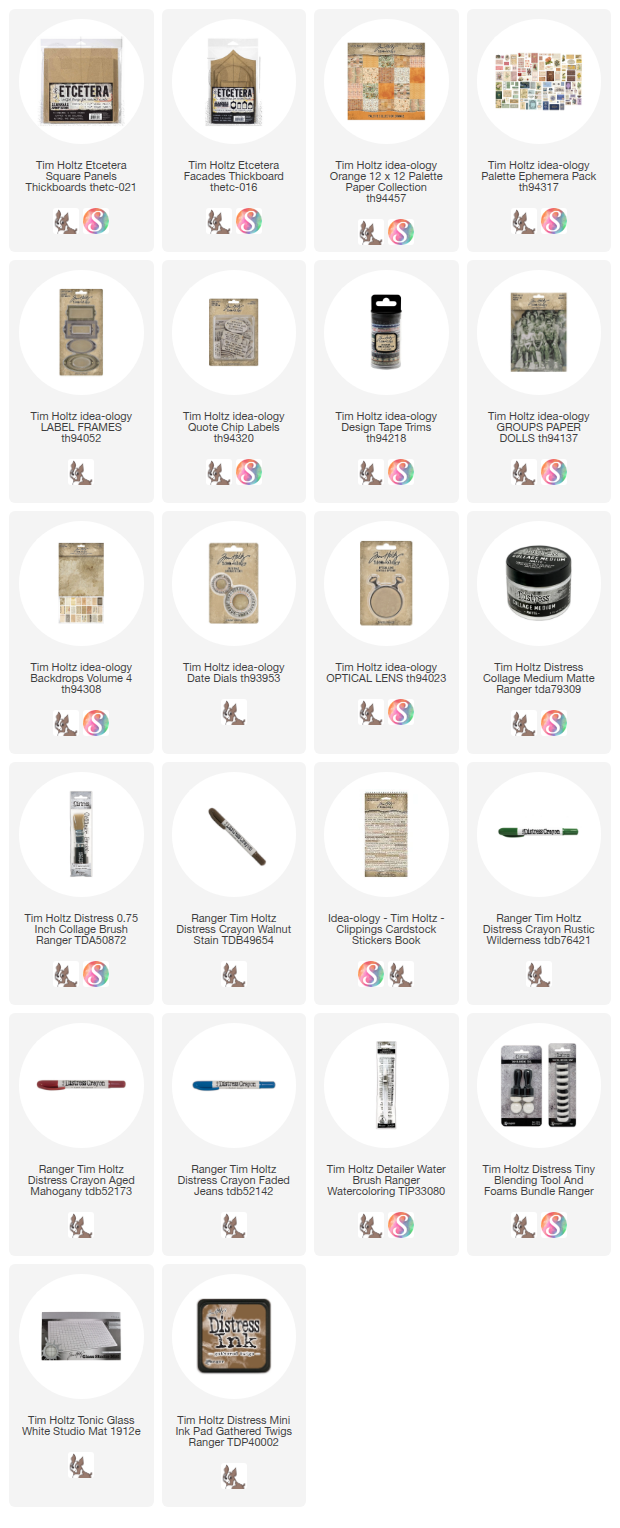
I started with a large Etcetera Panel as my base. I used Collage Medium to cover the panel with a sheet of the Palette Orange Botanical print (12 x 12"). I added Collage Medium over the top to seal the paper.
 Once dry, I added crayon to the edges of the panel.

 On the ends that were not stitched, I tore through the paper and also inked the torn edges. I always spritz the inked edges with water to make the ink wick into the paper. Dry with a heat tool before gluing to the panel.
 I used Scor-tape to add the ephemera to the panel.

 I added multiple strips of Design Tape Trims to the house shape for decoration.
 I did add Collage Medium over the tape to permanently secure it to the surface. Then set it aside to dry.


 Now combine the house shape, the Optical Lens and the Paper Doll. I used three double-stacks of foam squares on the back of the Paper Dolls so they above the Optical Lens.
 I also used 3D foam squares to add the house shape Facade to the panel covering the gap between the ephemera.

 Now I need a sentiment - I combined a Quote Chip Label and a Label Frame. Then I decided to use my cutting knife to shove shredded cheesecloth into the crack between label and the frame for added texture. I also needed to add a bingo chip to the back on the right side so it will sit level with the house shape.
 Once I added the label to the panel, I added vintage buttons to the right end. No I didn't stitch them on. I collect vintage buttons with the thread still in them - they are like gold to me! So all I had to do was glue them in place and let them dry.
 I also created a small collage of Palette ephemera in the top right corner. Just stuff I liked and thought would bring out the green in the paper. I did add thin foam squares under the butterfly so it sits slightly above the collage.
 I guess I forgot to mention the vintage lace that run along the brown ephemera. It was just a piece that I had in my stash and thought it looked good with the theme.
 Love this little cluster!
 You can see that vintage lace much better here,

 I hope you liked this one. The colors and vintage vibe are right in my wheelhouse so this makes me very happy. And we all could use a little reminder of good things to come, right?
Now carry on,


I chose two pieces of coordinating ephemera from the Palette Ephemera pack. I stitched the edges on the machine. Since I used cream thread, I decided to ink the thread with Gathered Twigs Distress Ink.


Next up, is the house shape from an Etcetera Facade pack. I left the pop out center in place and covered the entire front of the shape with a sheet of Backdrop paper that I thought really worked with the Botanical paper (Backdrops 4 - Neutral pack).


I chose a favorite Paper Doll from the groups pack and colored it with Distress Crayons in Saltwater Taffy, Aged Mahogany, Faded Jeans, and Rustic Wilderness. I used a Detailer Water Brush to add a plaid pattern to the mans pants.

I also combined an Optical Lens and a Date Dial with a bit of Collage Medium. Once dry, I tied string around the stem to cover the number that was upside down (with the stem on the left).


Now carry on,
paula