Showing posts with label the Crafty Scrapper. Show all posts

Thursday, December 20, 2018

Merry Christmas Tag

Hi everyone!
Happy Holidays!

I was asked by The Crafty Scrapper in Texas to be part of their 12 Tags of Christmas.  The only rule was you needed to use a Mini Etcetera Tag (which is 8" tall).  They are revealing the tags on their Facebook page each day leading up to Christmas!
Follow along and I'll show you how I created mine! (which I LOVE by the way)

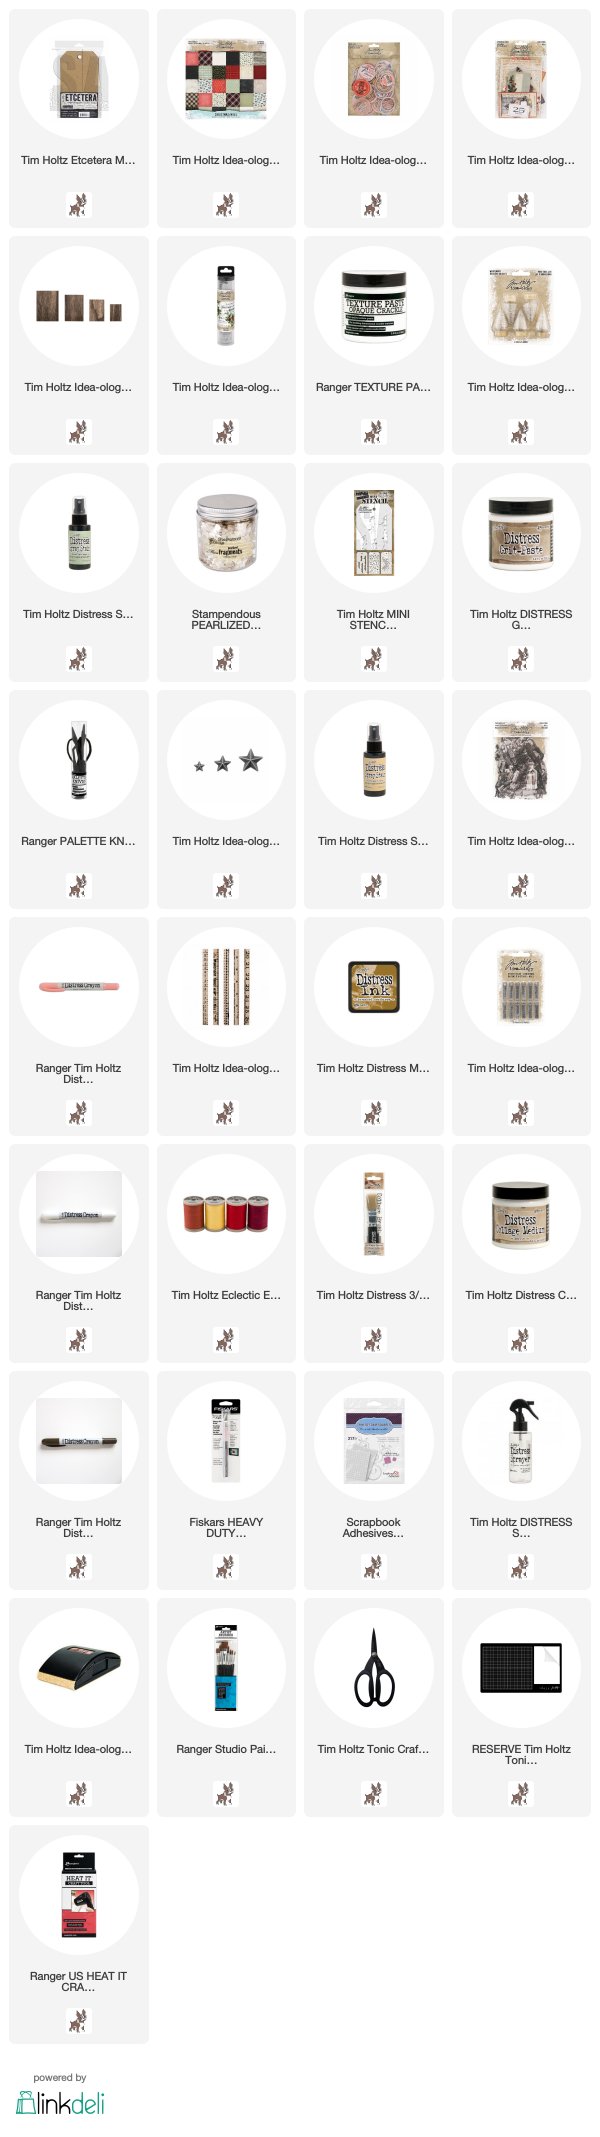
As I said, I used a Mini Etcetera tag as the base for the project.  I used Collage Medium to cover the tag with paper from the Christmas Paper Stash.  A few pieces of ephemera from the Christmas pack were added before I painted on a thin coat of Collage Medium over the entire surface to seal.  Once dry (I used a heat tool) I scribbled Walnut Stain Crayon over the ephemera and rubbed it with my damp fingertip to spread out the crayon.
Then I pounced a damp wet wipe over the top to create a more random vintage look.
I used Grit-Paste and the Falling Stars Mini stencil (found in set #38) to add stars to the background.  Because I sealed the paper with Collage Medium in the beginning, I was easily able to wipe away stars that were not perfect or in the right place.
Remember to wash your stencil right away or at least drop it into a tray of water till you can get to it.
While they were still wet, I sprayed the stars with Spray Stain so they were not as white.
I wanted to use the wonderful Collage Paper for the feature in the center of the tag.   I love the design of this paper with the holly and the beautiful red bow.  I think you can turn it any direction and the design works!
To use the Collage Paper, paint a nice coat of Collage Medium over the surface of a Vignette Panel (when I say "nice", I mean you should be able to see the white of the glue).  As I have said here before, the trick to using CP is getting enough glue under it so it go sheer when you add the CM over it.  Wait for it to dry and then use a sander to remove the excess paper.
Once dry, I used a palette knife to add Ranger Opaque Texture Paste.  I like to leave it to dry for at least an hour if not more.
 I used two Ranger products to age the Crackle.  First I sprayed it with Antique Linen Distress Spray Stain and let it soak in for a bit, then padded off the excess.  Second, I scribbled crayon over parts of the surface and rubbed it in with my finger.
The ink and crayon works like magic over the Collage Paper and the wood of the Vignette Panel in the background.
Adhere thin foam pads to the back of the Vignette Panel and add to the Mini Etcetera Tag.
 
Now for the focal point, I colored a Ruler piece with Brushed Corduroy Distress Ink, sprayed it with water and patted it dry.  Once dry, I wiped Collage Medium over the surface to make the ink bloom (trust me on this). Dry with a heat tool then use pliers to break off each end of the Ruler Piece.
Color the word with a Picket Fence Distress Crayon and add it to the ruler with thick red craft string. I did add 1/2 of a foam square on the back of the Story Stick once I tied the bow.
 
This little guy is one of my favorites from the Paper Doll pack.  He is going to be perfect for an idea I have.  First a little Crayon for his cheeks (you know it's cold outside).  
I used a knife to cut right along his hand.
As you can see I have also colored a Mini Tree with Bundled Sage Distress Spray Stain, removed the base and given it a haircut so it lays flat.  I also added a bit of fine mica flakes.
Once the paper doll was cut, I slipped the wire of the tree into the slit and hot glued into place.  My gosh, it's a perfect fit!  I love when a random idea works.
Now one last thing...did you know that there are Christmas Milk Caps in our Milk Caps pack?  Well there are!  I aged it by sanding and inking the surface. I added another thin foam square to the back as well as a metal star that I covered in real German glass glitter.  I mean, every once in a while you have to use some glass glitter!
An here it is with all the pieces added!  The little boy is just so perfect for this piece.  One of the reasons I love Paper Dolls is finding the perfect setting!  This is an easy project with some fun techniques so I hope you give it a try.


now carry on,
paula

Wednesday, October 21, 2015

Simple Christmas Cards

Hello all! 
I am still in Texas after teaching last weekend at The Crafty Scrapper in Waxahachie.  Carolyn Ross (the owner) and her team are ever so kind to work with!  This is my 3rd year kicking off the holiday season of classes at her store.  What a fun time we had making a project for Halloween, Thanksgiving and Christmas! 
Carolyn has a large classroom at the back of her store.  On the back wall she has added wood/glass shadowboxes with every tag from the Tim Holtz 12 tag series that she personally made going back to the beginning, which I believe is 2008.  She has a few more cases to fill before it's "ready for it's close up", but I'd say she is just about done (until Tim adds another tag inspiration on November 1st). 
Seriously, what dedication to the 12 tag series!  If you have a chance to stop by and see the wall or take one of her 12 tag classes...DO!

Up today - a few Christmas cards using Christmas Sizzix dies...
This one is mounted on silver Metallic Kraft-Core with added red cardstock and Yuletide paper. I cut a tree using the Festive Scribbles Thinlits from green cardstock then smeared Stickles Glitter Glue in Platinum over the top.
I used a piece of the plaid Design Tape (gotta love the plaid) to secure a Christmas Flash Card.
I cut thin strips of foam tape to raise the tree off the card front and added a Mirrored Star that had been colored with red Alcohol Ink.
Easy. Simple. and Quick.
The second card changes up the color scheme to a wintry blue and silver.
I colored a piece of Ranger Watercolor paper with Tumbled Glass Distress Stain.  Once dry, I ran the paper trough the Vagabond machine with the "Sparkles" Texture Fade.
Again, I used Stickles Glitter Glue in Platinum to smear glitter over the starry raised images and create an added layer of texture to the card front.
Once dry, I added the card front to a Metallic Kraft-Core card (they come in a pack).
I cut the Holiday Words 2: Block (WONDER) from Manilla cardstock and painted it Silver with Distress Paint.  Once dry, I layered a strip of silver Deco Sheet underneath the word to fill in the letters with sparkle!  Simple stitching to the card front gave it added interest.
I finished the card with silver Metallic Trimmings (one of the favorite products from the Christmas Release) and a small snowflake.
I hope you find some inspiration in these two cards - totally different color schemes but easy and fun to make! 

I am off to Houston tomorrow to meet up with Tim and Mario at Fall Quilt Market.  We have a day to get the booth set up and two days of show to work the Eclectic Elements booth.  I will be using Facebook and Instagram (luckyday) to post from the show so follow along for all the details!

Now carry on,
paula