Showing posts with label texture hammer. Show all posts

Tuesday, April 21, 2026

Make this Journey Your Own

Hello friends, 

Just a quick pop-in today to share a small project that reminded me of an important lesson: creating a collage doesn't have to be a mountain to climb. It can simply be a collection of things that tell a story.

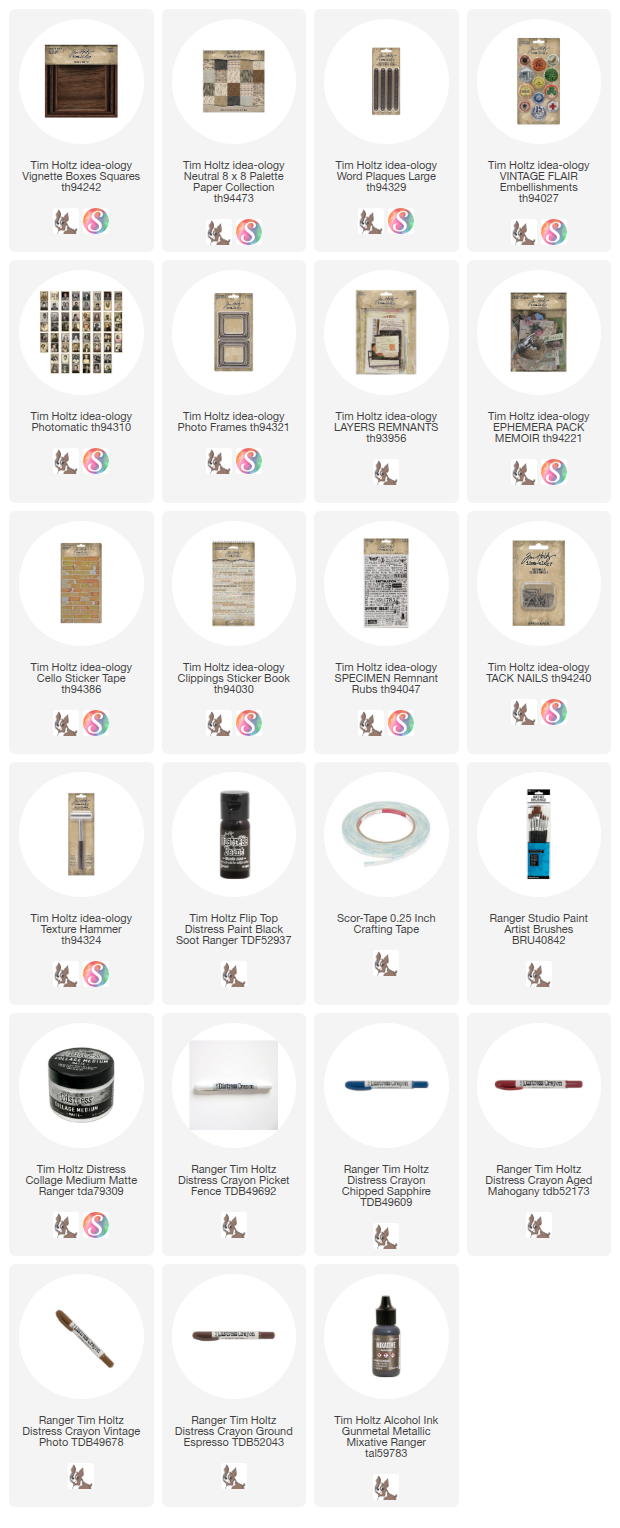
I gathered some favorite pieces from various idea-ology packs—like Vintage Flair, Layers Remnants, and Memoir Ephemera. It’s the little details, like a scrap of Cello Sticker Tape, a Remnant Rub, or a well-placed Clipping Sticker, that really finish the look. Sometimes we get so caught up in making a "masterpiece" that we forget the joy of just putting pieces together.

Paint the sides of the largest Square Vignette box with Black Soot Distress Paint. 
After the paint is dry, sand to smooth the painted surface then add a coat of Collage Medium to seal the paint and give the box a more finished appearance.
Cut a piece of Backdrop paper to fit the top of the square Vignette. If you are a sewer, use a ruler to mark a 1/4" line on the edge of the paper. Using the pencil line as a guide, stitch around the edges (I went around twice). 
Tear, smoosh, roll, and bend the edges of the paper. I also inked the edges then spritzed with water to make the paper malleable. If you so use water, just dry it with a heat tool before adding the paper to the Vignette.
Make a ink puddle, then splatter the paper with ink. Once dry, it won't look as dark as it does when wet.
I added Scor-tape along the seam on the box so the paper edges will NOT be glued to the box and the black painted edges will be seen. I added Collage Medium to the center before adding the paper.

Once the paper is secure you can manipulate the edges of the paper as much as you want. I smashed and ripped it just a little bit more and it looked better. I do love the ink splatter on the paper - I think that helped bring the ink from the edges into the center.
Choose a Photomatic image from the pack. I chose this guy because I just loved his hat! 
I used Distress Crayon to tint the Photomatic. Vintage Photo for his jacket, Chipped Sapphire for the background, Aged Mahogany for his cheeks.
I added three layers of Gunmetal Mixative to the Photo Frame (drying in between). Once dry, I added Ground Espresso Distress Crayon to the metal frame and rubbed it in.
I also added a piece of Cello Sticker Tape and a rubbing from the Specimen Remnant Rub sheet. 
Use Picket Fence Distress Crayon to fill in the back ground of the Large Word Plaque. Rub with your thumbs to heat up the crayon so it melts into place in the background.
Gather the things you have created, along with a postcard from the Remnants Layers pack and a flair button from the Vintage Flair pack.
Create a collage with the pieces.
Use Tack Nails to secure the Large Word Band.
Add a Clippings sticker to the Photomatic.
And some string for texture
And some ephemera...really, anything goes.


Don’t feel pressured to create a Magnum Opus every time the creative bug strikes; sometimes, keeping it simple is the best way to play.

Now carry on,
paula

Sunday, March 5, 2023

Collage Strip Vignette Panel

Hello friends,

Grateful to be here today, with a tutorial using product from the new idea-ology release. This was a very easy piece to make - I call it beginner level idea-ology! Everything is very straightforward...and the Collage Strips do all the talking!

Lets start with the background.  I cut a 9 x 9" piece of scrap paper to use as a base for the Collage Strips.  It will take 6 columns of Collage Strips to cover the 9 x 9" paper.  I decided to go (from left to right) pink, orange, yellow, green, blue, then purple, but you can come up with any color order you wish.  It will take more than one strip of each color to go from the top to bottom of the column, so choose two strips of each color family, then begin laying them out.  I made sure the photos on the Collage Strips never touched.  If a photo was too near another, I simply cut the strip to make the change in order.
Once I had the order the way I wanted it, I used a tape runner to add the strips to the base, butting them up against each other.  The tape is just to hold the strips in place when you take the paper to the sewing machine so one swipe per strip is enough.  If you are not sewing, you could use Collage Medium to add all the strips to the base.
Now to the sewing machine. 
Stitch on either side of each Collage Strip and then all the way around the edges of the 9 x 9" square.  I chose to cut the strings but you could leave them if you wish.
Use Collage Medium to adhere the sewn paper to the wood Vignette Panel.  Use a brayer to smooth out the surface.  You might even turn the panel over and put something heavy in the center till the paper is secure.
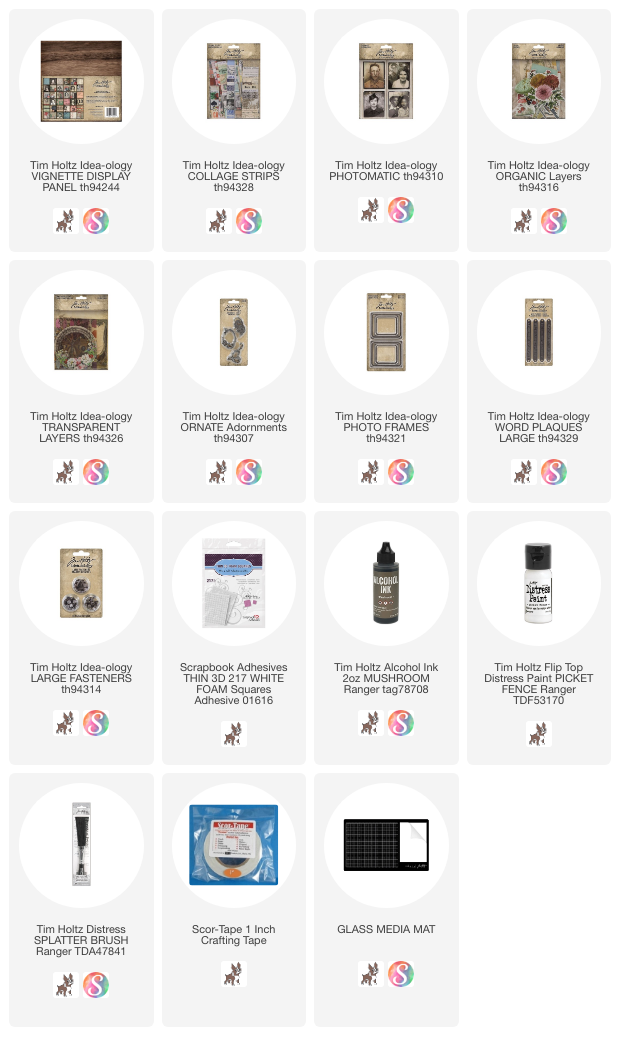
For the collage in the center, I added a circle from the Transparent Layers pack as the bottom layer.  
To adhere the transparency to the panel, I used 1" Scor-Tape (my go-to for transparent things). You can see here that you can barely see the tape through the transparency.
I painted all the metal pieces the same way.  Picket Fence Distress Paint, then pouncing over the top with Mushroom Alcohol Ink.  I try to paint all the metal pieces at the same time, let them dry together, then add the Mushroom over all, once dry.
When the paint on the Word Plaque and Large Fasteners was dry, I used the Texture Hammer to add dents into the Large Fasteners (this was very satisfying, lol).
The Texture Hammer works perfectly to smash/dent the centers of the new Large Fasteners.
I added the Word Plaque along with other new pieces of idea-ology to the collage. Many of the pieces were adhered with foam squares to create dimension over the transparency.
Layers Organic: all leaves, flower and black label
Ornate Adornments: metal flourish
Metal Frame: new frame that comes in 2 sizes
Photomatic: new photo SKU (larger than Photobooth)
This is an easy one, right? but super fun with the rainbow background!

I think the Collage Strips are one of the most versatile of all the new products.  You can use them as a strip, you can cut them, use them for labels, fold them into matchbooks (totally going to do that), use as a single color story or in a rainbow of colors!  So many uses!

Now carry on,
paula