Showing posts with label mixed media collage. Show all posts

Tuesday, April 21, 2026

Make this Journey Your Own

Hello friends, 

Just a quick pop-in today to share a small project that reminded me of an important lesson: creating a collage doesn't have to be a mountain to climb. It can simply be a collection of things that tell a story.

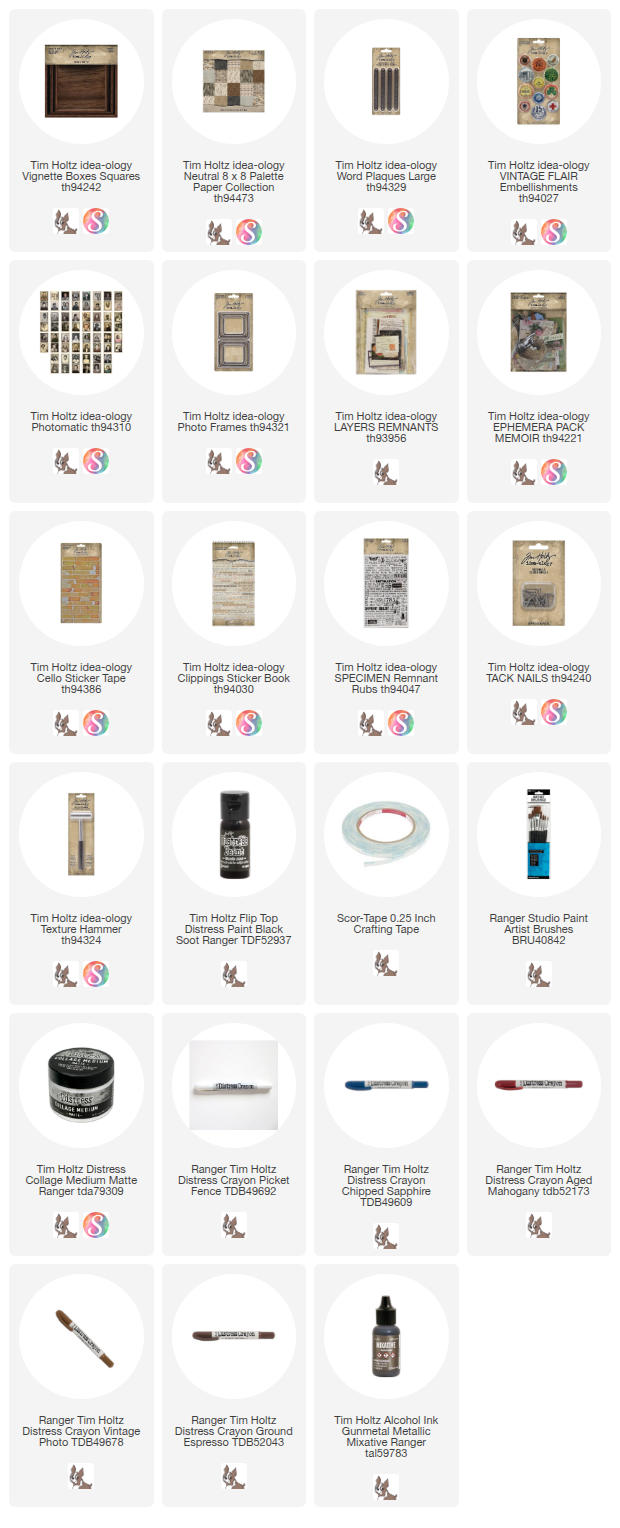
I gathered some favorite pieces from various idea-ology packs—like Vintage Flair, Layers Remnants, and Memoir Ephemera. It’s the little details, like a scrap of Cello Sticker Tape, a Remnant Rub, or a well-placed Clipping Sticker, that really finish the look. Sometimes we get so caught up in making a "masterpiece" that we forget the joy of just putting pieces together.

Paint the sides of the largest Square Vignette box with Black Soot Distress Paint. 
After the paint is dry, sand to smooth the painted surface then add a coat of Collage Medium to seal the paint and give the box a more finished appearance.
Cut a piece of Backdrop paper to fit the top of the square Vignette. If you are a sewer, use a ruler to mark a 1/4" line on the edge of the paper. Using the pencil line as a guide, stitch around the edges (I went around twice)
Tear, smoosh, roll, and bend the edges of the paper. I also inked the edges then spritzed with water to make the paper malleable. If you so use water, just dry it with a heat tool before adding the paper to the Vignette.
Make a ink puddle, then splatter the paper with ink. Once dry, it won't look as dark as it does when wet.
I added Scor-tape along the seam on the box so the paper edges will NOT be glued to the box and the black painted edges will be seen. I added Collage Medium to the center before adding the paper.

Once the paper is secure you can manipulate the edges of the paper as much as you want. I smashed and ripped it just a little bit more and it looked better. I do love the ink splatter on the paper - I think that helped bring the ink from the edges into the center.
Choose a Photomatic image from the pack. I chose this guy because I just loved his hat! 
I used Distress Crayon to tint the Photomatic. Vintage Photo for his jacket, Chipped Sapphire for the background, Aged Mahogany for his cheeks.
I added three layers of Gunmetal Mixative to the Photo Frame (drying in between). Once dry, I added Ground Espresso Distress Crayon to the metal frame and rubbed it in.
I also added a piece of Cello Sticker Tape and a rubbing from the Specimen Remnant Rub sheet. 
Use Picket Fence Distress Crayon to fill in the back ground of the Large Word Plaque. Rub with your thumbs to heat up the crayon so it melts into place in the background.
Gather the things you have created, along with a postcard from the Remnants Layers pack and a flair button from the Vintage Flair pack.
Create a collage with the pieces.
Use Tack Nails to secure the Large Word Band.
Add a Clippings sticker to the Photomatic.
And some string for texture
And some ephemera...really, anything goes.


Don’t feel pressured to create a Magnum Opus every time the creative bug strikes; sometimes, keeping it simple is the best way to play.

Now carry on,
paula

Wednesday, October 11, 2023

Halloween Distress Pearl Crayons

Hello Friends,

I wanted to experiment with the Halloween Distress Pearl Crayons over black, not just cardstock...but black texture paste.  I wanted to see how the Pearl Crayons would react, would the black show through? Would the pearl stay 'pearly' even when water is added? Would the crayons mix and layer over each other? So many questions!  Let's get started and I'll try to answer these questions and more...

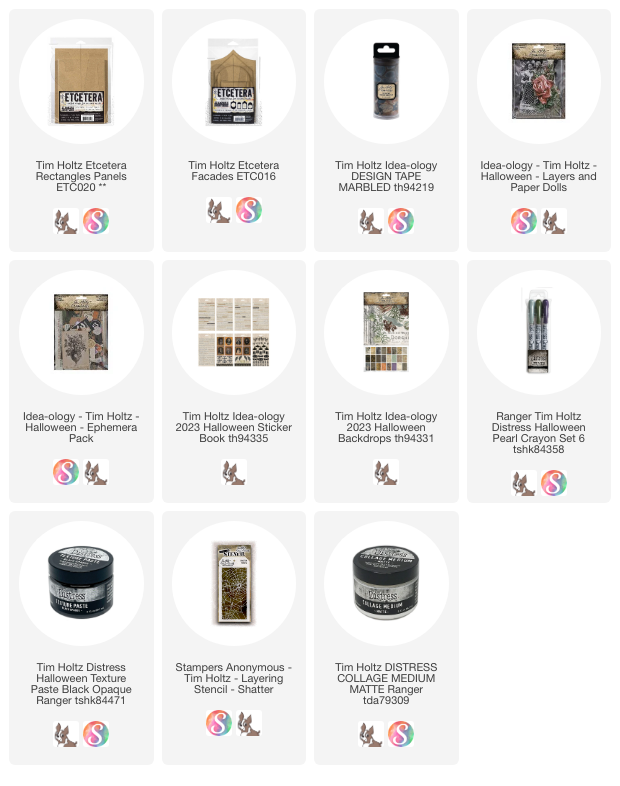
I'm using the larger of the two rectangle Etcetera Panels for the background.  I used Collage Medium to add one of the Halloween Backdrop papers to the panel.  I also added a layer of CM over the top to seal the paper. This will allow me to add the Pearl Crayons once the CM is completely dry.
The crayons are new so they are really soft and creamy. They go on quite easily and its easy to manipulate with your fingertip or a brush.
I kept the background light since the Facade is going to be darker.
Next up, the Facade.  This is the shield shape with the big circle that I used in yesterday's project.
I used black Texture Paste through the 'Shatter' Layering Stencil to create this background.  I let the paste dry for about 30 minutes before moving to the next step.
*remember to wash the stencil and palette knife right away or at least place it in a tub of water.
Once dry, I spread a thin layer of Collage Medium over the entire surface to seal. 
You might ask, why add Collage Medium? 
Well, I want to add Crayon + water and I know that water is an enemy to hardboard,  If you were to leave a wet wipe on a piece of hardboard, it would swell up/lift where the water meets the surface.  I didn't want that to happen so I sealed the board with Collage Medium to avoid this.

This photo was taken when the CM was still wet so it is shiny. As soon as it dries, it will have a matte finish.
So once the Collage Medium was dry, I started scribbling over the Facade with the Distress Pearl Crayons. I would scribble, then rub it into crevasses left by the stencil. I also sprayed it with water, dabbing off the excess, drying and adding more color where I wanted it.  The colors worked beautifully together, layering over one another. I love that because of the crayon size you can get right into tight spots again and again to add as much as you want.
It was a layering process that took me about 15 minutes. I just repeatedly scribbled, rubbed, spritzed, and dried. I even used a wet wipe to pull back some of the top color over the paste. I think drying with a heat tool between layers helped the process. I also love how the black of the paste still comes through the pearl of the crayon.

After drying for one last time, I turned it over to add the risers that come with the Facades pack.
I added the Facade + a circle from the Layers pack to the center of the Panel with Collage Medium.
I love our Marble Tape but it wide!  So I cut a strip the length of each side of the panel, then tore in right down the center.  I added the tape to the raw side of the panel, then folded the ripped edge over the top of the panel as shown. Repeating on each side then burnish with a bone folder.
Next I added a Paper Doll from the Halloween Layers + Paper Doll pack. 
Here is a list of the steps:
  1. Color the dress with Specimen Pearl Crayon. Because I wanted to sew across the dress and these crayons are new and creamy, I decided to spray the Paper Doll with a Fixative Spray (buy at craft store) before I stitched.
  2. Stitch across the dress leaving the strings long.
  3. Add the witch hat and mask from the Sticker Book + bat wings from the Layers pack.
  4. The Paper Doll is sitting quite aways from the back of the panel. I needed something to prop her up, so I used a bingo chip with an added foam square.  That gave me the right depth for her to appear to be sitting on a ledge.
  5. Yet another bingo chip is behind the 13 circle (ephemera pack), that slips in under her elbow.
  6. The owl was added using thin foam squares.
  7. Spray Mummy Cloth with any color Spray Stain (I chose Speckled Egg and Antique Linen). Cut off small pieces and use tweezers to add them next to the girl for some texture.
Add chipboard to the back of the 'SHAKE WELL' ephemera. Then use Collage Medium to secure to the top of the Facade.
Words from the Halloween Sticker book appear at the bottom of the Facade.

You could display on an easel or you could drill holes at the top corners and string black ribbon for hanging. Either way would work!
I hope you will give this technique of using Distress Pearl Crayons over black Texture Paste a go! The Pearl Crayons are absolutely beautiful over the black! And even better in person than here on the screen.  Now I'm off to work on another tutorial for the end of the week.  See you soon!

now carry on,
paula

Tuesday, February 23, 2016

Tissue Wrap Experimentation

Hi everyone!  I'm here sharing a fun project today based on one I did previously.  I wanted to translate the basic idea of first project to a smaller format, that being the new Framed Panel. 

I used Collage Medium to adhere Correspondence paper to the back of the panel (remember the Framed Panel comes in two pieces) and let it dry. Collage Medium has a very short drying window - perfect for small collages like this one. 

When glancing at this piece you might think that I stamped all the black images, like the map at the top or the word airmail.  Well, the answer is yes, I did stamp all the images.  But what you probably wouldn’t have figured out is that I stamped the images on the new blank Tissue Wrap.  It is a translucent paper that can be adhered to a surface using Collage Medium or Multi Medium.
So why would I want to do that when I could have just stamped the images directly?  Let me explain.
  
When I’m working on a mixed media piece, I’m usually using some kind of glue like Collage Medium or Multi Medium.  If you have ever tried stamping directly on the surface it can be challenge to get a good image in one try compounded by the dry time even when you have chosen the right ink.  Using the Tissue Wrap gives piece of mind because you know whether or not the image is good before you adhere it.  I have found that using it over a light printed background works best to give the illusion that it is a stamped image.  I added all the images using Collage Medium (over and under each image) rubbing with my fingertip to, for lack of a better term, “embed” the image.

As a little experiment, I decided to try printing directly on the Tissue Wrap.  I have always wanted to be able to add personal quotes to art pieces.
Here is how I did it...Use a word processing program to type and ultimately print your chosen words (must be a laser copy not an ink jet).   My quote for this piece was, “we are all in this together”.  Once you have your printed document, use washi tape or blue painters tape to adhere the Tissue Wrap over the words.  It does not have to be straight as you will eventually cut the words out.  Now just send the document back through the printer so it prints in the same place as the first time.  Just that easy.
 
The rest of the piece was finished with Photobooth pictures, Remnant Rubs and Vial Labels.   The Photobooth photos were chosen because they represent a child, a teenager, and a woman.  All stages of life.  I tried my best to match the words found on each picture with each stage of life shown.

The last step was to hammer in the tacks and add the red string.  I have always loved the idea of the red string, first using it in a journal project back in 2007.  It continues to appear in my work as I love the idea of connecting images or thoughts the way past, present and future work together to create our life. 
I also used the Walnut Stain Distress Crayon to distress around each photo.  I found it very easy to smudge the crayon since the paper was coated with Collage Medium. 

It was nice to share my thoughts about this piece.  I hope you try the new Tissue Wrap.  It was one of my favorite products of the 2016 idea-ology release, hope you can see why!
now carry on,
paula