Hello friends,
So glad to be back today to share the small book I created using Prize Ribbon (and a few other colors). After the live on Saturday I got so many emails and DM's about this little book, wondering if I was going to post the photos. Well, the answer is yes! I am happy to share how easy it was to make. Follow along and I'll share all the details.
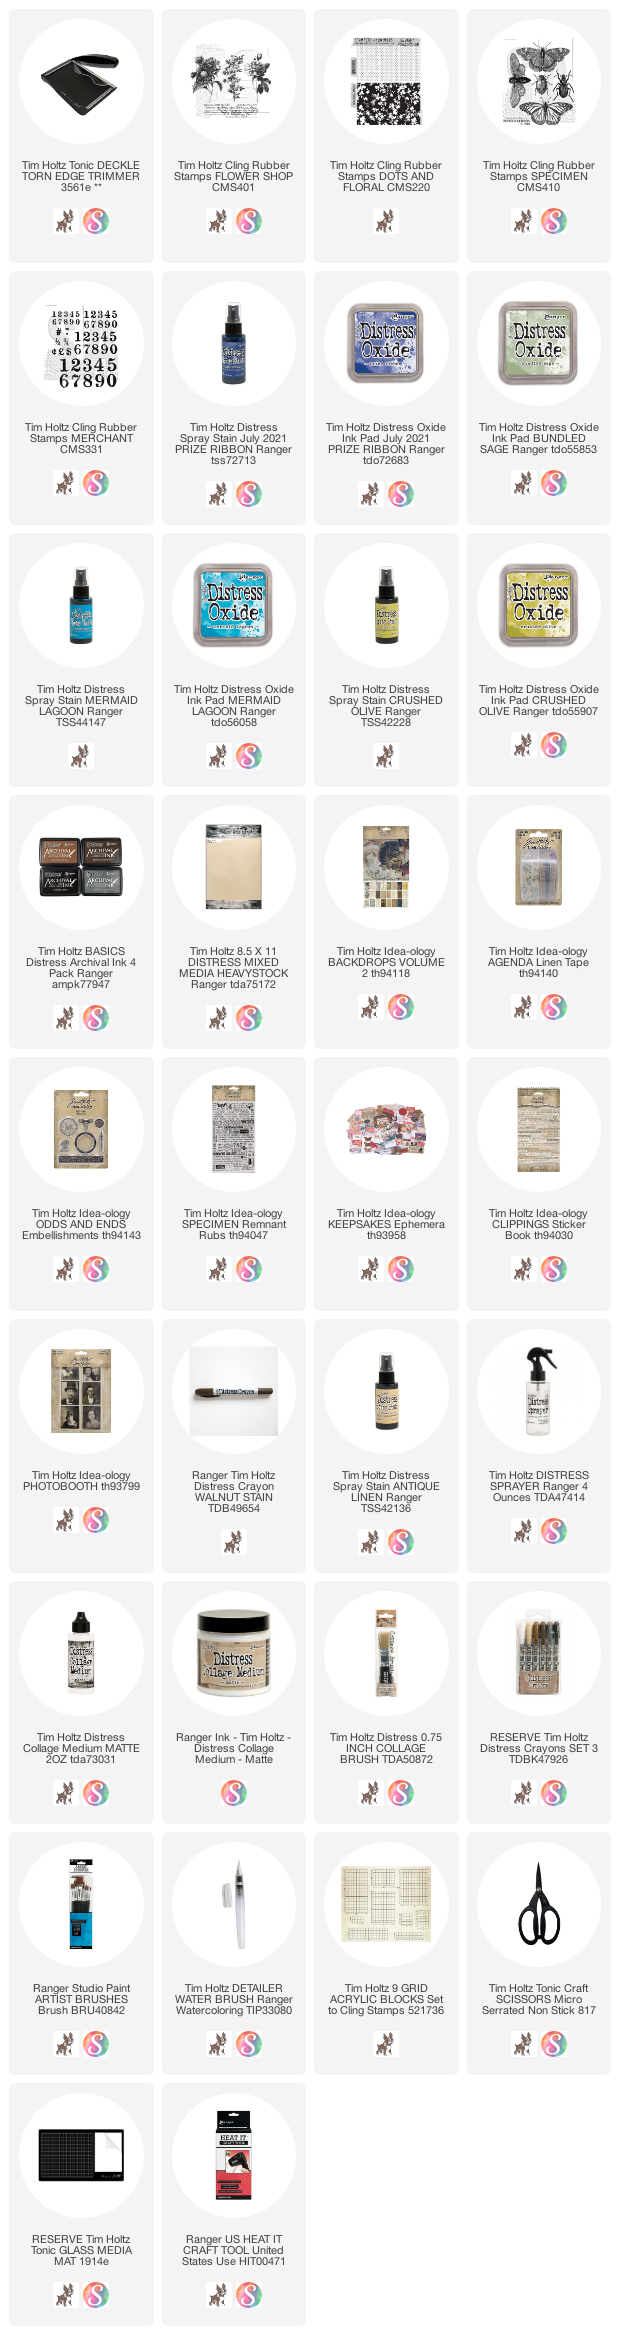
PAPER: Distress Mixed Media Heavystock 8.5 x 11"
STAMPS: I used four stamp sets to create the book,
Specimen, Mercantile, Flower Shop and the polka dots from Dots & Floral. INK: Distress Archival for the numbers - Hickory Smoke and Ground Espresso. Distress Oxide, Bundled Sage - background stamping - text and polka dots and Prize Ribbon, Mermaid Lagoon, and Crushed Olive for the bugs and butterflies.
COVER: Distress Spray Stain in
Prize Ribbon, Mermaid Lagoon, and Crushed Olive + Resist Spray.

You really can make this book any size you want and with as many pages as you want. I cut 3 pieces of Distress Mixed Media cardstock (8.x 11") in half, so I had 6 pieces at 5.5 x 8.5" each. I used 1 piece for the cover (
set aside for now), 4 pieces for the book, and the last piece I used for testing color combinations in the stamping process.
Starting with the 4 pieces that will make up the book. I sprayed each piece, front and back, with Distress Spray Stain Antique Linen, wiping away the heavy dots with a paper towel.
Once dry, I stamped with the always subtle, Bundled Sage Oxide. I love this color of Distress because it plays well with other bolder colors and it is always great in the background. I stamped at random, using a Stampers Anonymous Grid Block, on the front and back of each card. I did go back and stamp a few more times to fill in some holes later on in the process.
Once the 4 pieces of paper were stamped, I put them together to make 2 signatures (no sewing yet). Meaning that two pieces will be layered together and sewn to the cover (signature 1) and then a second set will be sewn next to it. (signature 2). Right now, with only the first layers of stamping, it does not matter the order of the pages. I did not take pictures of this process but it is similar to how I created the Salvaged Patina Fabric Book which you can review
here.
DECKLE CUTTER
Once I finished the first layer of stamping, I had the idea to use the Deckle Trimmer to cut the left and right side of each of the 4 papers (I did not cut the paper set aside for the cover). I cut off 1/2 "- 3/4" of each edge making the pages shorter than that cover. This worked out well because I was able to eventually add page tabs without them sticking out of the finished book. There was no system, other than I wanted the pages to be different widths throughout the book.
Next up is the
Specimen stamp. I used three colors of Oxide Ink - Mermaid Lagoon, Prize Ribbon and Crushed Olive. I placed the stamp on the Grid Block then pressed the ink pads over the stamp in random areas. Oxide Ink is pigmented so you can see exactly where the ink is on the stamp. I tried to keep the ink in its true color but you can see where the ink has mixed to create a kind of green. If you are worried about contaminating your ink pads, don't. When you are done
(or even in the middle), just wipe the top of the pad on a paper towel and it will go back to the true color. It might leave some residue but it won't ruin the pad. Once the stamp was inked,
spritz with water and stamp the paper to get that watercolor look. This is where that piece of excess paper came in. I was able to test the color combo...too much blue? too much green? too much water? All those things were answered by using the leftover piece of Heavystock. And remember, Oxide Ink stays wet longer so be sure to dry with a heat tool and set to the side till it's dry enough to not come off on your hands.
TIP: I have many images running off the paper edge, so I used a piece of scrap computer paper underneath to absorb any excess stamping. This helps keep the work surface clean which is beneficial since you are stamping both sides of the paper.
The numbers from the Merchant stamp are easy to use by lining them up on the Grid Blocks and then stamping in a line. I love how Archival Hickory Smoke looks with the bright blue and turquoise.
The last stamping is the polka dots. This was done without a Grid Block so I could press as much or as little of the polka dots onto the surface of the card. It's a great stamp to fill in any gaps or give interest to a neglected area.
I am going to talk about the pages before I talk about the cover so keep reading!
Most of the ephemera found in the book is from the Keepsakes Ephemera pack. It is added at random throughout the book and used as page tabs too. Words are from the Clippings Sticker Book. This page says, "When the road is long just hold on, together we will sit a rest". Making a phrase like this using different strips of words is honestly my favorite part of the making process. I never add the words till the very end, preferring to make the art, then find the words to bring forth meaning of what I made.
The inside of the cover is paper from Backdrops, Volume 1.
The circle is hand drawn with a Stabillo Pencil, then spritzed with water. The Photobooth has been tinted with Distress Crayons and taped to the page with floral Linen Tape.
I had some cheesecloth on my desk (I always do) and I decided to add it to the page with heavy thread.
More of the same...
Label Tape + Photobooth + Clippings Stickers
There was some exposed stitching from when I sewed a piece of ephemera to the other side of the page. The stitching went right over the stamped moth so I decided to make it a feature instead of being embarrassed by it. I just added a idea-ology Mini Pin and clover from Adornment Treasures.
NOTE: You can see here how the pages are cut with the Deckle Trimmer at different lengths. I can't tell you how much I love these big numbers!!
The blue ephemera piece is held on to the page with an idea-ology Tiny Clip at the top, I also tucked a little cheesecloth under the clip to keep that texture theme going.
So this is where you can see the two sections or signatures of the book: the last page of the first signature and the first page of the second signature.
The card from the Keepsakes pack was sewn on to the page and then the Photobooth was stapled to the card. Absolutely one of my favorite Photobooth photos! He is beyond cool.
More bugs and numbers and Linen Tape.
This little metal button is part of the the Odds and Ends Pack. I thought it worked on this page tab of folded ephemera. I stapled it to the page then added the Linen Tape for continuity.

As you know, I love tinting idea-ology photos of any kind. Here, Brushed Corduroy Distress Crayon was used for his sweater.

Sometimes I struggle to know what to do with the last page. I never want it to look like an afterthought! This time I simply stapled a card to the top (I pressed the card into Prize Ribbon Spray Stain and dried it before stapling to the book). I added a few small pieces of ephemera...
Then hid the picture underneath. I'm lucky enough to have this Photobooth of my dad included in the set. That normally does not happen, so I always love to use his photo from 1944 and I love when I see others use it. Hence the clipping sticker was chosen particularly for him.
So lets talk about the cover. I didn't take photos when I made it. That happens when my work day runs into the night time hours. But here is what I did:
- Spray the three main colors, Prize Ribbon, Mermaid Lagoon, and Crushed Olive Distress Spray Stain (you could also use ink pads) onto a craft sheet.
- Spritz the ink with a small amount of water, then repeated press the precut Heavystock cover paper into the ink. Dry with a heat tool in between each pressing until you are satisfied with the look. At first I thought I had too much Crushed Olive (it can take over quickly) but once the card was folded it was just enough for the front cover.
- Stamp the large Specimen butterfly on the right side of the cover with permanent Black Soot Archival Ink.
- Place the cover card into the Splat Box and spray over inked surface with Distress Resist Spray. I gave mine a good spray but not so much it was dripping. Dry with a heat tool. This step will create a clear, pebbly, shiny surface over the ink, bringing a brightness to the colors (tip...it is not good to set your iphone even near the splat box when spraying...just saying). PLEASE NOTE: When using Resist Spray you must clear the nozzle when you finished using it or it will dry and clog. To do this, fill a disposable cup (my cup is marked and kept in the craft room so I can reuse it over and over) with hot water. Unscrew the nozzle from the bottle and place the nozzle into hot water. Repeatedly spray the hot water through the nozzle till the water becomes clear. The trick is that you need to spray the water into a garbage can or into another plastic cup, etc. The spray water has the Resist Spray particles in it and if you spray it into the sink, even with running water, you risk having the particles stick to the sink. Trust me I know and please don't mention to my husband why exactly the bathroom sink is not smooth anymore. ACK!
- Once the paper is dry, I sewed the cover and a piece of paper from Backdrops Volume 1 together creating the heavy duty cover.
- Once you have a cover, layer two stamped papers together to create Signature one and two more to create Signature two. Sew each signature to the center of the book following the fold line
- Prize Ribbon and a bit of Crushed Olive Distress Spray Stain were used to color the seam binding. Just spray the ribbon, add water and dry.
The small blue sticker is from the idea-ology Label Stickers pack and the words Field Notes and number 19 are from the Remnant Rubs.
You can see in this photo that I added an eyelet to the back cover to the tie the ribbon to. Then just wrapped it around the book and tied a bow.
I hope you liked the book! I had a wonderful time making it - Prize Ribbon works so well with the other colors that it was a joy to make the blend of blues and greens.
now carry on,
paula