Hello Friends!
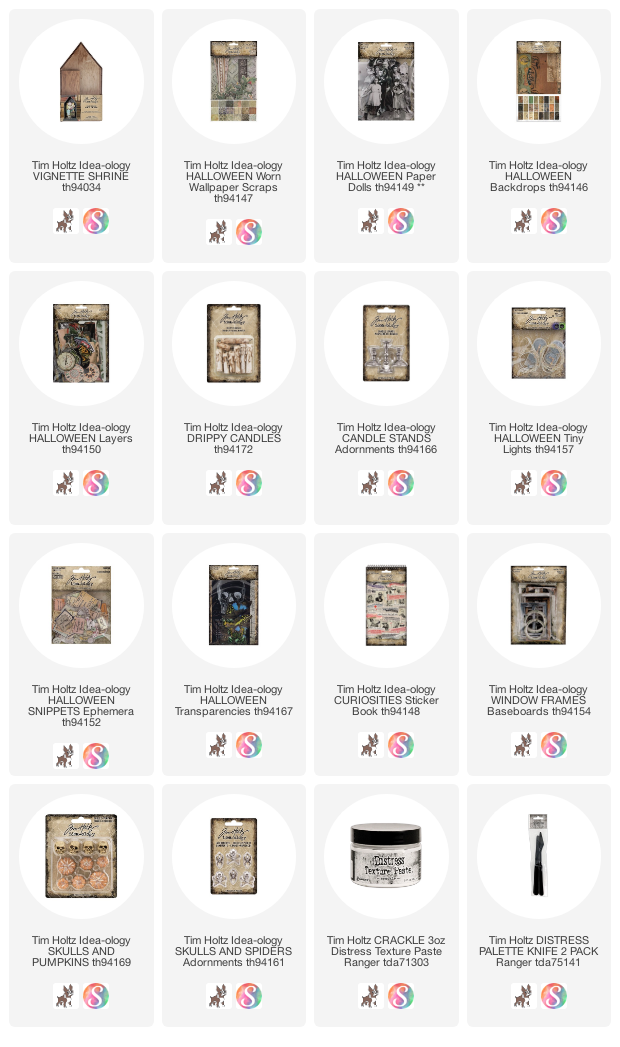
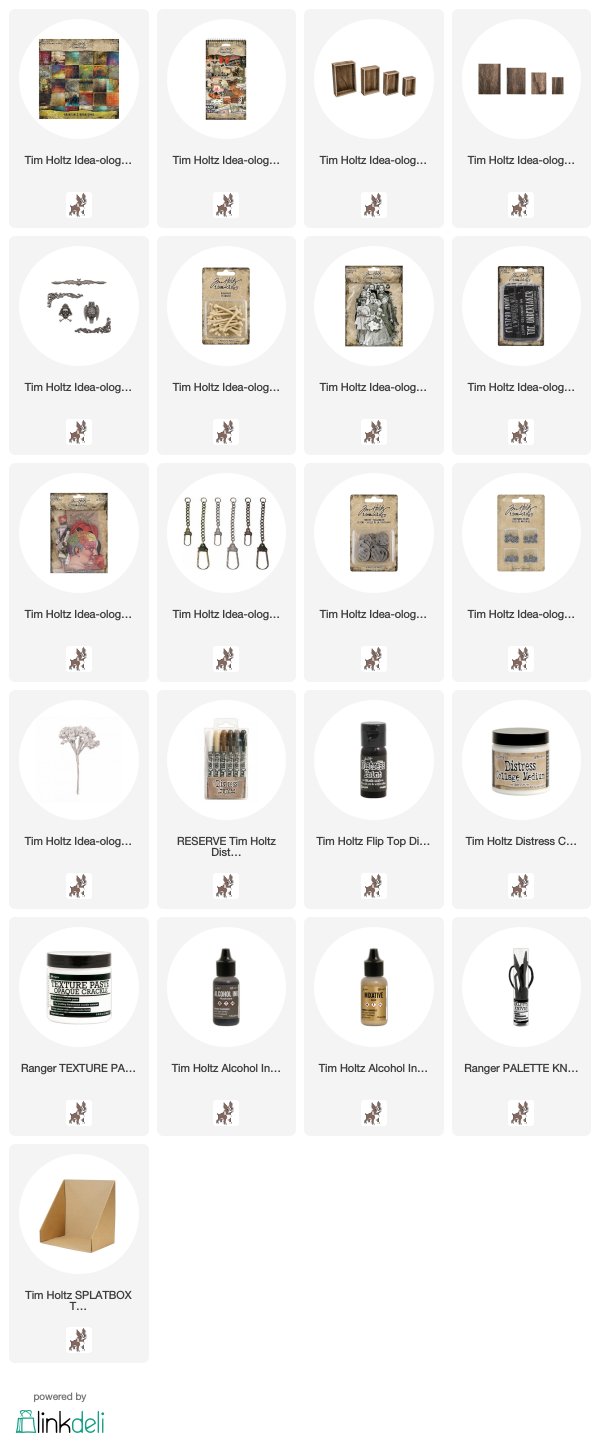
Time is getting away from me so I better get in the last few Halloween projects before the 31st arrives! Today I am sharing an idea-ology Shrine project I created using the Halloween Paper Dolls, Baseboard Windows and Layers Ephemera. Follow along and I'll show you how I did it!

I covered the inside and the front lip edge of the Shrine with Worn Wallpaper Halloween - you don't see much of it once the frame goes in, but it does look like old ripped wallpaper. The outside was covered with a woodgrain from the Backdrops Halloween pack (you will see that later in the making process).
I drilled a hold in the back of the Shrine (or you could use an awl and hammer) for the Halloween Tiny Lights. I pulled the lights all the way through to the front and loosely wound them in an oval shape. You will need to use hot glue to keep the wire in place.

 I wanted the frame to sit out, away from the lights, so I added a double stack of tiny wood blocks. You could also cut a dowel to use instead of the blocks. I glued the blocks together with Collage Medium and then to the frame. Let it sit to dry for at least 30 minutes.


 I wanted to talk about the Distress Texture Paste - Crackle I added to the sides of the Shrine. Once I added the woodgrain Backdrops paper, I used a small Palette knife to add the paste. I let the Crackle Paste dry for 30-40 minutes then added Walnut Stain Distress Crayon over the top with a damp paint brush. What I like about using the Palette Knife is that you can add the paste as thick or thin as you want to. I also think using the Palette Knife creates a more realistic look, like real crackle that has highs and lows.

 And here is the Shrine all lit up in purple! The purple lights look amazing at night. I also love how the lights look like stars in the window! The Shrine just glows!


I drilled a hold in the back of the Shrine (or you could use an awl and hammer) for the Halloween Tiny Lights. I pulled the lights all the way through to the front and loosely wound them in an oval shape. You will need to use hot glue to keep the wire in place.

You know I LOVE the Halloween Window Frames! This one with the curved top is a favorite, not only because of the shape, but that bit of gold going around the inside edge. I used Scor-Tape to add the spiderweb transparency to the frame. It may not look transparent, but the purple light will show through perfectly.


Adhere the frame to the shrine with more Collage Medium. You will need to leave it laying on its back till the frame is securely in set in place.
The Paper Dolls from the Halloween pack are so wonderful! So many new people to tell stories about! Some are a little creepy, but most are just regular people...it's just the setting you put them in that makes them what they are.
I chose this civil war era lady because of the full skirt. I colored her dress with a Peeled Paint Distress Crayon, then rubbed away the excess till I could see the details of the dress. I added a bit of Dusty Concord which made the "stripes" in her skirt, then used my Detailer Water Brush to remove some crayon to let the dark dress underneath come through.
To add the note to her hand, I took a sharp cutting knife and cut around the hand so I could slip the tiny paper up underneath. That tiny paper comes from the Halloween Snippets pack - this is a must have product in my world. Love all the different sizes, shapes and colors of the tiny labels. It is the same pack of labels I used on the idea-ology Test Tube HERE.
NOTE: there is a 1/2" wood block at the bottom back of her skirt to stand her up. Her skirt is also glued to the left side of the Shrine, yet she appears to be standing freely.

For the spider, add thread to the loop in the spider. Even up the thread ends. Thread the two cut ends through a large needle and push the needle through the hand (from the back). The two cuts ends are tied in a bow and a dot of glue is placed on the string on the back to keep it secure. When I was completely done with the shrine, I glued the spider to her dress.

One the right side I added Drippy Candles, Candlesticks and pumpkins that I painted Iced Spruce. The shredded Mummy Cloth helps disguise the fact that I only had one Candlestick left once I got to the project! A girls gotta do, what a girls gotta do!


Thanks for stopping by to read my tutorial. I hope you will try making something with Tiny Lights - they really add a magic feeling to any project!
Now carry on,
paula