Hello Friends,
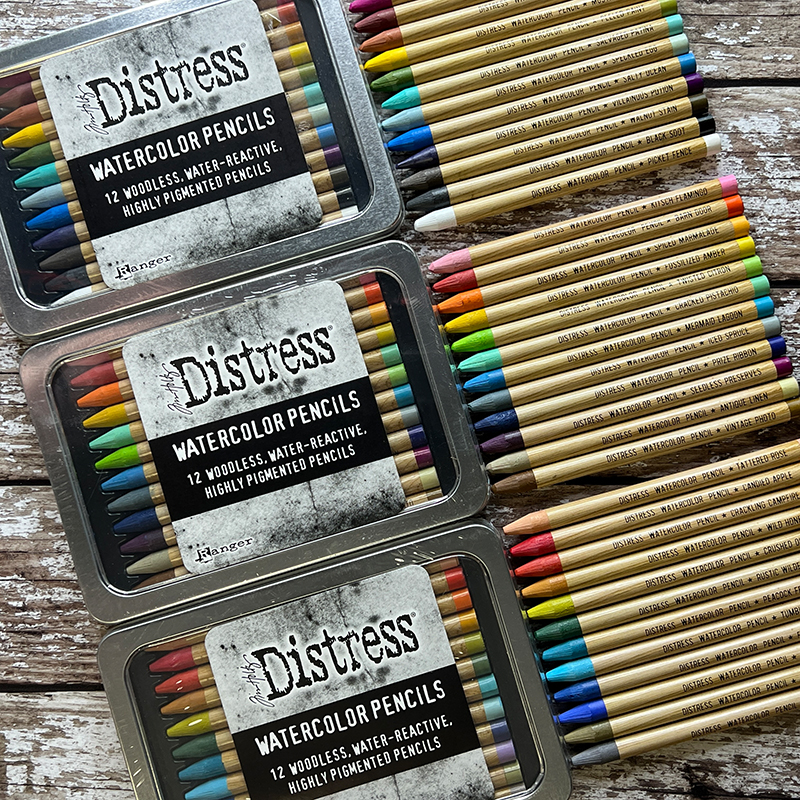
Since they were released last week, Distress Watercolor Pencils have been the talk of the town! I love when Tim adds to the Distress line because it always inspires me to try new things. Today is no exception as I test-drive the new Distress Watercolor Pencils on Paper Dolls. Warning, this post is long because there are so many way to test them out! I hope reading it will give you some tips to using the new pencils and maybe inspire you to try using them on your Paper Dolls.
For todays test-drive, I'm utilizing a pack of Halloween Paper Dolls, a Detailer Water Brush, and Distress Sprayer. I like to control the water by spritzing my glass media mat and picking up the water, rather than dispensing the water though the chamber of the Water Brush. This is a personal choice since either method works.
BASIC COLORING:
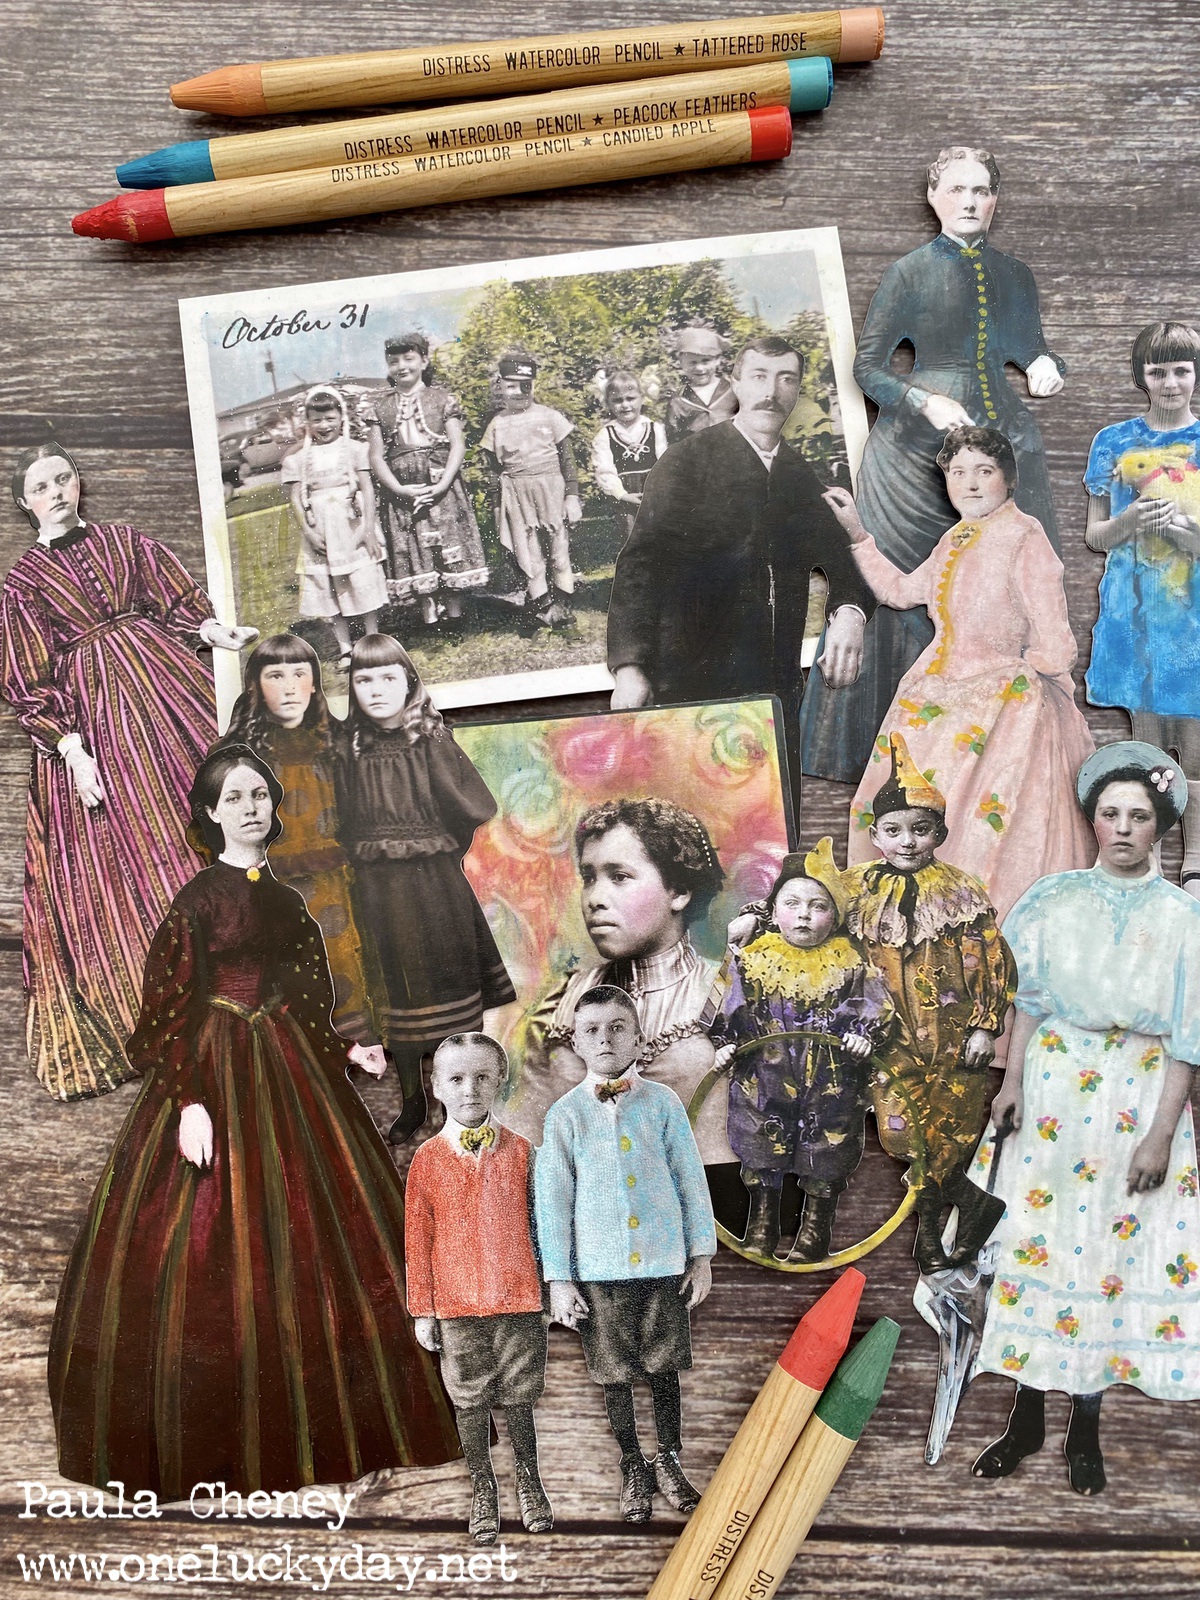
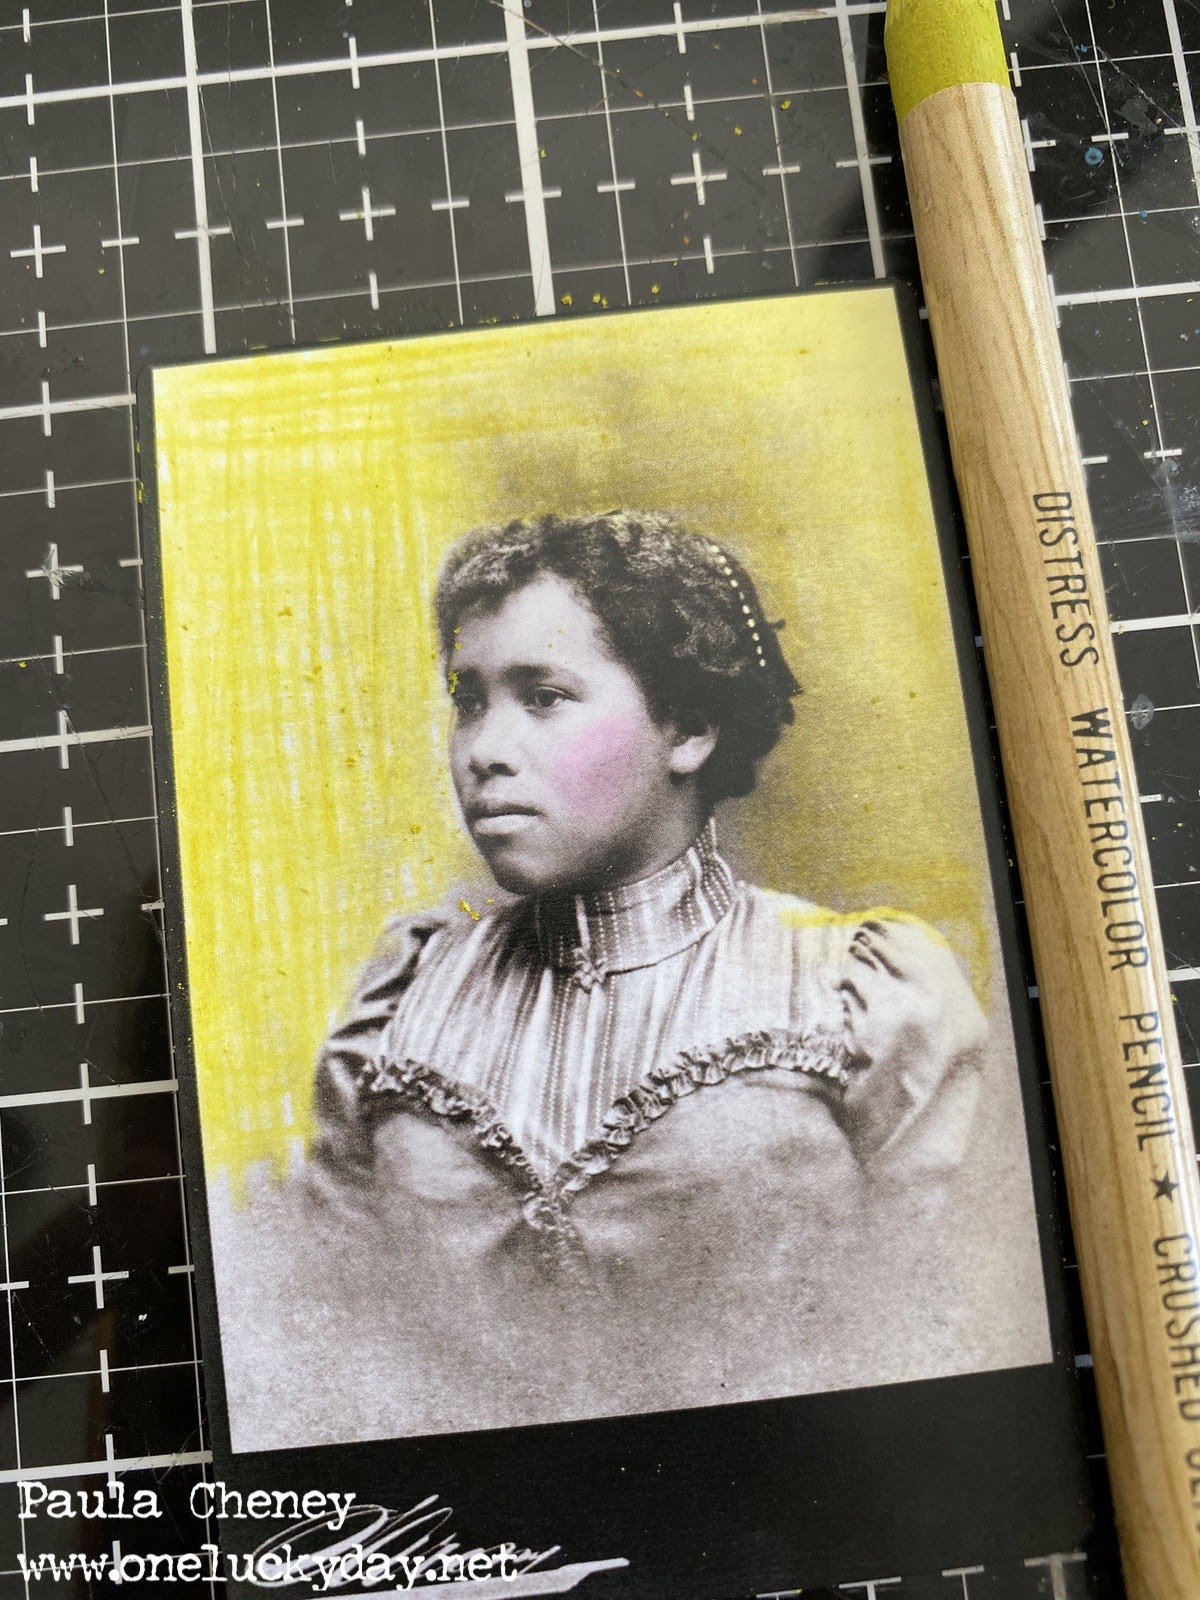
Right out of the gate, I colored in the background with the pencils, then used the Detailer Water Bush over the surface. The pencil quickly becomes liquid so it was easy to move the color around the photo background.
The pencils are easy to use directly on a Paper Doll. I like the fact that you can easily layer/build up color, like I did on the collars of the costumes. The pigment went on easy and it was easy to manipulate. Lighter colors are sometimes challenging over the dark clothing but here, Villainous Potion and Spiced Marmalade worked beautifully. FYI:
I'll talk more about pencils over dark clothing later in the post.
BLENDING:
Using the same method, I colored the dress of a Paper Doll (purposefully chosen for the stripe pattern in her dress). It was easy to color the dress with the darker Seedless Preserves, and easy to watercolor it out and blend into the bottom of the dress.
I used the Twisted Citron pencil to draw directly on the stripe pattern. You could easily keep the color in the lines with a pencil (you could not do that with a crayon).
Then blending more with the water brush over the stripes to seamlessly pull the color down the dress. The pencil easily re-wets after being dried with a heat tool and allowed the color to move.
DARK SURFACE:
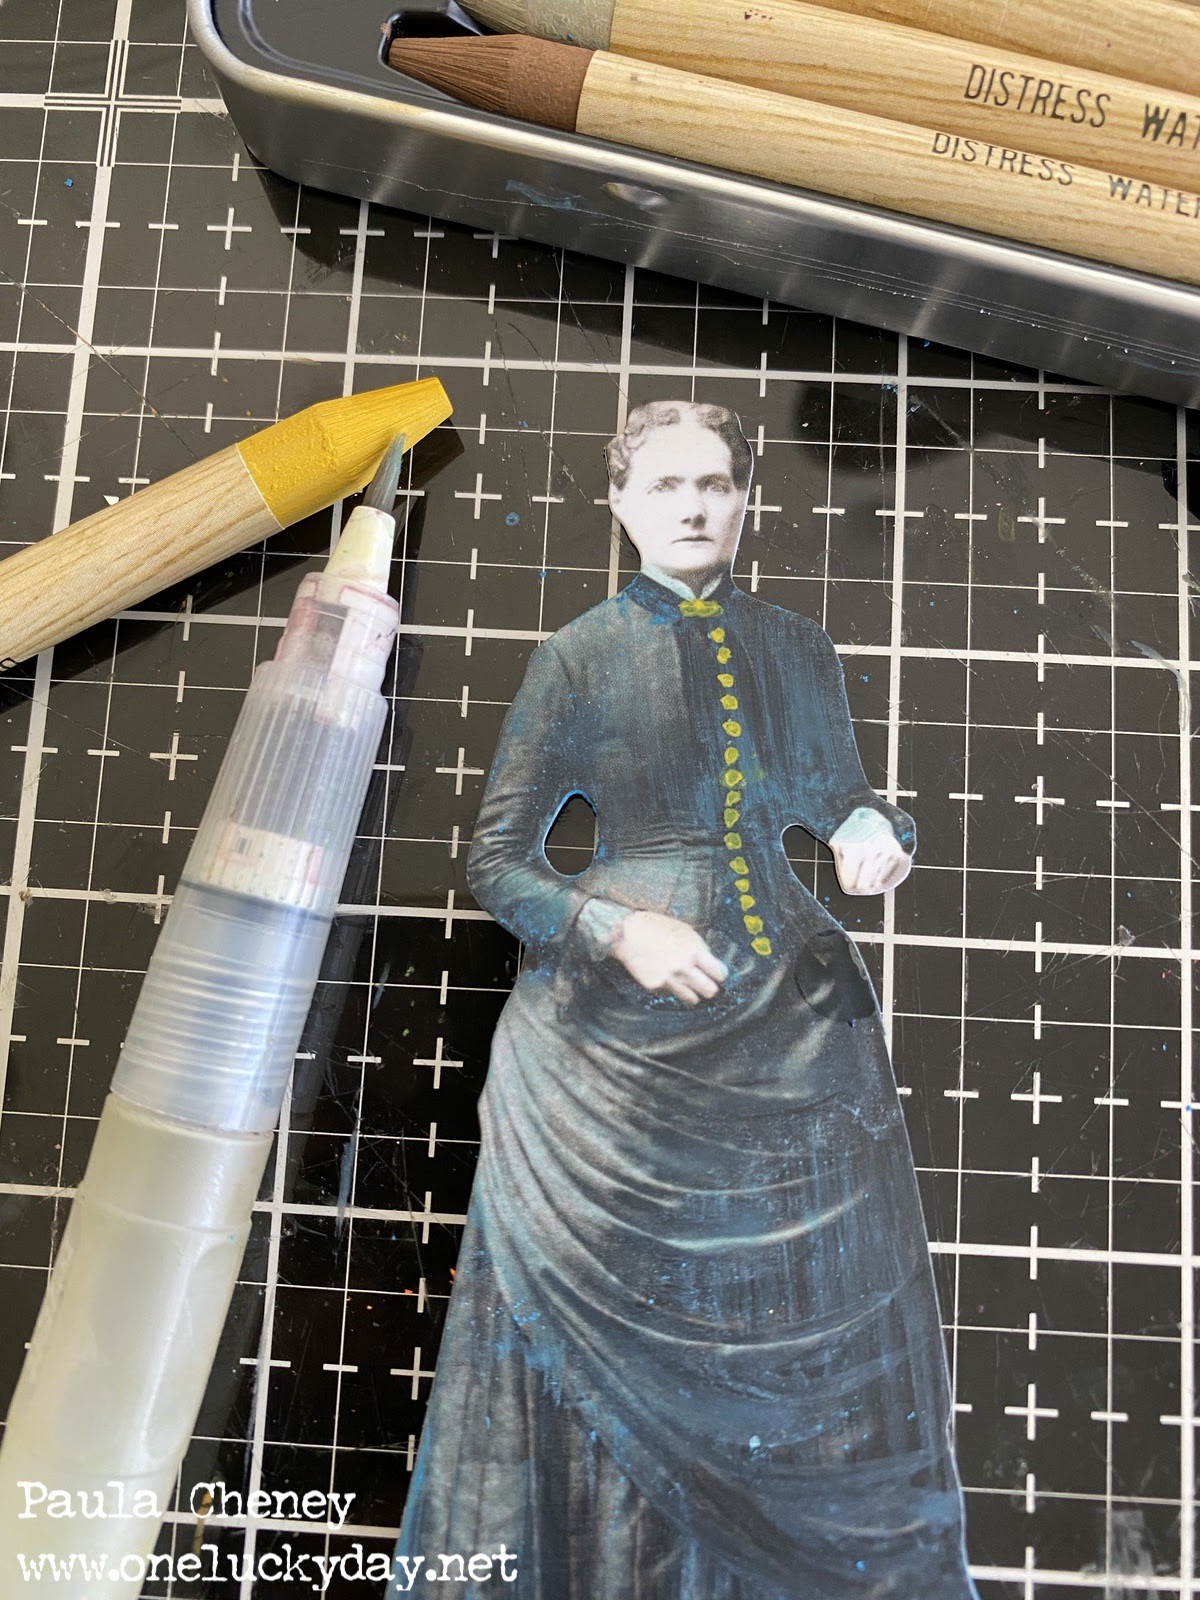
I chose a bright color to scribble directly over the dark dress of the Paper Doll. The pencil goes on as expected...with little bits of pigment remaining.
I could easily watercolor the scribble lines away, leaving an overall blue color. In person, you do not notice the lines that are left (the photo is exaggerating the texture), it just looks like an overall color, appearing very smooth in person.
I did pull pigment from the tip of the pencil to dot buttons down the front of the dress (very little water was used). I liked that the pigment stays put. When you use crayon to do this, it is sometimes hard to get the color to stay in place so this is a real plus for me.

DARK SURFACE 2:
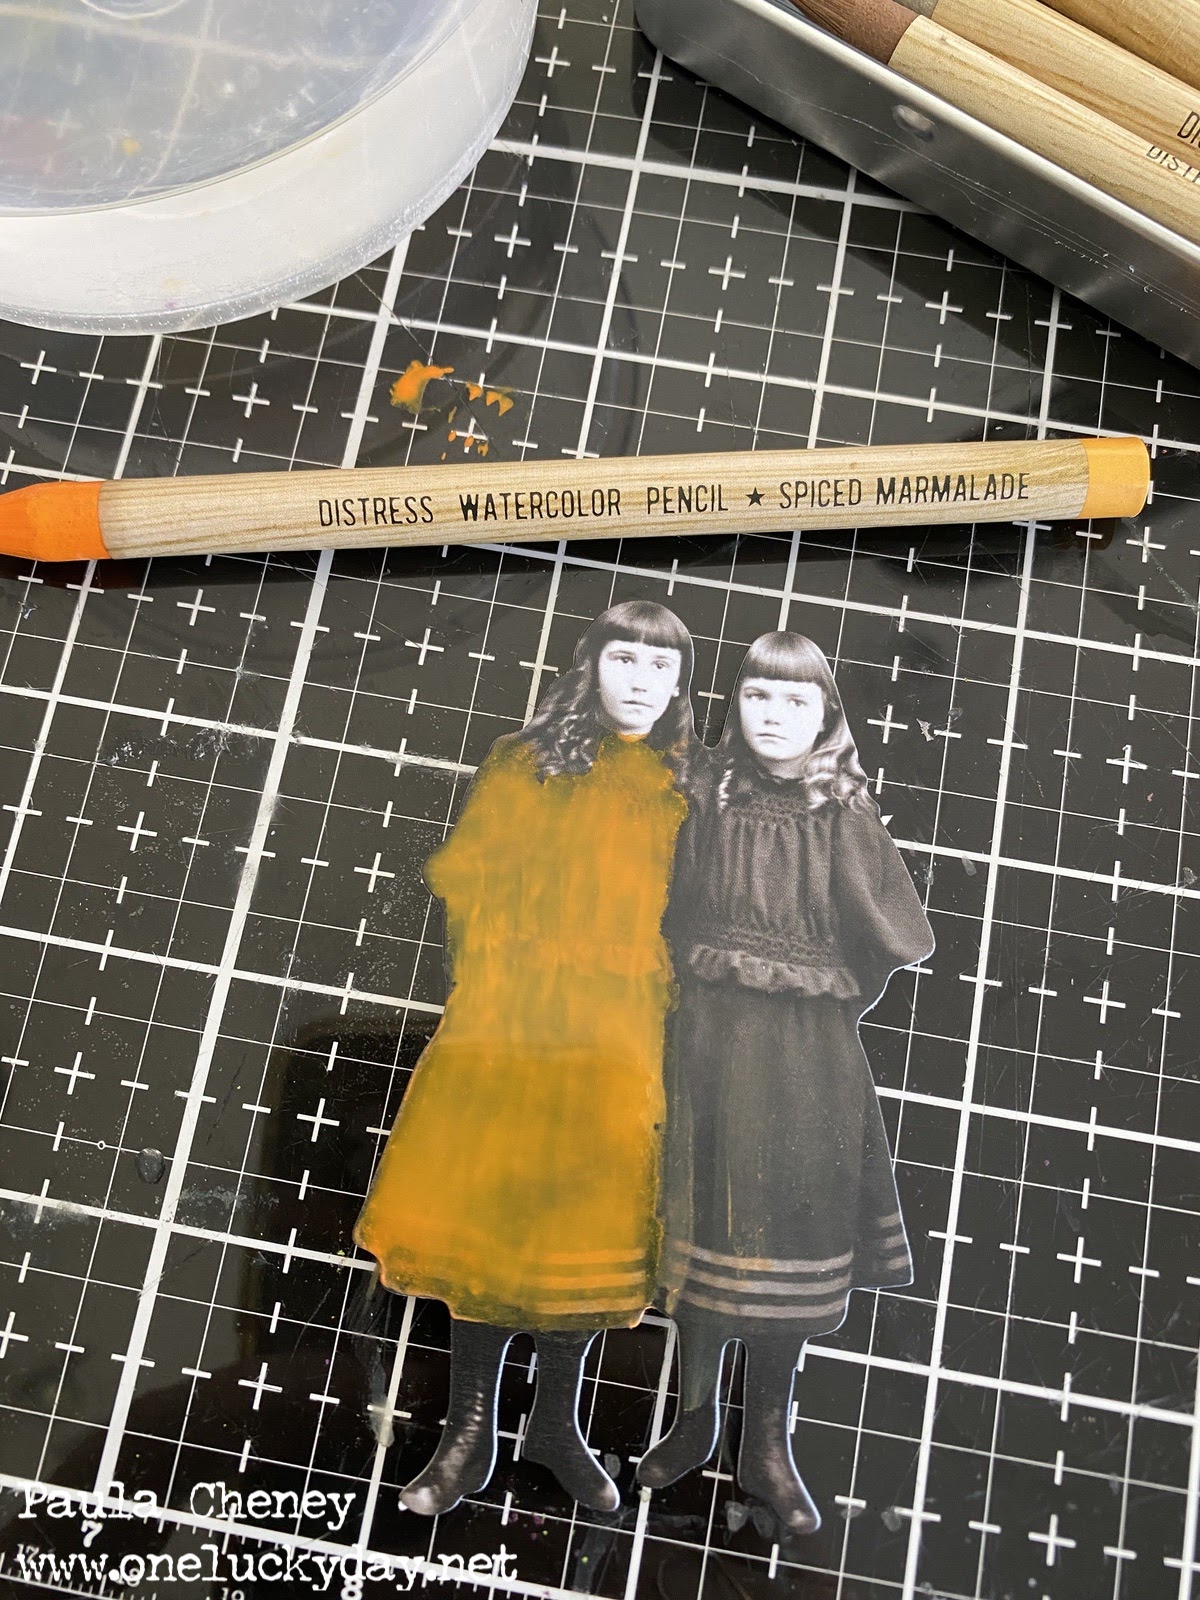
So this time, I dipped the tip of the pencil into water (maybe 10-15 seconds) to liquify the outside of the tip. This allowed me to use the stiff bristles of the water brush to pick up the color directly from the tip of the crayon. When painted over the dark dress of the Paper Doll, it sort of blends and hovers over the surface.
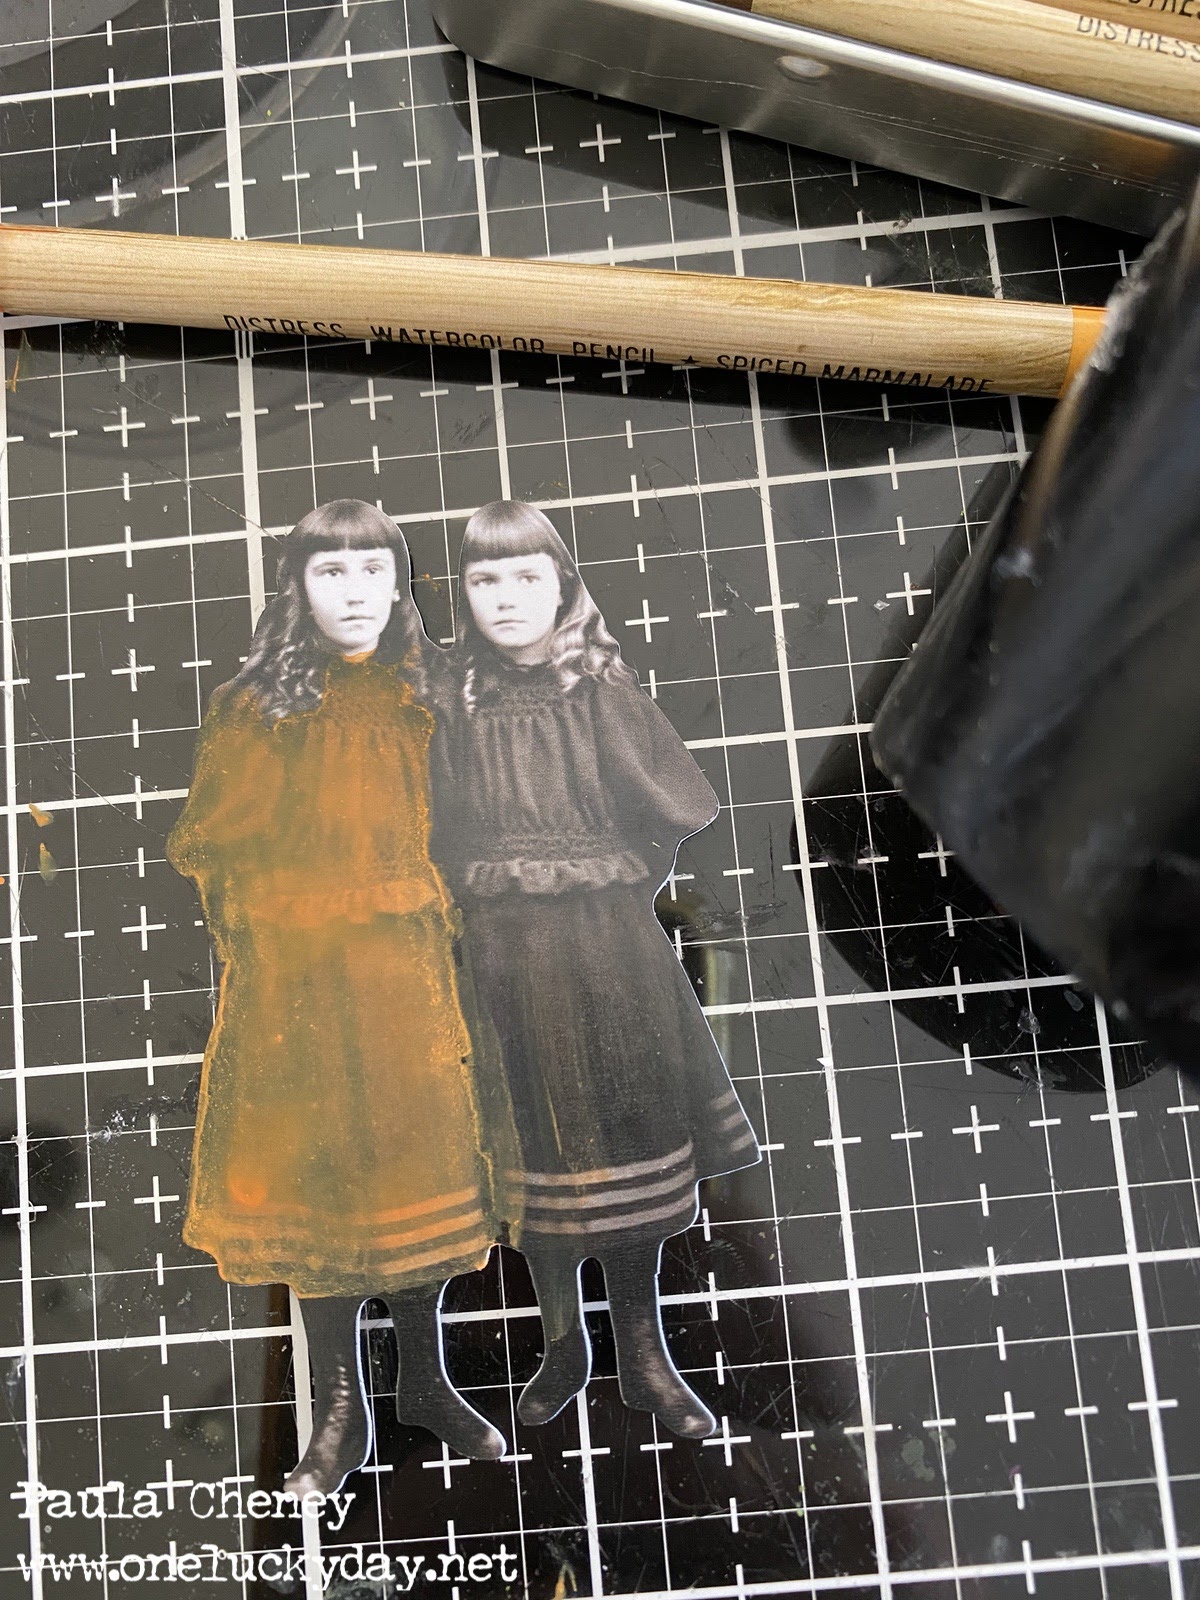
Once dried with a heat tool, the color becomes chalky in appearance (kinda like an Oxide). It retained the color in the drying process yet still allowed the dress details to come through.
When I pick the doll up, it does feel a bit chalky, but "smooth" chalky. And after rubbing it, only a slight orange color was left on my thumb. NOTE:
when I rubbed the same surface the next day, there was NO transfer of color.I wanted to add some detail to the dress. I found it was best to do that by touching the wet water brush to the tip of the pencil and adding it that way. Coloring directly over the orange with a dry pencil was not successful.
So what if I want to remove color, will that work? I used a damp cotton swab and it does remove the color but I suspect the heavily pigmented pencil leaves a slight tint to the Paper Doll surface, whereas Distress Crayons come off cleanly. All in all, the removal worked, but color may be more noticeable if the dress was white and not black.
LIGHT SURFACE:
I'm using a Kitsch Flamingo pencil for her dress. This is the first wash and it was lighter than expected after drying.
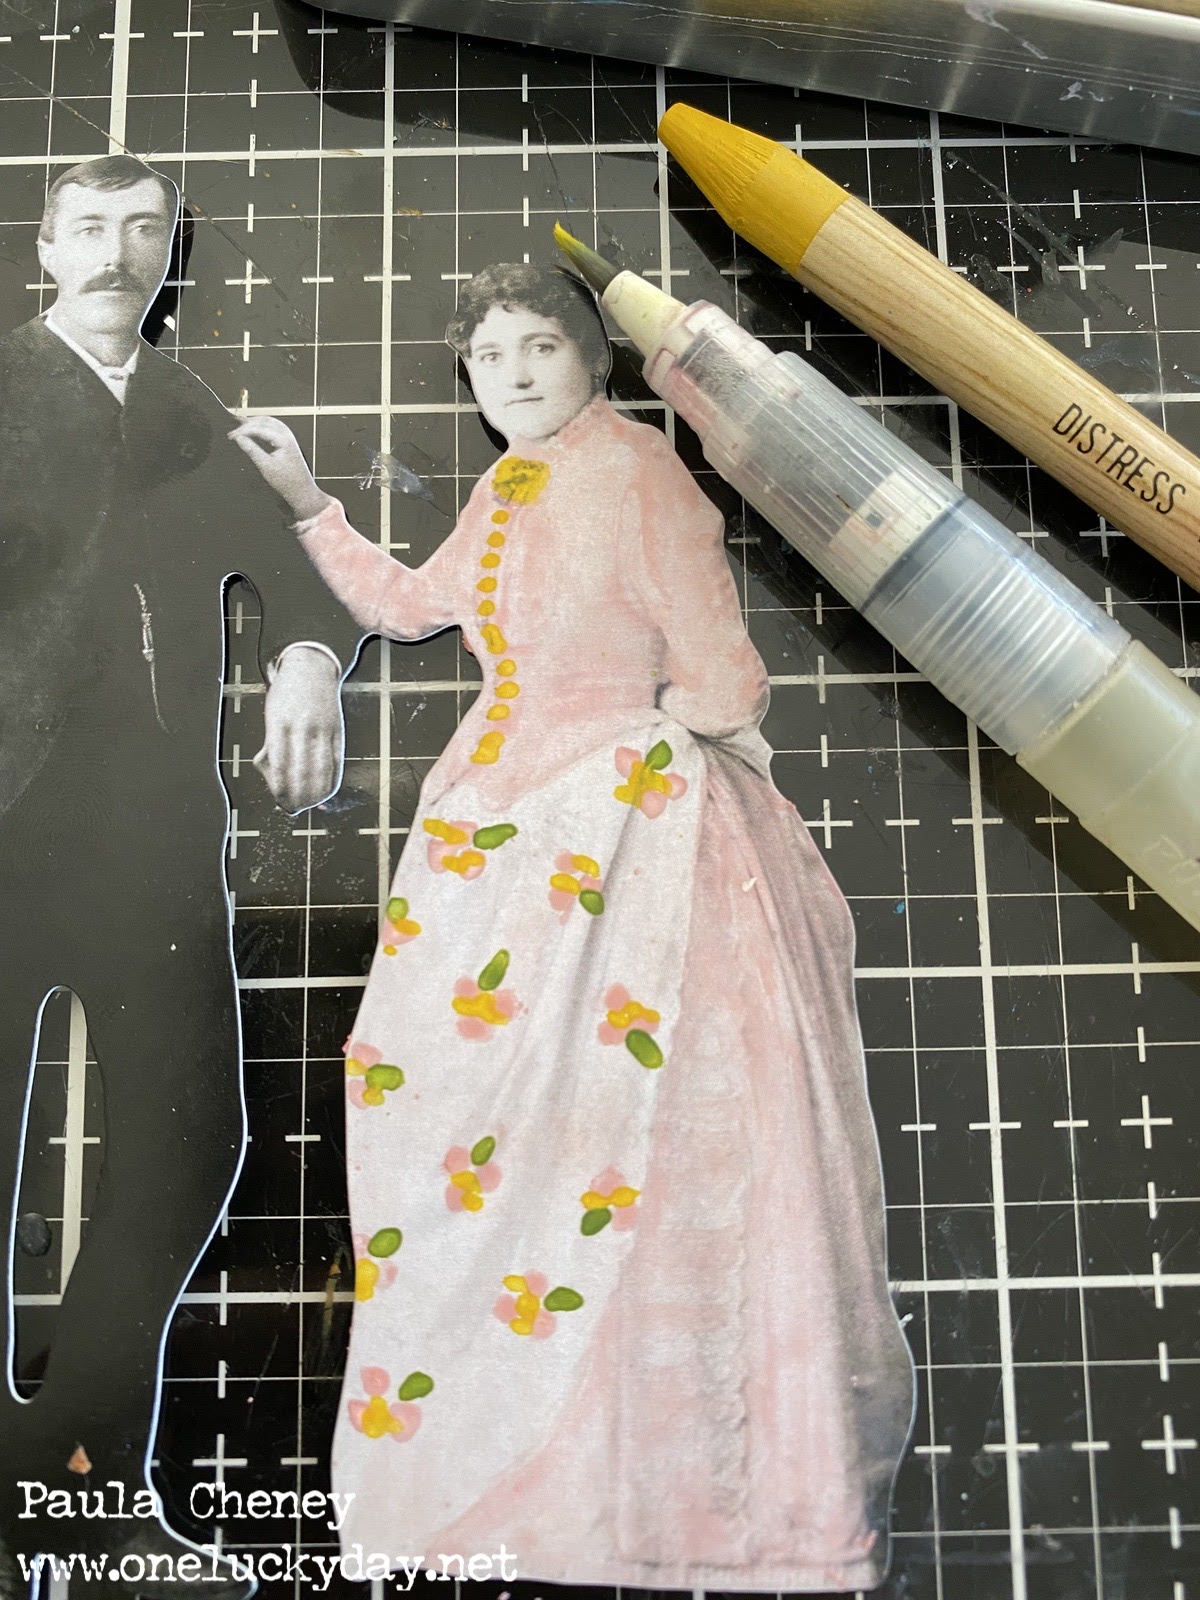
Now compare this photo with the last. I was able to add a second wash over the first and get a deeper pink. The skirt in this photo does not have the second wash and I am beginning to build a floral skirt. I used the water brush to pick up pigment from the tip of the pencil to make the dark dots. I dried with a heat tool after each color was applied.
Peeled Paint
Fossilized Amber
and Salvaged Patina
Now the wash of the pink around the flowers (sounds hard, but it wasn't).
with added Hickory Smoke for detail on the back of the skirt, sleeves and waistline.
THOUGHTS: I like how it turned out and how I could add layers of Kitsch Flamingo. When I use crayon, with this method, I always tap with my fingertip over flowers to blend the colors. Pencils did not work with this method, since the added water/pigment was removed when tapping. More on that later.
I started off by scribbling color over the background the using the Water Brush to smooth it out.
After drying with a heat tool, I scribbled on more colors.
Then dispersed the color with the water brush (that looks bad but stick with me here)
Using one of the new Halloween Mini Layering Stencils, lay stencil over the top of the card and rub away the pencil with the wet wipe. The technique works, but know that the pigment of the pencils will stain the background. When you do this with crayons, almost 100% of the color can be wiped away with the wet wipe. I think the pencils give it a softer look than crayons and since both mediums work, it will just depend on what look you are going for.
FROSTED CRYSTAL:
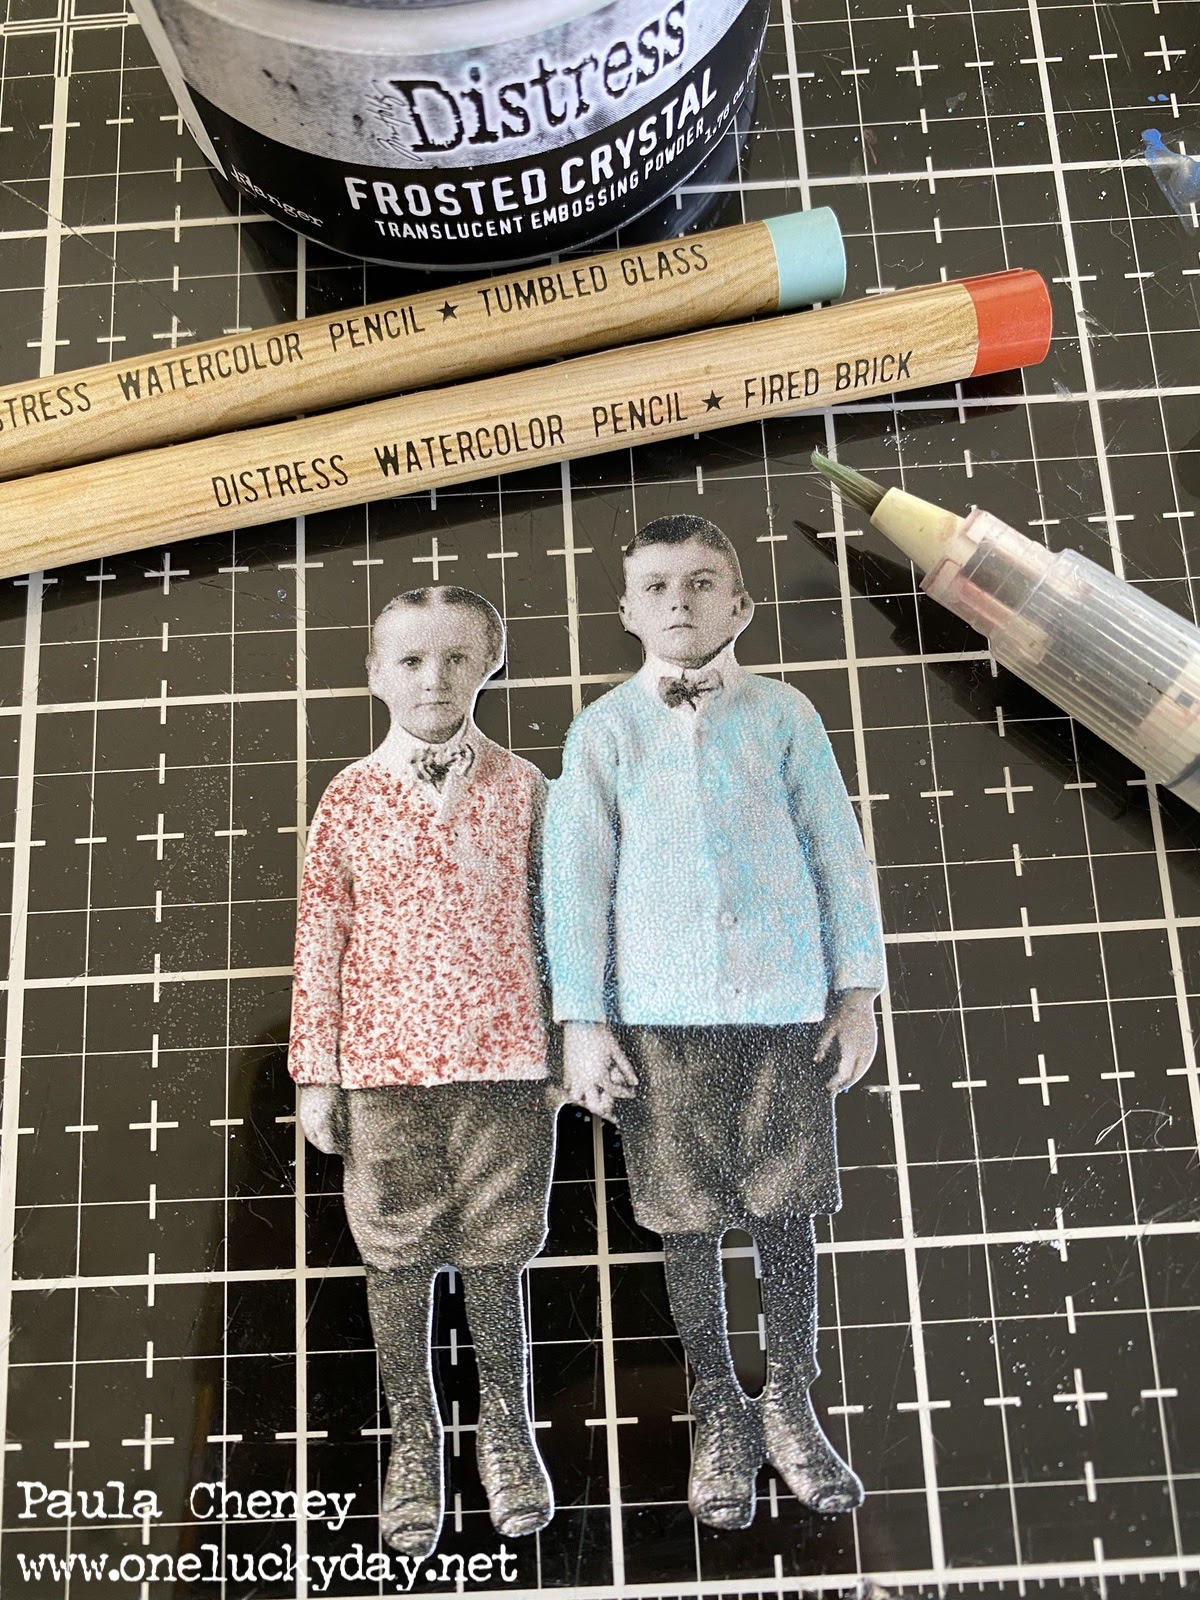
I embossed Frosted Crystal over the Paper Dolls before beginning. If you have done this before, you know that the Frosted Crystal gives the surface a textural quality (thats why it looks like its snowing on their pants - its just the light capturing the texture).
I was easily able to color over the Frosted Crystal with the pencil and use the water brush to smooth it all out.
I like the way it looks once the water brush has been used over the pencil. It colors out very easily and you can even work in some shading depending on how much water you have on your brush. I like this method (it looks much better in person).
COLLAGE MEDIUM:
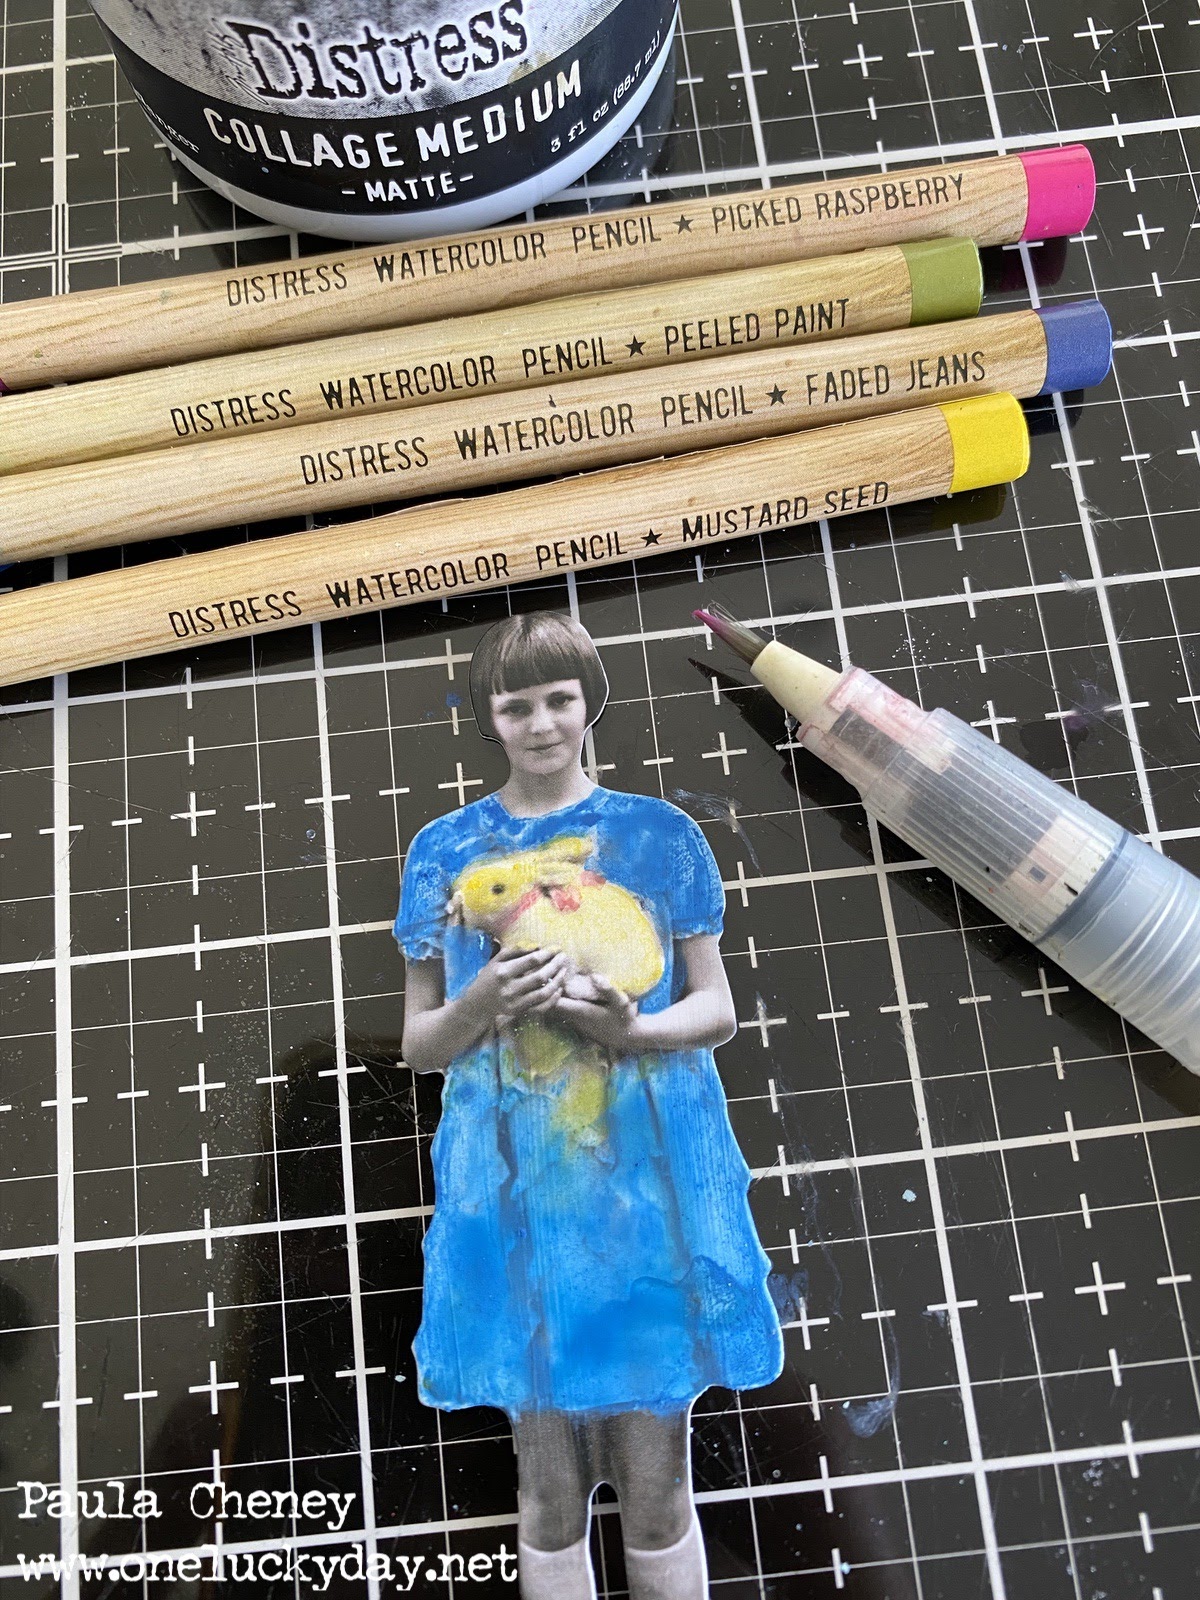
I coated the Paper Doll with Collage Medium. Not usually something you need to do as the Paper Doll already has a slick surface but I thought I would give it a go.
As you can see, I could not get a light color like Speckled Egg to even make an appearance over the CM.
So I tried with Faded Jeans, a much more pigmented color. I used the method of pick up the color from the tip of the pencil and brushing it on. That did give me great color, but I did not like the way it went on and it was hard to dry, even with a heat tool as the water just sat on the surface. I see no need to add the extra step of the Collage Medium since the result was a fail in my opinion. Moving on...
COMBINATION 1:
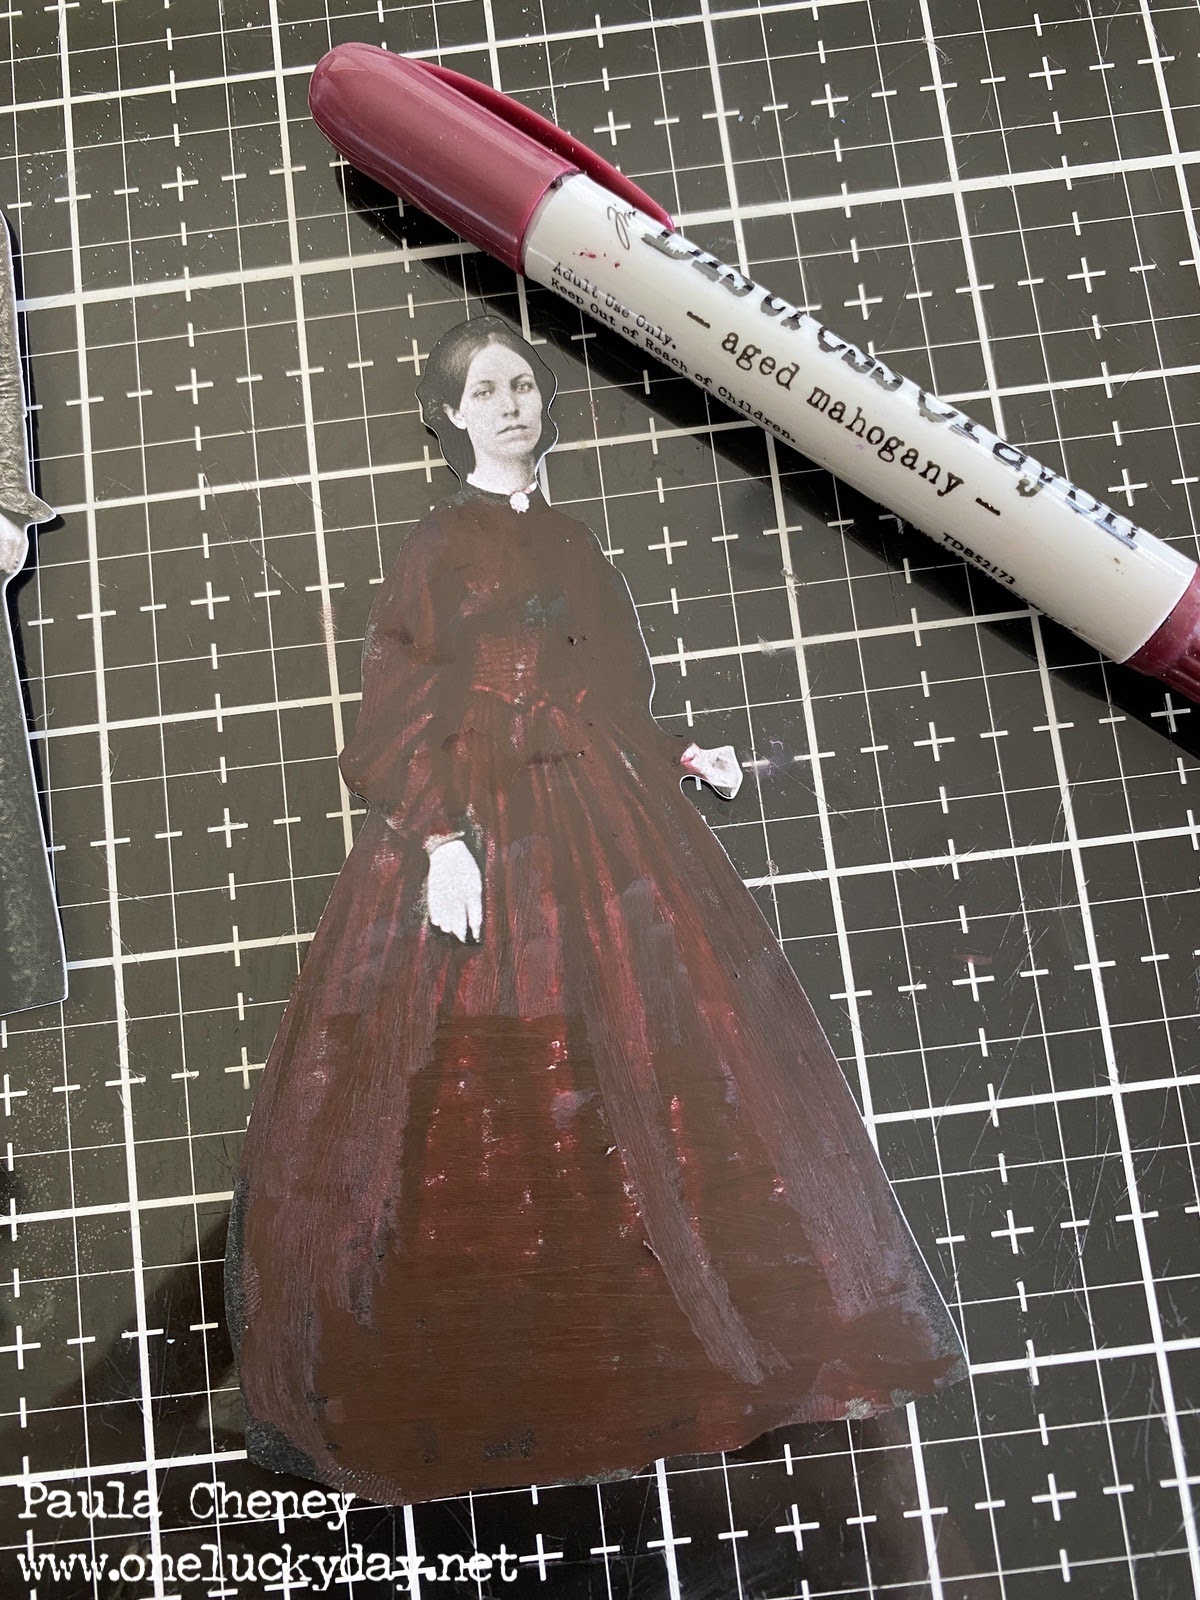
I decided to see if you could (or would even want to) combine Distress Pencils and Distress Crayons. One thing I love about crayons is the rich color you can build up over dark clothing by coloring directly over the clothing until you have a thick layer.
Then rubbing the surface with your finger tip (not the cotton swab pictured - that was used to get the crayon off her hands) until you can see the details of the clothing again.
I used the contrasting Crushed Olive pencil to create detail on the dress.
Here is what I learned:
Distress Pencils do not like to go over crayon. I found I had to use the water brush to create the stripes. Removing the crayon from the stripes allowed me to go back and add in the Crushed Olive pencil. The tiny dots were done with the tip of the water brush pulling pigment from the tip of the pencil.
COMBINATION 2:
So I wasn't so happy with the previous floral dress so I decided to use a pencil/crayon combo to try it again. I stared with the pencil, adding a Speckled Egg wash to the dress.
Then I started adding crayon like I normally do. That means I make a palette on my glass mat and pick up the color with the water brush. I started with Picked Raspberry.
Then Fossilized Amber...
Then Rustic Wilderness...
Then Broken China...
Because its crayon, this time I could tap my finger over the bright colors to muddle them. It did not move as much as if it was crayon over crayon, but I still liked the results.
Now add in her hat (
I bet you thought that was a big beehive on her head didn't you?), and cheeks and a little Posca pen work on her umbrella and we are done. I kept her light but I could have easily added more color if I wanted. I am sure she will show up in a project soon, lol!
THOUGHTS:
- I found that because I was using the pencils by dipping or adding water to the tips, that the pigment was still wet when I put the pencil down causing the pigment to transfer to the glass mat or to other pencils. That led me to finding a mug in my craft room to place them in (tip up) so the pencil could dry. At first I thought I would be keeping them in the cool tins they come in, but after much use, the mug might be the way to go for me. But you do you.
- I love the deep colors of the Distress line so that is a plus for me. Being familiar with the colors already, helps when choosing what colors to use on what Paper Doll. I admit, some colors surprised me so it is still a bit of trial and error till I can see how every color works over the slick surface.
- Will I still use Distress Crayons for Paper Dolls? Absolutely. But I can see myself using Distress Pencils too. I think they are quick and easy, especially for washes and backgrounds. I also love how smooth they feel to the touch.
- As for sealing (because people always ask). As a rule, I do not seal Paper Dolls because I just don't think it's necessary since once dry, neither medium comes off on your hands. If you feel the need to seal - then I would use a spray fixative that you can find in the art/painting department of any craft store. One quick spray over the top will do the trick.
- Fading...another question I get a lot. Distress Crayons don't fade (one of the reasons I like them) and Pencils, I do not believe they will fade due to the pigment sitting on the surface, but I guess only time will tell.

So there you have it. A test-drive of the new Distress Watercolor Pencils over Paper Dolls. I hope I was able to convey how this medium works to easily color a doll. I think the more pigmented the color, the easier it is to use. The same applies to Crayons. I think as I work more with them that I will find even more ways to use. I promise to share that information as I discover it.
Thanks for making it to the end!
now carry on,
paula


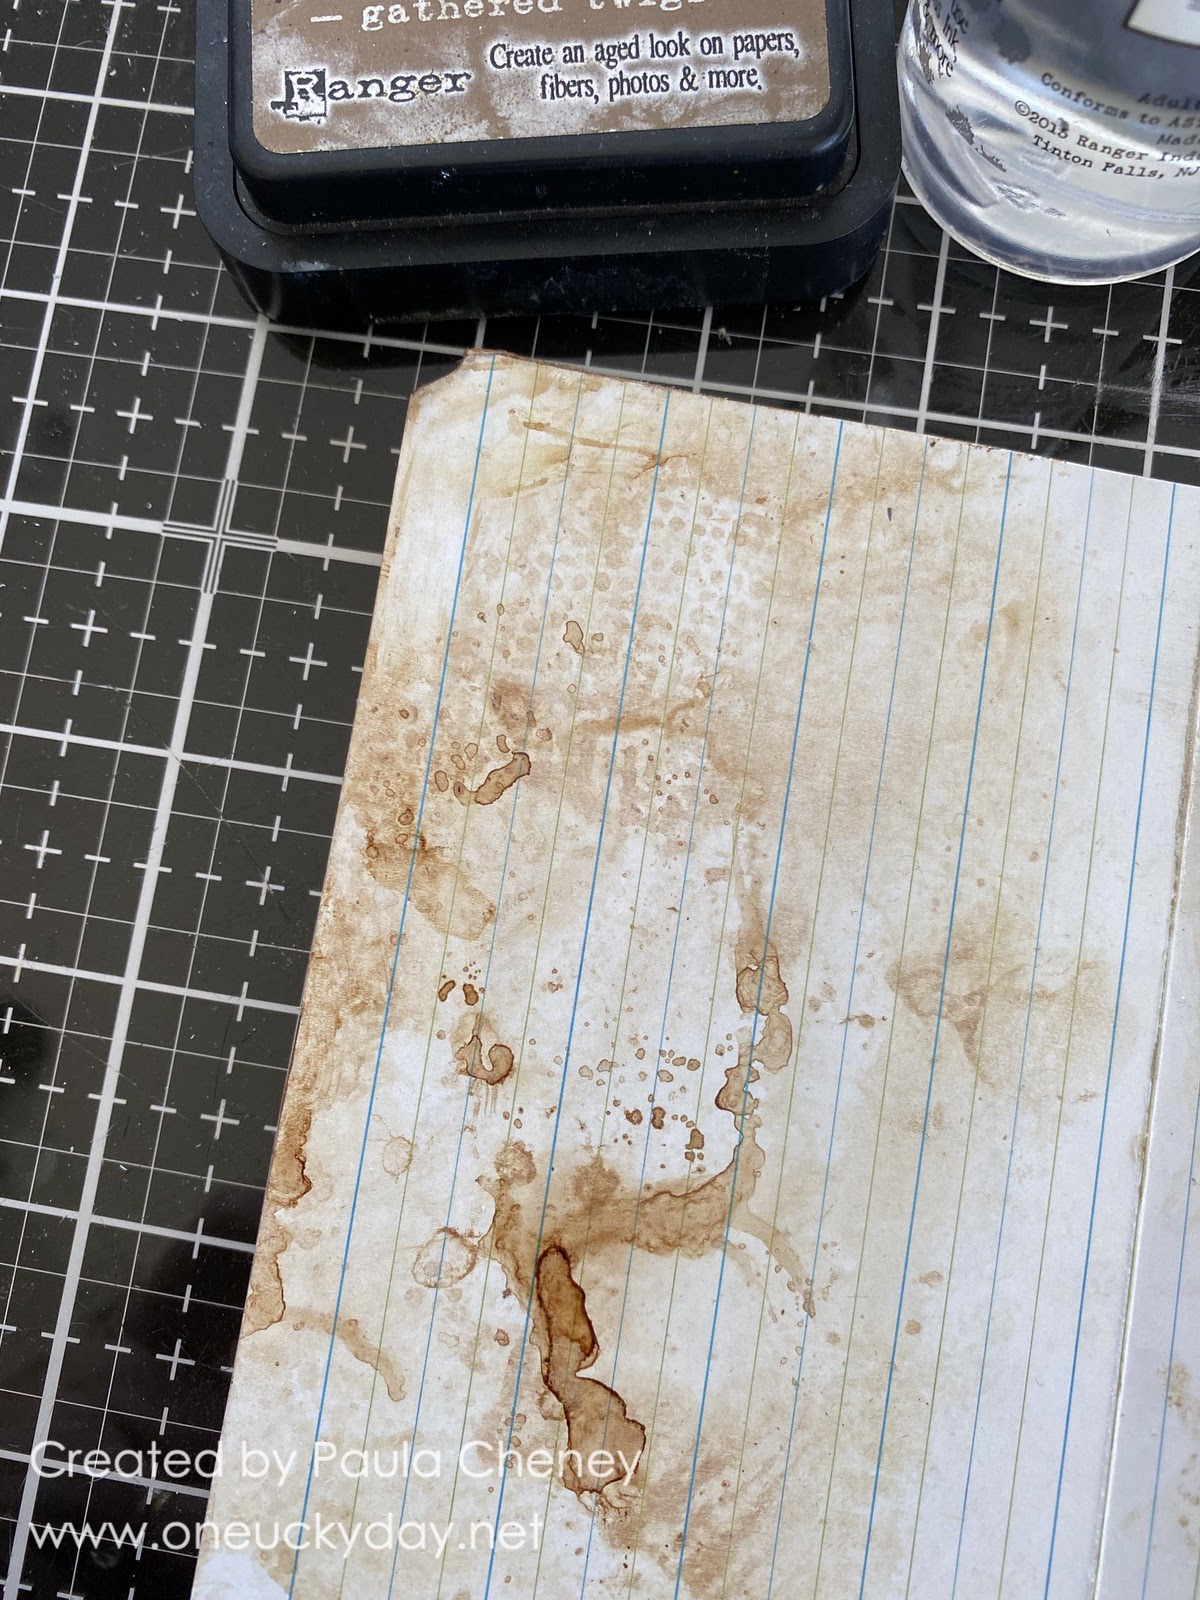
 The File Folders were too clean for the vintage look I was going for, so I began pressing each page into Gathered Twigs Distress Ink/water mix and drying with a heat tool. You might not think the ink would stick to a coated surface but it will (you just need to be patient in the drying process).
 Next, rip pieces of Christmas Collage Paper and add randomly over the pages of the book with Collage Medium. Remember, Collage Medium needs to be under the paper and a coat over the top to smooth it out. Once dry, it's very easy to remove the excess paper, with a sanding block.

 Page 1




 Page 2
 Pages 3 and 4

 Page 4
 Pages 5 and 6


 Pages 9 and 10
 Page 9
 Page 10


 Pages 11 and 12
 Page 11
 Page 12
 Page 13 and 14
 Page 13

 Page 14
 Back
Back And there you have it, one Christmas book complete. I love the ease of using the File Folders since they are printed. Only the added Collage Paper was needed to move them from everyday to Christmas. I like that kind of flexibility!