Showing posts with label file folder book. Show all posts

Saturday, May 18, 2024

File Folder Book

Hello Friends,

So happy to be here today celebrating the release of spring idea-ology! Today I am sharing a book I made with the new File Folders. The File Folder pack comes with 6 File Folders: 3 large and 3 small. The cover was handmade. I normally show step-out photos first, but in this case I think its easier to understand how the book was put together if you see the book first. So I'm going to walk you page by page through the book, then I will show you some step out photos. I have also linked below to a very good tutorial that has step-out photos of the pamphlet stitch I used. Please view that before you start poking holes in the cover or the Folders. 
Also, all the ephemera is from the Palette Ephemera Pack. So here we go!

Collaged front of the first large File Folder.
Inside the large File Folder is the first small File Folder pocket

Add a 1/4” wide piece of Scor-tape to the bottom of the small File Folder and close to secure, creating a pocket that is open at the top and right side.
The new Layer Frames-Montage, have different shaped openings and still come with the signature stitching so it looks like you sewed them into the book.
I added ephemera behind the transparency window so there is interest when you pull the tag.
For each tag that goes into the pocket, I used a photo from Snapshots 2. 

I chose photos that could be easily isolated with the white ink from a POSCA paint pen.

Once I isolated each image with the ink and let it dry, I added Collage Medium over parts of the surface to add Collage Paper to add some interest over the white surface. Another layer of Collage Medium over the Collage Paper surface, then dry with the heat tool. Add stitching and vintage lace to the top.

Collage hidden behind the pocket.
All Paper Dolls in the book are from the new Poses pack.

Collaged front of the second large File Folder.
Do you not love the new Cello Sticker Tape!!!! I used it in every sample I made for the idea-ology Live! I LOVE it so much!
Inside the large File Folder is the second small File Folder pocket.

I use basic Scotch Tape to add the clear plastic to the inside of the opening/window. If you choose to add something like this butterfly on the outside, use Scor-tape so it appears as if it is floating. When the pocket is closed you will never see the inside and no one will know how you taped the clear transparency into the center.

Collage hidden behind the pocket.


Collaged front of the third large File Folder.
Again, the Cello Sticker Tape is a star!
Inside the large File Folder is the third small File Folder pocket.

Collage hidden behind the pocket itself.

Putting it together...

Small Folders

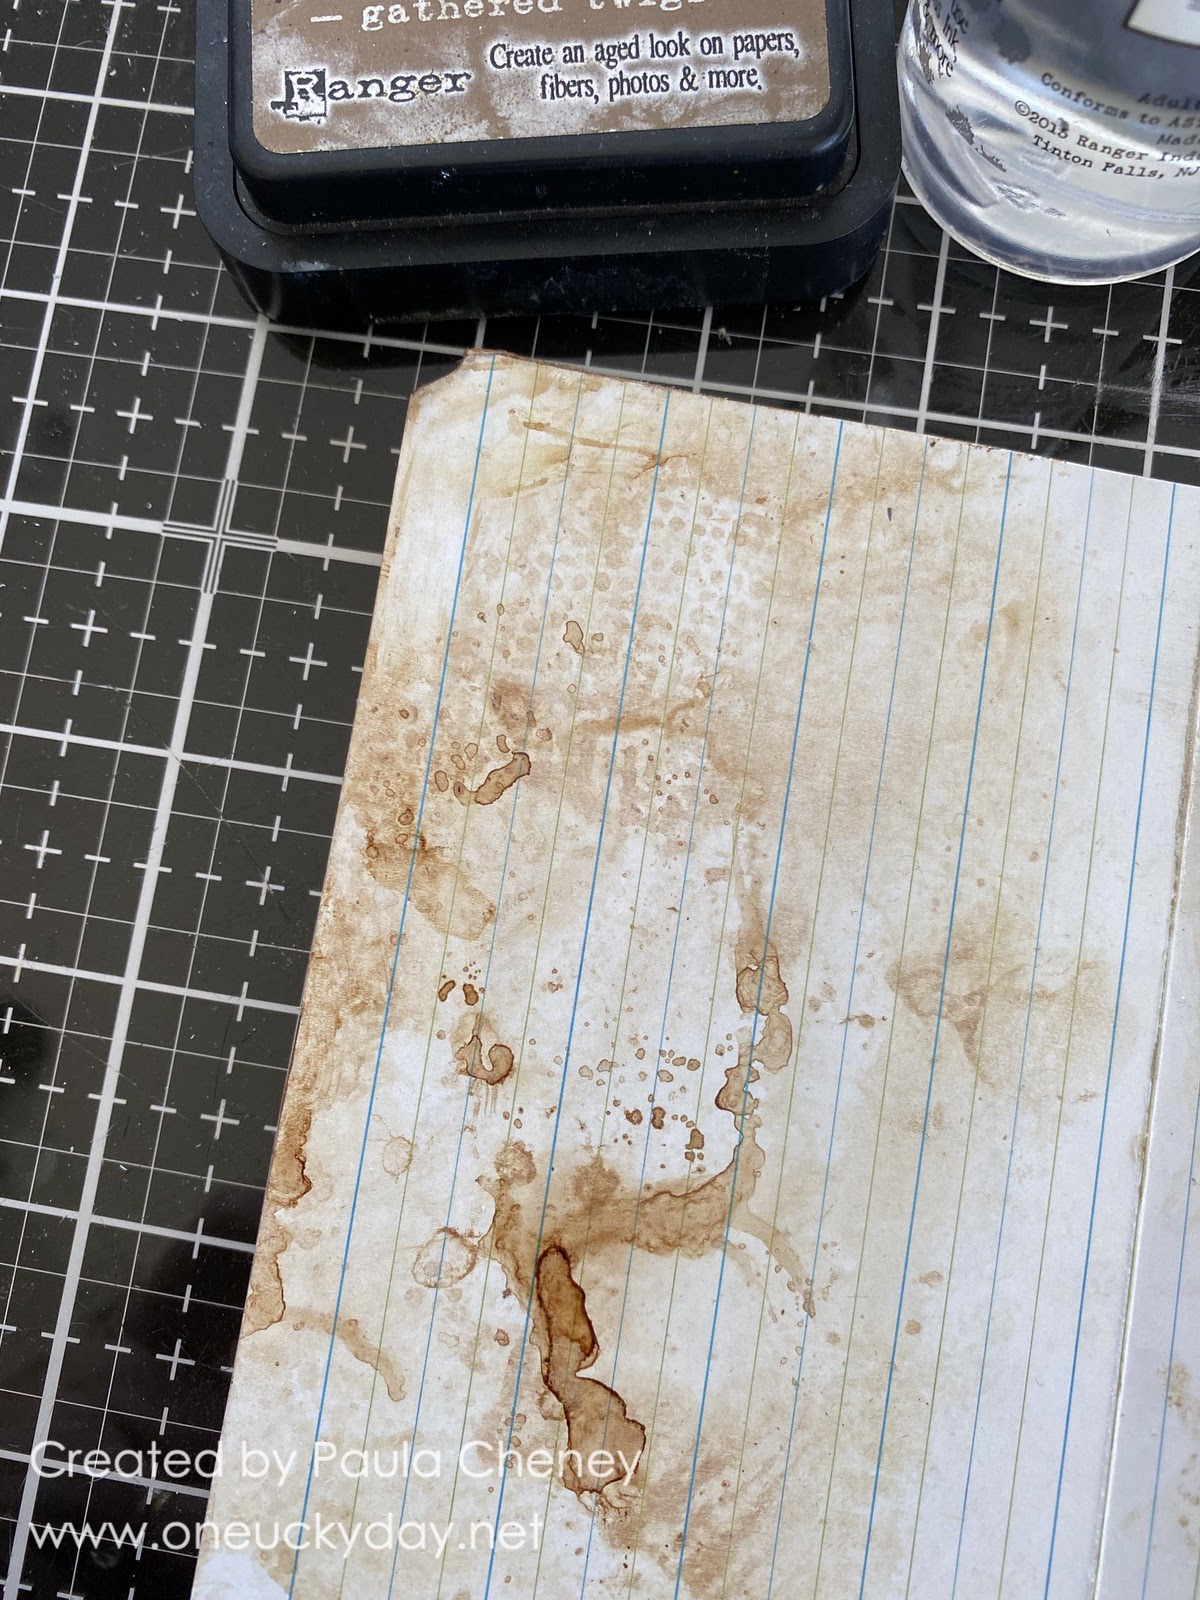
Each small File Folder was sprayed with Antique Linen Distress Stain Spray. Most of the surface will eventually be covered by a Collage Frame or Backdrop Paper, so don’t worry too much about this step. Although the bare tab does look better and more cohesive when it is sprayed and inked since it does show.

Close each small File Folder so you have a distinct front and a back to work with (no tape or glue yet).
Adhere a Collage Frame to the front. Adhere Backdrop paper to the back. NOTE: I made the tabbed side of each small folder the front, making the shorter side of the folder (with no tab) the back. The back is where the Backdrop paper goes.

Once the Collage Frame is secure, use a cutting knife to remove the center of the frame. Only cut through one side of the File Folder! Repeat steps on the other 2 File Folders.


Large Folders

Use Collage Medium to adhere Backdrop papers to each side of the large File Folders, front and back. I made sure the fold was not covered by paper on either side, so the the File Folder could easily close.


This is the outside of each folder

This is the inside of each folder

Once the window has been cut, open the Large File Folder and lay the small File Folder on the seam. Stitch the two piece together using a longer stitch on the machine.
This is what two of the sewn folders look like. The pocket has not been closed yet...and I am till testing ephemera in the background at this point.
Add words to the tabs.
I also used Remnant Rubs to add more interest.
Cover

NOTE: I used random Backdrop papers from volumes 1-3 for the inside of the book. If you are specifically looking for the paper used on the cover - it is in Backdrops vol 2. 


I used one piece of Backdrop paper for the front of my cover making it 6 x 10”. The fatter your book, the more length you will need. Meaning, if you want to add a lot to the inside, you might need a paper cover that is 6 x 11” or 6 x 12” depending on the thickness of the book.


Anyway, I took one Backdrop 6 x 10” and adhered two cut pieces of Mixed Media Heavystock 6 x 4 3/4" for the front and back covers, leaving a 1/2" open as the spine.

Adhere Backdrop paper cut the same size as the Heavystock...still leaving the spine open.
pink paper - volume 3
blue paper - volume 1
Then I added Fabric Tape over the spine area to give the spine strength and flexibility.

If you need help with the pamphlet stitch (to sew the large Folders to the cover), please use this excellent tutorial (link to Starpointe Studio). I repeated it three times - one for each folder.

Once your 3 File Folders are complete, you will poke 3 holes in the fold (again, see the Starpointe tutorial).
Flip the cover over and poke 3 holes at the top, center and bottom, matching the ones you just poked in the folders. You will need one set of holes for each of the 3 Large File Folders. Line up the holes and sew the folder to the cover using the pamphlet stitch. Repeat for each folder.
NOTE: I have the cover ephemera temporarily adhered to the cover so I know what is the front of the book. I will eventually sew around it and adhere it with Scor-tape at the top and bottom so a fabric band can slide underneath.
The fabric band was made from Linen Tape. I just pressed it onto some muslin, then cut around the tape. I stitched around it to secure the tape to the muslin. This band runs under the "album" ephemera (Palette Ephemera Pack). The stamp is from the new Sticker book "Postmarked". The button is vintage.
The band is secured in the back with Scor-tape and it covers the knots/strings where I bound the folders to the cover.

I just used scissors to cut a slit for the button. You could make a real button hole with a sewing machine if you choose. I figured the slit was sufficient.
Remember, you can watch the replay of Tim's Live once he posts it on his blog to see the book up close. He shows every page and how the book is hooked to the cover. Nothing like seeing it on camera! 
And if you have any questions don't hesitate to email me. 
Now carry on,
paula

I added the products I used in the book at the top. 
Other new idea-ology products are listed in the bottom portion. 

Thursday, November 10, 2022

Small but Bright

Hello friends,

Looking back to last month when I created this small File Folder book. I had seen how Susie Heinz and many others were using our Linen Tape to bind books and I decided to try it with the Linen Christmas tape (love the plaid).  I also used Christmas Collage Paper to make a regular inline product, like File Folders, look a bit more Christmasy. So lets get started...

Here is the fished book with the belly band - I made that by sewing two pieces of green striped Wallpaper together to create a band long enough to wrap around the little book.  I added red stitching, eyelets, and some red ribbon to finish it off.
Once you slide the belly band off the book, you can see that there are file folders stacked up. 
In the next few photos, I'll show you how I created the structure, followed by photos of the finished book.
Cut pieces of Linen Tape and use to connect two 6" File Folders.
Repeat... so you end up with two sets with two File Folders each.
I worked with the File Folders like this till the very end, then connected them with a piece of Layers ephemera (I'll show you that part later).

The File Folders were too clean for the vintage look I was going for, so I began pressing each page into Gathered Twigs Distress Ink/water mix and drying with a heat tool.  You might not think the ink would stick to a coated surface but it will (you just need to be patient in the drying process).

Next, rip pieces of Christmas Collage Paper and add randomly over the pages of the book with Collage Medium.  Remember, Collage Medium needs to be under the paper and a coat over the top to smooth it out. Once dry, it's very easy to remove the excess paper, with a sanding block.
I set the pages aside to dry while I worked on choosing Paper Dolls and Snapshots (they come in the same bag #TH94290) to use on my pages.  I colored all but one of the images with Distress Watercolor Pencils.  If you would like to learn more about working with Watercolor Pencils on Paper Dolls, you can read my blog post HERE.

Before I show the pages, I'll let you in on a little secret.  I used Clippings stickers (found in the Christmas Sticker book) to create a poem that you can read as you turn the pages.  It is one of my favorite things, to add poetry to something I make. Since I'm not very articulate, I know I can depend on the stickers to give me the words.  Here is the poem I put together for this book.

Glowing red and Christmas green
Visions of delight
Our Hearts are now algow
Grace and light
Stand fixed in steadfast gaze,
Hear the carols sweet
With glad hearts, to you we say
of peace, good will towards men.

Pages 1 and 2
Watercolor Pencils on Page 1
Aged Mahogany Distress Crayon on Page 2. This was used because there is not (currently) an Aged Mahogany Watercolor Pencil. 
Page 1
Here is where the poem starts.
This Snapshot from the Paper Doll Pack was colored with Watercolor Pencils giving it a nostalgic feel.
Page 2
Here is the Aged Mahogany Distress Crayon in use.  The Crayon gives such a rich color of red and I needed their suits to be this color!
Other pieces from the Ephemera Pack and Layers Botanical pack + Label Stickers on the tabs.
Pages 3 and 4
Page 3
The card was sewn, then attached to the page with 1/4" Scor-tape.
Items in pocket are from Christmas Ephemera pack.
Round seal from the Christmas Sticker Book.
Page 4
Polka dots on the girls dress made with a POSCA paint pen.
The round label circle behind her head is from the Classic Labels Sticker sheets.
LOVE how the Collage Paper typography looks on the background of this page!
Pages 5 and 6
Stars from the Christmas Layers pack.
Page 6
Pages 7 and 8
This is the center - 2 file folders on the left, 2 file folders on the right.
The card with the wreath on it is holding the two side together.  
Because this is a small book, it is surprisingly stable with just the Layers Ephemera piece in the center. If the book was any taller it would need two pieces.
Page 7
Added holly from the Layers Christmas Botanical pack with added green Droplets.
Page 8
Poinsettias from Layers Botanical pack.
Pages 9 and 10
Page 9
Page 10
The Linen Tape at the top is holding a card that flips up once you turn the page.
Pages 11 and 12
Now you can see the card from the Layers Christmas pack.
Page 11 
Open to reveal a surprise.
Page 12
Dresses colored with Watercolor Distress Crayons
Page 13 and 14
Page 13
Again, another Snapshot from the Paper Dolls Christmas pack.
Page 14
Back
And there you have it, one Christmas book complete.  I love the ease of using the File Folders since they are printed.  Only the added Collage Paper was needed to move them from everyday to Christmas.  I like that kind of flexibility!

Now carry on,
paula