Friday, September 5, 2025

STAMPtember Vignette Tray

Hello friends,

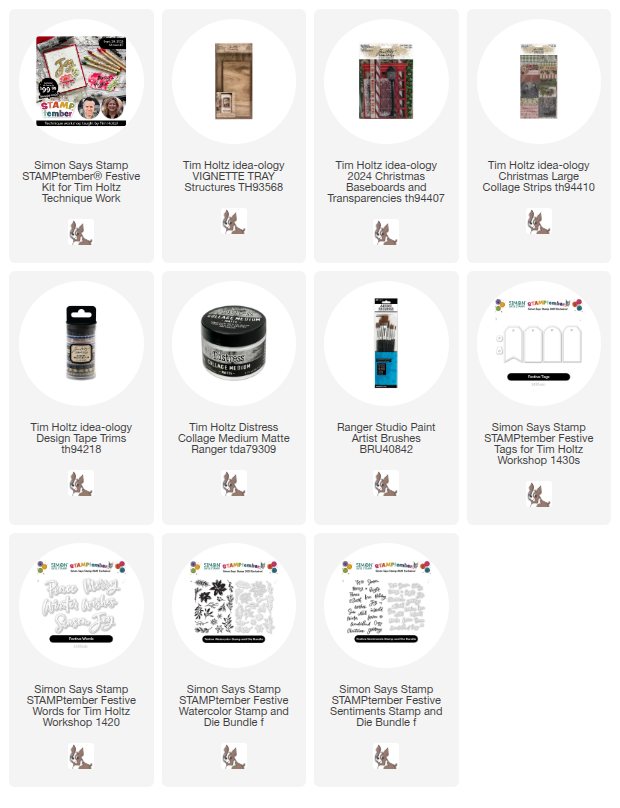
We are celebrating STAMPtember this month and that means there is always a little something from Tim and Heidi from Simon Says Stamp. The stamps and matching dies are sold individually, as well as in a limited kit. The kit includes all 6 STAMPtember products as well as other accessories like paper, ink, a stamping block and a full set of Watercolor Pencils (all for $99.99). There is also a free class with Tim on Sunday, September 28th on the Simon Says Stamp YouTube Channel.

There are 6 new STAMPtember products from Tim Holtz and Simon Says Stamp:
Festive Watercolor - stamp set
Festive Watercolor - matching wafer dies

Festive Sentiments - stamp set
Festive Sentiments - matching wafer dies 

Festive Words - large word wafer dies
Festive Tags - 4 tags shaped die cuts 
I honestly started this project by just stamping and die cutting all the greenery (Festive Watercolor), small text (Festive Sentiments) using Oxides for the florals...

and gold embossing powder for the sentiments.
Now that all the cutting is done - its time to start the project!
I started by covering a Vignette Tray with Christmas Collage Strips.
I added green Design Tape Trims in dark green to the lip edge of the tray. I always adhere the tape with Collage Medium to make it permanent. Yes, the tape is sticky but for a Christmas project that I want to keep for years, the extra glue is necessary in my opinion. Especially because my Christmas decor is kept in the attic in the off-season (it gets hot up there!)
You might notice that I did not paint or paper the sides of the tray. I just sanded it a bit and then painted it with Collage Medium to give it a finished look and feel.
I used a frame from the Christmas Baseboards pack for the bottom portion of the tray. It said Merry Christmas on the left end, so I wrapped the end with red and white twine to cover the sentiment that was facing the wrong direction. Simple fix!
I want the frame to sit away from the Tray so I glued four SETS of bingo chips together to place in each corner of the frame. Its an easy way to create a big space under the frame.
On a side note...that's my parents in 1947 with a snowman! I always wanted to use that photo and I got it in on one of the last products Tim and I designed.
Next we need a shelf. 
I cut about a 1/2" off each piece to fit the tray. Make sure you cut off the 1/2" before gluing them together!! Anyway, there are two pieces, that I staggered to create more interest. The paint is Rustic Wilderness.
I used Collage Medium to glue the shelf into the tray, right on top of the frame.
While the shelf is drying, lets work on the window. 
I have shown this technique before, but I really wanted to add color to the window!
Use a small brush to add any color of alcohol ink to the BACK of the transparency (comes in the Baseboard pack). I used Botanical, Dandelion, Crimson, and Bayou. It's just that easy!
Prepare the Baseboard Frame with a snow transparency and some added 1/8" Scor-tape.
Then just peel the Scor-tape and add the colored window.
I decided to add some shine to the window, so I cut a piece of metallic kraft stock (both silver or gold will work). The bingo chips are to raise the window from the tray back.
I used Collage Medium to add the metallic Kraft Stock to the tray.
Then added the window (with hidden bingo chips) over the metallic rectangle. The metallic paper reflects the colors in the window panes!
Next I added the lamppost.
You can see I have a riser (painted black) behind the base of the lamp post. If you don't have something you can use as a riser, then just use hot glue to keep it in place. The snow will cover it.
Now the fun part!
Arranging the Watercolor Florals and Festive Words: Merry into a cluster to be used on the window. It took a bit of time to work it out (and a few Thin Foam Squares but once I had the concept it was just about making the right shape with the greenery and florals.
I used cotton batting for the snow - painted with Collage Medium and sprinkled with Rock Candy. The Candy Canes from the Baseboard Pack were cut to length then glittered with Rock Candy before setting into place in the snow. The falling snowflakes are part of the Festive watercolor set and work perfectly to balance out the weight at the bottom.
I made a second cluster for the oval window using the much smaller Festive Sentiments and more the die cut Watercolor Florals. You can see I used many kinds of Foam Squares to create dimension.
Once again, I used a couple bingo chips to raise the smaller cluster from the back of the tray. They are my secret weapon!
More batting snow, more glittery candy canes finish it off.
Thanks for coming along on the journey to create this tray project. There are SO MANY variations that could be made using an idea-ology Vignette as the base. 
I love the way this one turned out and it's all because of the MANY choices of STAMPtember products that Tim and Heidi collaborated on. I can see myself using them over and over again!

Now carry on,
Paula

Wednesday, September 3, 2025

New Rock Candy Glitter

Hello Friends,

Just a quick post about todays announcement of new CHUNKY Rock Candy Glitter. We have all loved Clear Rock Candy Glitter for years. Well Tim has now released a chunkier version of what we love! It's like something right out of the 1950's with the big chunks of sparkle! The bottle and label is absolutely my favorite - so charming! 
I thought you might want to see it is action so I added it to something I'm working on.
Rock Candy Glitter added to Santa's jacket
Then I mixed the two clear glitters in a mixing cup (about 1/2 and 1/2) and added it to the jacket with Glossy Accents.
1/2 Rock Candy Chunky Glitter + 1/2 Rock Candy Glitter
Up close of the 1/2 and 1/2 mix!
If you missed Tim's live on his YouTube Channel - all about the new glitter and how to use it and tint it...you can find that HERE.
Now carry on,
paula

Tuesday, September 2, 2025

Palette Collection Tag: The Perfect Purple

Hello friends,

It's September, and that means it's time for a new Palette Collection tag! This month's color is purple, which I think is a perfect fit for the season. It makes me think of beautiful autumn leaves in deep shades of orange, green, and brown, with hints of purple mixed in.

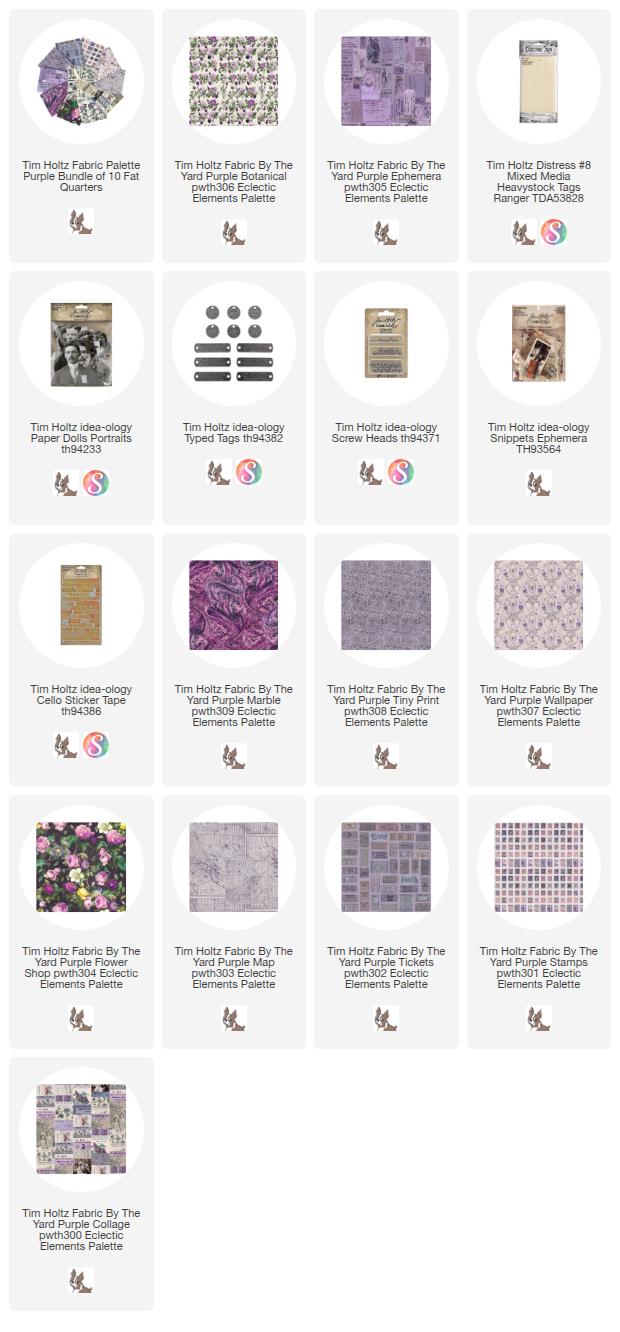
For this tag, I used Palette Purple: Botanical and Ephemera fabrics for the background. I tinted a Portrait figure with Distress Crayons and added it using thin foam squares for dimension. I also used Collage Medium to attach a few Snippets Ephemera pieces and some bits of Cello Tape. To finish, I added a Typed Tag with Screw Heads on each end.
Even though this is a simple tag, I love how it highlights the beautiful botanical fabric in the background!

Now carry on,
paula

Saturday, August 30, 2025

Trick or Treat Halloween Vignette

Hello friends,

I've been busy creating new projects in preparation for Tim's YouTube LIVE all about idea-ology Halloween 2025! I'm excited to share the four new pieces I made over the next couple weeks, starting with my favorite, Trick or Treat! The whimsical Halloween theme truly shines with the harlequin paper from the Halloween Backdrops 2025 pack. The star of the show is a little witch, perched next to a giant, sparkly pumpkin filled with candy! 

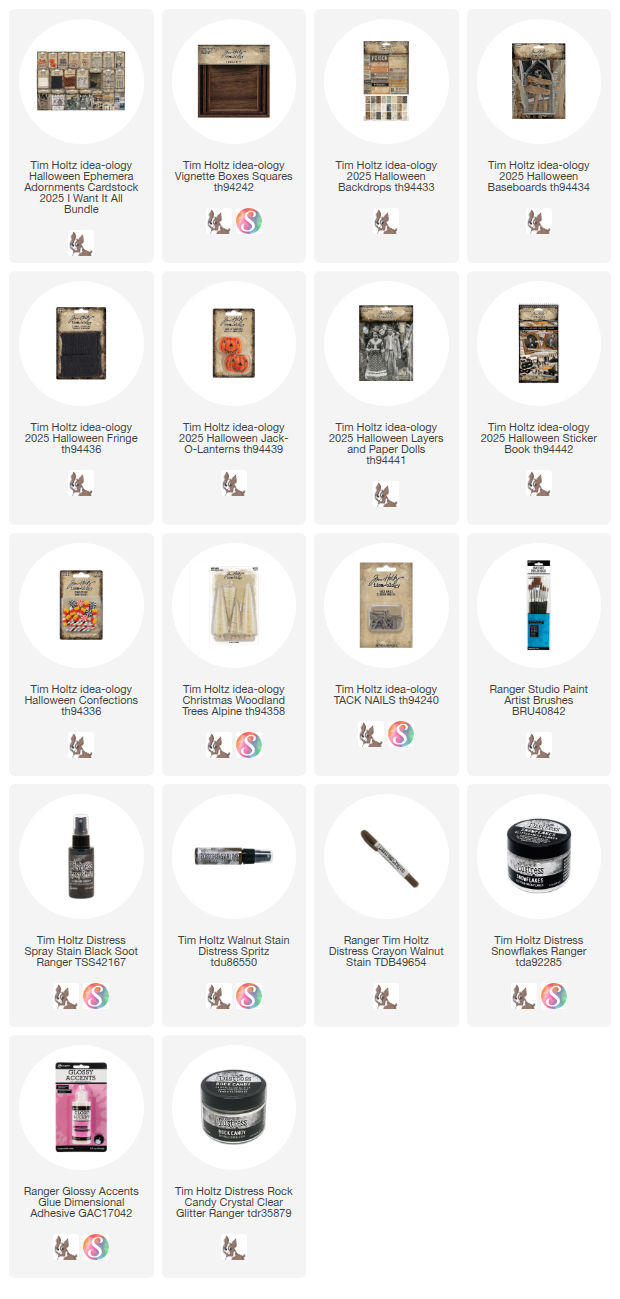
This is a very easy project. You can basically see everything in this shot. The boxes covered in paper, the fringe, the pumpkin and the Alpine trees.
I took the planks from the Baseboard pack and nailed them to the top box to make a "floor" of sorts. I had previously painted them following this easy technique (explained in a previous post)

Three Alpine trees were sprayed with Black Soot Distress Spray Stain, then sprinkled with Distress Snowflakes (a combination of twinkling glitter + mica flakes). I dried the trees with a heat tool then set about to adhere them to the surface. 
There are lots of ways to use the new orange and black fringe. I started by spraying it with Walnut Stain Spritz to give it a more vintage feel (just dry it with a heat tool before moving on). On the project, I used hot glue to glue the fringe to the surface. I glued the tallest Alpine Tree (with the base cut off) to the fringe.
ps) if you have never used fringe before - you just cut off a piece and rub it between your hands. Like magic, it just comes out all crazy and fringe like! It is surprising every single time!
Then I moved on to the small tree on the right and repeated the same steps by gluing a flat portion of the fringe to the surface, then adhering the tree on top. Just make sure some of the fringe is showing from under the tree. 
The third tree (it's about half of a small Alpine tree) was placed in front. The fringe I used here is another piece that I cut just for this tree, so its only about 2" long. My first piece was about 4-5" long.
I added the sign post and the Paper Doll to the center before adding the completed pumpkin I made a day earlier.
I used a dollop of Collage Medium to add the pumpkin and the loose candy since that is the best glue for longevity. 
I made the Trick or Treat sign using a sticker from the sticker book and one of the signs that are in the Baseboard pack. I just added the sticker over the words of the sign, cut off the ends, then used Scorched Timber Distress Ink on the edges. And now I have a sign with the perfect saying for this piece.
The back (I like how the fringe pokes through the trees).
The right side.
The left side.

This was a really fun one! I love the pumpkin and confections covered in Rock Candy...and that fringe, it is the perfect addition for these kinds of whimsical pieces!

Now carry on,
paula

Thursday, August 21, 2025

Treat bags

Hello Friends,

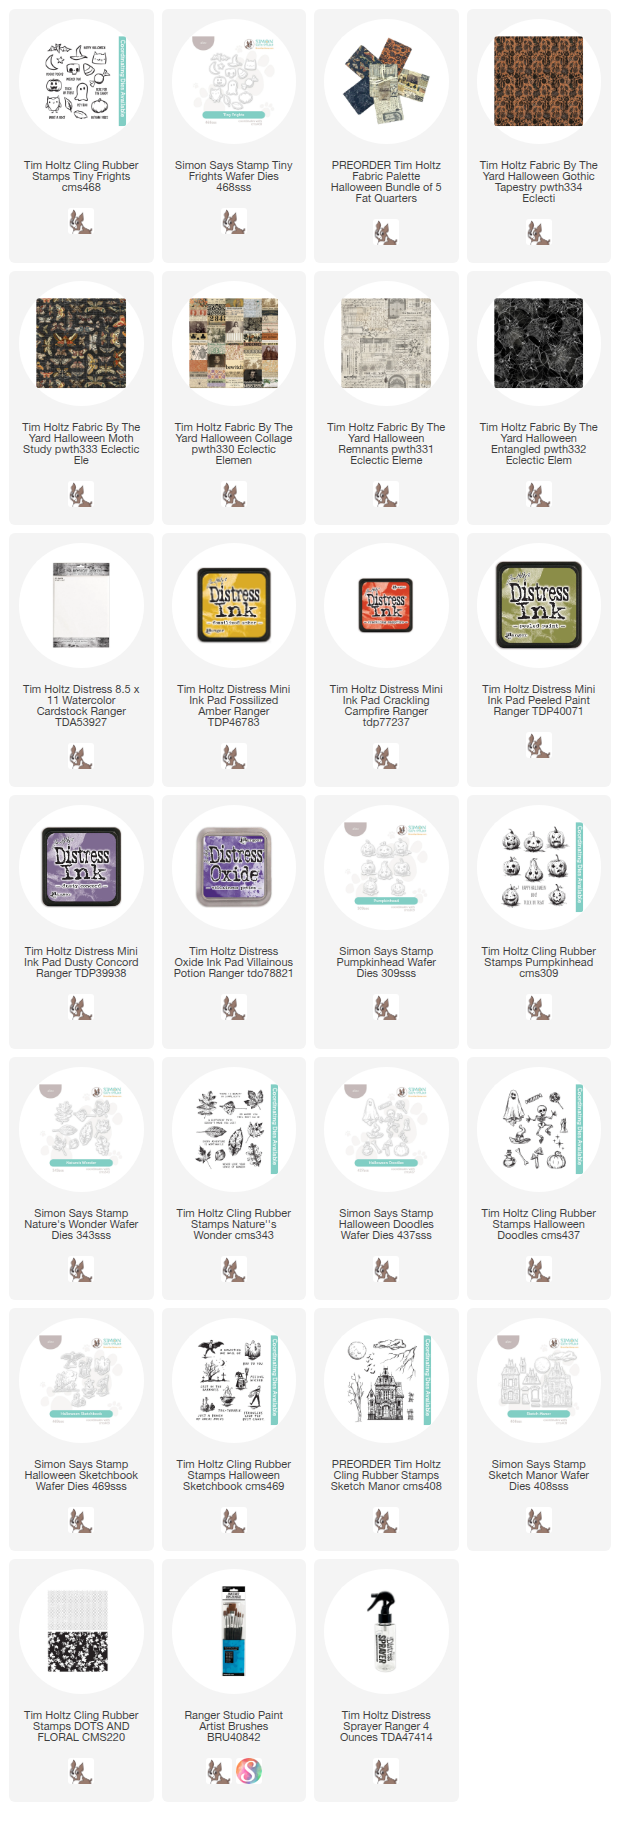
Popping in to share a quick post about some Halloween treat bags I've made using Palette Halloween fabric from FreeSpirit. I've paired the treat bags with tags featuring the Stampers Anonymous Tiny Frights stamp set + the matching wafer dies from Simon Says Stamp. 
You can make the treat bags any size, depending on what you want to use them for (or how big the treat is). There are plenty of tutorials for drawstring bags on YouTube if you don't know how to make one. I admit, the smaller the bag the more challenging it is to sew. But still a beginner project and oh so cute!
TAGS: I stamped the Tiny Frights on Distress Watercolor Cardstock, then colored them in with Distress Ink and a paint brush. I always find this part so relaxing! 
Once they were dry, I used the matching wafer dies to cut them out. SO EASY!

I added the Tiny Frights to each tag with the Thin Foam Square so they are slightly raised. 


I think the Palette Halloween fabric is perfect for this kind of bag. Something any Halloween enthusiast would love!

Now cary on,
paula

Monday, August 18, 2025

New Wafer Dies from Simon Says Stamp

Hello Friends,

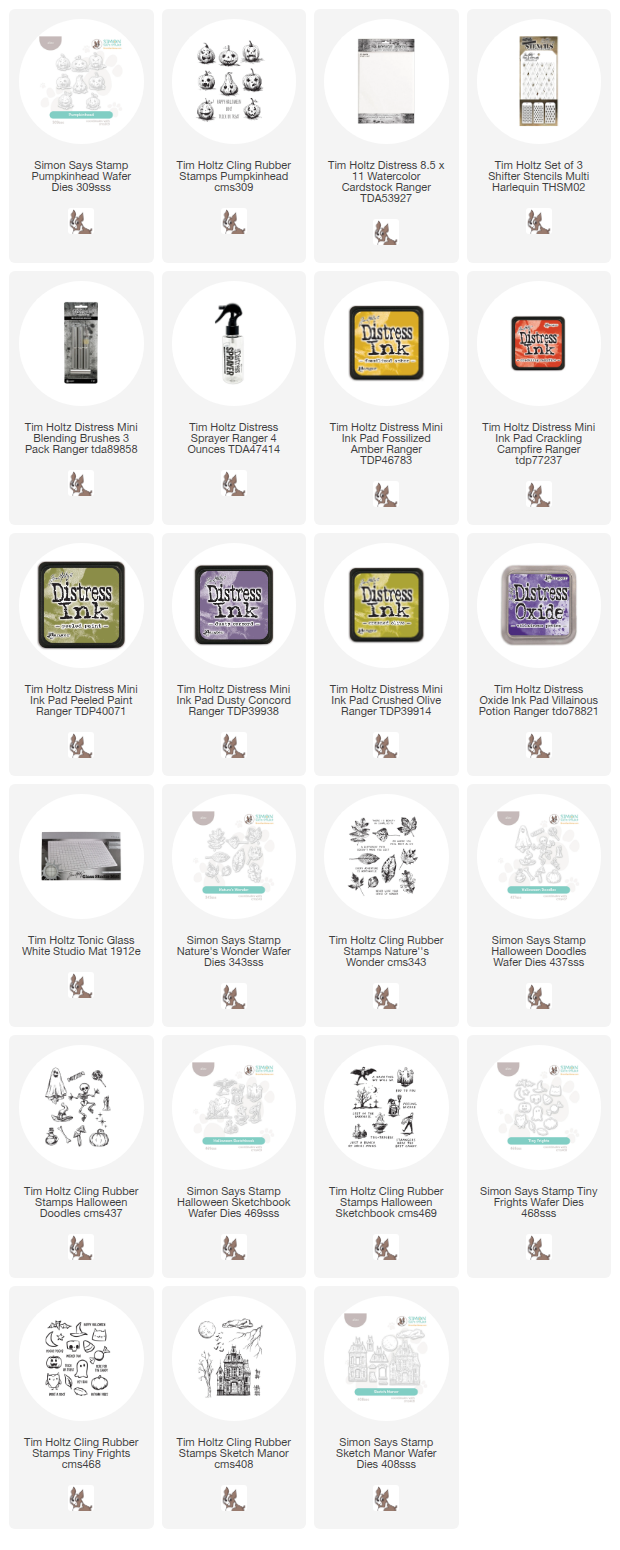
We are celebrating a new release of wafer dies from Simon Says Stamp that match 6 current Stampers Anonymous stamp sets. Here is the list of the stamps and matching dies (images at the bottom of the post).

Tiny Frights Dies: 468sss
Tiny Frights Stamps: CMS468

Doodles Sketch Dies 437sss
Doodles Sketch Stamps CMS437

Sketch Manor Dies 408sss
Sketch Manor Stamps CMS408

Pumpkinhead Dies 309sss
Pumpkinhead Stamps CMS309

Nature's Wonder Dies 434sss
Nature's Wonder Stamps CMS434

Halloween Sketchbook Dies 469sss
Halloween Sketchbook Stamps CMS469

I created a few things to share in the coming days, starting with this fun card that just puts a smile on your face! The line up of Pumpkins is so easy to create using the matching wafer dies. 
For the background, I used my FAVORITE of the "shifter" series of stencils: the Harlequin pack. It is a 3 stencil pack with 3 different sizes of Harlequin stencils to choose from. I used the middle one for both the card and the tags I created.

My base a Tim Holtz Watercolor Cardstock and I used both Oxide and regular Distress Ink for the colors. The new Mini Blending Tools are the perfect size for this stencil. Of ocurse you need to keep Oxide and Distress Ink on separate brushes so I mark the end of my Distress Ink Brushes with a D (sharpie marker) and keep them in separate tins.
Once I was finished stenciling, I made a puddle of Oxide Ink and used a thick brush to splatter the ink over the surface.
Then it was time to stamp and color the pumpkins - so easy on the Watercolor paper! Next, I went to my workhorse Vagabond machine to cut out the pumpkins. I love how the die cuts so close to the edge and gives you just a bit of a white halo. I swear it makes you smile every time it comes out of the machine.
The words, "A little Hocus Pocus" are from the Life of the Party set (CMS380).
And as a bonus, I used all the same products to create some fun tags.
The stencil is the same size as the cards, but this time I used multiple colors of Distress ink over the harlequin stencil. I love this look!
I used Snarky stickers because they just worked so perfectly with the different faces of the pumpkins.
Stay tuned, because I will be back in a couple days with another wafer die project. 
Now carry on,
paula