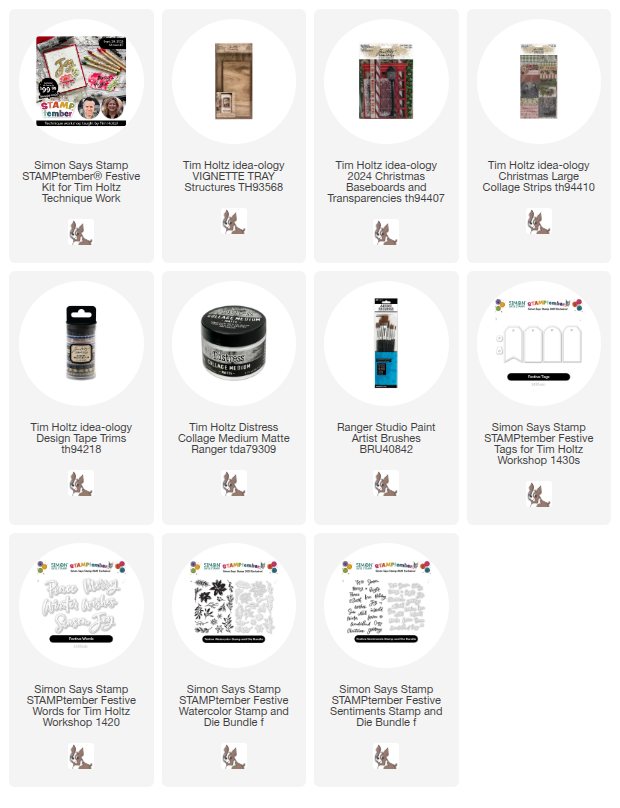
We are celebrating STAMPtember this month and that means there is always a little something from Tim and Heidi from Simon Says Stamp. The stamps and matching dies are sold individually, as well as in a limited kit. The kit includes all 6 STAMPtember products as well as other accessories like paper, ink, a stamping block and a full set of Watercolor Pencils (all for $99.99). There is also a free class with Tim on Sunday, September 28th on the Simon Says Stamp YouTube Channel.
There are 6 new STAMPtember products from Tim Holtz and Simon Says Stamp:
Festive Watercolor - stamp set
Festive Watercolor - matching wafer dies
Festive Sentiments - stamp set
Festive Sentiments - matching wafer dies
Festive Words - large word wafer dies
Festive Tags - 4 tags shaped die cuts


I started by covering a Vignette Tray with Christmas Collage Strips.

You might notice that I did not paint or paper the sides of the tray. I just sanded it a bit and then painted it with Collage Medium to give it a finished look and feel.

 I want the frame to sit away from the Tray so I glued four SETS of bingo chips together to place in each corner of the frame. Its an easy way to create a big space under the frame.

I used a frame from the Christmas Baseboards pack for the bottom portion of the tray. It said Merry Christmas on the left end, so I wrapped the end with red and white twine to cover the sentiment that was facing the wrong direction. Simple fix!

On a side note...that's my parents in 1947 with a snowman! I always wanted to use that photo and I got it in on one of the last products Tim and I designed.

 I used Collage Medium to glue the shelf into the tray, right on top of the frame.
 While the shelf is drying, lets work on the window.

Next we need a shelf.
I cut about a 1/2" off each piece to fit the tray. Make sure you cut off the 1/2" before gluing them together!! Anyway, there are two pieces, that I staggered to create more interest. The paint is Rustic Wilderness.


I have shown this technique before, but I really wanted to add color to the window!
Use a small brush to add any color of alcohol ink to the BACK of the transparency (comes in the Baseboard pack). I used Botanical, Dandelion, Crimson, and Bayou. It's just that easy! Prepare the Baseboard Frame with a snow transparency and some added 1/8" Scor-tape.
 Then just peel the Scor-tape and add the colored window.
 I decided to add some shine to the window, so I cut a piece of metallic kraft stock (both silver or gold will work). The bingo chips are to raise the window from the tray back.
 I used Collage Medium to add the metallic Kraft Stock to the tray.
 Then added the window (with hidden bingo chips) over the metallic rectangle. The metallic paper reflects the colors in the window panes!
 Next I added the lamppost.
 You can see I have a riser (painted black) behind the base of the lamp post. If you don't have something you can use as a riser, then just use hot glue to keep it in place. The snow will cover it.
 Now the fun part!
Arranging the Watercolor Florals and Festive Words: Merry into a cluster to be used on the window. It took a bit of time to work it out (and a few Thin Foam Squares but once I had the concept it was just about making the right shape with the greenery and florals. I made a second cluster for the oval window using the much smaller Festive Sentiments and more the die cut Watercolor Florals. You can see I used many kinds of Foam Squares to create dimension.
 Once again, I used a couple bingo chips to raise the smaller cluster from the back of the tray. They are my secret weapon!


Arranging the Watercolor Florals and Festive Words: Merry into a cluster to be used on the window. It took a bit of time to work it out (and a few Thin Foam Squares but once I had the concept it was just about making the right shape with the greenery and florals.
I used cotton batting for the snow - painted with Collage Medium and sprinkled with Rock Candy. The Candy Canes from the Baseboard Pack were cut to length then glittered with Rock Candy before setting into place in the snow. The falling snowflakes are part of the Festive watercolor set and work perfectly to balance out the weight at the bottom.


More batting snow, more glittery candy canes finish it off.
 Thanks for coming along on the journey to create this tray project. There are SO MANY variations that could be made using an idea-ology Vignette as the base.

I love the way this one turned out and it's all because of the MANY choices of STAMPtember products that Tim and Heidi collaborated on. I can see myself using them over and over again!
Now carry on,

Now carry on,
Paula