Hello Friends,
I thought I would change it up today and share an idea-ology a fun and deceptively easy Halloween project using an Etcetera Panel and a pack of Mosaic Tiles.
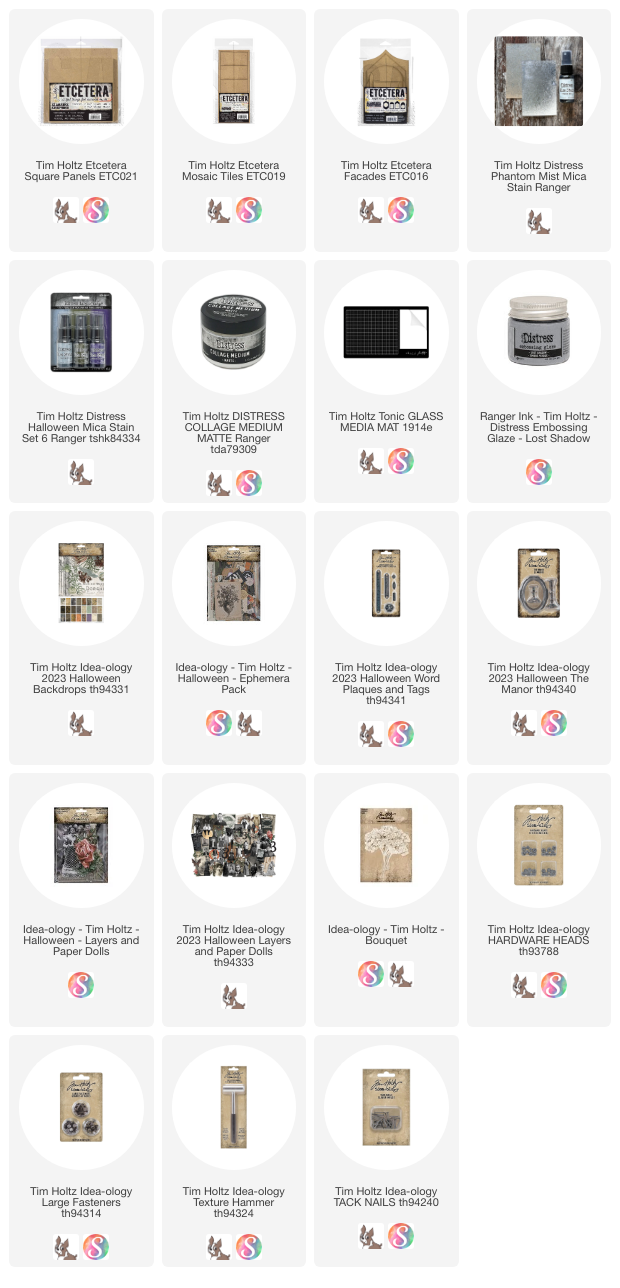
Etcetera Panels are the perfect substrate for so many things. This is one product that I keep multiple packs on hand! Each pack comes with 4 panels - two 8 1/2 square and two 7 1/4" square. The Mosaic Tiles pack only shows squares on the front, but if you turn the pack over, you can see the rectangles too.
Pop out all the mosaic pieces from the matrix.Here is what my board looks like all laid out. I worked with the pieces quite a lot to figure out where they should go. Sometimes it has to do with the paper or ephemera shape as to what size tile goes where.
I also wanted some different levels so I planned for a second level on some squares.
Begin adding paper to the background and each Mosaic tile. There is no need to add paper to the places where there will be a second layer.
First layer
The ephemera 3 and 1 fit perfectly on the tiles. I just grunged them up a bit with ink.I wanted to use this piece from the Facades pack - It is the center of one of the Facades that just pops out...so perfect for a giant moon!
I added some inked paper from the Halloween Backdrops pack, then added a layer of Collage Medium over the top. I let that air dry for about 15 -30 seconds, the poured Lost Shadow Embossing Glaze over the top. Tapped off the excess, then melted it with an embossing gun (it melts very quick). Once it was cooled, I splattered Phantom Mist Mica Stain over the top.
 I hope you will give this one a go! It really was easy...to me the Mosaic Tile do all the work so if you can glue paper to hardboard, you are set!
I added the big moon to the panel, then fussy cut the haunted house from the Halloween Ephemera pack. I added the house to the moon with thin foam squares so it was raised up off the moon.
Take note...I added the bingo chip with a foam Square below the house. This bingo chip will eventually be hidden under the frame.
This is also a better representation of the actual color of the moon.
Pieces from Adornments Flourish combine perfectly with the frame from, The Manor. Especially when the finish is the same.
- Wipe Black Soot Distress Paint over metal, let dry.
- Shake and then squeeze Gilded Foundry Wax on disposable paper. Wipe Foundry Wax on the raised portions, then heat with Embossing gun till shiny.
- Add Mushroom Alcohol Ink on Blending Tool with felt. Pounce over gold to age.
- And for one added measure, shake and squeeze out Sterling Foundry Wax, then use a Splatter Tool to splatter over the metal. Repeat embossing.
Add image of a ghostly woman to the frame.
Adhere the frame over bingo chip using foam square and a thin foam square under the top portion.
Add Flourish piece over moon with Collage Medium.
Add a second Flourish to the left edge of the house. Remember, the black tile that says 'Confectionery' is raised so the Flourish is glued to it and then hovers over the tile above. I added a foam square that helps the top of the flourish sit up off the board ( you just can't see it)
From here you just start adding in lots of interesting things.
Word Plaque - I rubbed Black Texture Paste over the words, then added Hardware Heads on each end.
Bouquet Flowers - I used Antique Linen Spray Stain and dried them before adding to the panel.
You can also see there is Mummy Cloth and some neutral moss (from the craft store).
I repeated the same embellishments on the right side, except for added black ribbon.I also added a paper from the Ephemera pack using a nail. Yes, you can nail right into the panel!
I added more Hardware Heads as well as Large Fasteners to the panel. I cut the "legs" from the Large Fasteners, then glued them into place with Collage Medium.
Once dry, I used the Texture Hammer to smash the top so I could go back and add white paint into each divet.In the top right corner, I added a strip from the Snippets Number Strip package (my go to ephemera pack).

Now carry on,
paula


Oh my word Paula this is just so stunning... love, love, love the amazing details... I think I drooled over my keyboard looking at all the details !!
ReplyDeleteFabulous, Paula. You are always so inspirational.
ReplyDeleteBest wishes
Ellie