
Hello friends,
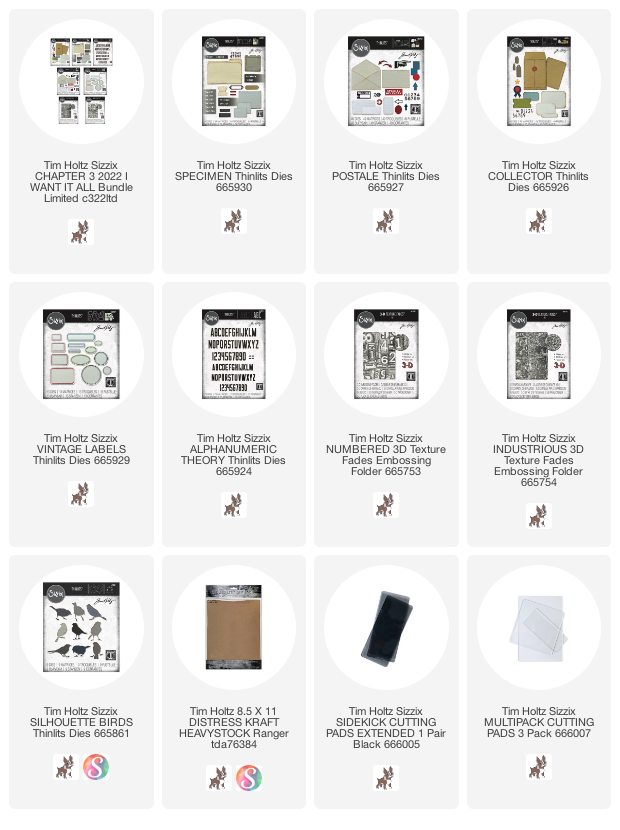
We are celebrating the EPIC release of Sizzix chapter 3 today and with that I have a few photos from when I created this tiny book made from Specimen file folders. If you missed the Live with Tim today you must find the time to watch the replay, which will be posted on his blog. I will link it here once it become available. My project is very simple, but others are so detailed that you MUST watch to see them. So many ideas for these Chapter 3 dies, it is overwhelming. You are going to need a notebook and paper to jot all the ideas and impressions down for later use. Trust me on this, you will be blown away with the creativity.

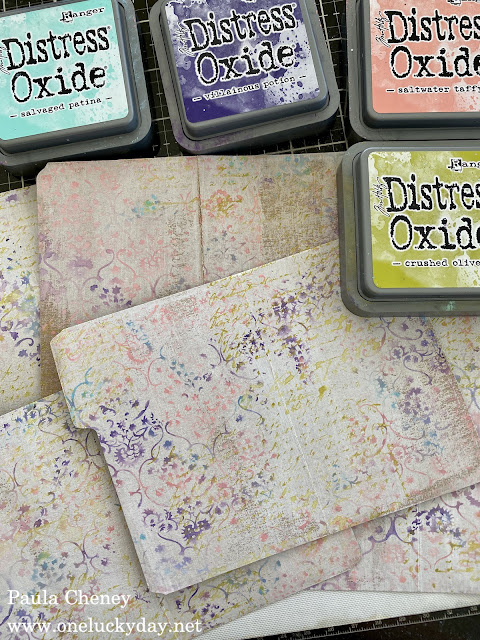
- Use the Specimen die to cut 4 file folder from Kraft Heavystock paper.
- Dry brush both sides of the folders with Distress Picket Fence Paint, leaving some of the kraft color showing through.
- Using different colors of Oxide ink, stamp the Ornate stamp (CMS348), Here are the simple steps.
- Dry brush both sides of the folders with Distress Picket Fence Paint, leaving some of the kraft color showing through.
- Using different colors of Oxide ink, stamp the Ornate stamp (CMS348), Here are the simple steps.
- Pounce stamp with different colors of Oxide Ink.
- Spritz with water.
- Stamp on file folder (no block, so you do not get a solid impression, but more random).
- Dry with heat tool (pat off any excess ink)
- Repeat on the backside
It's just that easy (and very satisfying)


At this point, you need to stitch together the two signatures you made. You can create another pocket by stitching on the top and bottom, but I decided I wanted a pocket at the top. If I want to add anything inside I can.

The book is now one complete piece so I needed to cover the folded spine.
I added Collage Medium on the folded edge, then laid a double layer of vintage netting over the glue.

I also cut 4 cards - two for each pocket using a card from the same set and the number die-cuts. I did the same dry brush technique, then added Salvaged Patina Oxide over the top.

I cut multiple Silhouette birds from Kraftstock and started pressing them into Oxide Ink spritzed with water.
Round One:


here I spritzed the ink lightly with water. Once dry, I went in and pressed the birds one more time into some very tiny ink droplets.

Then added a contrasting color of Crushed Olive Oxide in text over the body.


Looking out the window


A bright white moon
the stars of
heaven


"Promise me one thing",
 love greatly...

 Generous and true


page 5 and 6

O little friend,

 page 6 and 7
 To fly it to your heart


Soaring
like a star


page 7 and 8

where only the
imagination can go.

Now carry on,
paula
i LOOOOVe this - was watching the live and def one of my faves . Thank you so much for the instructions <3
ReplyDeleteI love the softness of this little book. The colors are just perfect!
ReplyDeleteEEEK!!!! - This is so fabulous. Thank you so much for sharing your talent, ideas, makes and love of the journey with us. My mind is racing with ideas now. I've not worked with oxides much and this is giving me some ideas and a little confidence to give them a try. Hope they work out. BTW - quick question - how do you do your envelope bow closure (the one with the eyelet in the flap of the envelope)? I just can't get it right. Thank you, Paula. Craft on!!!!
ReplyDeleteSo pretty, love how you colored the folders and the birds, the touch of lace for the wing on the bird is a great touch. Neat use of the dies!
ReplyDeleteAgree, an easy construction with maximum effects. Love the colors and simplisity of the make.
ReplyDeleteWow just so love everything about this
ReplyDelete