
Hello friends,
Hope your week is going well! I have been as busy as ever working on many behind the scenes projects for the holiday season, as well as 2022.
I wanted to share one last project specifically for Halloween, and that is my stacked windows project. It truly is a fun project to put together. My tutorial is not all-encompassing, but it will give you some needed details and information to build your own if you choose.


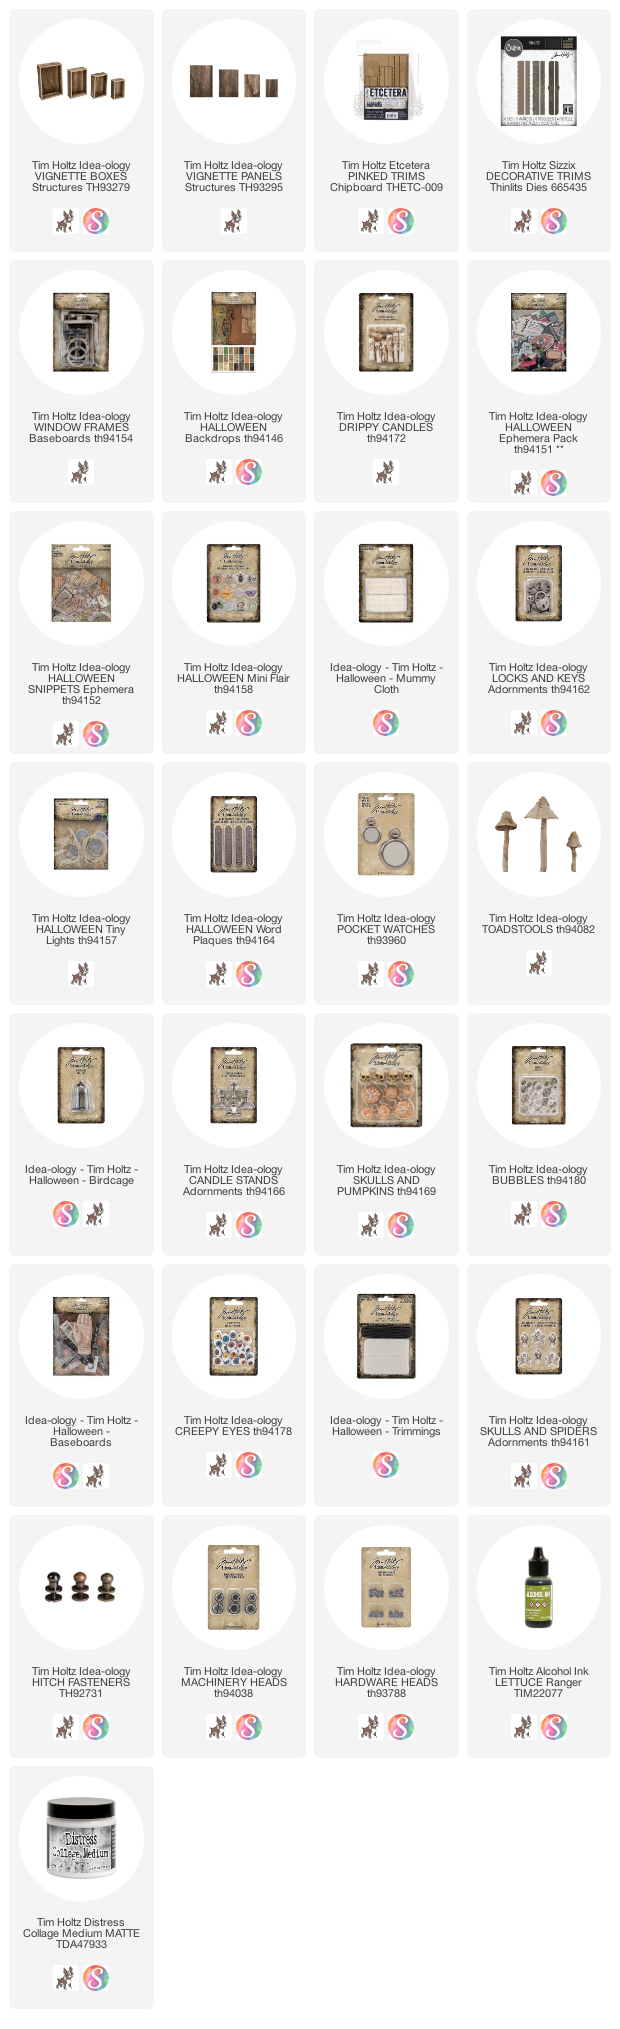
 This vignette is filled with books (the book covers are in the Ephemera pack). I used the snippets pack to add tiny labels to the spines.
Hope your week is going well! I have been as busy as ever working on many behind the scenes projects for the holiday season, as well as 2022.
I wanted to share one last project specifically for Halloween, and that is my stacked windows project. It truly is a fun project to put together. My tutorial is not all-encompassing, but it will give you some needed details and information to build your own if you choose.

Backdrops Halloween was used for all paper on base and boxes.
The base is the largest Vignette Panel with Etcetera Trims glued to the sides. I used the new Trims die to cut the paper to match the Trim. That made easy work to get them covered with paper before adding to the base.

You can see here that the die cut matches the trim perfectly! SO MUCH EASIER!

Use Collage Medium to adhere Backdrops paper to five different Vignette Boxes.
Please note, I used 2 sets of Vignette boxes. One complete set + the smallest box from the second set.

The Baseboard Windows fit many of the Vignette boxes perfectly. I used Collage Medium to adhere the windows to the Vignette boxes and blue painters tape to hold it in place while I wait for it to dry.

Some boxes have to be filled before you add the window to the front, like this small box with the skull and bird inside. I also put a foam square under the skull to raise it up since the frame is wide at the bottom.

This window is shorter than the box so I cut a piece of chipboard to fill in the open space at the top.

For the horizontal box, the frame is longer than the box, so I just cut it and glued it back together. I bet you can barely see where I cut it.

And my trick with the Toadstool...How do you get a Toadstool to stand up (and be very stable)? Double up thick chipboard, then punch a hole with a Cropadile.

Add glue around the bottom of the Toadstool and push it into the hole, creating a base. Use moss to cover the base once the Toadstool is glued to the project.

So on to the project photos...
This box has a large Bubble that I have covered in Lettuce Alcohol Ink (you will see it lit up later). Candlestick with a Drippy Candle that I painted Black and added black glitter to the top. The Snippet Labels come into play in this project and you will see them repeatedly on the books, stuffed into corners, on the birdcage, etc


You can see there is a bottle on the left and a pumpkin sitting on the stack of books on the right. Of course the vignette was filled before the windows were added.


The levitating boys are my favorite. To create this magic, just use a 1/2" wood block to hold them in place. It's just that easy.


For this box, I filled it with a few random things, like a Mini Pocket Watch, Drippy Candle and more of the Snippets labels. They really come to life when you spread Collage Medium on both sides, then wrinkle them up. Once dry, they remain in the wrinkled state and you can prop them up easily.


I love this new cage we did for Halloween. Personally I can see it used on so many things throughout the year! I stuffed it with mummy cloth and eyeballs, added the label on the cage and a chain to attach the big lock (which is actually really small) from the Locks and Keys pack. I wanted to add a Halloween Word Plaques to the front of the base.

- Wipe Antique Linen Distress Paint over the entire plaque and 2 Hardware Heads. Wipe away most of the paint, just leaving it around the words and in the corners. Let the paint dry completely.
- Pounce Mushroom Alcohol Ink over the white paint but don't cover it all.
- Scribble Distress Crayon in Peeled Paint and Mowed Lawn over the raised areas.
- Add the Hardware Heads with Collage Medium.

Now just add the plaque to the base - you can use Collage Medium or THIN foam squares.

Oh and that tiny Toadstool is darling (notice how you don't see the chipboard base?)


Let me address the lights - I am not showing exactly how to light the project, but I will tell you that only three boxes are lit - the two at the bottom and the levitating boys.


 Then I drilled another hole at the back of the front box (right behind the Bubble) so I could add just one light, to light up the Bubble. The green light contributes to the eerie vibe and makes the Bubble glow like a crystal ball.
 Then the light string travels up through another hole I drilled in the bottom of the next box to the levitating boys. It runs up the wall and top of this box (held in place with hot glue).

I drilled a hole at the back to thread the lights into the box with the books but the light is only on the right side and just glows INTO the right end of the box.

From the back you can see where the lights were added. I attached the light pack with two thin foam squares.


If you are interested in getting an email about the Christmas version (as seen on Tim's LIVE) please email me paula@oneluckyday.net to get on the mailing list. If you are already on the mailing list - then no worries - you will get an email.
I am crossing my fingers kits will be ready for shipping by November 10th.
now carry on,
paula
Such eerie Halloween boxes, Paula. You did a great job. Love it. Can't wait for my email for the Christmas one.
ReplyDeleteFabulous! I want to make a vintage sewing notions themed one. =) Better go stock up on the baseboards lol!
ReplyDeleteThe detail... It's always the small details that make your projects magical! I am going to give this project a try.... I love your projects with the stacking boxes. I keep the 2 large Christmas ones out all year in my craft space. Looking forward to the new Christmas kit! Happy Creating Paula and Happy Halloween!
ReplyDeleteThe detail... It's always the small details that make your projects magical! I am going to give this project a try.... I love your projects with the stacking boxes. I keep the 2 large Christmas ones out all year in my craft space. Looking forward to the new Christmas kit! Happy Creating Paula and Happy Halloween!
ReplyDeleteVery cool, Paula! Another one I can change up to suit any person or holiday!
ReplyDeleteI love these stacked boxes projects and am excited to see some info on making one...I have a question, please...The bottom 2 boxes look to be the same height...but you say you used one full set and the smallest from a second set...??? Some eye foolery??? Thanks for the great tip on getting the mushroom to stand on it's own.
ReplyDeletethe secret is to look at the photo of the back of the project. From the front, the box on the bottom left looks small but the box with the candles is really sitting in front of the box with the open doors. From the back, you can see the the largest vignette box takes up the width of the base. Hope that makes sense.
DeleteOh, what a fabulous project! I love all the details 😍
ReplyDeleteThis is just fab, totally in love with the whole thing. Thanku so much for sharing..🥰
ReplyDeleteI just finished my version of this. will post in addicts when all the glue dries and I can get it photoed. thanks as always for sharing and all the inspiration.
ReplyDelete