Hello friends,
Tim and I were having a conversation this week about an often asked question he gets, "what do I do with the tags I make?" So I guess that was still in my mind when I decided to make a tag book, since really any background will work for this project. Follow along and I'll show you all the layers.
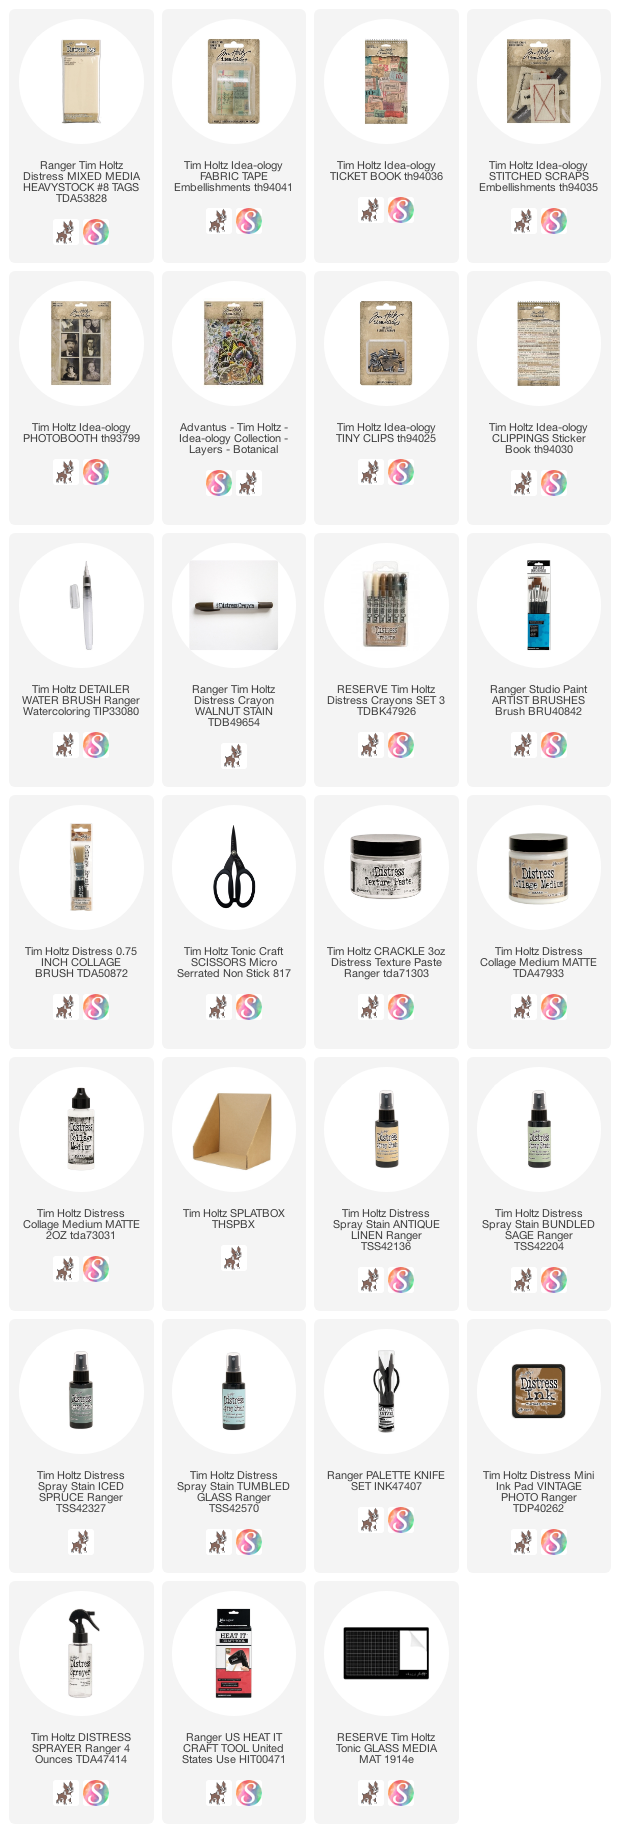
I chose five #8 Distress Heavystock Tags for the book but you could use as many as you like. The Heavystock tags are made for holding up under multiple wet mediums. They are by far my favorite tags for this kind of project where you want something that can take the inking, stamping, paste, and glue.
I placed all the tags next to each other and sprayed Antique Linen Distress Stain. I quickly rubbed the excess away with a paper towel, because I wanted all-over color instead of the speckles the spray makes. Once the tags were dry, I sprayed them with Bundled Sage, Iced Spruce, and just some small drops of Tumbled Glass. Let dry completely before moving onto the next step.
I chose two stamp sets, Flower Shop and Baroque, to stamps images using Archival Ink in Faded Jeans and Ground Espresso. It's important to use a permanent ink like Archival to maintain the stamped image.
Next step...Crackle Texture Paste using a palette knife and three different Layering Stencils: Mosaic, Digits, and Plus.
Once the Crackle Texture Paste is dry (
about 30 minutes), use the Ink Blending Tool to add Walnut Stain Distress ink to the edges of each tag. Then take the ink pad and rub directly over the raised surface of the
texture paste. If you get a bit on the background that's okay!
It should look something like this when you are done.
Now take your Collage Brush and brush Collage Medium over the surface. The wet medium will let the ink seep into the cracks in the paste and make the tag nice and sturdy when dry. By added the Collage Medium it will also allow us to use Distress Crayons if you want to add more color over the Texture Paste.
This is just a comparison between a tag with no ink and with ink/collage medium.
Next were going to add Fabric Tape to the backside to combine the tags into one long strip. I left a VERY small break in the tags so they would fold easier.
Done.
EMBELLISHMENTS
So I folded up my tag book and determined that I wanted at least 3 collages inside. I chose three Photobooth pictures, one for each collage.
I used Distress Crayons to color each Photobooth then set them aside to gather the rest of the embellishments.
I thought I might use a few tickets from the new Ticket Book. These tickets are perforated so you just rip out what you need. I keep the leftovers (
that I don't use this time) in a small plastic photo bin.
We've got tickets and photos so far, so let's add some flowers from Botanical Layers. I picked a few flowers and a butterfly. The butterfly was only black and white from the package so I colored it with Distress Crayons to give it some life. All four pieces have Antique Linen Embossing Glaze added over the surface to add a vintage feel.
I gathered a few more things to use in the collages. Stitched Scraps, Field Notes Snippets (much small than the regular Field Notes Ephemera), Clipping Stickers, some cheesecloth and vintage buttons. Again, still guessing at this point what I will end up using.
Before I started the inside, I decided to sew along the edges of each tag to add texture/strings and secure the Fabric tape. The tape is very sticky, but since I am going to be folding and unfolding I thought it might be a good idea. I left all the sewing threads long - i'll trim them later if needed but I really like them long!
I found a skinny ribbon in my stash and tied up the book - leaving room for adding stuff inside!
I untied the bow and held on tightly as I stitched the ribbon to the front tag!
With that done, I'm ready to start the collages.
Collage Number One: Everything is here...tickets, flowers, ephemera snippets, cheesecloth, only added the Tiny Clip (
my favorite little addition).
Collage Number Two: same M.O. + vintage button.
Collage Number Three: Hard to see the Stitched Scrap in the bottom left of the collage, but it's there.
Please click on the photo to see the entire tag book.
I just love the mix of materials, from the stamping to the Crackle Texture Paste...it just all works together! I could see this book being much longer than it is because the tags are so fun the make. This is definitely one of those "use up your scraps" kinda project because anything goes.
Thanks for stopping by!
Now carry on,
paula


Gorgeous! And I love how you have detailed this piece with nice photos!
ReplyDeleteReally love the effects of the Distress Embossing glazes, they add so much to a project. I can see how a tag album could easily turn into a tome having so much fun making them! Thank you for sharing!
ReplyDeleteSheila Styre-Briere
this is so beautiful Paula and right up my crafty alley and a great way to use up the mountain of ephemera we collect, hugs kath xxx
ReplyDeleteAwesome, awesome, awesome project, Paula! This would definitely be a "desk cleaner offer" project for sure!
ReplyDeleteThis comment has been removed by the author.
ReplyDeleteJust so beautiful! I love all of the bits and bobs that you added. :)
ReplyDeleteThank you for taking the time to share the step out instructions and photos. It's so very helpful and much appreciated!
Have a great weekend!
Edited because auto-correct had a field day with my first comment. :/ Sorry!
Beautiful as always and a wonderful step by step tutorial, which I really appreciate. Thanks so much for sharing.
ReplyDeleteAbsolutely beautiful. Thanks for sharing.
ReplyDeleteMarie
This is really wonderful, Paula!!! You are just so good at putting bits together!!! Great tutorial!!
ReplyDeleteThis is a Gorgeous tag book Paula !! Really wonderful. Love the way you have created it, with those so stunning backgrounds, and the images and every details. Great !
ReplyDeleteHave a nice new week, and stay safe
Big hugs, Caty
Wow, what a lucky day, both you and Stacy have tag books to view! Your little book is so beautiful; the background tags are gorgeous and the focal point of each is so absolutely perfect!❤️ With so much inspiration, I may have to attempt a book as well! Thanks for the tutorial and inspiration. Carrying on and crafting 😉
ReplyDeleteLove all the collages and your speckled tags were a great start, too! These are so inspiring, and I love that you collected them into a stitched booklet.
ReplyDelete