Hi Everyone! Glad to be back on the blog today sharing a fun project. It has been some time since I have posted. I wish I could say I have been on a long vacation but nope, been right here working away on a lot of behind the scenes projects, HS graduation festivities for my niece, and a fantastic teaching trip to Whim So Doodle in Florida. I carved out some this week to relax and create. Follow along and I'll show you what I made.
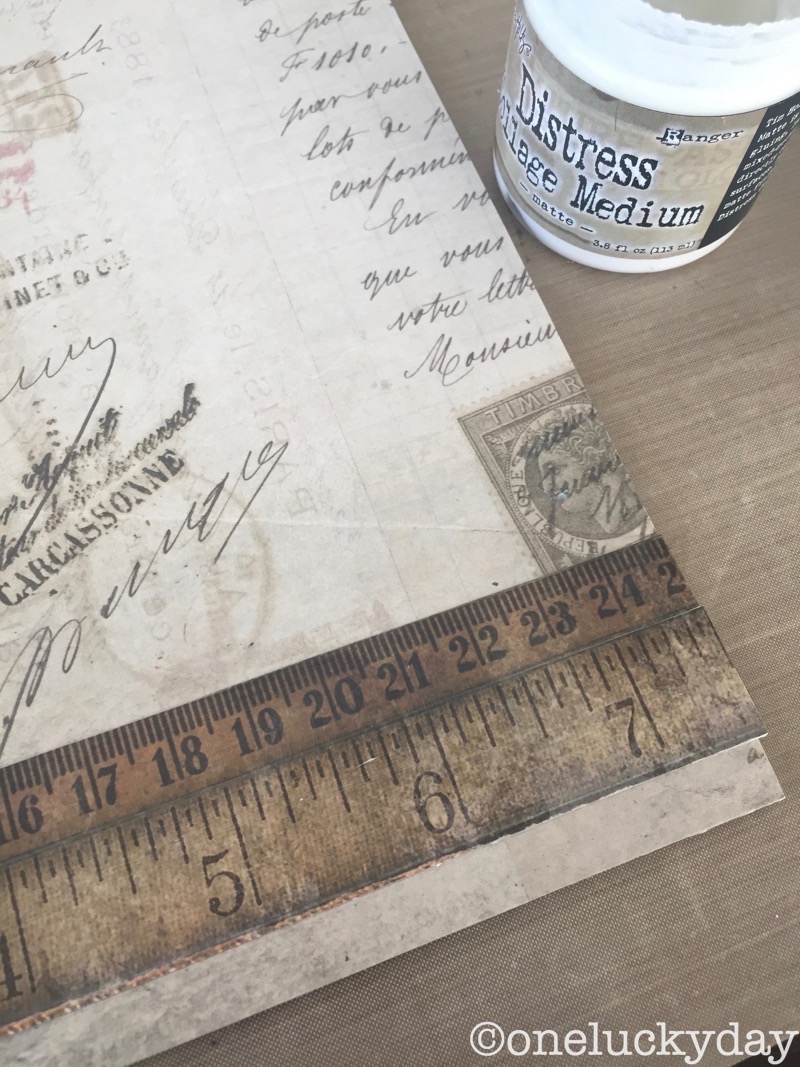
Today I using a Framed Panel. I have added a sheet a paper from the French Industrial Paper Stash using Collage Medium Matte.
I cut a couple rulers from the Dapper Paper Stash and added to the bottom of the panel to ground the composition. The Collage Medium dries so fast it's perfect for working on a small panel like this.
I knew what words I wanted to use for this project so that is where I started. I cut the letters using Distress Watercolor paper and the Sizzix Block Talk Alphabet. It is definitely my go to alpha because of its tall skinny shape. Easy to say a lot in a small space.
I have my words so now I need a focal point. Found Relatives come to the rescue every single time! I cut the girl away from the card and inked the white edges with Pumice Stone Distress ink.
I had the idea to make her sort of Alice in Wonderland-ish by using flowers from the Wildflower Paper Stash (
yes, I used three papers from three different paper stashes!) I took my time and fussy cut flowers and leaves until I thought I had enough (
an ode to one of my favorite creatives Beulah Bee who is the best fussy cutter I know!). In reality I needed a few more than what is shown here but they were just small add on pieces so very easy to cut as I went.
Once I had all my pieces cut out, I gathered them to the panel and started laying everything out. Trial and error is what I would say about placement. You just try things and see if it works!
Because the frame sits directly on the panel, you have to take that into account when placing the pieces. Once you think you have it right, you can start to glue everything down with the Collage Medium.
Note:
I got this far and then decided to add the words and paint my frame before cutting and adding more leaves and flowers.
The words are cut from Distress Watercolor cardstock which is perfect for Distress Stain. I sprayed the letters with
water then Tumbled Glass and Frayed Burlap Spray Stain. Spraying with water first really helps to give the watercolor look. Dry with a heat tool.
I painted the frame with Picket Fence Distress Paint. Once dry I wiped on Distress Collage Medium Vintage, wiping away the excess with a soft cloth. This medium will leave a warm caramel colored on the surface. Perfect for the shabby chic look. I also sanded the edges with my Sanding Grip and inked it lightly with Ground Espresso Distress Ink.
Now that the frame is ready I can add the letters using Collage Medium.
Time for Distress Crayons... I started with Walnut Stain around flowers. Scribbling it on and then blending with a wet fingertip (
no sense in making it harder than it has to be).
Same goes for the letters. Remember you can always pull it off with a wet wipe and start over.
You can make the crayons as light or dark as you want. You can see my first go round is light and not at all like it started.
After my first layer of crayon, I colored the blouse with Distress Markers. You can see I used many colors for her blouse. Just color it on and wipe away with a tiny piece of paper towel. I went over the blouse two or three times getting the color to the way I wanted (
for now).
I wanted a little detail on the figure so I used a Souffle pen to add white details to her blouse and dress.
Note:
I am going to add Distress Ink with a Blending Tool so some of the ink will wear away and become more distressed than it appears here.
Next up another layer of crayon. This time Picked Fence and Fossilized Amber. Do not discount the Picket Fence crayon! Great for adding highlights!
Almost done!!
To brighten the entire piece I'm adding Picked Fence Distress Paint with a Splatter Brush.
I covered the girl so she stays "fleck free", then drawing the bristle back, I splatter the paint across the panel. Super easy!
Next I covered everything
except her blouse. I love the fine splatter you can get with this brush!
The smallest Mirrored Heart (mushroom alcohol ink) was added to her chest with Glossy Accents.
Words from the Special Delivery Remnant Rub sheet work perfectly for a secondary message.
And my signature tiny number (
wouldn't be a paula project without it right?).
And we're finally done!
Just what I needed to kick start my creative side into gear. I love the details...the layering, the fine cutting...right down to the tiny number. It all works together.
Seriously I'm thinking right now...what else do I have that I can cut up?
I know when I got the Crayons I thought I may never use my Distress Markers for detail work or drop shadows but I did in this piece. For example, the area behind her head was just too small for the crayon so the Distress Marker worked perfectly to shade it in. I can now see that the two products can work together to create a multi layered piece full of dark and light at the same time.
Go where your heart takes you...
now carry on,
paula