Hello friends,
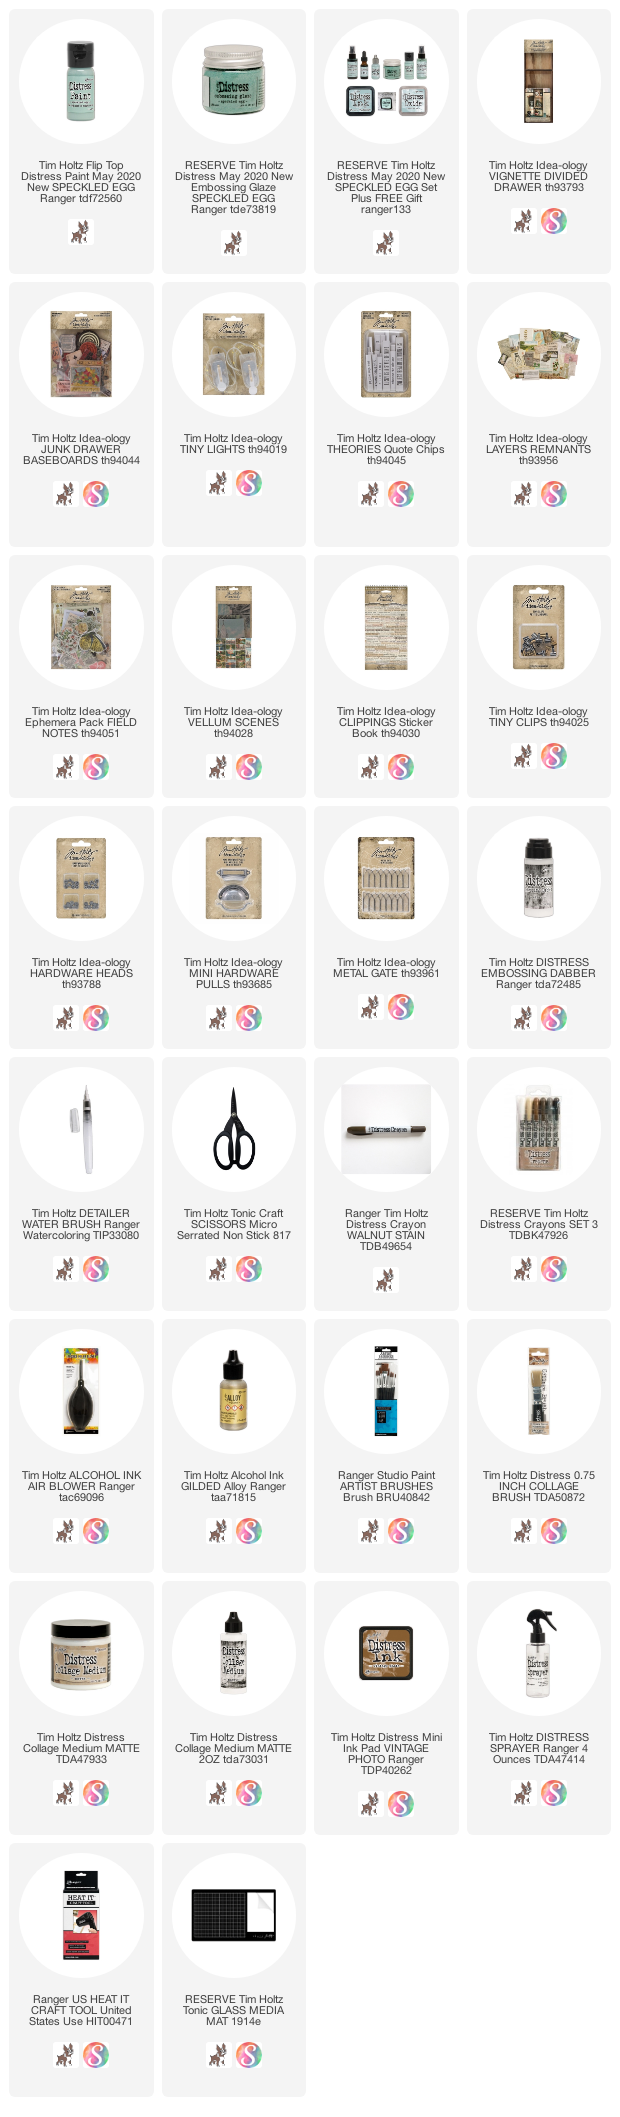
Great to be back celebrating the Speckled Egg Release. Todays 'feminine grunge' project is more subtle that the last three (
as far a color goes) but Speckled Egg Still shines. The substrate I used is the Divided Drawer with one of the shelves removed to create just two compartments. I did not take step-out photos as I created this project, but I have gone back and recreated the side panel technique with step-outs which you will find below.
To begin, Collage Medium was used to adhere paper to the inside of the top compartment. I also added a layer of Collage Medium over the top so Distress Crayon could be used as a wash over background. When I say "wash", I mean that I scribble Distress Crayon onto the glass mat and pick it up with a damp (not wet) 1/2" paintbrush. I concentrate the color in the corners and where the paper meets, fading it out as I go up the sides. I ALWAYS end by pouncing lightly over the surface with a wet wipe to get rid of any brush marks.

The ephemera piece in the background came from the Layers pack, Remnants. I used the dabber bottle of Embossing ink to go over random parts of the card before embossing with Speckled Egg Glaze. Once the Glaze was cool, I was able to add Distress ink to the part of the card unaffected by the Glaze. The card was then ripped and folded in on the edges...all done with Distress Ink Walnut Stain and water, which will of course make the card edges a bit soggy but once dried with a heat tool it will go right back to normal. I added the ephemera piece to the Divided Drawer with two 1/2" wood blocks.
The girl in the fur coat is Mildred. Her name is clearly written on the original photo we purchased for idea-ology Paper Dolls. And although she does appear in some Paper Doll packs, I used Baseboard Dolls for this project (
which she also appears in). Baseboard Dolls are made from thick chipboard so the doll always maintain a stoic stance (
in others words, they will not bend). I used Distress Crayons to color her coat, hat and purse. I have always loved that she has her purse.
The flowers and label used in the background are all from the Field Notes Ephemera pack.
To fill up the length of the compartment, I put her on a pedestal of sorts, that being the pink Baseboard piece from Junk Drawer (you will be able to see how she is able to stand there in the next photo). I painted a Metal Gate with Speckled Egg Distress Paint and let it dry. Then pounced Mushroom Alcohol Ink over the surface to age the paint. Once that was dry, I bent the gate till it broke in half. Then the tricky part...to bend the two flat gate pieces without breaking again, whilst creating two curved pieces. I did it so I know you can, you just have to go slow. In the end, I used wire cutters to clip off about 1/2" from the center of the gate to create a larger opening.
So you can see in this picture that there is a 3/4" wood block behind the pink Baseboard piece - that is the secret to standing up the pink Baseboard. There is also a double stack of foam squares behind Mildred to adhere her to the Ephemera card behind her. Her feet are glued to the pink Baseboard.
You can also see the curve in the Metal Gate. Could you put the pieces in flat? of course. But if you are willing to try curving them, it adds to the 3D quality.
So lets talk about the box at the bottom. I drilled a hole in the back of the box to allow the Tiny Lights to be threaded in. Once the lights were inside the bottom compartment, I wound the string in a loose coil and taped it to the back of the compartment.
It is hard to tell in this photo but the Vellum Scene was cut just a bit larger than the compartment so that it could be inserted concave/ or U shape. I did put Collage Medium on the sides of the compartment before adding the Vellum Scene and let it dry in place before moving on.
I used Speckled Egg Embossing Glaze over the Quote Chip "
Adventure Awaits". Same technique as the large ephemera card in the top compartment. I cut it to fit and glued it into place inside the compartment. The Clippings Sticker,
"all the world is bright" was added to the shelf above. And the the tiny sticks? ... their only purpose is to lead your eye to the path. This is the part when the message of a Clippings sticker and the visual image are so cohesive it's uncanny.
The back was covered with paper and then the Tiny Lights battery pack was attached with a thin foam square.
As for the technique I used on the sides of the Divided Box. I have
recreated the steps on a Vignette Panel just because it is much easier to see in the larger format. Because this is a recreation of what I did on the box,
it is not exact. I know I used less of the gold on the box, leaving more blue showing, but you will still get the intent of the technique.
1. Adhere Sizzix die-cut over wood. I only used Collage medium underneath because I will be adding paint to the top.
2. Paint the entire surface with Speckled Egg Distress Paint and let dry completely.
3. Gather supplies:
- Alcohol Ink Alloy in Gilded (shake before use, then take the cap off)
- 97% Isopropyl Alcohol (mine is in a small spray bottle)
- Alcohol Ink Air Blower
4. Spray the surface with Isopropyl Alcohol.
*Whatever surface you are working on, you will need to work in sections because the Isopropyl Alcohol dries quick. If you are doing this on the side of the Divided Drawer, I might create three "visual" sections and work one at a time.
5. Shake a few drops onto the surface where you sprayed the Isopropyl Alcohol (bottom half of panel).
6. The use the Air Blower to move the Alloy into the crevices. If you need more Isopropyl Alcohol then add more.
They Alloy breaks up and will flow into the recessed areas. Now before you get too excited, we are working on wood, which is porous, not Yupo paper, which is plastic and meant for Alcohol Inks. The Alloy will soon become just gold as show in the following pictures.
Even when drying, you can always add more Isopropyl Alcohol to *dilute the gold (for lack of a better term) or keep it moving.
This is how I ended the Alloy portion. Again, more gold that my original sample but I still like the look.
7. Scribble Distress Crayons over flowers, leaves and stems.
8. Smudge Crayon with a damp finger. My goal was to keep the color on the die-cut layer, leaving the background as is. Once I was done I lightly pounced over the entire surface with a wet wipe. Kinda like magic, the light pouncing brings up bright spots in the Crayon work.
So that's it. Just a nice shabby, grungy, feminine piece. The more I look at it, the more I love it. Even if you created it without the decorative side panels it would still be fun to make and display.
Now carry on,
paula


 5. Add shredded Mummy Cloth behind the Paper Doll.


 10. Use Collage medium to add a sentiment from the Clippings Sticker book.
 I sure am happy with this new color. It is a color I have wanted for a long time! I love how this turned out with Uncharted Mariner and the gold metallic words.