For the past 3 or 4 years, I have kept a saying scrawled on a bight pink Post-it note on a wall leading into my kitchen. When I pulled the Palette Green fabric out of the box, that message immediately popped into my head and I knew I had to somehow add it to my project!
Green is a wonderful addition to the Freespirit Palette collection. It's a great color to add to Palette pink, yellow and even orange projects (since orange has bits of green in some of the patterns). It will also go with the blues that are coming in the next few months.
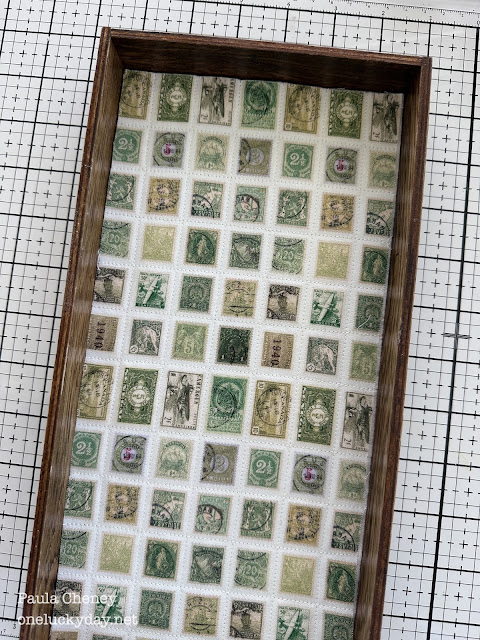
I used just two of the ten fabrics for my tray: Palette Green Stamps for the background and Palette Green Tiny Print for the center feature. I quilted both pieces - one with squares following the stamp lines and a diamond pattern for the center. You will be able to see the quilting better in the close-up photos.  There are 8 more fabrics to choose from:

 I cut the Stamp fabric and a piece of Warm & Natural for the back of the tray - 6 x 12". That will give me enough fabric to be able to trim up the sides after quilting.
 I used a temporary fabric adhesive to keep the fabric in place while I do the quilting portion.
 For the stamp fabric, I followed the lines of the stamps. That made it very easy to follow and no pre-marking was needed.
 Then I went to the cutting mat and trimmed up the edges to fit the large Vignette Tray.
 I added a good amount of Collage Medium to the entire back of the tray, before adding the quilted fabric. I used a small brayer to help adhere the fabric panel to the wood then set it aside to dry.
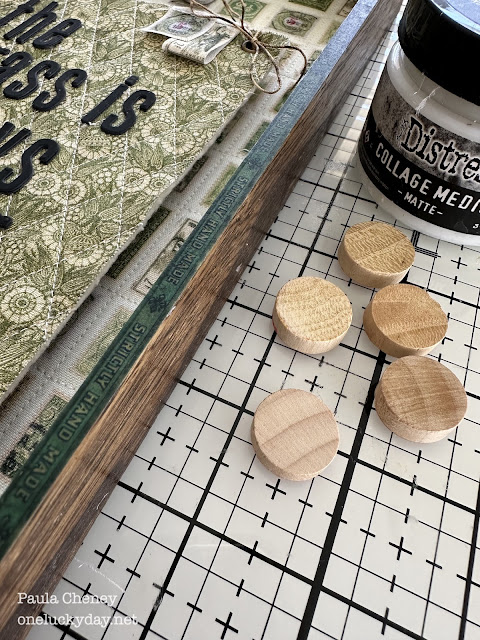
 I also decided to add Design Tape to the lip edge of the tray. Of course my absolute favorite green tape worked perfectly for my green theme. I do like to add Design Tape with Collage Medium underneath for longevity.
 I cut a piece of heavy chipboard 4 x 10", then once I had my phrase planned out, I cut it to 4 x 7.5" (4" was as wide as it could be). I did not account for the eyelets that I added later, so in hindsight I wish I would have cut the chipboard about a 1/2" longer - 4 x 8". Sometimes that happens and you just have to go with it!
 I used Distress Heavystock for the letters (cutting two sets) because it is so thick - the perfect cardstock for die cutting (and it has a silky smooth surface). Cutting all the letters took a bit of time, but I added Sizzix Adhesive sheets to the back of the cardstock, which made stacking the letters very easy. I just put on some music and worked my way through the phrase.
 So lets quilt the second piece of fabric. Again, I added Warm & Natural to the Tiny Print with spray adhesive. Then got to work marking the first set of sewing lines using a Pilot FriXion Pen. It looks like a lot of sewing but it's not.
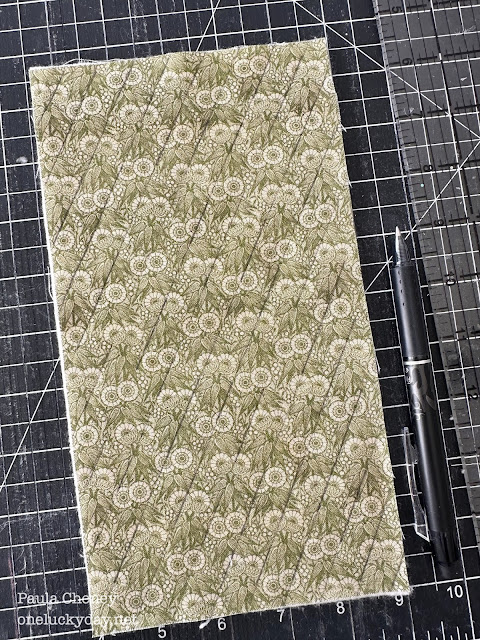 Once the first set of diagonal lines was sewn, I marked the second set and went back to the sewing machine to finish it out.

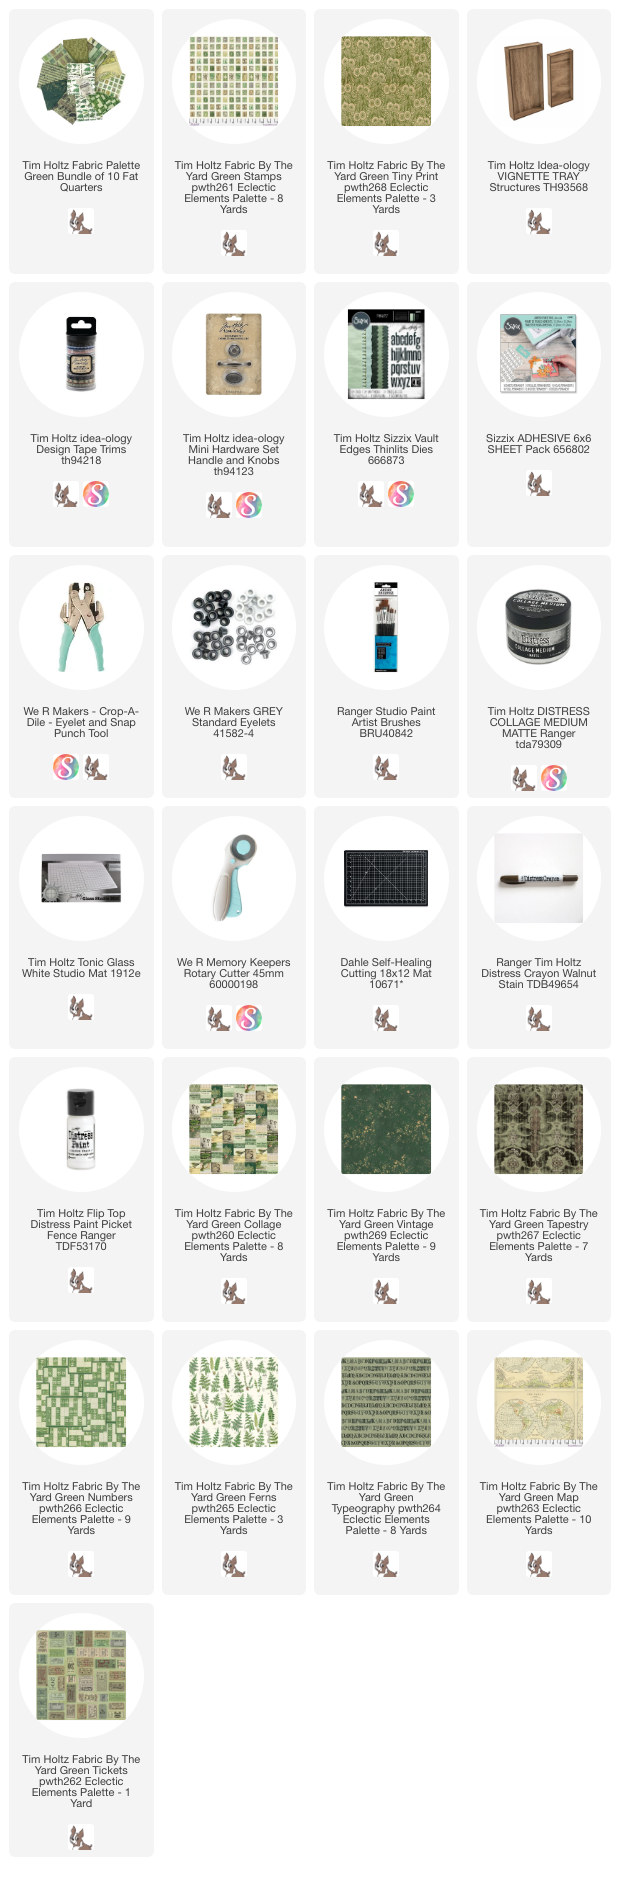

Palette Green Collage
Palette GreenVintage
Palette GreenTapestry
Palette Green Numbers
Palette Green Ferns
Palette Green Typography
Palette Green Map
Palette Green Tickets

Lets get started with the Vignette Box.
I decided I wanted to leave the wood showing but I wanted a smooth satin finish. So I painted Collage Medium on the parts of the tray that will show: the inside and outside walls. The Collage Medium gave it a finished look and really elevated the look of the raw wood.


The Sizzix die is one of the newer Vault Dies - called Edges. I love this lower case alpha - that 'g' gets me every time!

NOTE: Be sure to take a quick photo of the layout before sliding the letters off the chipboard.


Next is trimming it up to fit the chipboard.
 I used Collage Medium to adhere the fabric to the Chipboard. I also used a small brayer to make sure it was adhered well.
 Next up is the eyelets. It's always scary cutting into the fabric to make the hole but you just have to go for it.
 Once the eyelets are in, you can proceed to recreate the layout of the phrase. You can see that I had to shimmy the lines closer together because I had not accounted for the eyelets in my original design. Not ideal, but still doable.
 It looked pretty good when I was done, but gosh that extra 1/2" would have made it easier.
 I added some stamp pieces at the top. I followed my easy patch making technique, by painting Collage Medium onto the back of the fabric and letting it dry completely. Then I just cut out the pieces I needed and stitched them together.
 It was only after that, that I glued them to the panel as if I had sewn them on. The string was threaded through the eyelets for hanging. I love how the string, dyed with Walnut Stain Distress Ink, completes the panel. Now, how to hang it?
 I painted a handle from the Mini Hardware Set.
 Then glued it to the fabric with Collage Medium. This is why it was important that the background fabric is secure to the back of the tray. Once it was secure, I placed the panel over the background with the string around the knob.
 I added a five bingo chips to the back of the panel to raise it from the tray and keep it secure.
 And there you have it! One of my favorite sayings (and not on a Post-it note anymore!).

 If you have a favorite saying, maybe it would work for a project like this?


Now carry on,
paula