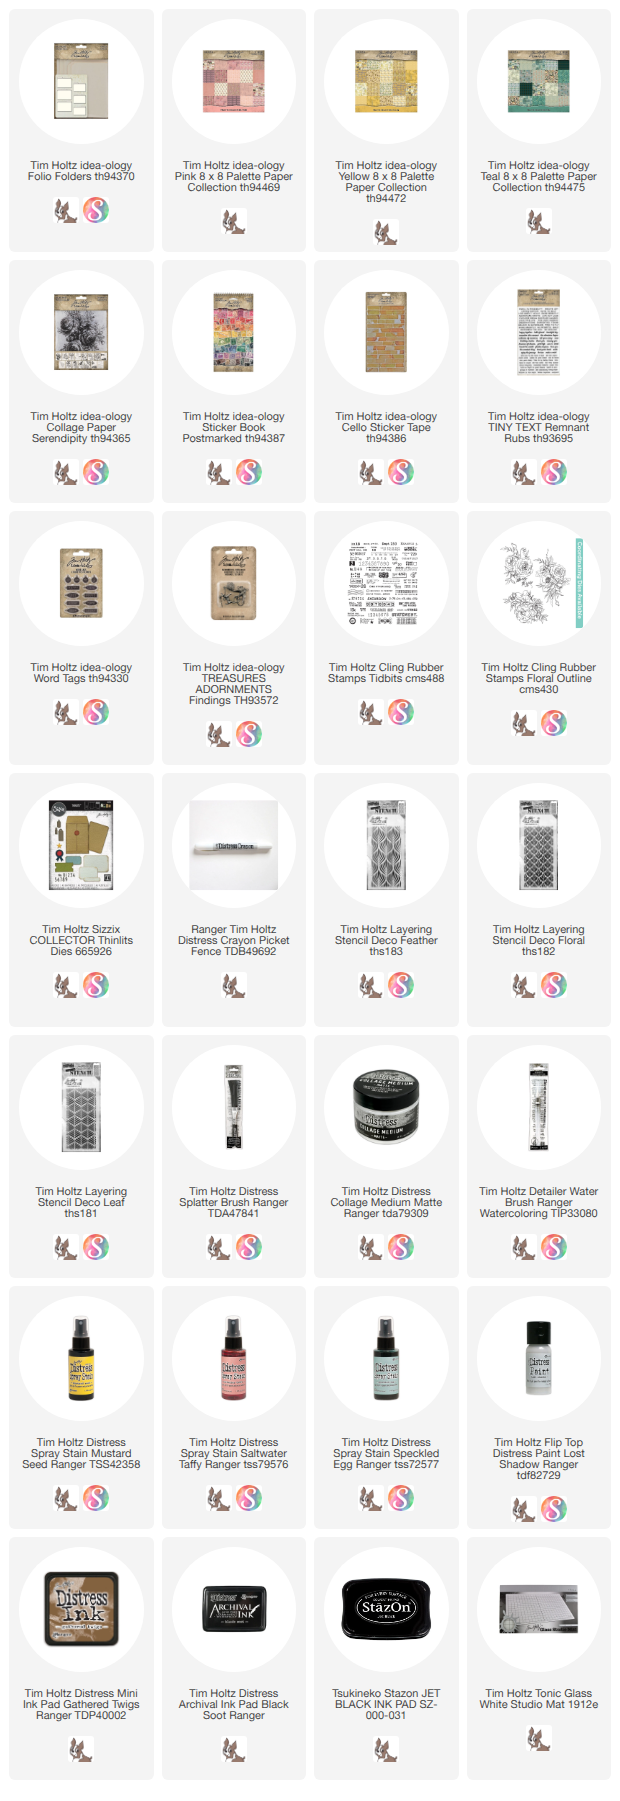
Hello friends! With June just around the corner, graduation season is officially on the horizon, which means it's time to make a few special cards. To get a head start, I decided to use the versatile idea-ology Folio Folders as my base. Combining Distress Paint, Spray Stain, and beautiful Collage Paper made personalizing the covers a breeze.
I added Palette Paper envelopes to the inside so a gift card or money can be easily added! I hope you'll come along with me today as I show you how just a few simple materials can come together to create truly memorable cards.
I started with three large Folio Folders. There are three more smaller folders in the pack, but I'll be saving them for another time.
I used a Blending Tool with a foam pad to add Lost Shadow Distress Paint to the three folders. It takes
very little paint to get a great image through the stencil. So remember,
"Less is more"!
TIP: If you don't want to wipe the paint off the stencil immediately, throw it into a tray of water until you have the time to wash it.
I used three different stencils - Deco Feather, Deco Leaf, and Deco Floral. These are some of my favorite stencils!
Spray a few colors of Distress Spray Stain + enough water to help it bead up. I chose Mustard Seed, Speckled Egg, Saltwater Taffy, but many color combinations from the Distress line will work. NOTE:
I also gave the Folio Folder a light spritz of water before dipping into the ink.Here's my first go - I got a lot more yellow than I anticipated but I still like it.
Love how the three turned out. Each different and unique! The Lost Shadow Distress Paint is perfect with the bright colors.
I'm going to add a few flowers from Collage Paper over the inked folio. I used a water brush to cut out each flower from the background.
Super easy to add the Collage Paper to the front of the Folio with Collage Medium. Remember, a layer of Collage Medium, then the Collage Paper, then another layer of Collage Medium over the top.
Here are the three images I chose but any from the Serendipity pack would do.
Next up, use the Distress Splatter Tool to flick Picket Fence Distress Paint over the folders. It might be hard to see all the paint flicks but they really add to the overall look.
While the paint is drying, I'm going to stamp on some Cello Tape. You must use StazOn ink so it will be permanent (
Archival ink will not work for this). I'm also using the Stampers Anonymous Tidbits stamp set since the size/scale works perfectly.
#1 TIP: Make sure you are stamping on the right side of the tape that peels off! You might notice that in the upper left hand corner I stamped on the wrong side and had to turn the tape over to continue stamping!
Another tip...If you spray some
Isopropyl Alcohol on to a paper towel you can remove bad stamping. Turn the tape over to stamp a new image (Example 3).
I used Collage Medium to add 8x8" Palette paper to the inside of the folders. I used Palette Teal, Palette Yellow, and Palette Pink.
When I was working on the outside, some ink managed to make its way onto the inside. I decided to just go with it and instead of covering it up with paper, I stamped each folder using my favorite florals and black soot Archival Ink. I also added a few more splatters just to give it more color.
Now a little Gathered Twigs Distress Ink on the edges of the folders.
Now to finish the outside of the folders:
I used Postmarked stamps, Tiny Text Remnant Rubs, the pre-stamped Cello Tape Stickers to decorate each of the Folio Folders. Don't be afraid to cut up the Remnant Rubs to suit what you want it to say. For instance, I changed "Free to Fly" to "Remember to Fly".
I also added a vintage button to each little collage. Any other small embellishment could be substituted if you don't have a button!
To further decorate the folders, I gathered a few charms to hang from some string. I thought the bird would work well with "Remember to fly". I use Speckled Egg Distress Paint to paint the bird and a Picket Fence Crayon to fill the recessed portion of the idea-ology Word Tags.
Just a bit of twine to tie the charms to the folios!
Since I decided to make these cards for upcoming graduates, I thought I better add a pocket on the inside for a gift card or money. I did that by cutting Palette paper (
in Teal, Pink, and Yellow) with the envelope die from the Sizzix Collector Thinlit. The size is perfect.
I used tape to add each envelope to the inside of the folder. They really are mix and match envelopes at this point!
One last idea!
I wanted to add a note as a closure on the envelope so I looked through my stamps to find Note Quotes. It had the perfect saying, "You got this",
I sprayed a piece of Distress Watercolor paper with Antique Linen Spray Stain.
I stamped the circles and the saying using Archival Ink, then cut them out.
I made a puddle of Speckled Egg ink to hand color the circles to give it more depth and interest. The color combo looks so good in person. I wish the photo could do it justice.
I added the circles to the envelope with tape but left the bottom portion open so I could add the gift card or money.
There is enough room to slip a note inside too!
Now carry on,
paula


 I also added a vintage button to each little collage. Any other small embellishment could be substituted if you don't have a button!
 To further decorate the folders, I gathered a few charms to hang from some string. I thought the bird would work well with "Remember to fly". I use Speckled Egg Distress Paint to paint the bird and a Picket Fence Crayon to fill the recessed portion of the idea-ology Word Tags.


So much detail and so lovely. These cards are beyond special :)
ReplyDelete