
What an exciting few days it's been, seeing all the fabric makes being posted on social media! I can sew but I am no Richele, who is a master quilter and sewer. Seeing what she can do with fabric is really amazing!
Today's project is and easy one. You could also make this using fusible bond and a little hand stitching if you don't have a machine.
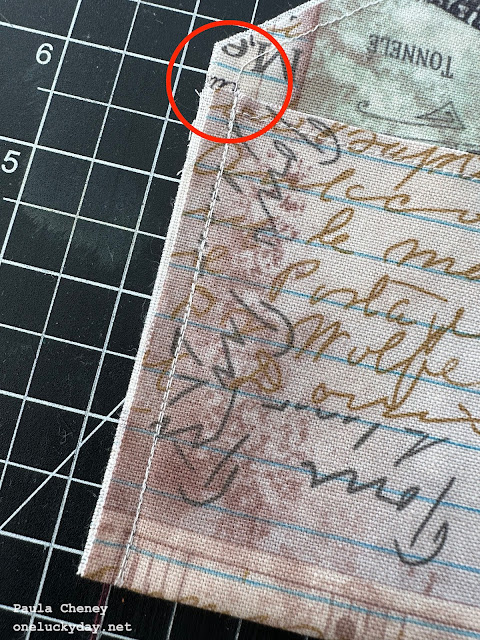 Stitch up the two sides and remove any pins.
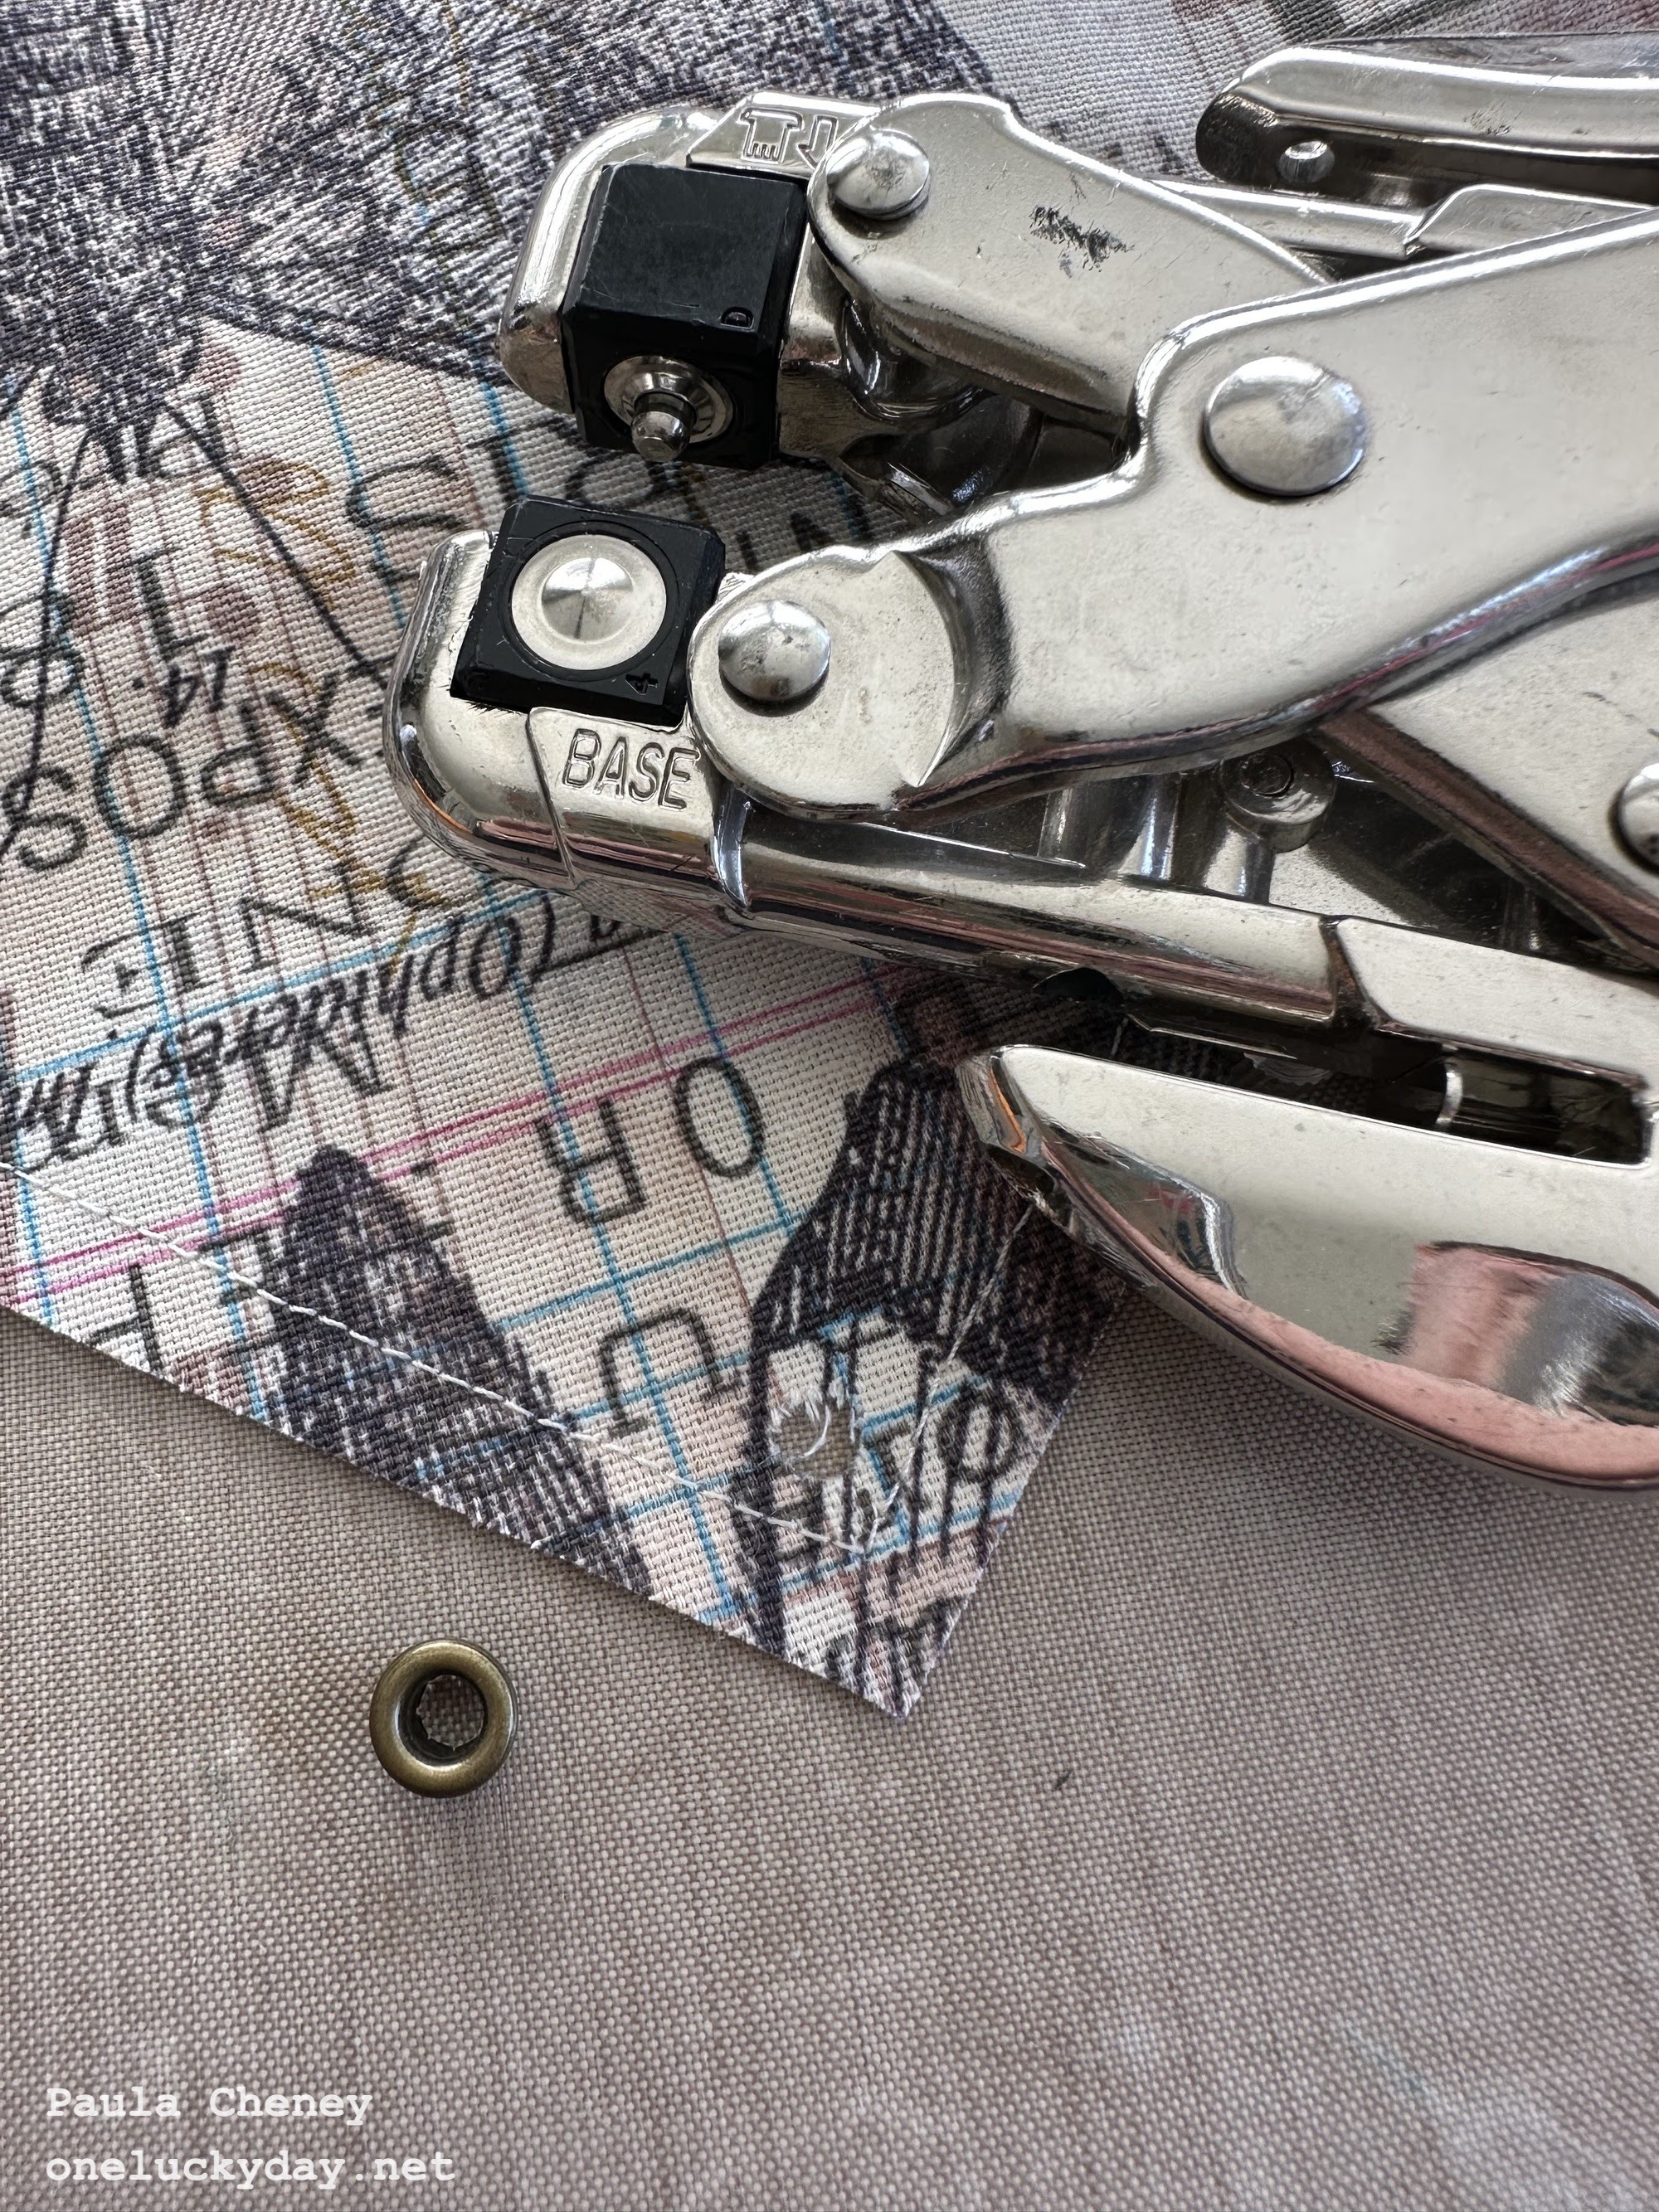
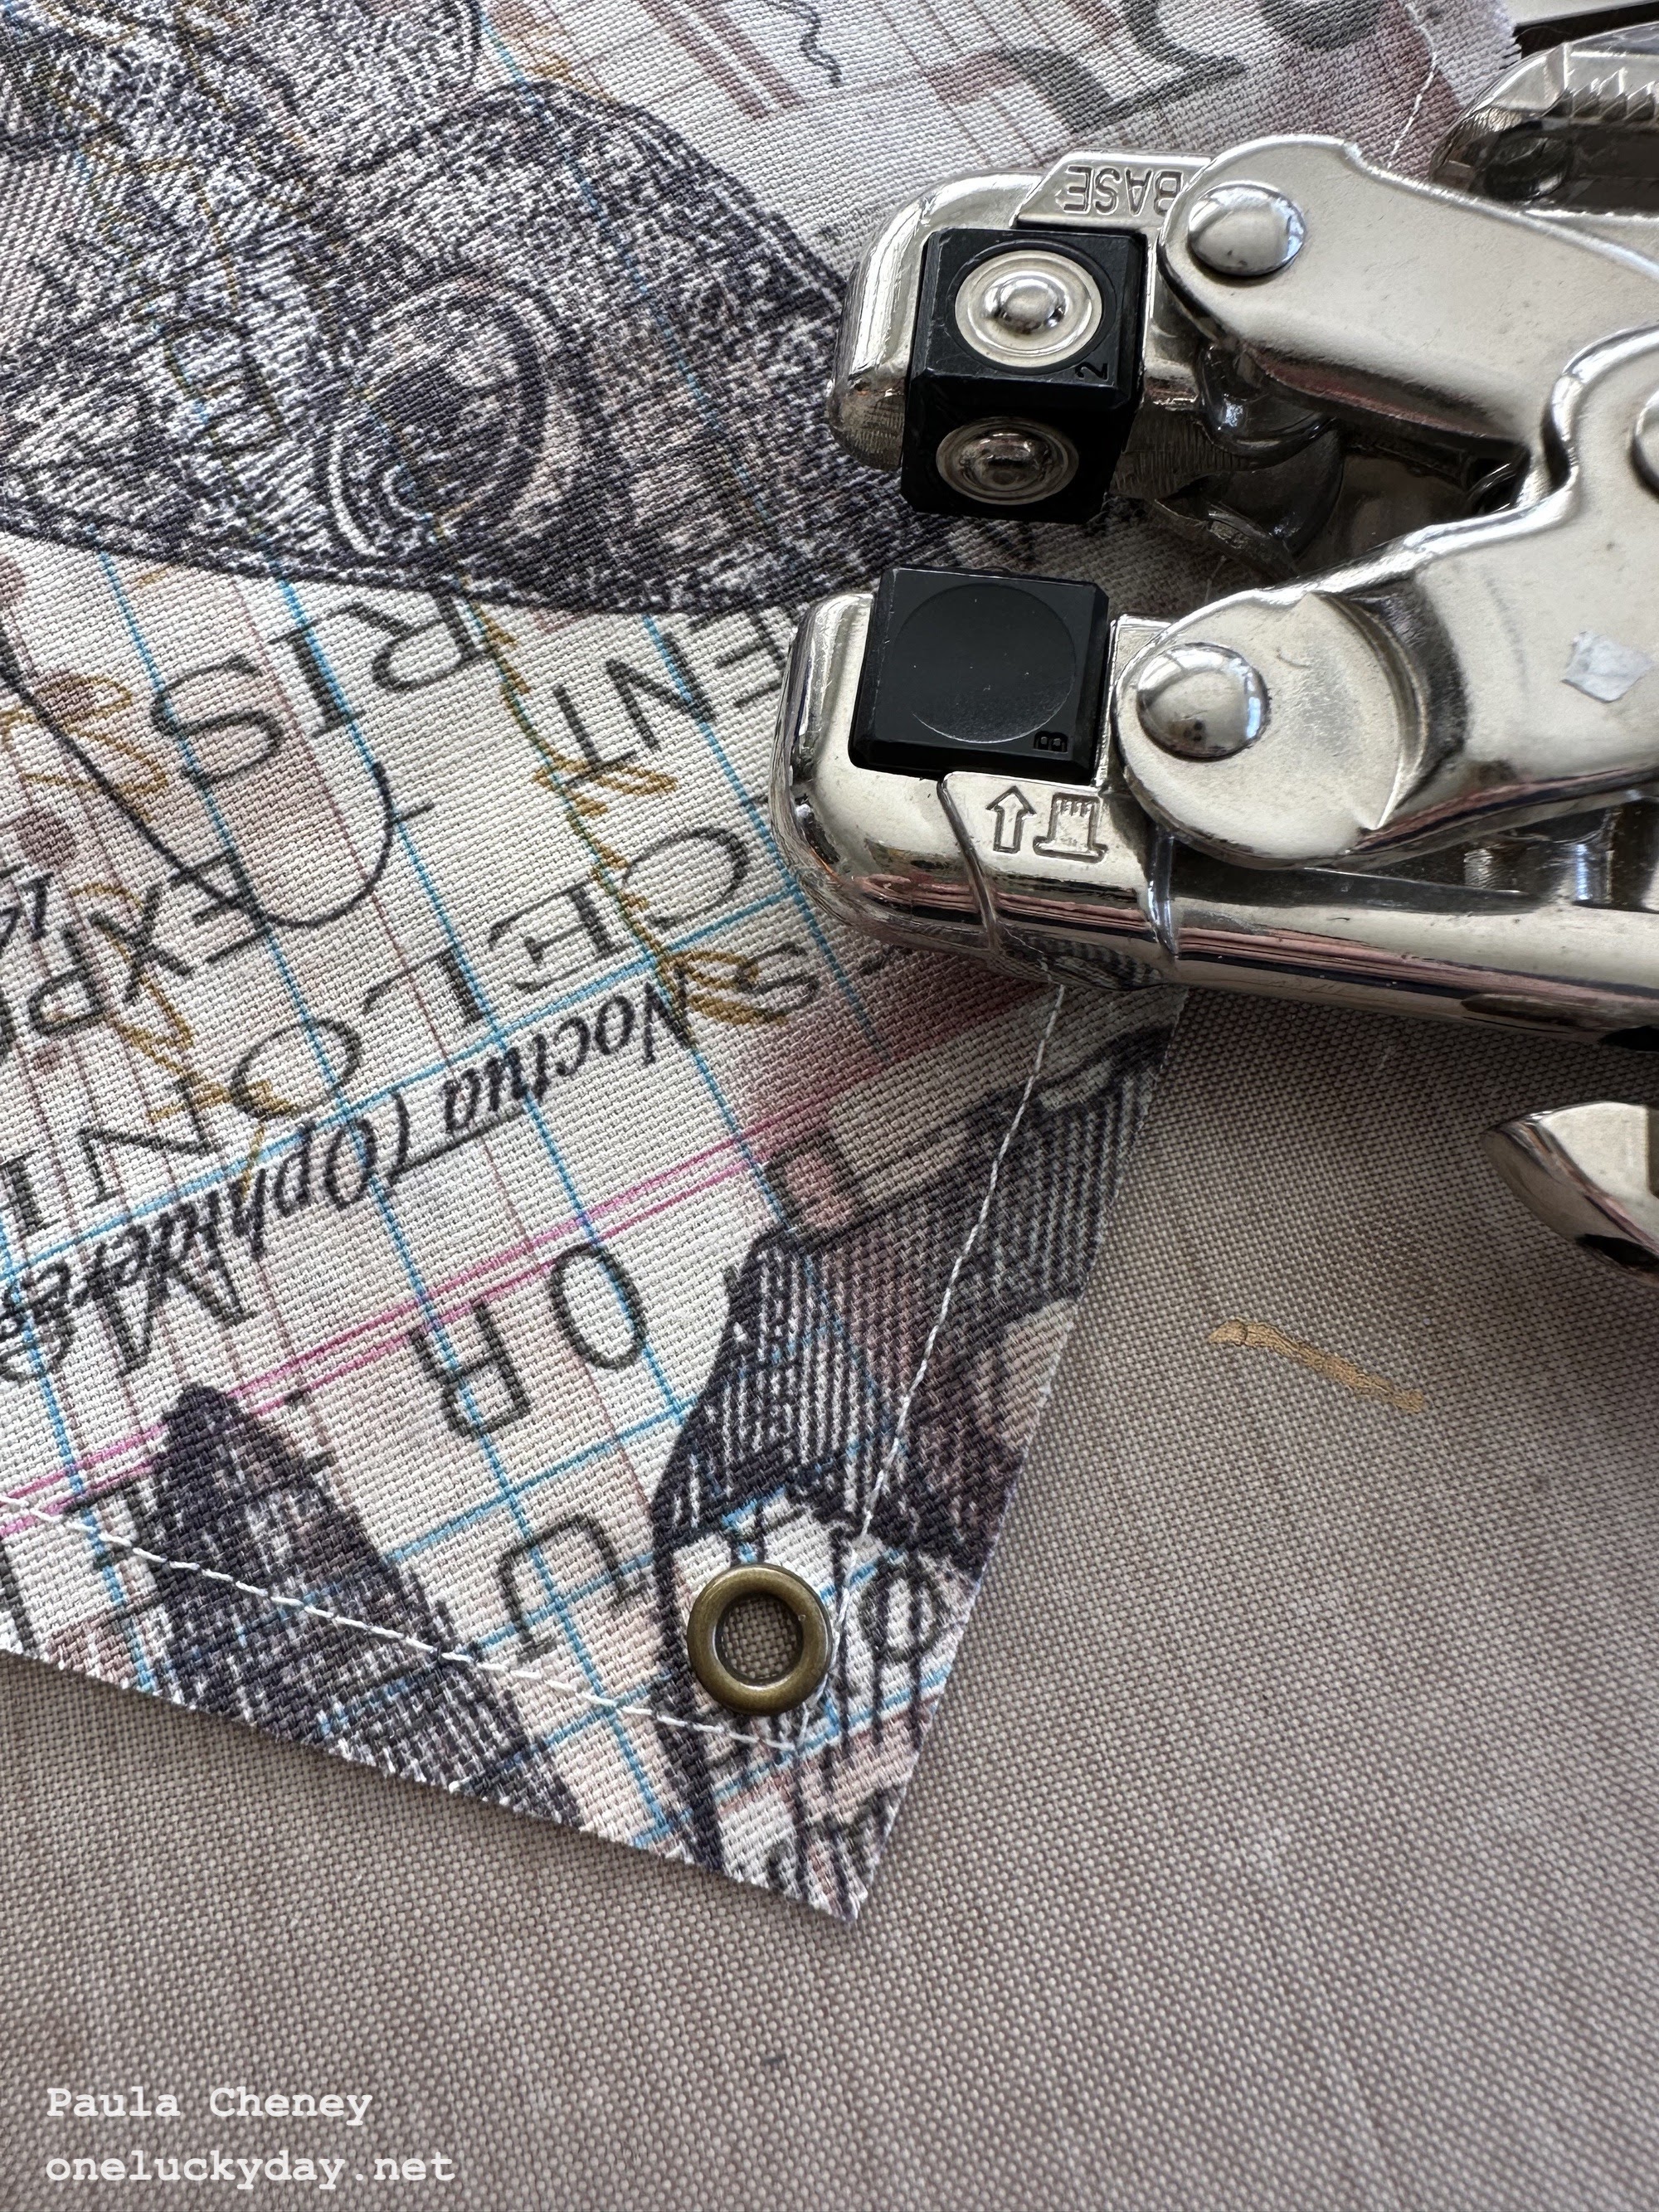
 Use a Crop-a-Dile to punch a hole in the flap.
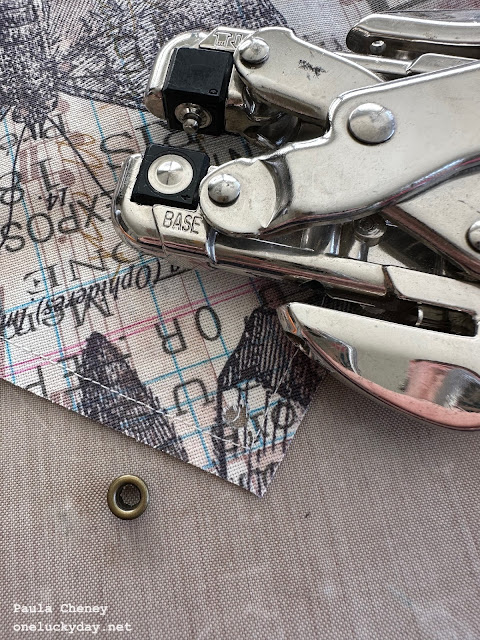 Then add an eyelet (3/16th)

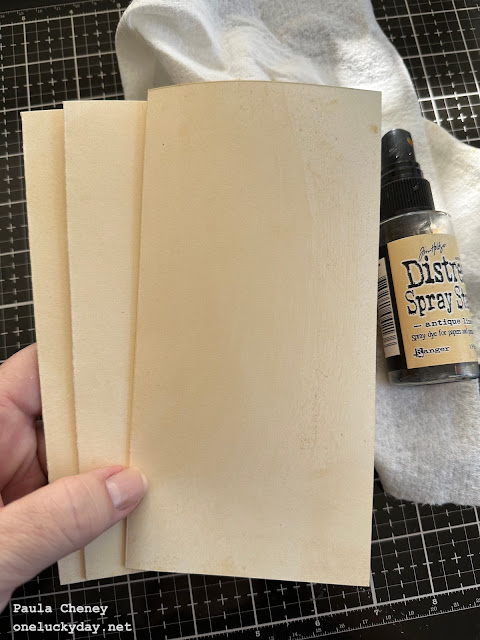
 I opened them back up and sprayed with Antique Linen Distress Spray Stain on both the front and back. I like to randomly wipe the Heavystock with a paper towel after spraying because although I like the color of the Antique Linen, I don't like the spray dots. Dry with a heat tool.

 Pages 3/4
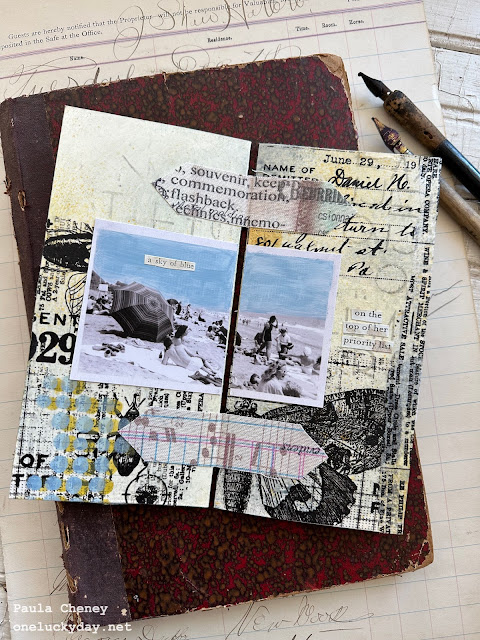


1. Cut TWO 8 x 12" rectangles. Place them wrong side to wrong side on your cutting mat.
2. Find the center of one end (this will be the peak of the envelope).
3. Place your ruler on the diagonal, from the center mark to about 8 1/2" on one side. Cut off triangle then repeat on the other side.

*if you are doing the non-sew method, then you would use a fusible webbing between the two pieces to create the double sided envelope.
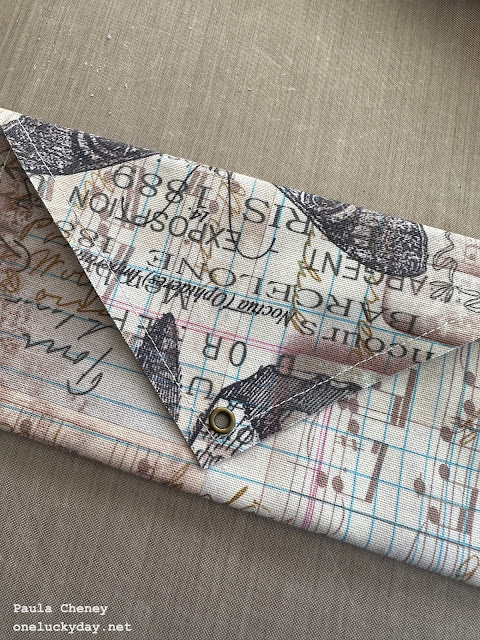
 Once the edges are sewn, fold the fabric to make a 4" pocket. Pin in place before sewing up the sides.
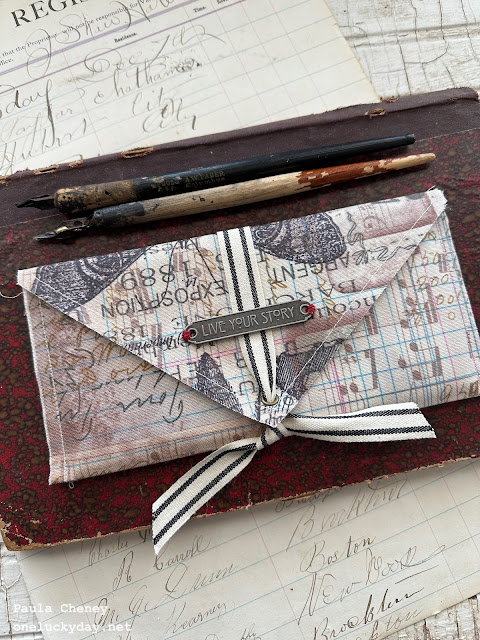
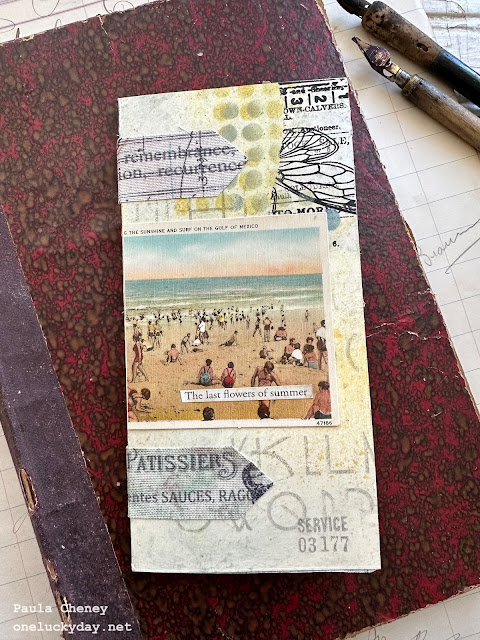
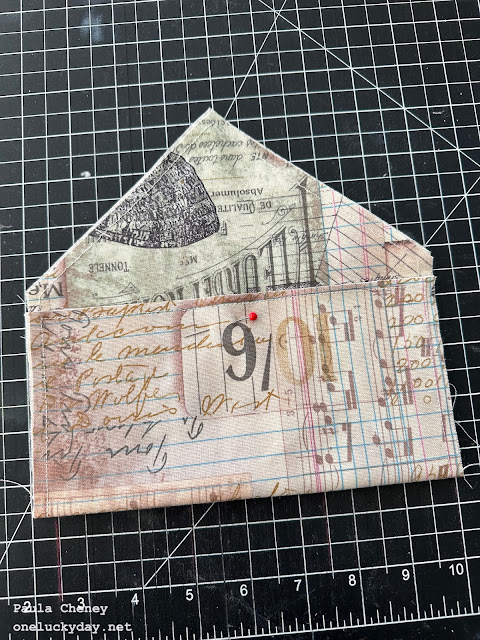 Please note, I chose to leave a small portion of the envelope flap to fold down over the pocket. You can see what this looks like when closed, back up in the first photo.


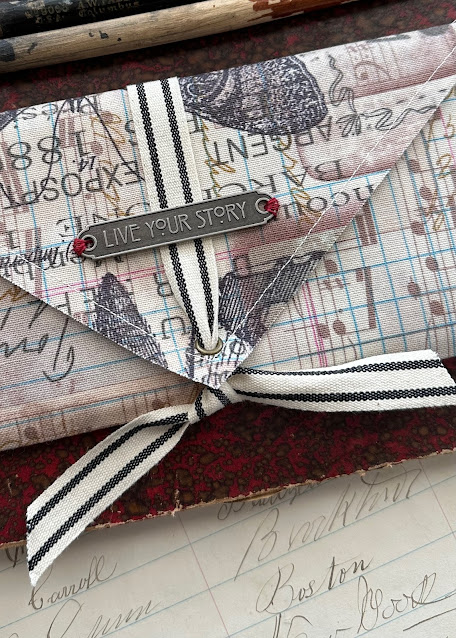
Optional: Hand stitch a Word Plaque to the front flap to hold the twill ribbon in place.
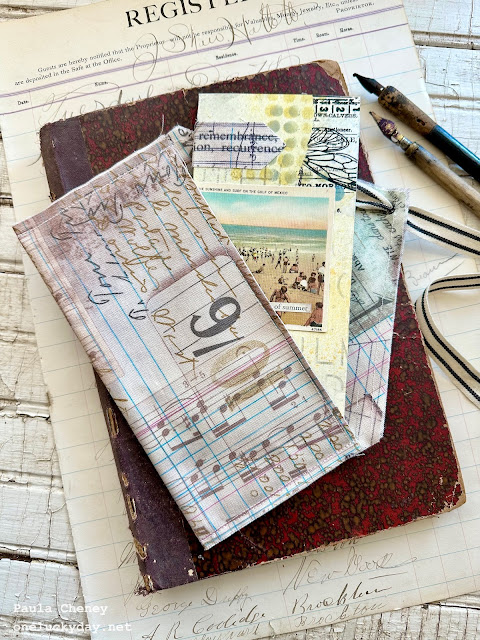
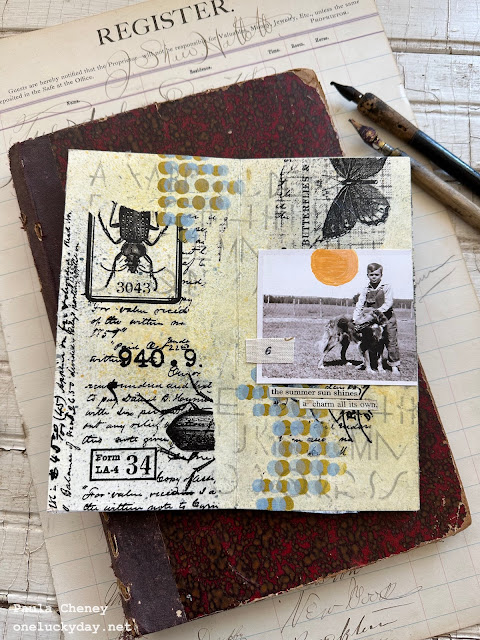
THE BOOK
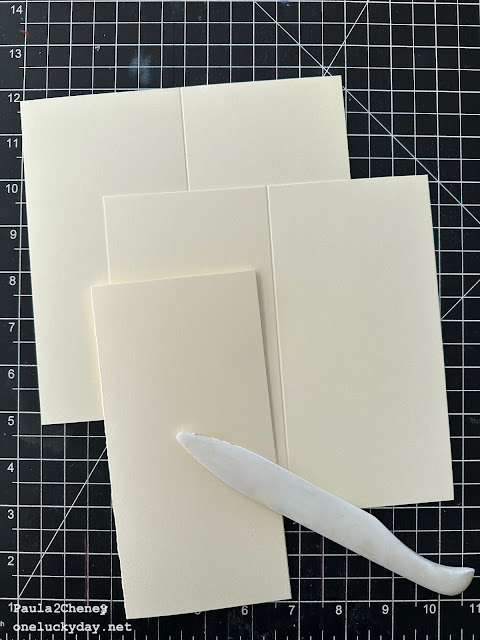
The book can be any size that fits into the envelope you create. I cut three, 7 x 7" pieces of Distress Mixed Media Heavystock, then scored and folded each.


I didn't take any in process photos, so I hope these final photos will help to understand the process.
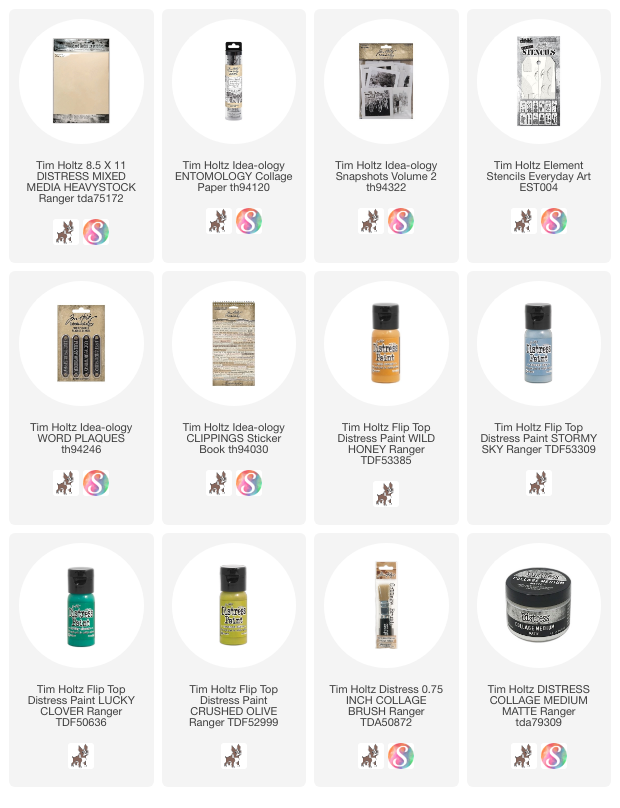
Each page was done using the same materials:
Collage medium
Collage brush
Weathered Wood + Scattered Straw Spray Stain
The Inspector stamp set
Collage Paper Entomology
Everyday Art Stencil set (dots)
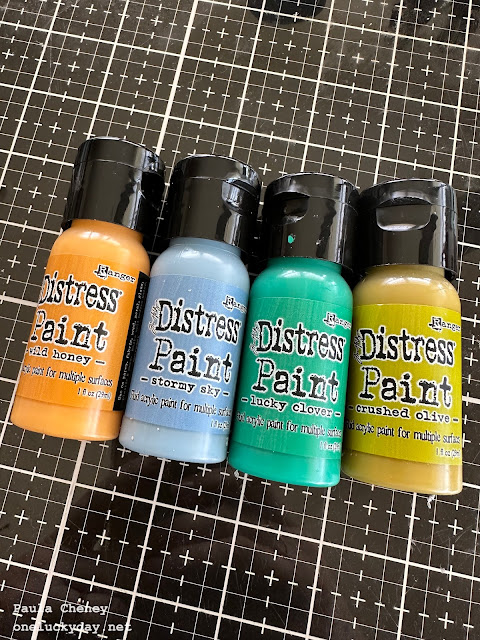
Distress Paint Crushed Olive + Stormy Sky
Archival Ink Hickory Smoke
1 x 4" strips of Embark Fabric
*I created all the pages, then connected them with Fabric strips and Collage Medium.
Cover:

Basic Technique: you must work very quickly using this technique
1. Cover the entire 7 x 7" page with Collage Medium.
2. Quickly add ripped pieces of Collage Paper. Add more Collage Medium over the top.
3. Immediately Spray with Weathered Wood Spray Stain. Working quickly, pounce over the top of ink/glue with a wet wipe to disperse the ink over parts of the surface.
4. Spray Scattered Straw sparingly in random spots, then again muddle the surface of ink and glue with a wet wipe.
5. Randomly stamp (no block) the typography stamp with Hickory Smoke Archival Ink. NOTE: You will need to wipe off your stamp after use since there will be portions of wet glue still on the surface that you are stamping into.
6. Dry surface with a heat tool.
7. Use "Everyday Art" circles stencil + Distress Paint to add paint details.
8. Add Snapshot photo and Clippings Stickers.
I use these 4 "From the Vault" paints in the booklet.

Pages 1/2
Wild Honey Paint on the Snapshot

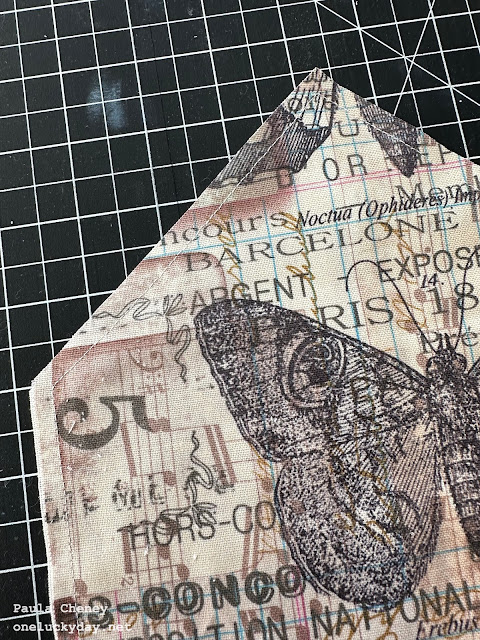
Close-up
Stormy Sky Paint on the Snapshot

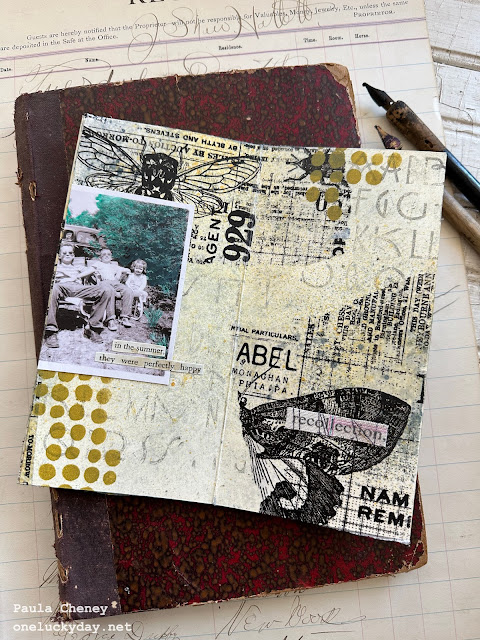
Pages 5/6
Lucky Clover Paint on the Snapshot

Back Cover
 |
| And there you have it, and fabric envelope with a paper insert. It's and easy make and really you can do anything you wish with the booklet. I like this technique because you have to be fast (working with wet glue!) so it goes together quickly. I would just say, have your Collage Paper ripped into pieces before you start! It will make it much easier! |

Thanks for stopping by! I sure appreciate it!
now carry on,
paula
Fabulous!
ReplyDeleteLove this so much, Paula. Thanks for the instructions.
ReplyDelete