
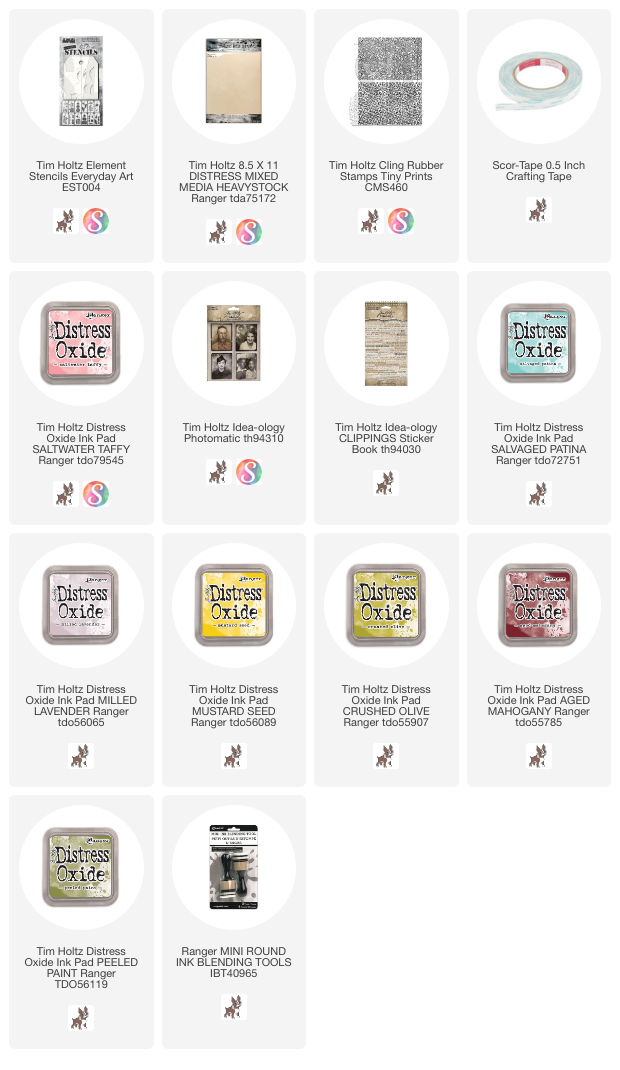
I am so happy to be sharing one of the makes from the Stampers Anonymous release! I made this 4 x 4" zig-zag book using stamps and stencils from the new release. The little book is easy to make by layering up a couple stamps, then using a rainbow of Oxide Inks with the new Everyday Art Element Stencils. We previously have made Elements Stencils with numbers and even words, but never a multitude of shapes that can be used in so many combinations. It really was fun! Enough talk...lets get started!


Cut three pieces of Distress Mixed Media Cardstock 8.5 x 4".
Cut one piece 8 x 4".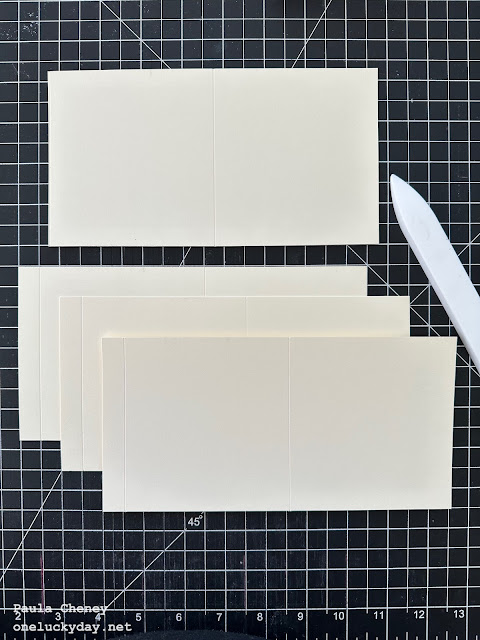 Score one end of the three 8.5 x 4" at 1/2". This 1/2" is where the tape will go to combine the pages.
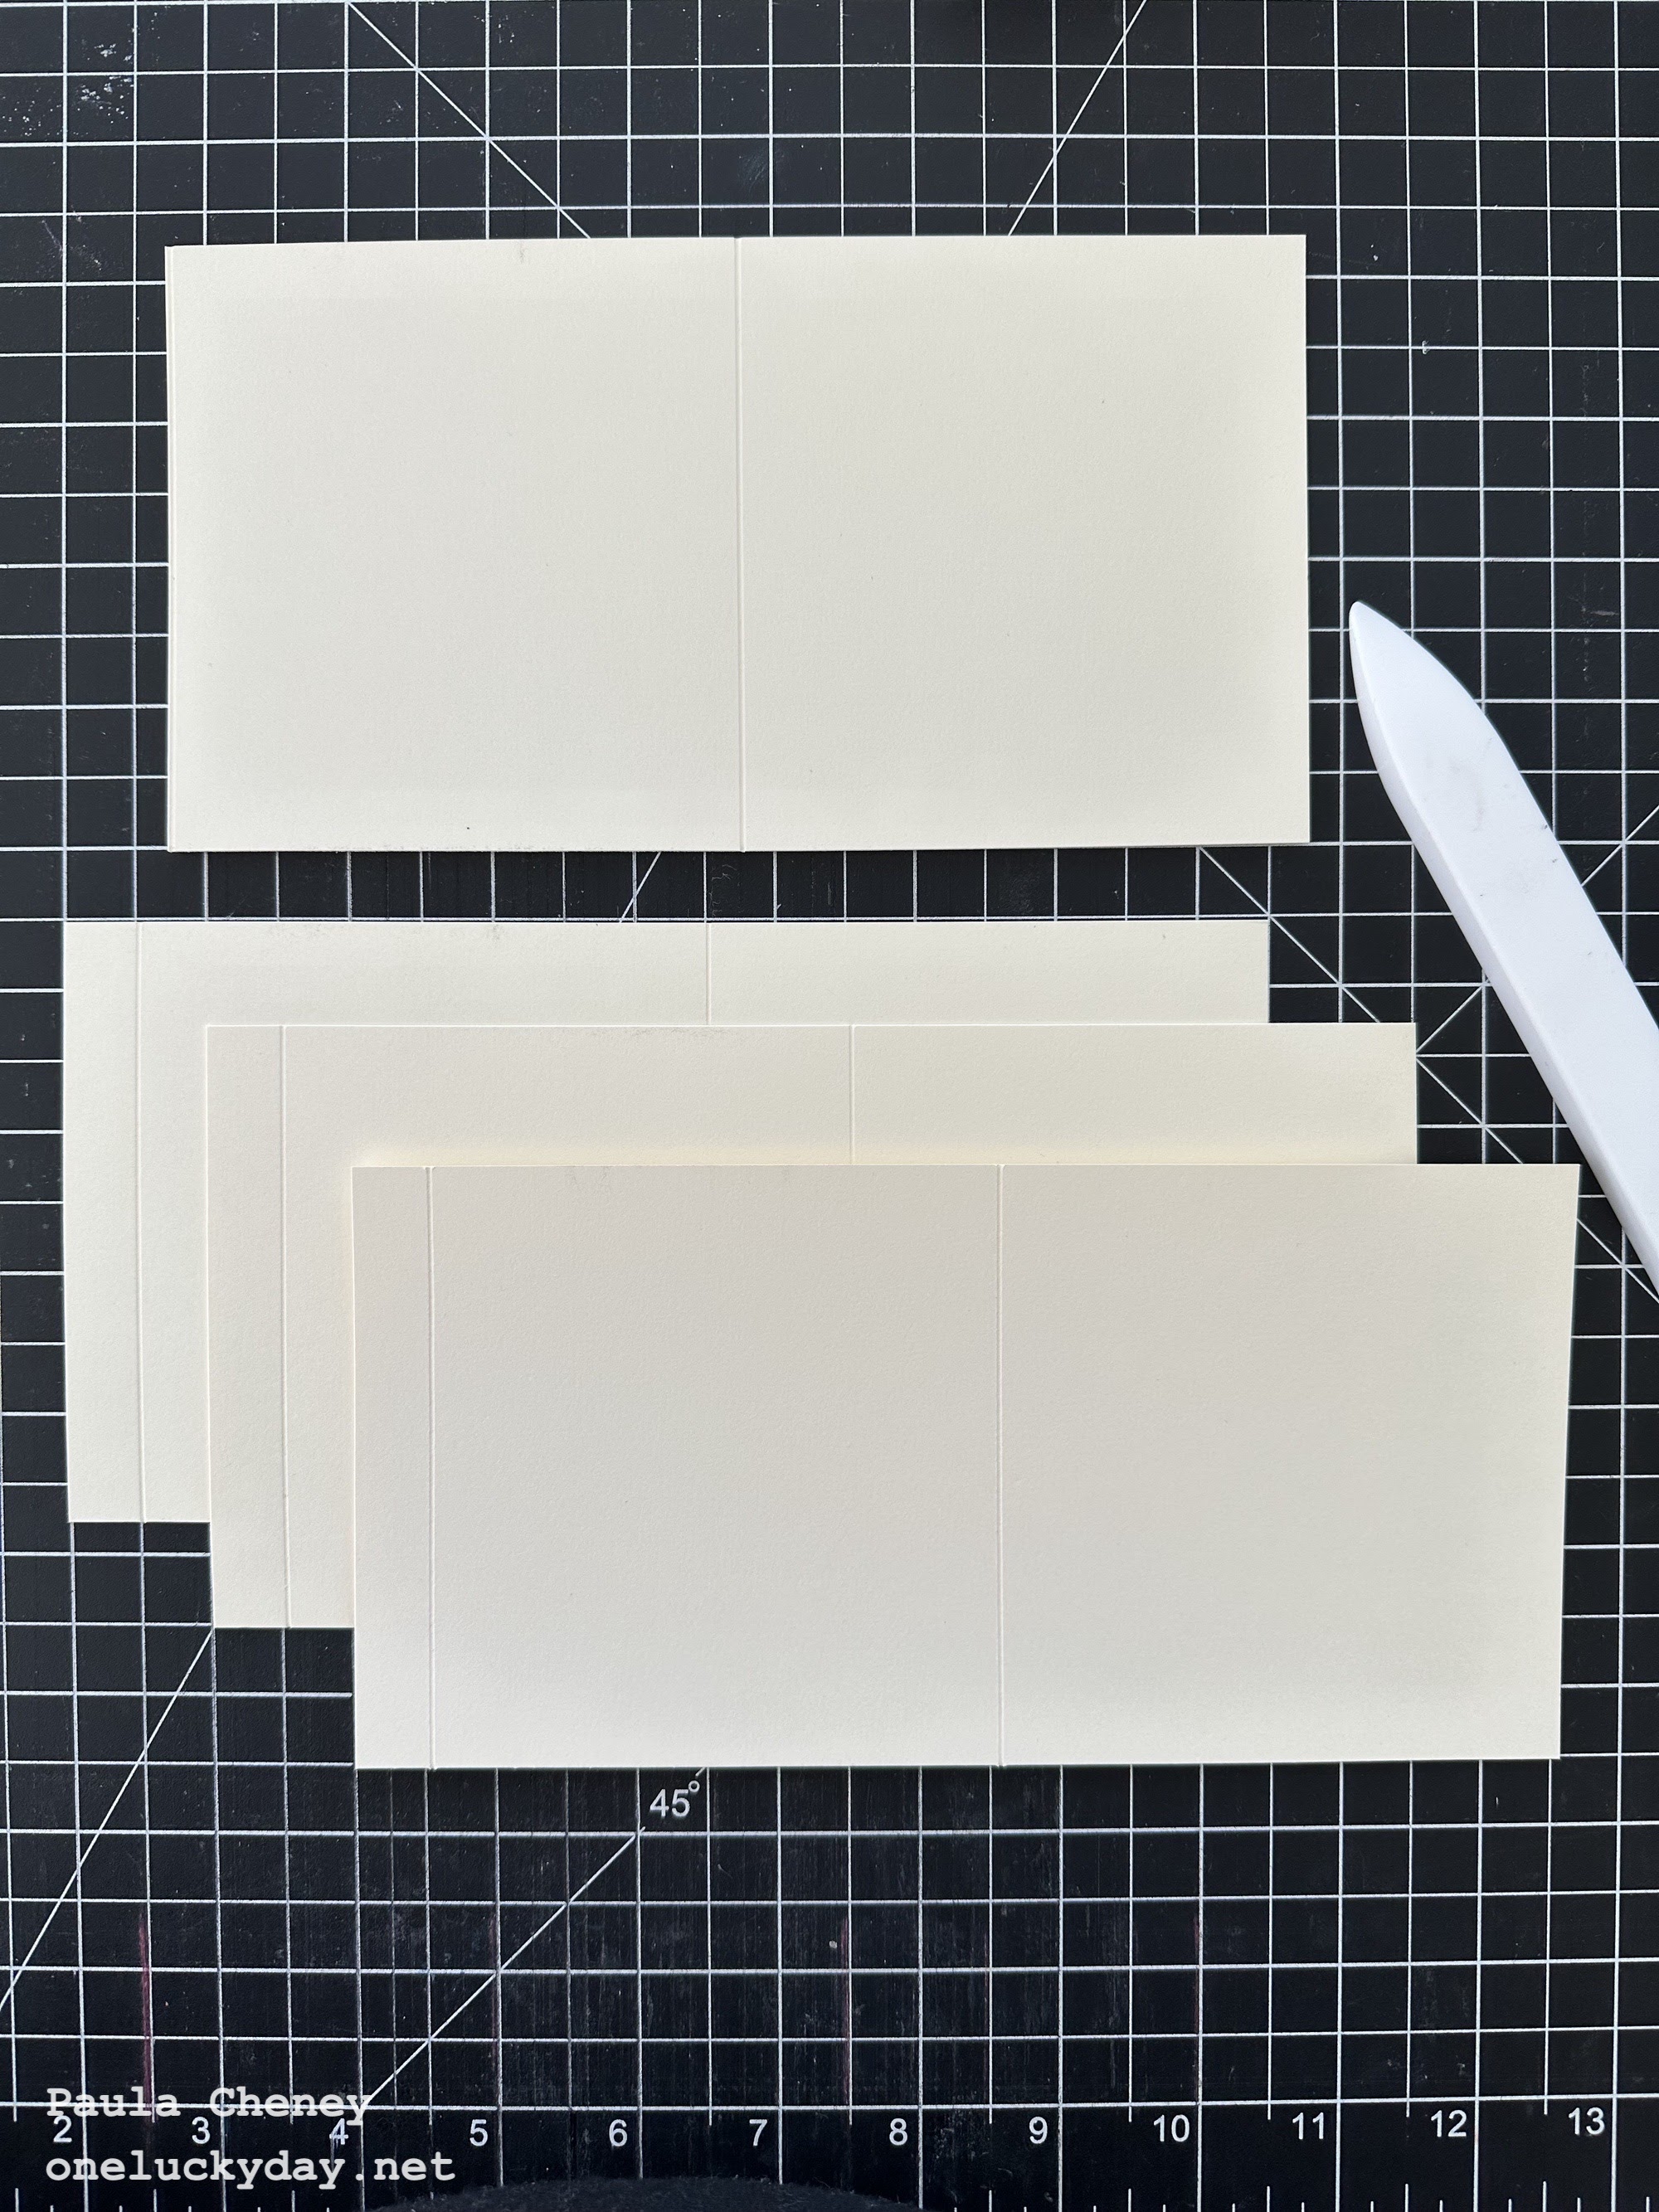
Now score each piece in the center (each page will be 4 x 4" when folded)
 Add Scor-tape to the scored ends of the three 8.5 x 4" pieces.
 Combine the 4 pieces to create the zig-zag.
 Just like this!
 Now time to start stamping.


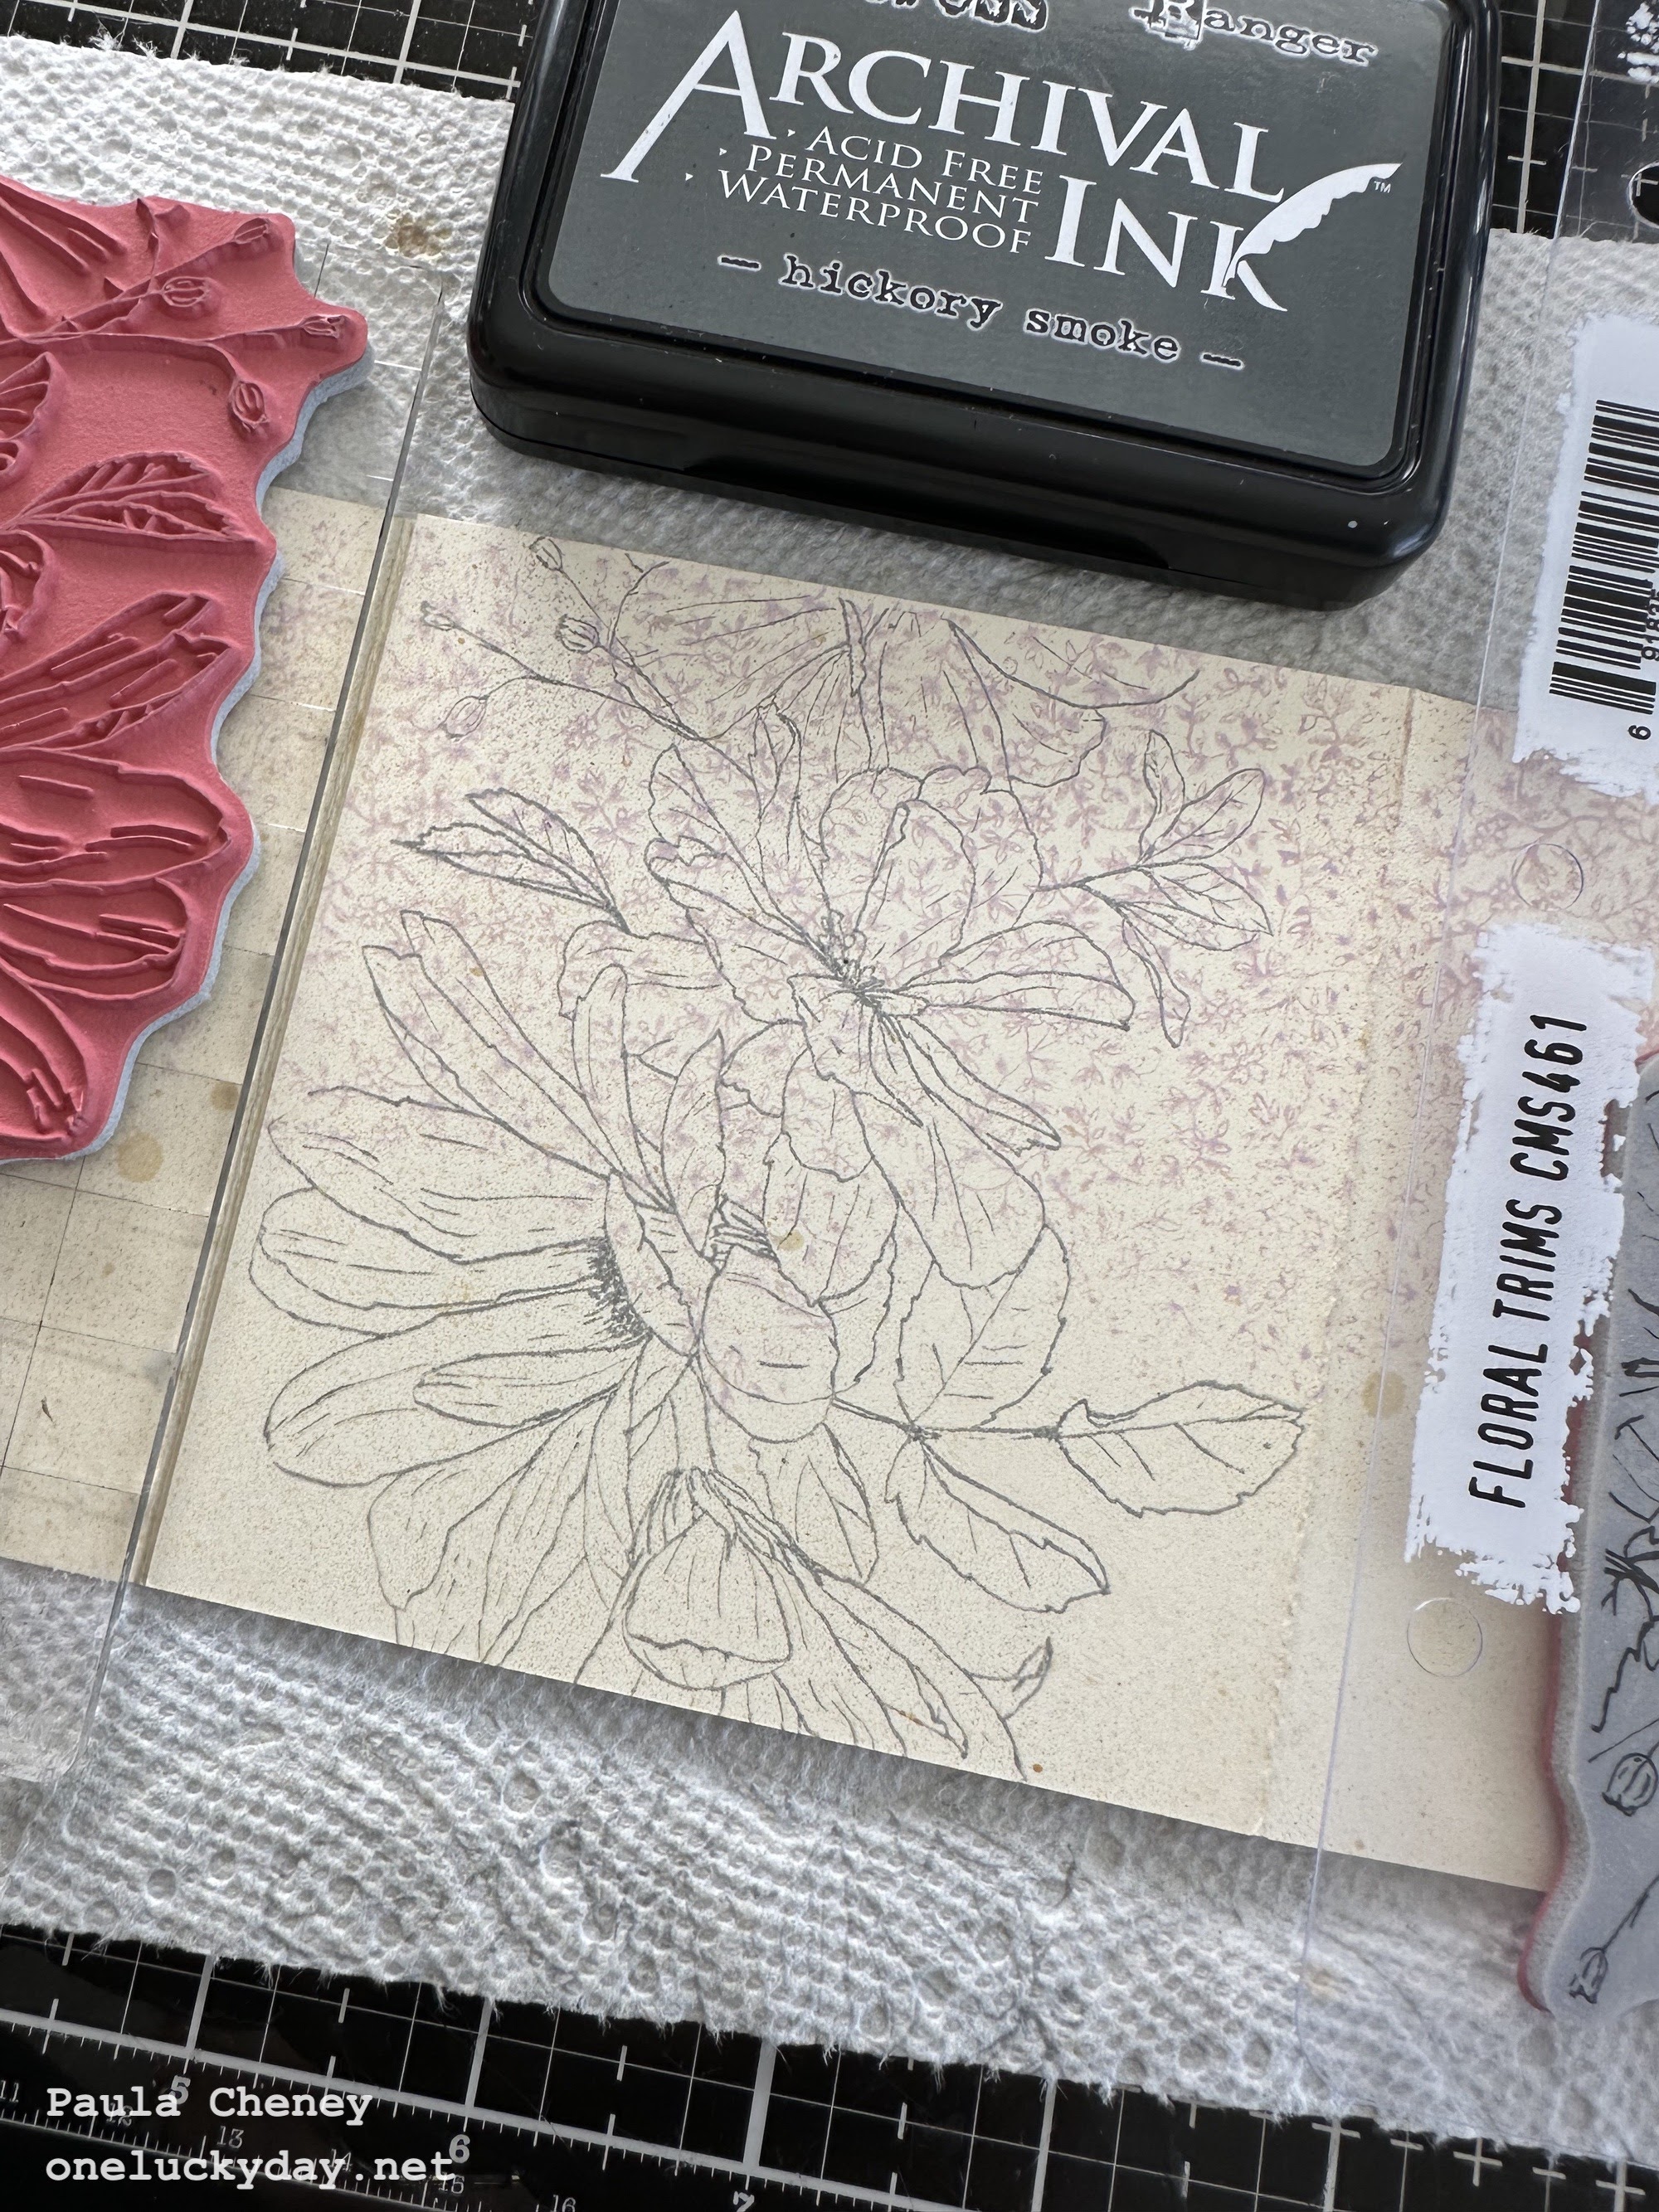
I used Milled Lavender Oxide Ink and the Tiny Prints stamps for the background. I only want to print on the edges of the paper, so I only inked one side of the stamp (the uneven ink was done on purpose so it does leave a straight line).
 I misted the stamp with water before stamping along the edge. Then just repeated the process till I got to the end. You can stamp from the bottom as well.
 I used Antique Linen Distress Spray over the top to add a bit of color.
 Then used Hickory Smoke Archival Ink to stamp Floral Trims on every other page, starting with the cover.


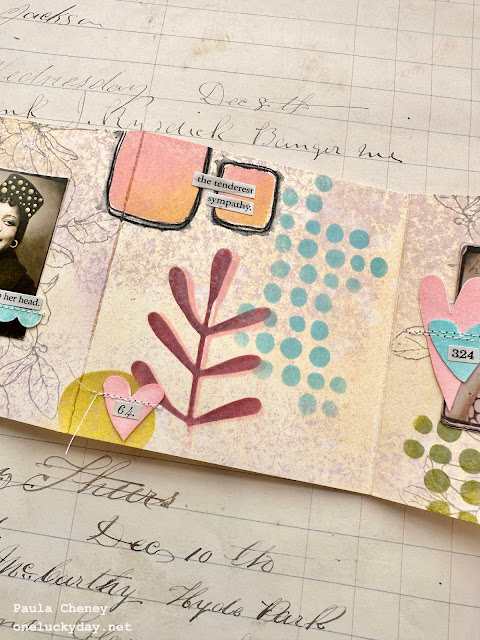
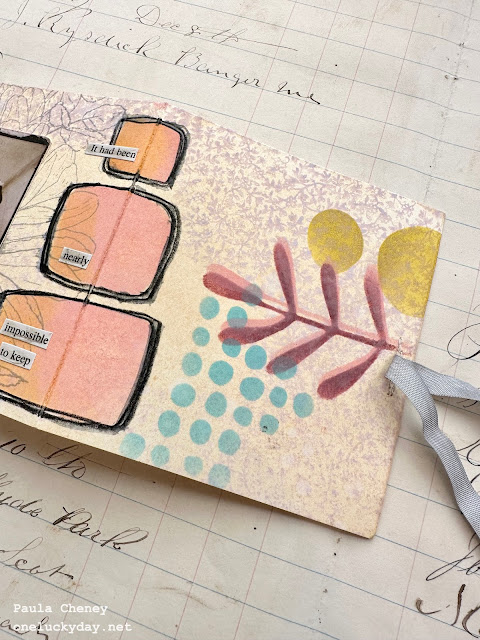
 Aged Mahogany was the wild card here. The leaf stencil looked good in pink, but when the Aged Mahogany was added over the top, it was even better.

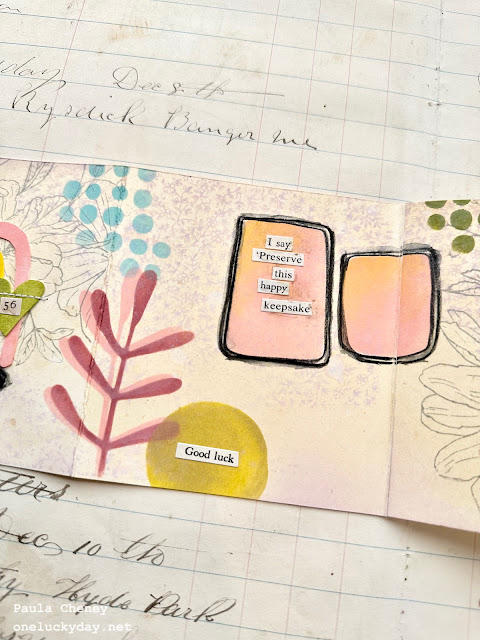
 Don't be afraid of mixing colors! These large rectangles really lent themselves to using two colors due to size.


 A Stabilo Pencil was a fun addition.
 A little water makes it smear quite nicely.
 I stenciled some hearts in varying sizes and colors, then cut them out.
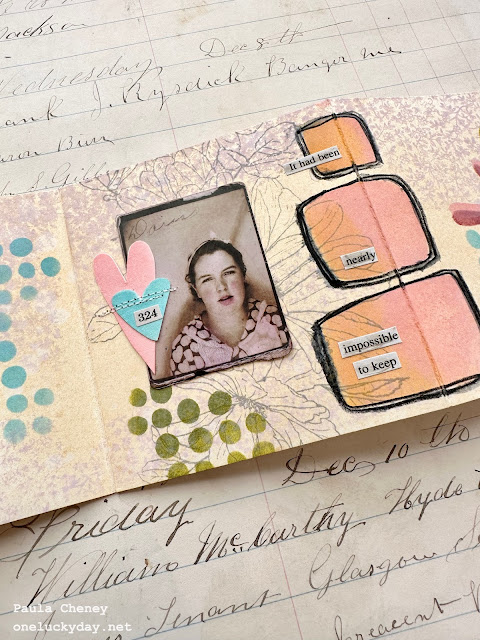
 The new Photomatic SKU was perfect for this project! Bigger than Photobooth, Photomatic was just the right size for the 4 x 4" pages.
 Now start adding the photos and cut pieces.
 Add Clipping Stickers for words.
 and a bit of stitching...
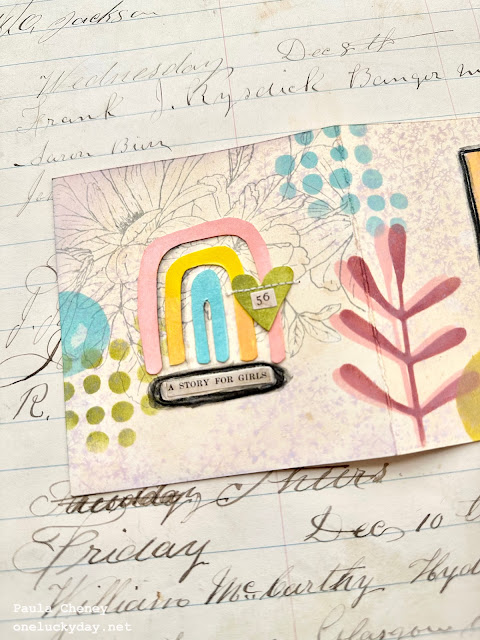
 The rainbow on the cover, the hearts and small scallop are the pieces I stenciled and then cut out.


For the stenciling, I used Oxide Ink, Blending Tools and multiple foam pads.

This part is pretty self-explanatory. The photos will show you what stencils and colors of ink I used. The blue post-it notes help to keep the excess ink off the background. There is no set pattern, just stenciling intuitively where I thought the shapes should go. I think once you pick a palette of colors to work with it gets easier.


Here is how it turned out page by page!
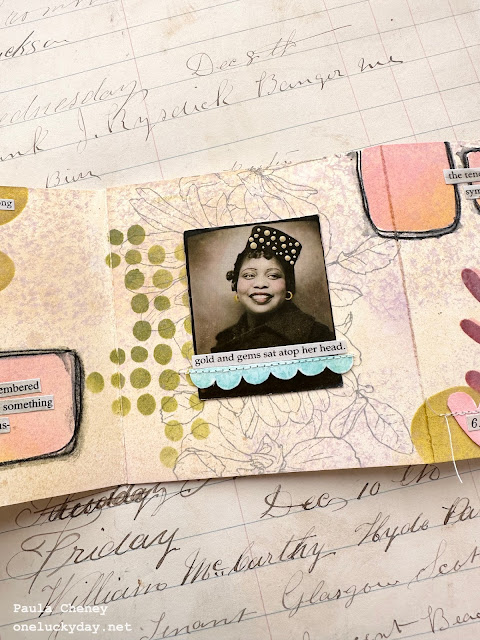
 I thought she needed some gold dots on her hat to go with the Clippings Sticker so I used a piece of wire to make dots of varying sizes with Foundry Wax. They turn the most beautiful gold when heated!

 The added ribbon on one end is the closure. It will wrap around the book and tie in the front.
now carry on,


I hope you like my little book as much as I do. I LOVED making it! Super fun with the Oxide Inks and a modern take of the Everyday Art Element Stencils. I am ready to make another one!
now carry on,
paula
I loved this, Paula. It is fantastic! I need that stencil set...
ReplyDeleteBest wishes
Ellie