Hello friends,
Just popping in today to share the Halloween clock I created for the Live event. I didn't take too make step-out photos as I was working, so I hope you will be able to piece it together. What I did do was take some photos of the centerpiece of the girl on the pumpkin - because if you can create her, then quite literally everything else is just glued in around her.
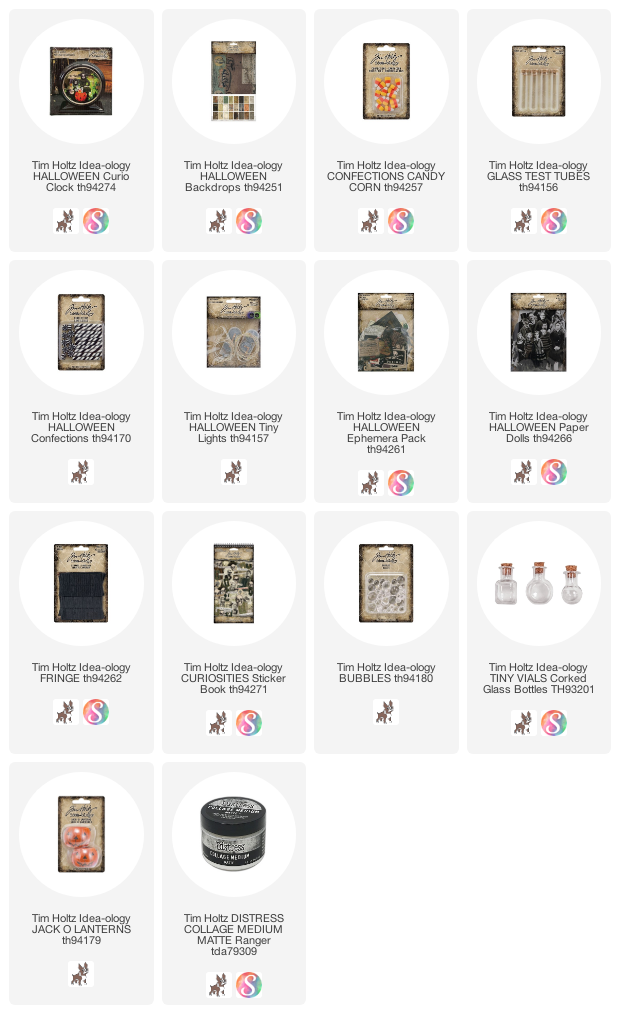
The clock ring comes separate from the clock, so you can paint it (or the clock) without coloring both. I decided to use Mushroom Alcohol Ink on the ring - It was easy and gave a hint of Halloween. Once you create the finish you want, just glue it into the clock. Simple as that.I added paper to the inside of the clock using Collage Medium and Halloween Backdrops. It's just three pieces, one circle for the back and two strips that go around the inside edge. Love this marble paper!
To create the centerpiece, I started by adding the witch hat (Halloween Sticker Book) to the sitting girl (Halloween Paper Dolls). I used a craft knife to slit the hat so her head would just slide in, like she was actually wearing it. Her mask is also from the Sticker Book.
CANDY: Wipe Collage Medium over the candy and roll in Rock Candy Glitter - let dry before adding to the Pumpkin (you can use a heat tool on the candy to speed up the drying). Seriously, aren't the Candy Corn's cute??? I can't get enough of the them!
WOOD BLOCK:
So you might notice the wood block glued to the bottom of the pumpkin. I used the 1/2" wood block to raise the pumpkin from the base of the clock. I painted it black so it would just disappear into the bottom of the clock.
After filling the pumpkin with the candy sticks I had to add the Paper Doll. She has a secret behind her that helps with stability...what is it?
Hope you will try one of these clocks - they are really fin to make and so much easier since there is no glass to deal with!
Another 1/2" wood block!
The block is glued to the pumpkin, the handle and then the girl. You will never see it in the finished piece, but she will remain stable over time. All candy was glued in with Collage Medium.
There are a few things I would point out on the background.
TINY LIGHTS:
There are green Halloween Tiny Lights inside the clock. The light pack is hidden behind the Flashcard, Curious. The wires are bunched up behind the girl. To turn the lights on, you just put your finger to the side of her face and the switch is right there. On the Live, Tim turned the lights on so you could see it light up. Super easy and no need to drill a hole in the clock since everything is inside!
TEST TUBE:
I colored Bubbles (clear Baubles) with Lettuce Alcohol Ink, then added them to the Test Tube. When the lights are turned on, the green glows into the glass so the Bubbles appear to glow inside.
FRINGE:
This year we have crepe paper Fringe. I just cut a piece about 6-8"long, rolled it up into a ball and rolled it between my hands to create a fluffy Fringe. I added Collage Medium to the bottom of the clock, then shoved the Fringe in covering everything at the bottom (including the wood block holding up the pumpkin).
Add any other embellishments you might want to make this Halloween clock really shine. Hope you will try one of these clocks - they are really fin to make and so much easier since there is no glass to deal with!
Let me know if you give it a go!
now carry on,
paula


VERY cute, Paula and you know Halloween is not my jam!
ReplyDeleteThis is fabulous!!!
ReplyDelete