
Hello friends,
So happy to be here today sharing one of my favorite projects from the Halloween release! This is my take on the character of Miss Havisham from Great Expectations. If you have read Charles Dickens book, or even seen a movie adaptation, you know that Miss Havisham is a wealthy spinster, jilted at the alter, who insists on wearing her wedding dress for the rest of her life. The bride Paper Doll (found in the Halloween pack) was the catalyst for telling the story as she looks the part of the tragic Miss Havisham. You might notice I have also added the letter written by former suitor and the wedding cake that remains on the table in her crumbling manor. Now let me tell you how I created the rest...


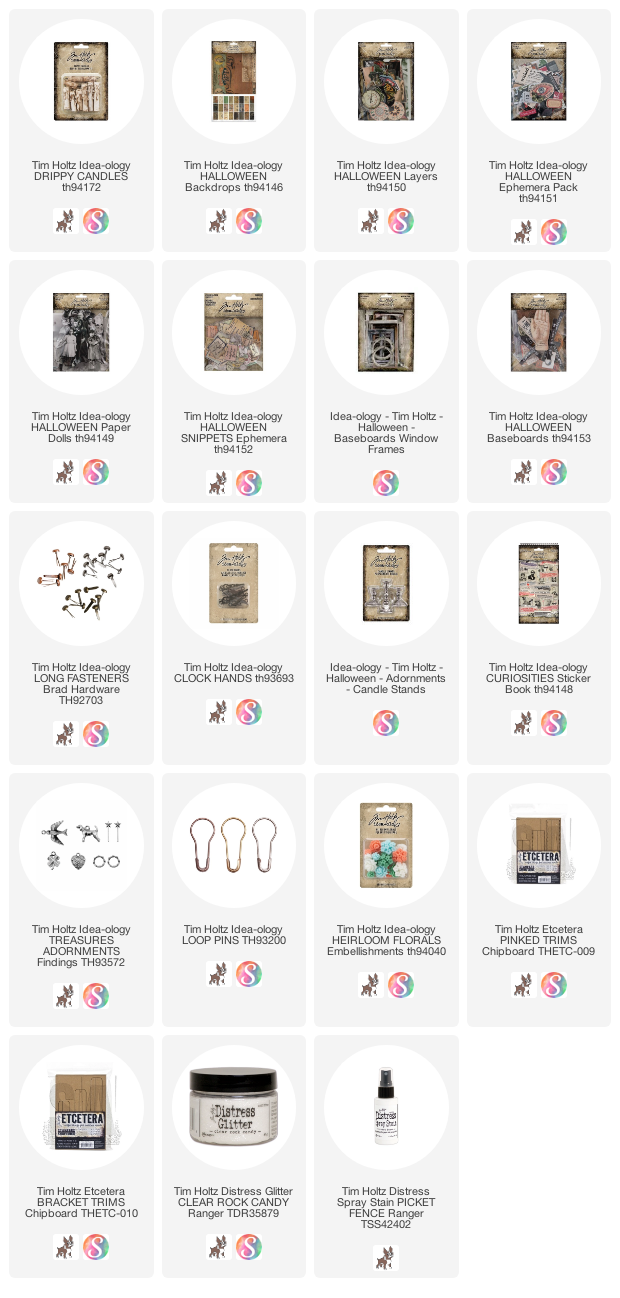
Before we move on I just wanted to show some of the Backdrops papers that come in the Halloween pack. By far my favorite Halloween paper release in our history. The mix of colors is amazing and the designs work together so beautifully! You can see the one we are going to use on the bottom left - one of my favorites!

This is one of the windows from the new idea-ology Baseboard Window Frames. I cut the windows out of the "frame" and then in half so they could be used open. It's not hard to do, but your craft knife needs to be sharp. I used a metal ruler to guide all the straight cuts. That makes it much easier.
PLEASE exercise caution when using a craft knife to cut chipboard.

It is very hard to tell here but I have added a piece of a Mica Sheet to each window. I decided I wanted the mica to show up more, so I added Mushroom Alcohol Ink to the backside. It will not look nearly as dark in the final piece, as it does here again the white paper.

- Adhere the Backdrop Halloween paper to a piece of heavy chipboard. Brush on a layer of Collage Medium over the top of the paper. Once dry, sand the edges.
- Shake the bottle of Mushroom Alcohol ink over the paper to add the age spots. Dry with heat tool.
- Add 3d foam squares to the back and adhere to the base, making sure there is enough room at the top for the grommets.
- Adhere the window frame with Collage Medium and let dry.


While the windows dry, start on the embellishments.
The clock is the Baseboard Halloween pack. I added the Clock Hands, an older idea-ology product, with a Long Fastener. To age the clock hands I added Picket Fence paint and Mushroom Alcohol Ink (you can see why I need the 2oz bottle).
The Long Fastener in the center, holds the hands in place, but allows you to set the time to whatever you wish. Once you have the time set to what you want, tap on the center with a small hammer to keep the hands in place (I still need to set this one).
The large flower is from the Halloween Layers pack and is the prefect fit for the space above the frame. I added the bingo chip below the rose so the clock face could have something to sit on.

In Great Expectations, Miss Havisham has all the clocks in her manor stopped at twenty minutes to nine, the exact time she received the letter.

As for Miss Havisham herself, I tinted her with a few Distress Crayons. You might notice that in the end, I wiped away much of the pink on her skirt since she looks more like she may have killed her suitor! That is one reason I like to use Distress crayons to color with, if you do something you don't like, just wipe it away with a damp cotton swab. Very forgiving medium on slick or coated paper.


top - idea-ology crown painted with Gold Mixative + resin flower
top layer - thick base from old Woodlands Tree
bottom layer - x- large bingo chip
stand - idea-ology candlestick turned upside down
base - standard bingo chip painted silver + Mushroom Alcohol Ink added later
vintage tatting lace added at the very end
I glued the two wood pieces together, and added them to the upside-down candlestick.
Once dry, I painted the cake with Picket Fence Distress Paint, let dry.
Rub Glossy Accents over the white paint and sprinkle with Clear Rock Candy glitter, let dry.
I wanted the cake to look old so I added a bit of Walnut Stain Crayon over parts of the glitter.


 The spider webs are just the plain 'ole spider webs they sell at craft stores. Start with a small piece around the top of the window and stretch it across to the bottom. Start again from the opposite window and repeat until you have enough webs. I love the the webs stick to the glitter on the cake!

 I added black Crinkle Ribbon to the top. You might notice it looks old - I think that is because after I colored it black, I went back and sprayed Picket Fence Distress Stain Spray in random places. Because there is pigment in Picket Fence it leaves the white stains and makes the ribbon kinda crunchy. Once I had the ribbon tied just how I wanted it, I sprayed it with hairspray and dried it with a heat tool to keep its shape.

As you can see from the final photos (taken with much better lighting), the cake really is white with just a bit of brown.
The new Drippy Candles were added (I love these so much - why I didn't buy 100, I don't know!)


The condemned tag is from the ephemera pack - I just ripped off the bottom part so it did not hang down too long. I rubbed Collage Medium on both sides of the tag (to make the paper sturdy) then added Distress Crayon to age it. The eyelet was added (because you should always add an eyelet when you can) and a Loop Pin secures it to the ribbon.


 Clipping stickers were added to a chipboard strip at the bottom. I used a chipboard strip that I already had that was black. I used gold Mixative over the top to cover the printed words, then added the words, "Here in the darkened house of weeping". The perfect sentiment!
 Oh that Mica is everything! The added Mushroom Alcohol Ink really brings out the cracks.

now carry on!
paula


now carry on!
paula
Thanks for sharing Paula!!! Just a wonderful, fun project!
ReplyDeleteIt is a beautiful recreation of Miss Havisham, I just love how you made the cake, the candlestick is such a great idea, they are my favourite part of the new release! The mica on the windows looks amazing. A great tutorial Paula, thanks so much for the inspiration. Anne x
ReplyDeleteThank you for all details. I am trying my hand at a project for the first time using many of the ideology Halloween items and paper dolls with pics of my grandkids for their heads!! Your project inspired me.
ReplyDeleteThis was such a wonderful project. I have always been facinated by this character and the novel. I never thought of using that facination so glad you did. It is full of clever inventive transformations the cake, windows with the fabulous mica all so effective. Thanks for sharing all the details of its creation long live blogging! xox
ReplyDeleteOh WoW Paula! This is Mind Blowing! Thank you for sharing a step by step on your project. Loved how you coloured Miss Havisham. xxx
ReplyDeleteabsolutely amazing, love all the details which tell Miss Havisham's story perfectly xxx
ReplyDeleteWhat a wonderful project, Paula! Can’t believe I have never read the book and I’m a prolific reader! I do believe I’ll read it after seeing your make. I would love to see your make in person, you have such a wonderful ideas! Thank you for sharing your creativity with us.
ReplyDeleteUtterly delightful! Fantastic Dickensian details and perfect story telling!! -Tami
ReplyDeleteThank you Paula! Great make!
ReplyDeleteMakes for creepy good story telling in a make...awesome!
ReplyDeleteTotally awesome and totally not my jam! But you know that! I still love seeing how you put random bits together to come up with the perfect makes.
ReplyDeleteThis is such an awesome project!! I love the way you cut apart that window, never would have thought of that on my own...and that cake!!!! Even though we don't do Halloween in our house I will definitely be using several of these ideas in an upcoming project! TFS your clever ideas with us, certainly appreciated!!
ReplyDeleteFabulous! Love all the details, the wedding cake, letter, candles!
ReplyDeleteSpookalicous!
“The broken heart. You think you will die, but you just keep living, day after day after terrible day.” Poor Miss Havisham...! brilliant, brilliant project.
ReplyDeleteAlison x
Oh my word, this is absolutely stunning, the story is fascinating, my tongue is hanging out, I am in awe!!!. Paula will you please explain to me what mica sheets are because I really want to recreate the window frames like you have done, very inspiring, just gorgeous
ReplyDeleteSo so brilliantly put together and Miss Havisham really seems to be an ever haunted soul (love the colouring of her so much!). A brilliant piece indeed!
ReplyDeleteClaudia x
Oh my goodness, it was with great expectation that I opened this post, Ms Paula. You truly brought Ms Havisham back to life to walk out her lonely life in this ghostly setting, gave me chills looking at her distress colored wedding dress. Oh the places your vivid imagination takes us, so well done, a thousand thanks!♥️♥️♥️
ReplyDelete