Hello friends,
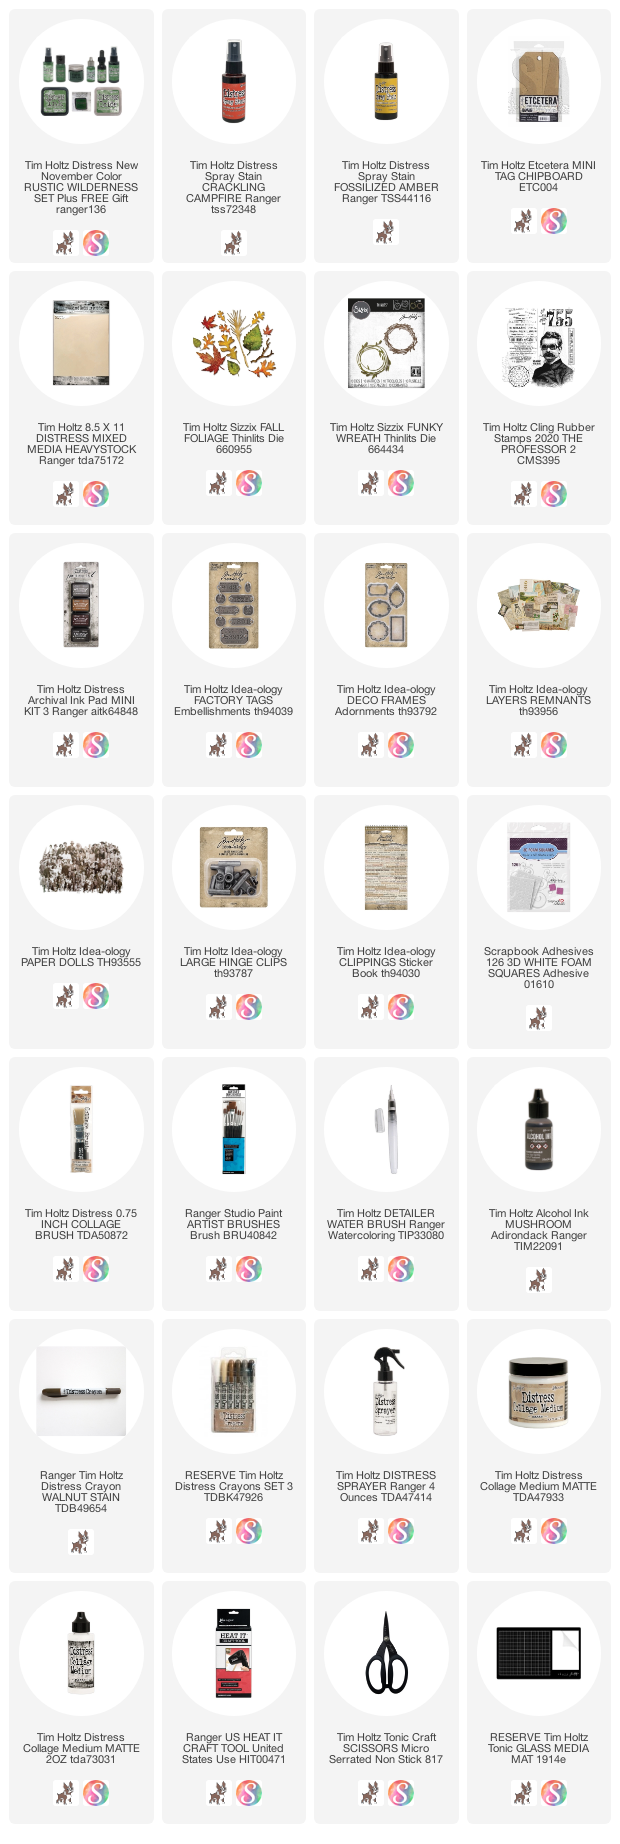
I'm sharing my "fall" project from the Rustic Wilderness release this week. I started with a Mini Etcetera Tag since it seemed the right size for the Funky Wreath I wanted to use.I cut a sheet of Heavystock paper about the size of the Mini Tag. Then I sprayed Distress Ink Rustic Wilderness, Crackling Campfire, and Fossilized Amber onto my craft mat and pressed the Heavystock paper into the ink to pick up the color. I dried it with a heat tool then went back into the ink two or three times to create the layered look I wanted.
After I created the main background, I made more inked cards to use for the leaves. Some of them I dried right away and others I went back into the ink to add layers of color. The fall colors are beautiful!
Once I had the cards done, I cut two of the Funky Wreaths (from cards that were only colored with Rustic Wilderness) and leaves from the Fall Foliage die set. The leaves shown are the larger leaves in the set. One thing I love about the die is that you get large, all the way down to tiny leaves, which worked perfectly for the project.In this main photo, you can see that I adhered the large inked paper to the tag, cutting away the excess with a cutting knife and self healing mat board. Once the paper was adhered, I stamped the text (The Professor stamp set) over the surface with Ground Espresso Archival Ink. I did not use a stamping block, but rather "rolled" the stamped image onto the tag surface to create a worn effect.
I added the Public School card from the Remnants Layers pack to the surface with foam squares
- The Funky Wreath die comes with two wreaths + extra branches to add in. As I said previously, I cut two sets from Heavystock paper I colored with Rustic Wilderness. Layer the wreaths together, adding in the extra branches.
- Adhere the wreath to the card with Collage Medium - I tried not to press it down too much so it looked more realistic.
- Add white paint to the recessed numbers from the Factory Tags pack and let it dry. Pick up some Walnut Stain Distress Crayon with a damp paint brush and brush back and forth over the top of the white paint to grunge it up.
- Ink a long piece of string with Walnut Stain Distress ink and dry it with a heat tool. Double the string, then thread the metal tag (so two pieces of string go into the hole at the same time). Wrap the string around the tag, coming around on the other side to create the bow. This sounds much harder than it was to do in person! Secure the metal tag with part of the foam square
- Add the small colored leaves to the wreath. I tried mixing up the colors and sizes so there are layers of leaves.
- I also added a bit of cheesecloth under the bow.
I wiped white paint onto a small Deco Frame and let it dry. The frame was adhered to the card with Collage Medium so it sits off the surface of the tag. I also added a few words from the Clippings Sticker Book.
To finish off the tag, I added a Larger Hinge Clip at the top.
I love this fall project. It was easy to to create and very fun to incorporate the new color, Rustic Wilderness along with Crackling Campfire and Fossilized Amber to create such a wonderful Fall background.
now carry on,


Great tag, love the mix of colors...Love the Rustic Wilderness color...
ReplyDeleteThis is beautiful, Paula! Those leaves are the best!
ReplyDeleteTruth time...these two boys always creep me out so I haven't used them, but you have transformed them with the coloring and of course the backdrop they have going. LOVE that! The colors are Autumn magic...love all the specks and splotches. Oh that wreath too, a genius addition, and love the metal number and the bow and tie. Seriously a gorgeous make.
ReplyDelete