
Today I am sharing a project I made for Creativation. This was one of my favorite makes from the show and I toyed with teaching it as a class this spring...well as we all know flying somewhere to teach or even being in a group is out of the question so I've decided to share it here instead.
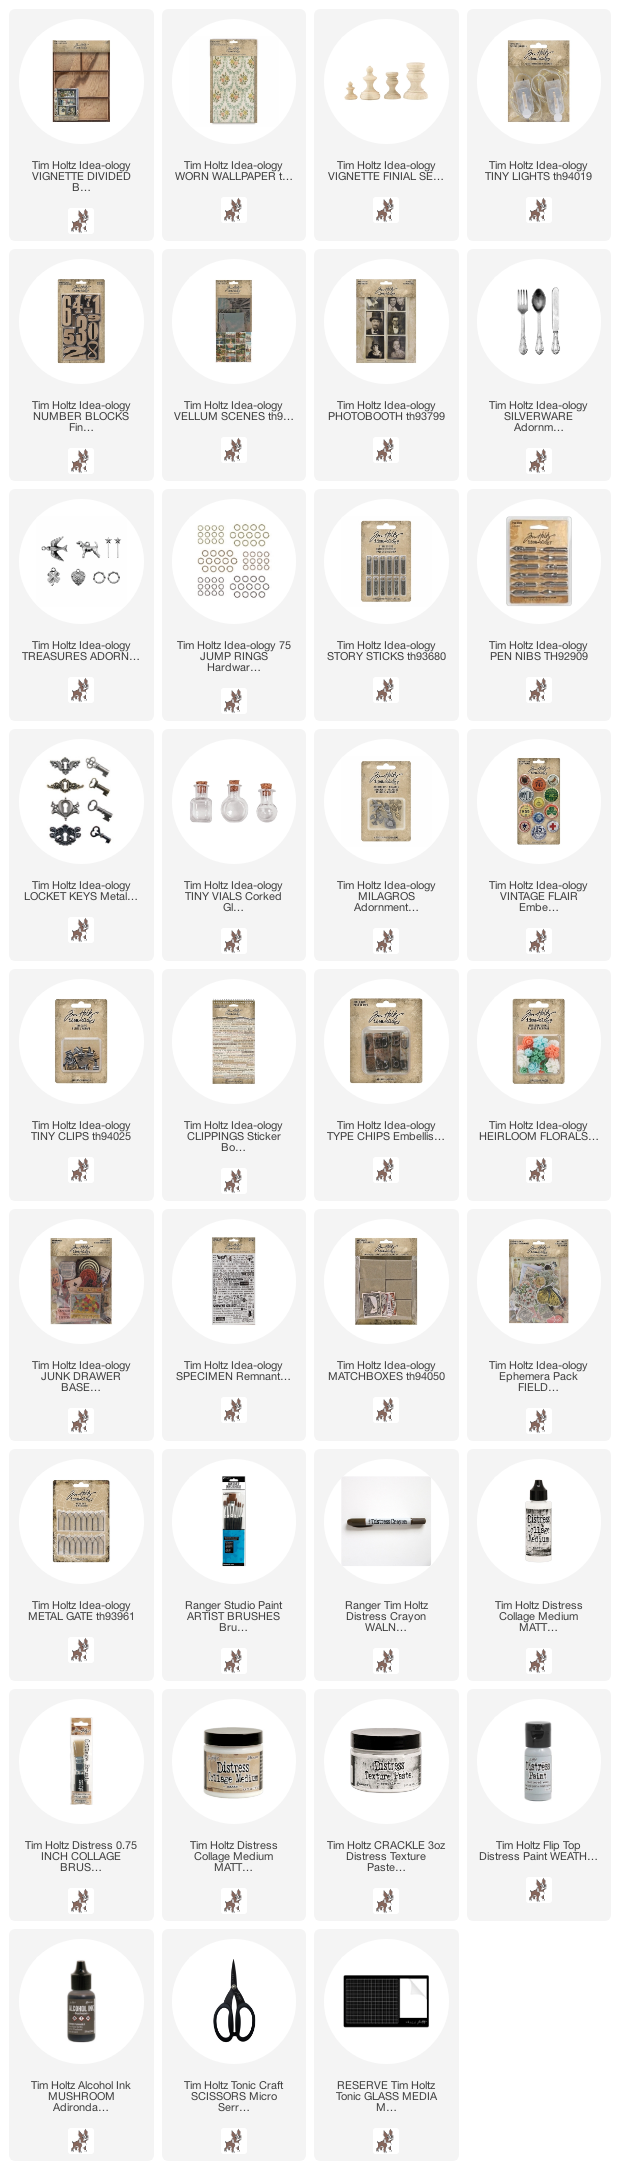
I started with a Divided Box, one of my favorite substrates because it is adaptable for so many projects. I drilled a hole in the back of the center section for the Tiny Lights that illuminate the center section of the box (you could use an awl if you don't have a drill).

I painted the front edges as well as the inside of the top and bottom compartments with Weathered Wood Distress Paint. After I waited for the paint to dry, I used Collage Medium to add layers of Worn Wallpaper to the sides of the box, overlapping as needed. No rhyme or reason to the layering, I just used the paper I liked. Once the Worn Wallpaper was added to the box, I added a coat of Collage Medium over the top to seal the paper. Do not skip this step because the Crayon needs a slick surface to work effectively and the Collage Medium will provide that.
Once the surface was dry I added Texture Paste Crackle to some of the edged of the box. NOTE: Be sure NOT to add the paste to the center area because the Velum Scene will be glued directly to the center section.
Once the Texture Paste Crackle is dry, you can begin to add the Walnut Stain Distress Crayon over the surface. Use as much or as little as you want. I scribble it on and then use my finger to rub the crayon over the surface. A small damp paint brush can be helpful to get it into the Texture Paste. And I ALWAYS have a wet wipe near by to pounce over the surface to remove the excess.

I threaded the Tiny Lights from the back of the tray to the front (so the on/off switch is on the outside of the box). From there I wound them around in a circle and used scotch tape to adhere them to the back of the tray. NOTE: I completed the rest of the box before adding the Velum Scene to the center section so I wouldn't get glue on it!

I painted the Finial with Weathered Wood Paint and added the Texture paste just as I did on the box itself.


On the bottom right compartment I created a little garden scene. First, Worn Wallpaper in the background with added Ephemera. The bingo card is from Junk Drawer, which is a Baseboard product, meaning it is thick board that won't bend. The butterfly from Field Notes was the perfect addition to the center. I used bingo chips on the back to pop it out from the back of the box.
The Metal Gate was added after painting, adding Alcohol Ink and then bending until it broke into two pieces (it sounds hard but it's not). I scribbled a bit of Walnut Stain Distress Crayon onto my mat and picked it up with a damp paint brush. I used the brush to add the crayon over the Heirloom Florals as well as the inside corners of the box. It ages the Worn Wallpaper and the Weathered Wood paint to marry the two together. I had a stick on my desk so I broke off a small piece. After gluing the fence into the box, I added the tiny piece to the one end as if it was the garden gate. It was only AFTER I did this that I went looking for a Clipping Sticker to use under the butterfly. I think what I found could not be more perfect for the scene...

On the bottom left I used an awl to create two holes for yet another stick. You could absolute use a drill here but I just didn't want to walk out to the garage again. I know...stubborn.
I created a bunch of embellishments with some random idea-ology pieces from my stash, a bit of chain and some jump rings. Idea-ology jump rings come in two sizes. I used the larger size to go through the chain then slide down the twig.
Here is the list of charms used (left to right):
key - Locket Keys
clover - Adornments Treasures
no.247 - Story Sticks
glass bottle - Tiny Vials
letter G - Type Chips
bird - Adornments Treasures
pen nib - Pen Nib
heart - Adornments Treasures
spoon - Adornments Silverware
stylized cross - Milagros
hand of friendship - Milagros
*all words from Clipping Sticker book


Thanks for stopping by!
Now carry on,paula
You DO love your sticks, don't you?! This is another fabulous piece, Paula! I can see it customized to each recipient, depending on their likes.
ReplyDeleteSo, so good...one problem? Couldn't pin it? No Pin button, not even with the right click, no Pin?
ReplyDeleteThis is absolutely wonderful! So many beautiful elements to behold! :) Those vellum scenes caught my eye when they were first introduced in the sneak peeks.
ReplyDeleteMay you and yours have a safe, healthy, and above all, most blessed Easter!
This is wonderful on so many levels Paula, the little crown is just adorable, I love the vellum scene and the gorgeous butterfly but my favourite part is the hanging idea-ology pieces... and then those fabulous numbers.... I love this! x
ReplyDeleteWow!!!! Fabulous, Fabulous!!!!
ReplyDelete