Hello friends,
I love Distress Crayons. This easy technique to color the background of this Mini Tag is one of the reasons why. I love how you can keep the color bright depending on how much color you add and if you get too much, you can easily wipe it away for a more "pastel" look and feel. Follow along and I'll show you how I did it.

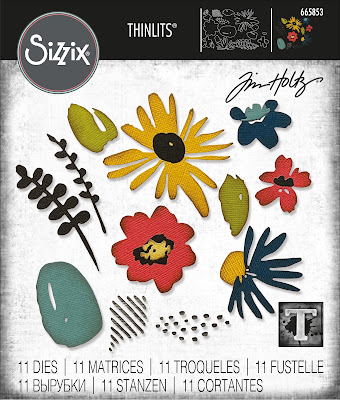
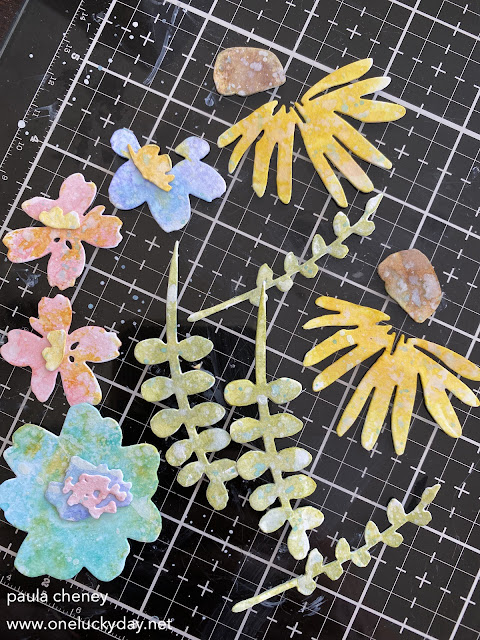
I cut all the flowers with Distress Watercolor paper then used a small paint brush to color them with different colors of Distress Ink like Salvaged Patina, Fossilized Amber, Kitsch Flamingo and Milled Lavender.
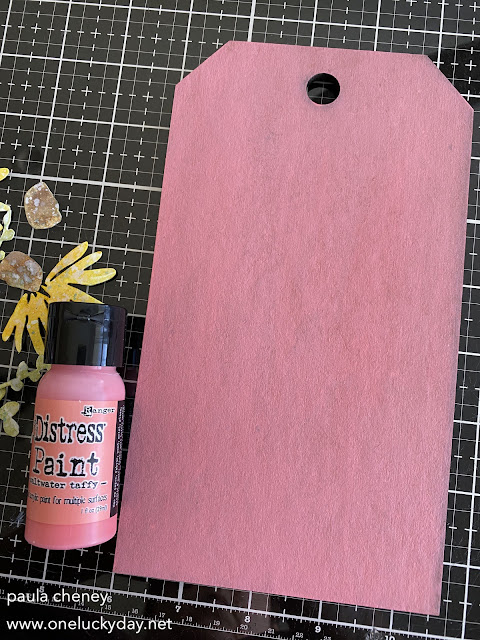
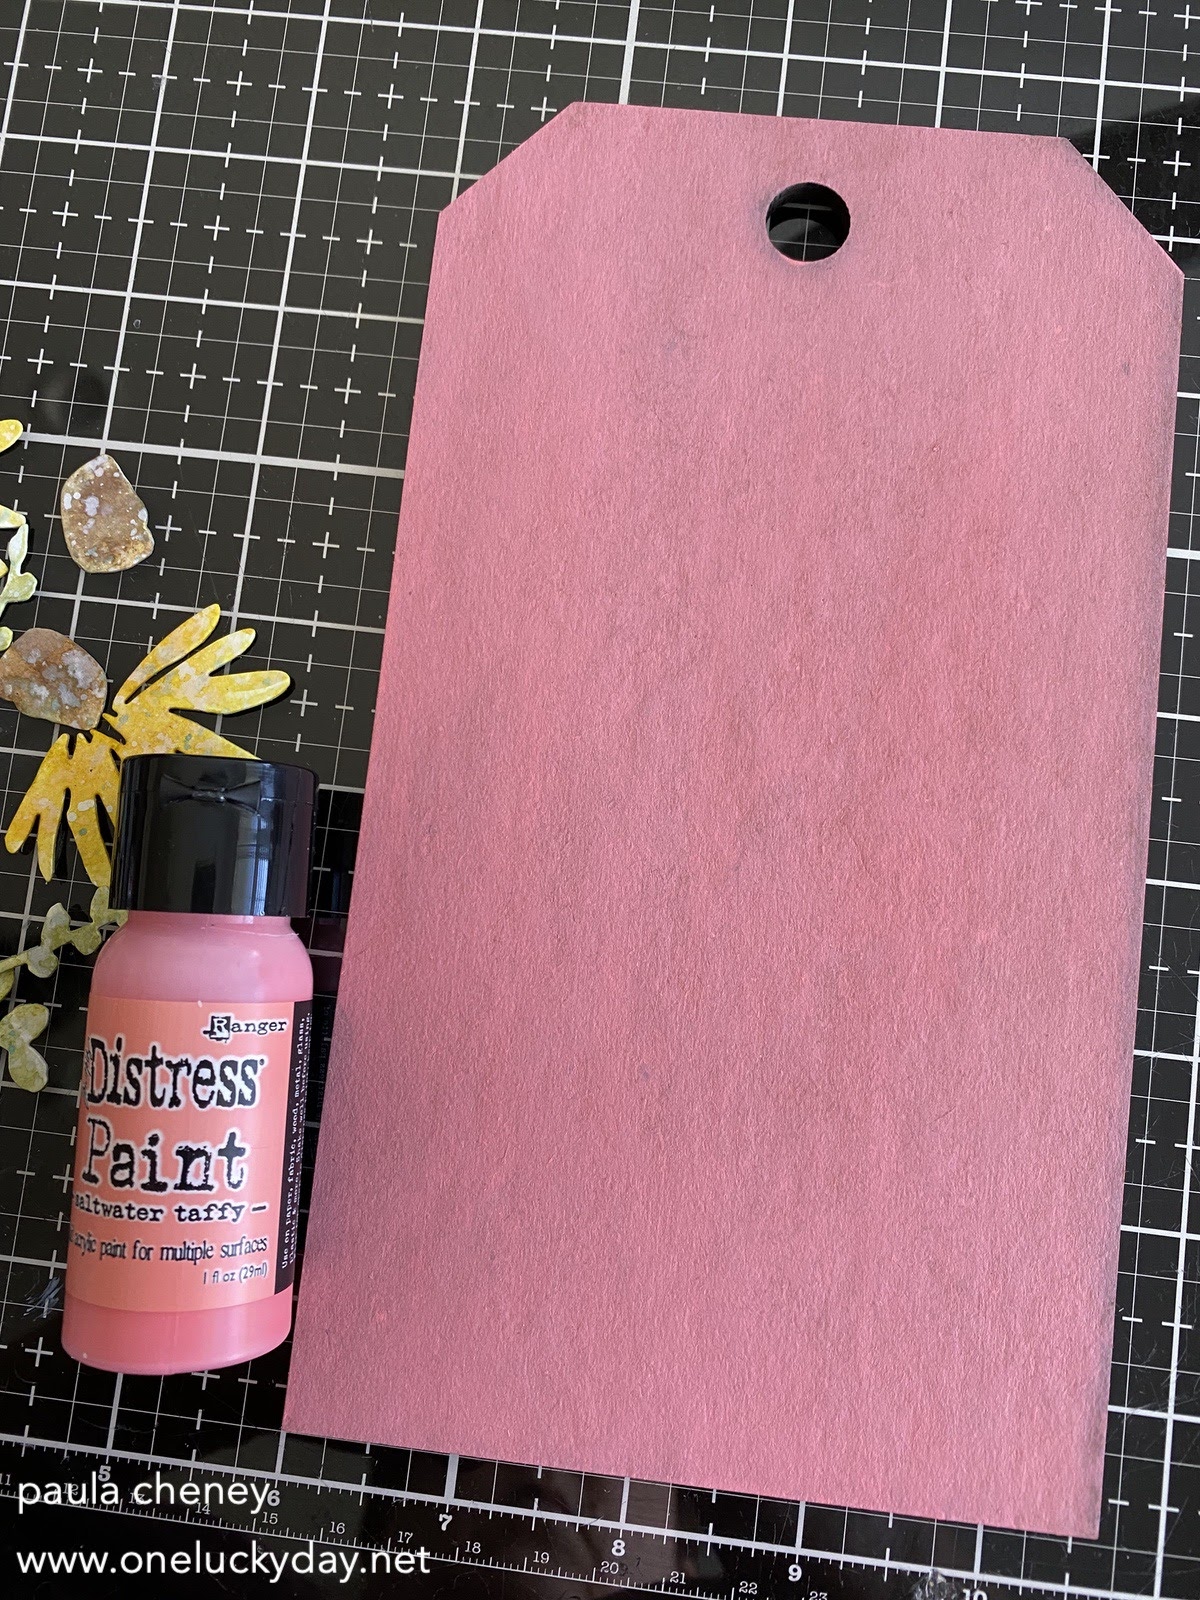
 Paint the Etcetera tag with Saltwater taffy Distress Paint. I did two coats, but you do you!
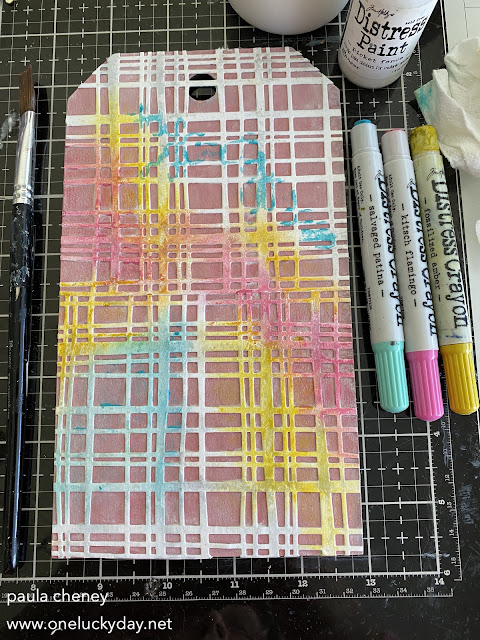
 Once the paint was dry, I added 2 cut pieces of the Simple Plaid with Collage Medium (Watercolor paper). I also put at layer over the top. Do not skip this last step.
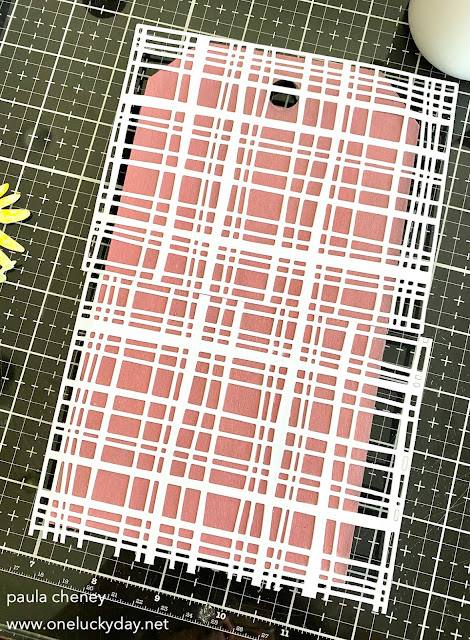 Once dry, I flipped it over to cut away the excess on the edges. I did have to go back and add more Collage Medium to secure some of the little strips on the edges.
 The top layer of Collage medium seals the paper and give you a slick surface so Distress Crayons work over the top.
 Here is the finished background.
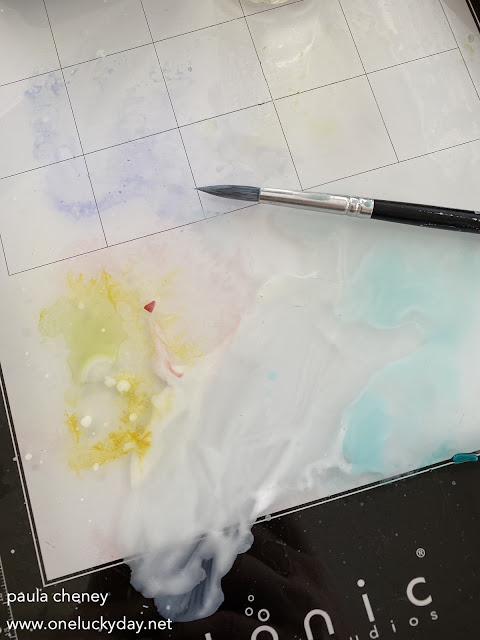
Once I was done painting with the ink, I added a dime size amount of Picket Fence Distress Paint right in the middle of the leftover colors. I spritzed water on the paint and stirred it up just a bit to loosen the paint.

Then I took the brush with the "white wash" and splattered it over the painted flowers. Because there were small amounts of ink in the paint, that color also transferred to the flowers (It looks a bit of a mess but it was worth it).

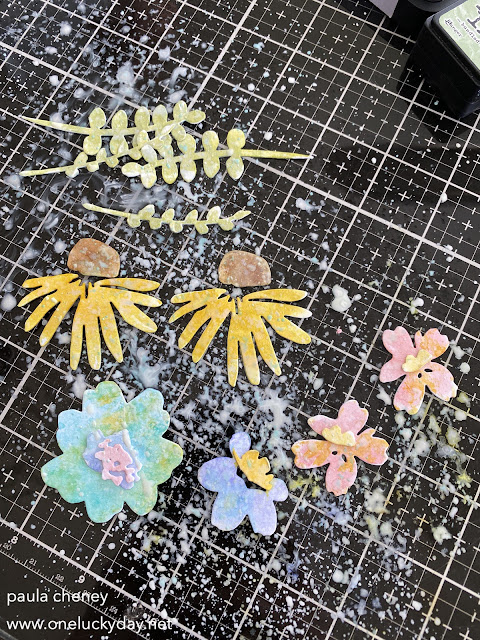
Here are the finished pieces once the splatter was dry.


Scribble on some colors, then rub with a damp finger to move the color around. Always wipe off your finger before moving to the next color if you want the colors to stay true. I used Salvaged Patina, Kitsch Flamingo, and Fossilized Amber.
 Notice the Salvaged Patina scribble at the top. The lower half has already been rubbed in.


Notice that you really can't tell where the two die-cut piece meet in the middle once the color has been added?
 I used foam squares to add a window from the window baseboards pack, then added the cluster of flowers. The Paper Doll was kept very simple, not to take away form the flowers. I also used foam squares under the flowers so they each had different heights.
 I cut the word BLOOM, twice and stacked them so the letters would have more dimension. I added the word to the velum strip and used Scor-Tape on each end to add to the tag.
 I pulled a few ribbons from my basket and made the tie at the top. Easy to do when you have pre-dyed the ribbon with Distress Ink!

now carry on,
paula


now carry on,
paula