Showing posts with label snapshots. Show all posts

Thursday, March 16, 2023

Where the Light Shines Bright

 Hello friends,

Hope you week is going well!  We have been having lots of rain here in California, but no flooding in my area, so that is a plus!  We have a break in the weather toady with just a bit of blue sky so I might even venture out, even if it's just to the grocery store.

I'm really here to share a simple project...one of my favorites actually. I think its all the stitching that I love so much.

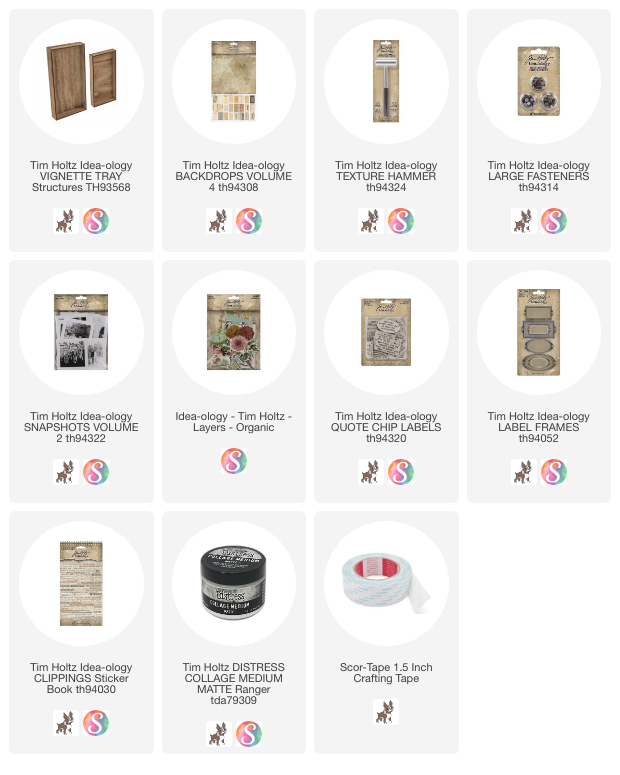
I began by cutting many pieces of Backdrops 4 paper (that is the new neutral pack that is just that...all neutral papers). The papers work seamlessly together, so this was an easy task. I cut the strips anywhere from a 1/2" to 3/4" which I thought best for this size project. I also used both the front and back of each paper. 
I then cut a base paper the size I needed for a small Vignette Tray and used a tape runner to add all the strips to it.  Once it was complete, I went to the sewing machine to do all the stitching, leaving the threads long, just in case I wanted to use them in the final piece.
You can see I added a couple small pieces of cheesecloth for more texture. If I was smart, I would have waited to add them later on, because I'm going to end up moving one of them before I'm done.  For now it's fine and I really like the added texture.
When I began this piece, my thought was to have all the pieced paper at the bottom and the house Snapshot at the top.  But after looking at the stitched piece laying on the tray for a few days, I decided it needed to be split up (that's the way some plans go, right?).  So out comes the rotary cutter, to cut about 1 1/2" off what I determined to be the top.
I had perviously painted the small Vignette Tray Black, so all that was left to do was add the stitched paper to the tray.  I decided to use wide Scor-Tape to add the paper, since the stitching raised it off the surface just a bit.

I chose an Snapshots Volume 2 photo of a house as my focal point.  I used a sharp cutting knife to cut away the background, leaving just the house, trees (with no leaves) and the ground. This was not hard to do, but you do need a self-healing mat board to work on.
Once I had my Snapshot ready, I used foam tape to add the photo over one of the backgrounds from the Layers Organic pack.  The clouds are the perfect scale for the scene!  Also having the Snapshot raised over the background gives it a great effect, like a diorama.
The last step was to cut a circle (always harder than it seems) out of metallic kraft cardstock that I had sanded just a bit.  
I slipped the "sun" behind the tree and house.  A little Collage Medium on the back keeps it in place.
I used the wide Scor-Tape to add the Snapshot to the tray, covering the black hole, lol!
The rest of the photos below were taken once the project was completed, but there are details that I did not take in-progress photos of, like the Large Fasteners and Label Frames seen below.
I had previously added the cheesecloth, but the Label Frame placement landed right on top of one...so I just peeled it off the tray and added the Label Frame with the Quote Chip. I love that the Label Frames fit all the sizes and shapes of the new Quote Chips Labels!
I added the bits of cheesecloth to the tray in places where I wanted to add the new Large Fasteners. Of course I had to use the new Texture Hammer on the Large Fasteners to dent them (I love the hammering part)!  I wiped a little white paint on them just so you could see the indentations.

NOTE: Large Fasteners are brads, which means they have "legs" that normally go through holes in chipboard or paper.  Because I wanted to use them on the Vignette Tray (which is wood), I cut the "legs" off and set the tops in Collage Medium.  Once dry, I pounded them with the Texture Hammer.  Okay, In all honesty, I did not wait till the glue was dry, so I ended up with a few across the room, but you can make that call for yourself!

The word "HOME" came from the Clippings Sticker Book.

I hope you like this project as much as I did making it! It was the first thing I made once I got Backdrops 4 - I had it in my mind even before the package arrived.  The execution just took a bit of finessing!
now carry on,
paula


Saturday, March 4, 2023

Canvas of Imagination

Hello friends,
I sure am happy to be here today sharing a make from today's idea-ology YouTube LIVE with Tim.  It is aways amazing to me to see product put into use, that Tim and I dreamt up more than a year ago.  To be honest, sometimes when the box comes, it usually has stuff I forgot about even working on.  
No matter...today all the makers will begin sharing what they made with the new product.  I know that it has been hard on all of us waiting for March 4th!

This simple canvas is really a two day project.  Day one - make the canvas background and Day two - make the collage.  Let me explain...
I wanted to use the new Collage Paper Palette for this project, but I thought I might use it in a unique way. 
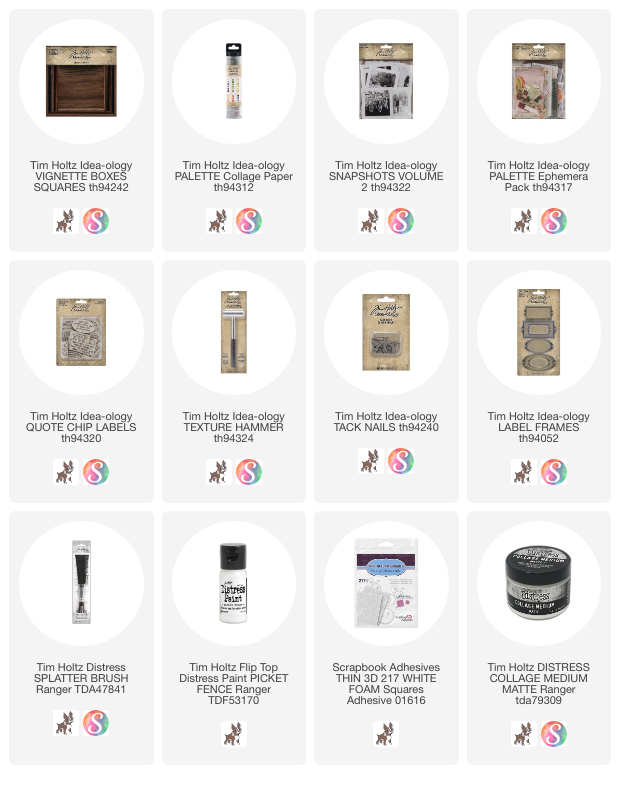
I've done this before, but the technique was always used for covers of mini books. Today, I decided to use the canvas I created over a 6" Square Vignette Box.  I liked the wood box idea since it gave the opportunity to use nails in the project.

Now back to the Collage Paper + Canvas for this project. 
I like Duck Canvas Fabric (natural) for the weight.  I buy it at Joann Fabrics but I am sure there are many other shops that carry it.  
Our Collage Paper is 6" tall, so it is the perfect size for my 6" wood square.  
TIP: One thing I have learned over the years, is that the canvas shrinks a bit (mostly side to side) so for this project I cut the canvas 6 1/4" wide x 6" tall.

1.  Cut the Collage Paper a bit wider than the canvas so you do not have to be exact when laying it down.  It's better to trim off both edges with scissors or better yet, a rotary cutter, when dry.
2.  Working quickly, add a good amount of Collage Medium directly to the canvas with a stiff brush, like a small Collage Brush.  You need stiff bristles to get into the weave of the canvas - a soft brush will only add glue to the surface, not down in the weave.  Make sure the entire piece is covered with glue.  
3.  Lay the Collage Paper over the canvas and press down.  Make sure your hands are clean so they do not stick to the Collage Paper when pressing down.  Press, press, press.  Make sure it is adhered.  If you can see white spots where you missed the glue, you might try lifting the Collage Paper and trying to add glue underneath.  I've done that, but I wouldn't recommend it, if its your first rodeo.
4.  Once you have pressed the Collage Paper into the glue, add another thinner layer over the top.  You can use your finger to smooth out any bubbles, but make sure you have Collage Medium on your fingertip so it will move smoothly over the surface.
5.  Now set it aside to dry (or use a heat tool).  Even if you use a heat tool to dry the canvas, it will still dry even more overnight (and shrink just a bit).  I like to dry it with a heat tool, then place it on a non-stick surface, putting a book on top and leaving it over-night to cure.  That way it dries nice and flat. But that's me - you can just leave it out, and it will be perfectly fine and dry by morning (although your edges might curl).
6.  Once canvas has cured for 24 hours - cut to size. 
Here are a few links to other projects I've made using Collage Paper:

I machine stitched twice around the canvas with neutral thread (I hope you can spot that in the photo) before adhering the small canvas to the wood Vignette with Collage Medium. Once secure, I used the Distress Splatter Brush to flick Picket Fence Paint over the top.  I love how the white paint pop over the Palette Collage Paper.
The collage portion was very simple once I picked the Snapshot photo to use.  You might think it is a Paper Doll, but I liked the idea of cutting away the background, leaving only the ground they stood on.

Once that was done, I used Distress Crayons to color the clothes - Fossilized Amber, Rust Hinge, Uncharted Mariner (with another blue mixed in) and Walnut Stain.  The color don't matter really, I just used some colors that my eye spotted in the background palette. I colored them with a Detailer Water Brush and a few cotton swabs. 
The envelope, flowers, blue ticket, all came from the new Palette Ephemera pack.  It's the biggest pack of Ephemera we have ever created.  So many good pieces to choose from!
The collage is layered using foam squares, even the envelope in the background was given 2 pieces of chipboard + foam tape to raise it off the surface of the canvas.
Once the Collage was done, I used the Texture Hammer to hammer idea-ology nails into the wood substrate.  I started with the 4 nails in the corners (winding around and around) and then decided how I wanted the thread (it is just sewing thread) to criss-cross the collage. I added the nail on the left side, then one at the top and the last one at the bottom.
When I finished with the string, I made a knot on the corner nail and tied it off.  Then for good measure, I made another knot, but this time it got twisted and made a funny loop.  I decided I liked the quirky knot, so I left it.
The last thing was adding the Quote Chip Labels. Here I used one of our Label Frames which fit the Quote Chips perfectly. There is a bingo chip under the Label to raise it up enough to go over the bottom of the Snapshot.
One of my favorite makes from the release...love both new Collage Papers!

now carry on,
paula

Thursday, March 31, 2022

idea-ology Matchbox Tray

Hello Friends,

Today I am sharing one of the projects I created for the new idea-ology release.  This is a project that I created on a whim! I had a basic plan in my head, but was not sure it would work or not till I really got into the project.  I wanted to use the house (I cut it out by hand) from the Snapshots pack as my centerpiece, since I was envisioning the lives of the people who had lived in the house surrounding it.

TRAY
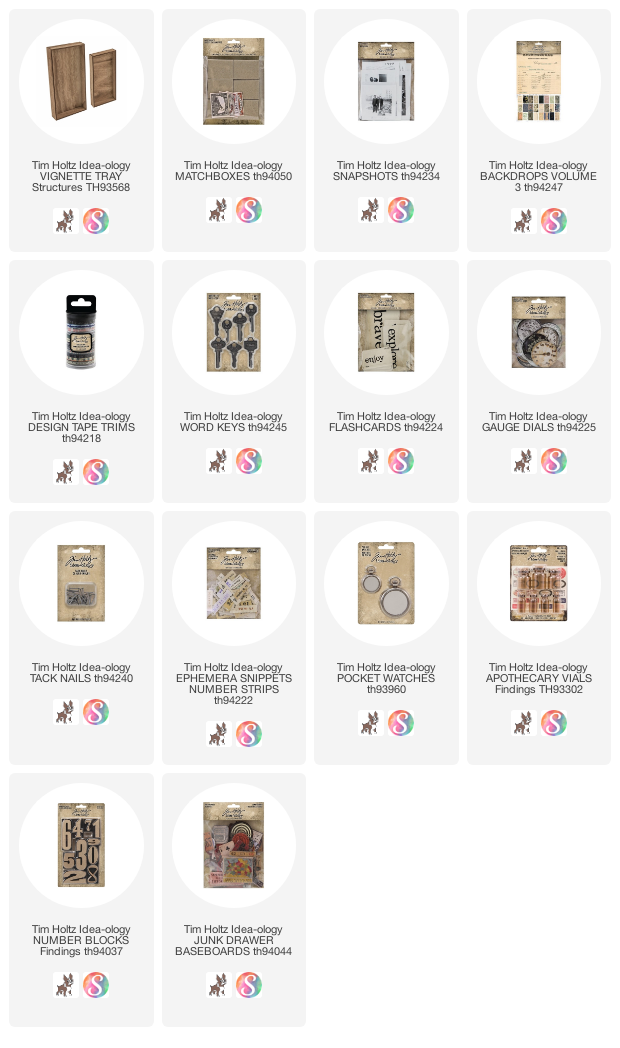
I started by painting the large size Vignette Tray black. I painted the entire outside and the inside walls of the box. This gave me a good vehicle for the pink map paper that is in the new Backdrops 3 paper pack. The black paint makes the pink map really pop! I knew that I was going to be using neutral photos so I needed the pink as my backdrop.
The black tape that wraps around the lip edge of the tray is from the new tape pack that has 12 different, 3/16" tapes.  This was specifically made to fit the lip edge of Vignette boxes.  You can see the one I used right at the top.

MATCHBOXES
I used the idea-ology Matchboxes for the collage. I wanted something that I could open and add things to the drawers. The size worked perfectly with the large Tray to so this. I used all 6 Matchboxes that came in the package. The arrangement of the Matchboxes came from testing what worked. I knew I wanted the house in the center, resting on top of a Matchbox...everything else went in around it. I had the arrangement in place BEFORE I started cutting the Snapshots since I needed to know if a photo should be cut vertical or horizontal.

I removed the drawers from each box, painted the inside of each with 2 coats of Weathered Wood Distress Paint and set them aside to dry.  Once dry, I wrapped the outside of each drawer with Marbled Tape.

Snapshots are a new addition to the idea-ology line.  It is an entire bag of snapshot photos.  The paper is the same as Paper Dolls - thick and slick to the touch.  You can color them with Distress Crayons if you wish and they are very easy to stitch through if you were wanted to sew them to a surface.
For this project, I decided to add the photos to the Matchboxes, but of course they are way too big for a Matchbox.  That wasn't going to stop me.  
I cut a piece of velum the size of the front of the Matchbox.  I used the velum to help me find the part of the image I wanted to cut out.  I could move it around and up and down till I found the right place.  Then I just hand cut that part of the photo with scissors.
I had a vision of old photos found in a box so I decided to only color with Gathered Twigs Distress Ink. I pressed the ink onto my glass mat and spritzed it with water. Once I decided which photos I wanted to use (and cut them to fit the matchboxes), I pressed each into the ink and dried it with a heat tool. Just that simple.
You can see that I have added things to the drawers.  You can use whatever you have in your stash.  New or vintage...it does not matter.
I used Collage Medium to adhere all the parts and pieces, from Flashcards to bottles to Number Bocks...all Collage Medium.


All the string work was done after the boxes were in place. I started with the nail at the top, then worked my way around the tray till I came back together. I used a needle that was big enough for the string.  It would be helpful to have a thimble (if you have one) to push the needle through the boxes. The tray could also be created without the string.

I blackened the Pocket Watch with black paint, then sanded some if it off again.  The center is from the new Gauge Dials pack.  It fits perfectly, you just have to open the back and pop it in.  I added some chain from my stash and a tag from the new Ephemera Snippets.

DRAWERS
Word Keys
Number Block
Apothecary Bottles
Junk Drawer Baseboard pack
Gauge Dials and Pocket Watch
Flashcard


I hope you like my Matchbox Tray!  I know it is kind of an unusual piece but I love it.  The new idea-ology products are so fun to work with and I can't wait to use the Snapshots in more projects.  
now cary on,
paula