I'm back with one more Halloween project. This one is pretty straightforward and could be done in a day if you have all your Halloween supplies gathered together. I keep all mine in one bin so they are easily accessible throughout the season.
I wanted to make something using the new bay window that comes in the Halloween Baseboard Pack. It creates such a fun 3D optical illusion! I added my favorite boys to the top compartment, along with lots of bones and the flashcard, curious. The bottom portion is just a scene that goes with the title, Dearly Departed. I love the faux daguerrotype images found in the 2025 Halloween Sticker Book. I thought this was the perfect place to use one! She looks perfectly spooky with the added web! Well enough talking about the project, lets move on to the 'how to make it' part!
Add Toadstools and gravestone to the scene. You can see that I raised the Toadstool on the left with a bingo chip. A flower (Adornments Sweetheart) was added to the gravestone, then the entire piece was painted black.
Color a bug with Alcohol Pearls Envy. It's an easy way to get a great green color!
Add the bug behind the portrait.
Structure:
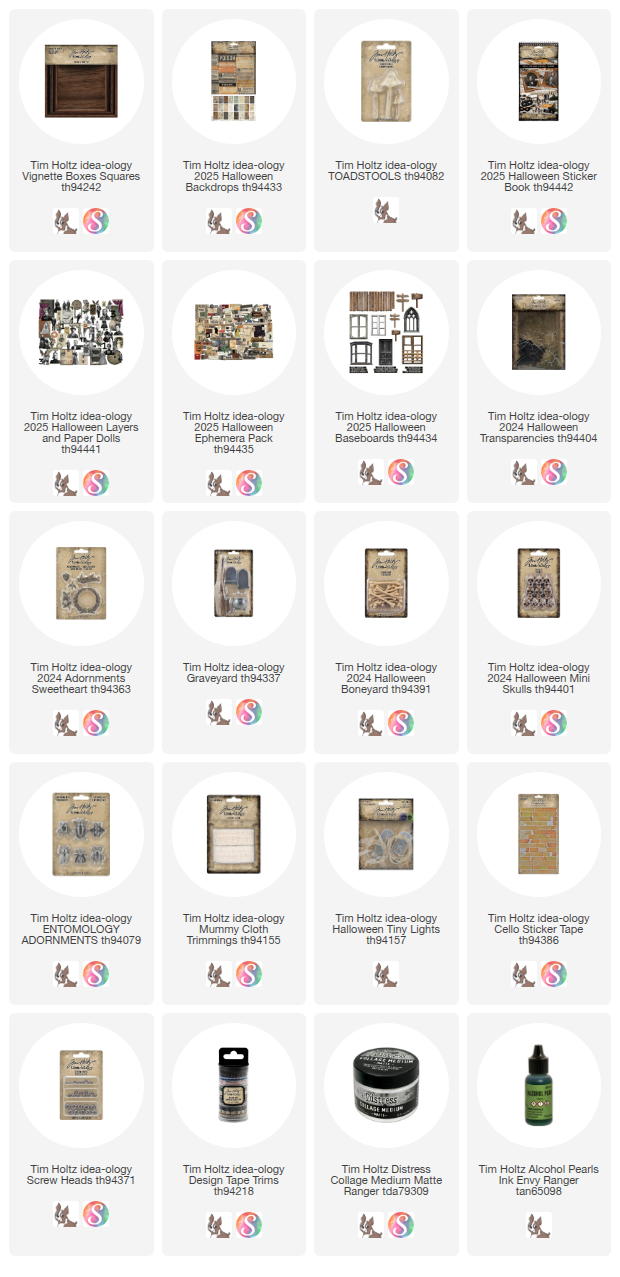
I used two Square Vignette Boxes for the project. There are 3 squares in a package - I did not use the largest size. I also added a base to my project. I made the base using two pieces of wood I found in my drawer. I glued them together to get the right thickness. I also covered the base with Backdrop Paper so it just blends into the project. If you don't have a base, the project can still be made without one.
Directions:
- Paint the inside walls of both boxes black.
- Add Halloween Backdrop paper to the outside of both boxes, the background and the bottom.
- Add the portrait sticker to a piece of heavy chipboard. Add a double stack of foam squares on the back so the bug will be able to slip behind it.
- Add black Design Tape to the lip edge of the box. Use your fingertip to randomly smear black paint, covering some of the numbers. Let dry.
- Cut a spiderweb Transparency so it fits over the portrait. Adhere with 1/8" Scor-Tape on the right...and a touch of glue on the small ends.
- Add the portrait to the back of the box.
- Cut small pieces of heavy chipboard for bases of Toadstools.
- Hot glue Toadstools to the base. Hold in upright position until glue is set.
- Trim off bases so Toadstools can stand close together.
- Paint Toadstools red.
- After the red paint is dry, add white polka dots. I use the tip of a heavy wire to add the dots, but you could use the end of a small paintbrush. Let dry.
Color a bug with Alcohol Pearls Envy. It's an easy way to get a great green color!
Add the bug behind the portrait.
Shred Mummy Cloth into strings (Mummy Cloth was previously dyed with Walnut Stain Distress Ink). Use a paint brush to add Collage Medium to the base so the Mummy Cloth can be added around the Toadstools and the gravestone to hide all the mechanics. In the end, I also added some natural moss (not green) to have another texture to the scene. You can see it in the finial photos at the end. Let dry.
Add a Layers scene to the small Vignette.
Add a Layers scene to the small Vignette.
Drill a hole for Tiny Lights.
Add the lights around the box, using hot glue to secure to the box itself.
Add the Paper Dolls in the center.
Don't forget to make the back look it's best. I added some ephemera over the backdrop paper with Cello Tape to top it off.
Now carry on,
Add the broken widow transparency to the window so the boys are looking through one of the holes.
Add the bones to the bottom of the box. I used Collage Medium and just waited for it to dry, but hot glue could be used if you want to move faster.
Adhere the window to the box with Collage Medium to encase the boys and the bones.
Add the window to the bottom box with Collage Medium.
Here you can see the natural moss mixed with the Mummy Cloth. I also added a skull that I had painted black just for fun.
Don't forget to make the back look it's best. I added some ephemera over the backdrop paper with Cello Tape to top it off.
Now carry on,
paula


No comments:
Post a Comment