Happy to be here today with another project featuring Scorched Timber. This is a very easy project using an Etcetera Panel as the substrate. I love how Scorched Timber mixes with bright Distress Colors to make such a great background.
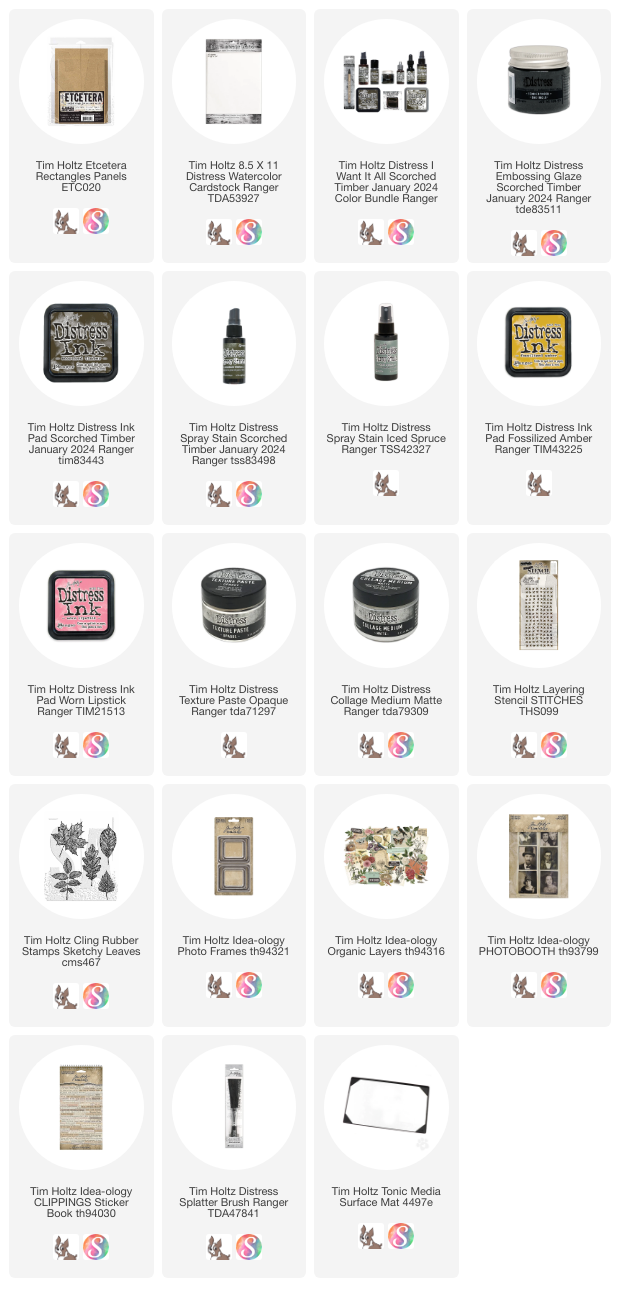
Lets start by gathering some supplies... you'll need Distress Watercolor Paper cut to the size of the substrate you are using. As I said above, I'm using a rectangle Etcetera Panel (6 x 8.5") . The pack comes with 4 panels: two 5.25 x 7.25" and two 6 x 8.5" so its a very good value!
I'm also using the Stamper Anonymous Sketchy Leaves Stamp set (CMS467) and a Grid Block for stamping.
NOTE: before stamping the leaves, I sprayed the Watercolor paper with Antique Linen Distress Stain and wiped it away. I just wanted to take the edge off the white Watercolor paper before stamping the leaves.
While the ink was still wet, I sprinkled Embossing Glaze into the ink puddles in the leaf, then dried the ink with a heat tool, thereby melting the tiny crystals of the Embossing Glaze. I repeated the process till the paper was covered in leaves. I love how each of the leaves turns out different. Some with more Scorched Timber, some with Worn Lipstick.
You can better see the Embossing Glaze crystals in this photo.
I needed a centerpiece for the collage so I cut a piece of paper from the Backdrops 4 pack.
I needed a centerpiece for the collage so I cut a piece of paper from the Backdrops 4 pack.
I used the stencil "Stitches" and Texture Paste Opaque to create the pattern over the paper. Once that was dry, I painted Collage Medium over the entire piece, then sprayed it with Iced Spruce and Scorched Timber Distress Spray Stain and a bit of water to make the ink move around. Using a heat tool, I dried the paper, thereby embedding the Distress Ink into the Collage Medium as it dried. It was only after I finished all of that, that I went to the sewing macing to stitch around the edge.
Next step was to add a piece of Chipboard to the back, so the paper becomes sturdy foundation piece to build on.
Collage- Here is the stack - from the bottom up
vintage crocheted lace
Photo Frame splattered with black paint
Library card (Layers Organic)
pink rose (Layers Organic)
Photobooth
Clipping sticker


No comments:
Post a Comment