
So much behind the scenes work + a 2 week vacation in June has kept me from posting but I have so many projects coming int he next few months that you might get tired of me!
Today I am starting with the new Etcetera products that were released this week. I created 4 samples so I will be sharing those in the next couple of weeks here on the blog.

For this project you will need one package of each of Tiles (Large) + Cutout Tiles.


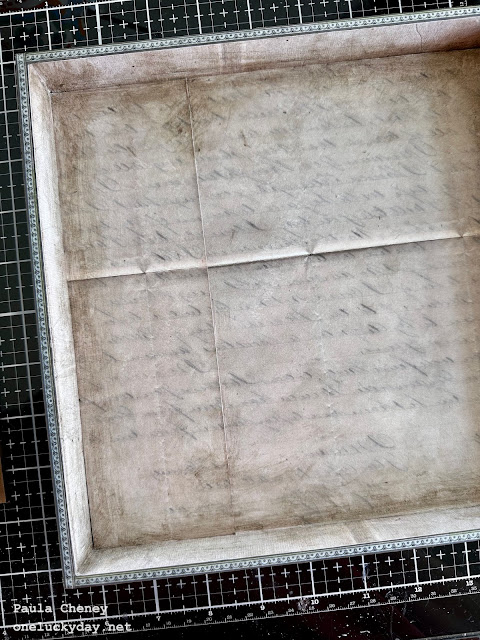
Cover a Display Panel with neutral Backdrop Paper and add Design Tape Trims to the lip edge. Cover surface with Collage Medium and let dry.
Add Walnut Stain Distress Crayon to the edges of the back panel, then use a damp brush to move the crayon around, pulling it up on to the sides of the Panel.
 Once I had my tiles done, I cut 1/2" heavy chipboard strips to lay into the top and bottom of the panel. These helped me to make sure the Tiles were straight before gluing them down.

Made my arrangement of tiles BEFORE I started adding paper. Since I was giving each tile it's own color story, it was important that the design was set, because I couldn't do a ROYGBV (red, orange, yellow, green, blue, violet) out of order.
Here I have used Collage Medium to the tiles and shapes, then added one of two things...paper from the Backdrops paper pack #5 or ephemera from the Ephemera pack, Palette. Its easy to add the paper and the Collage Medium dries so fast that it takes no time. You can use scissors or a cutting knife to cut away the excess paper.


Now just pick up the Tiles one by one and glue them into the Display Panel.
NOTE: I used a good amount of glue (and worked VERY FAST) so I could shimmy the tiles into the place before the group dried completely.
You can see the chipboard strip up at the top of the panel...it is a great guide for getting the tiles in a straight line.

Carefully remove the strips, making sure the tiles are straight. Then set it aside to dry completely.


I hope you'll give it a go!
Now carry on,
paula
Wow Paula - I love this! It was one of my favourites from the live yesterday.
ReplyDeleteBest wishes
Ellie
This is stunning! What a gorgeous piece of art!
ReplyDeleteLove this! Thanks for the instructions.
ReplyDeleteHi Paula - always amazing makes.
ReplyDeleteYou often comment how you always seal paper with collage medium… how do you manage to make the papers you have stuck to the etcetera tiles look like they have been ink smooshed? Do you do this first? Does the collage medium not then react with the ink? I know that you also use crayons after sealing but I cannot think how this can be made to look like dried, aged stains.
I would say it is because once sealed with the collage medium, you can manipulate the crayon. I scribble it on, then rub it in or use a slightly damp brush to move it around. Then in a final step I wad up a damp wet wipe and lightly pounce over the surface to muddle any brush marks.
Delete