Hi friends,
Hope you are doing well and that you have found some time to be creative this week. As always, there are a lot of irons in the fire around here!
I'm happy to share one of my favorite Halloween makes today. It is very simple to create if you have the right risers to help support everything beneath the surface. Follow along and I'll show you how easy it is!
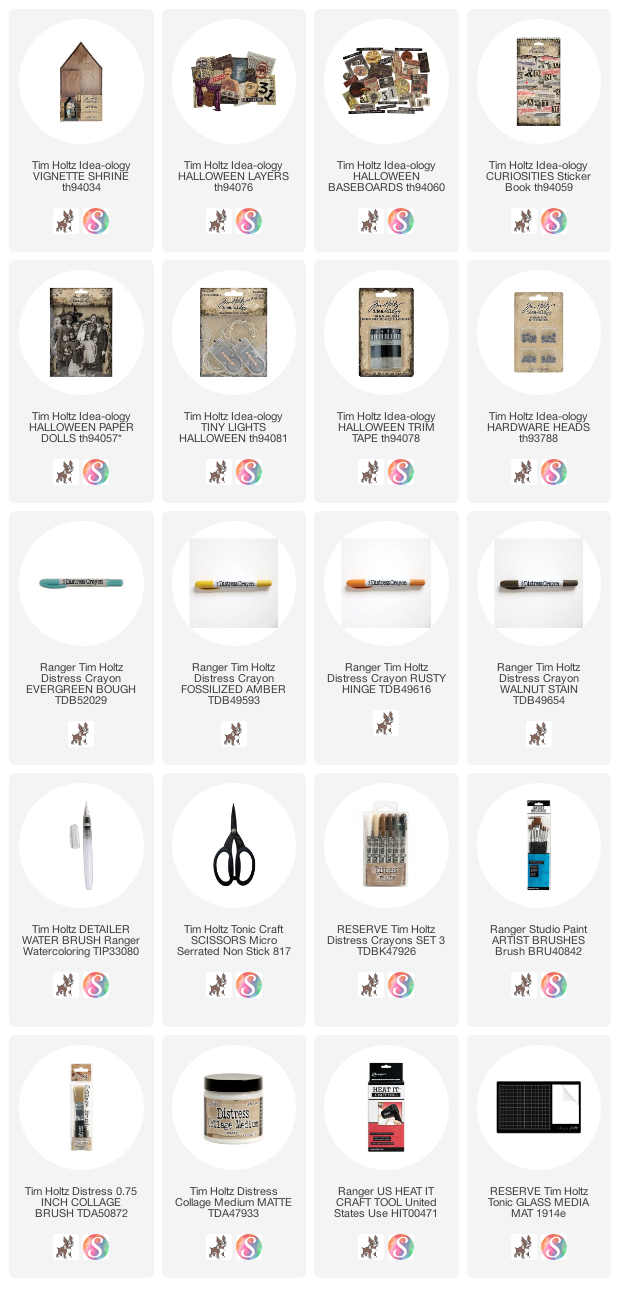
I started with a Vignette Shrine, which I covered in paper from the Halloween paper pad, Departed. I used three different papers from the pack, covering the inside, outside and base. Halloween Design Tape with the small script is on the lip edge.
I layered two paper inside the box for more dimension. Once sealed with Collage Medium, I used Walnut Stain crayon to age it.
Halloween Layers - moon
Halloween Baseboards - word strip + advertising (the dollar is standing on)
Halloween Paper Dolls - girl
Halloween sticker Book - mask (I need a 100 of these)
Halloween lights - orange light string behind moon
You can slightly see in this picture that there is a 1/2" wood block holding up the advertising Baseboard. There are also two more 1/2" wood blocks behind the girl the keep her suspended. Her feet only rest on the edge of the advertising sign.
What could be more fun than adding lights? It's easy to do too.
I drilled a hole in the back of the Shrine for the string of Halloween lights (there are one set of orange and one set of purple in the Halloween pack). I threaded the lights from the back to the front, winding it around the wood block holding up the moon. It is easy to do as long as you adhere the wood block first, then the lights, and then the moon.
To create the lasso, I colored some string with Walnut Stain Distress Ink. I tested it out to see how big the loop needed to be to reach her hand, then made the knot in the string. Using Collage Medium, I looped it over the moon and adjusted from there, securing it to the back of the moon with Collage Medium. I set it aside for 15 minutes while the glue set before working on the next bit.
You can see in this close-up shot that I cut the hand of the Paper Doll, ever so slightly, so I could wedge the string into her hand. I also wiped a small bit of Collage Medium on the backside to secure it.
There is another trick with the string at the bottom of the Shrine. With your thumb and fingertip, run Collage Medium down the lower half of the string. Wipe your fingers clean, then quickly navigate the string into the position you want (something that looks natural). Once the College Medium hardens, it is virtually impossible to move, yet it looks like you could pick it up. Good stuff.I should probably mention the Distress Crayons I used to color the moon and the dress.
moon - fossilized amber and evergreen bough
girl - dress rusty hinge with Aged Mahogany on her cheeks
Here you can see the wood blocks behind the girl. She looks like she's levitating!
I hope you have enjoyed reading about this project. It truly is one of my favorites I have ever made!
Now carry on!


Brilliantly constructed - especially the winding of the lights to create that wonderful glow around the moon. (Having just been tucking tiny lights all the way round models of Veronese alleyways, I sympathise!) Truly delightful - and as I said over at IG, anyone lassoing the moon gives me It's a Wonderful Life vibes, and that just adds to the charm. Clever, imaginative, and entirely heartwarming.
ReplyDeleteAlison x
This is so awesome! I love the lasso'd moon!
ReplyDeletePaula, this is just so full of charm! The lassoed moon is brilliant with the lights behind. My favourite part has to be the layered papers but I do love how the design tape always fits so perfectly on the vignette edges. Anne xx
ReplyDelete