Hello friends,
I'm happy to be here today sharing another project that uses Velum Scenes as part of the focal point. This collage project has a simple wood base and lots of pieces to tell the story of the generations. I hope you will follow along so I can share all the details with you.
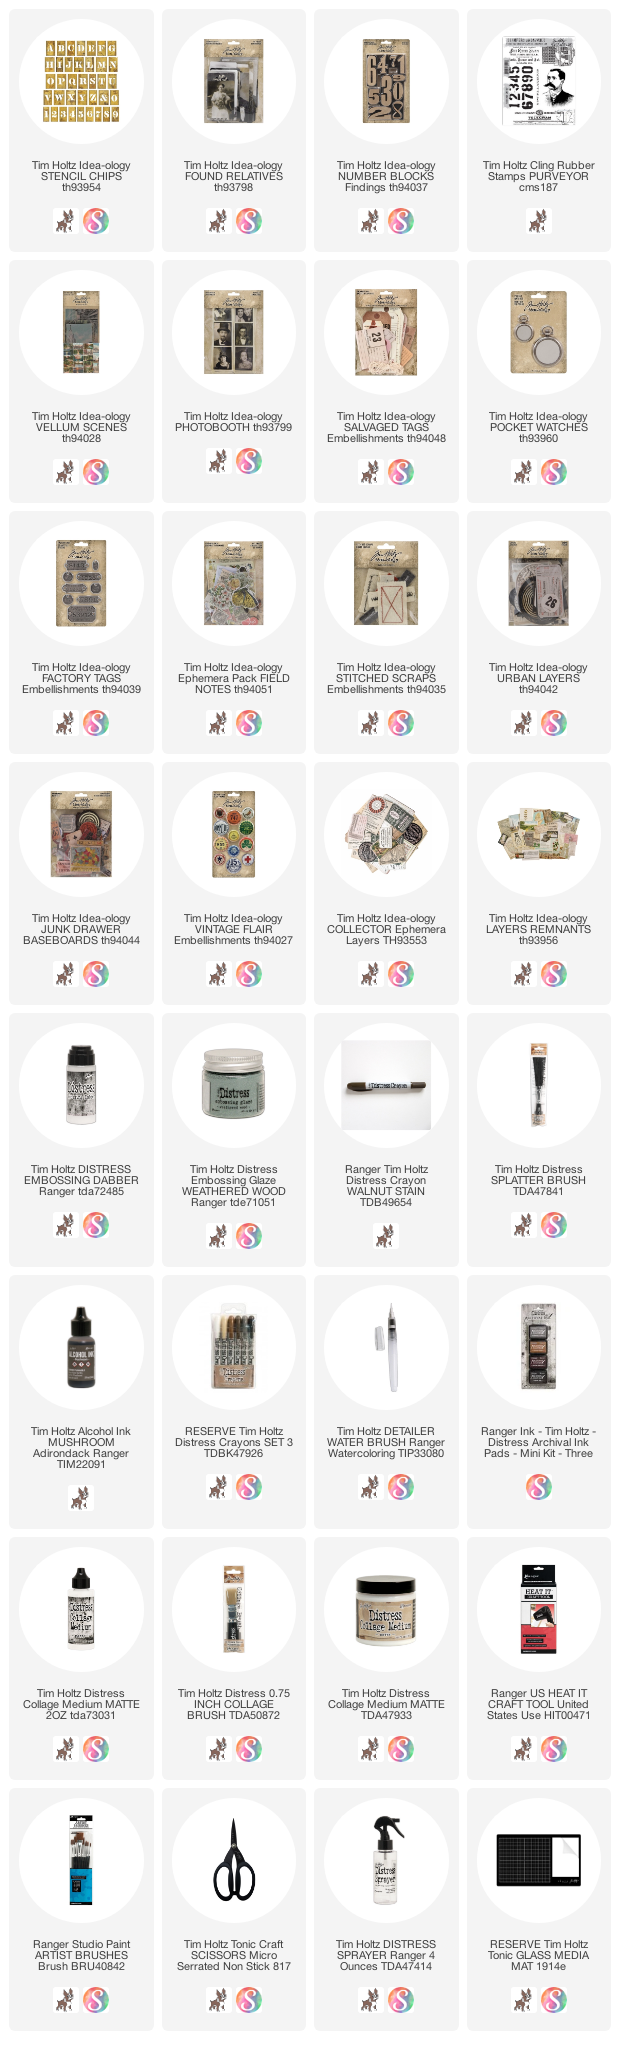
I gathered some supplies (
not in this orderly fashion though). It's much easier to show you a picture of what I used after the project is complete rather than before! I test out lots of baseboards, ephemera, tags, and vintage...some work, some don't!
I started this project by choosing the Found Relative card. That gave me a story to work from. I've never used this one, but was attracted to it because of the mothers determined stance (
love her leather gloves and the daisy in her hat) and the girl with the basket of flowers. I picked ephemera that went with the story... a railway card, the number 3 for the people in the picture, the small dictionary cutout from Field Notes that has a tree with it's roots (always a significant image), Vintage Flair that says, registered to vote and security for all (both reasons why people might come want to come to the US). Anyway, you get the drift of where the story is going.
As for the coloring, it was all done with Distress Crayons. Smudging the background and using a Detailer Water Brush for the rest. I love how the Aged Mahogany gave the mother's suit a rich tone.
Once I was done with the card I set it aside to work on the background.
I used a 12 x 12" cradle board for the substrate. This is a wood surface, not one wrapped in canvas. Photobooth strips are 1 3/4 x 6" so you will need 14 strips to cover the board (7 in the top row and 7 across the bottom). I did need to trim away a bit of the white edge to make them fit but that was easy.
Once I had all the Photobooth adhered to the board with Collage Medium, I had the idea to add the Velum Scene to the background as a nod to people landing at Ellis Island in the New York harbor. When visiting the Island a few years ago, I was struck by the city landscape in the distance. I cannot even image how that would feel to be waiting for your passage across the harbor. And for those that were turned away for a variety of reasons, the unimaginable heartbreak of being placed on a ship to be sent back home. If you have never visited Ellis Island, it should be on list for the future.
So the next step was a bit of a guessing game (where the place the Velum Scene) because I really didn't know how big the collage was going to get. In the end I decided it need to be below the top row of photos. If you didn't read my recent
blog post on gluing Velum Scenes, you might want to read that before you try this. Bottom line, have everything you need ready to go, including your brayer.
After the Velum Scene was adhered to the surface, I added a couple ripped pieces of vintage book text just to break up the ring of photos surrounding the board. Adding Collage Medium to the surface will allow you to used Distress Crayons to age the paper as well as the photos. I used Walnut Stain over the entire board, working it in with a damp finger tip, then pouncing over the surface with a wet wipe to remove the excess.
The last step was to use the Distress Splatter Brush to add Picket Fence Distress Paint over the surface. Not too much, but enough to make it pop!
So lets talk about the collage. I think levels are key to this kind of collage. I always have on hand, bingo chips, small wood blocks, foam board and foam squares (
thin and standard) to use for risers. It is sometimes surprising how many different varieties you end up using in just one piece.
For this particular piece I cut two pieces of craft store foam core (to create a double stack) then glued the photo to it. I left a 1/2" around the edge so things could still slip underneath. I used a thin coat of Collage Medium to adhere the photo to the core as wet mediums can warp a card if you add too much.

From this angle you can see many of the levels created with the different risers.
I wanted a very specific saying for this piece so I created it on my computer and printed it on vintage typing paper. After adding Mushroom Alcohol Ink to the outside of the Pocket Watch, I added the words (ink added), the vintage button and closed it up. Creating anything on a wood panel always leads to me using nails. No exception here. A nail and a little wire is right up my alley.
The Number Block works perfectly here. It's nice and thick so no riser needed! I stamped the Number Block with text from the Purveyor stamp set using black soot Archival Ink. Then added Embossing Ink with the Dauber bottle over the number. Weathered Wood Distress Embossing Glaze was added, repeating the embossing twice for a thick glossy coverage. Once melted, Distress Crayon was added to the surface to grunge it up.
This tag...one of many in the Salvaged Tags pack. I colored it with Walnut Stain Distress ink and added the red metal "button". It goes on like an eyelet but it does not have the open center. I'm not exactly sure what they are called since I probably last used one about 15 years ago. No matter, it works for today.
Two pieces from Baseboards Junk Drawer are layered to build up to the photo.
Then this little guy...Factory Tags with two added Hardware Heads. I liked this tag since it refers to warehouse work. After my grandmother came to the US from the Azores in 1910, she spent two weeks sorting out her immigration paper at Ellis Island before traveling to Boston to save for her passage to California. She eventually travels by train to Chico, CA where she worked at the Diamond Match Factory. Once again, she stays until she has enough money to travel to the Central Coast to join her Portuguese relatives. Because I knew her story, I thought the warehouse metal plate was a great addition.
I thought you might like to see what she looked like. This photo has a written introduction on the back by the aunt and uncle that she traveled to the US with. I suspect it would have been used as a job reference because it talks about her being hard working (good thing my husband can read Portuguese). I have always wondered what color her dress was!
Well, thanks for stopping by to read the tutorial (or even if you just looked at the pictures). I always appreciate the time it takes to go to someones blog when Instagram is so easy to just scroll by. So THANK YOU for your continued support!
Now carry on,
paula


This is beautiful, Paula!
ReplyDeletethank you Barbara!
DeleteSo lovely Paula! I’m always amazed at how beautifully you color things. All of the layers and bits of ephemera are perfect and the vellum scene and torn pieces of text are the inspired details that just make the piece! ❤️❤️❤️
ReplyDeletethank you Tami! xo
DeleteAmazing work! Wonderful story about your grandmother and love the photo of her. It makes this piece even more amazing and special.
ReplyDeleteLisa xx
thank you Lisa!
DeleteThank you so much for not only sharing how this magnificent piece came together, but also the story that inspired it. What a precious piece of family history.
ReplyDeleteThank you Freddie! Appreciate you stopping by to read!
DeleteGorgeous! Love all those tiny details that you always have in your projects. The photo coloring is perfect and the story of your grandmother’s arrival is priceless. The perfect way to display that memory. ♥️
ReplyDeletethank you Stacy
DeleteAmazing piece and a really lovely story
ReplyDeletethank you so much.
DeleteWow Paula! I always enjoy your work and the added story behind it. It is nice to hear what inspired such a wonderful piece.
ReplyDeletethank you Monica!
DeleteJust picked up that your family came from the Azores. So did my husband's family. I wonder if they knew each other?
ReplyDeleteHer maiden name was Lourenco and she was from the island Porto Judeu, Terceira. She married into the Azevedo family, they were from Ponta Delgata, Flores.
DeleteLove reading your blog posts Paula. They always contain a good story as well as some great techniques. So inspiring. Sorry I don't always leave a comment which I should. Thanks so much.
ReplyDeleteno worries at all my friend! Glad you stopped by today!
DeleteOh Paula, I just love this project and the wonderful family story to go along with it! One of my all-time favorite songs is “Ellis Island” by Marc Cohn - your art brings it to life. I look forward to incorporating some of these ideas into the family history book I’m working on. Thanks for sharing the story and inspiration. 💗 ~ Michele
ReplyDeletethank you Michele! That is so exciting that you are working on a family history book. My niece has been using her iPhone to add photos to 'Memories' in Family Search so all can view. It's an easy way to share old photos because it allows you to tag people.
DeleteYour grandmother was beautiful!!! Wonderful project!!!
ReplyDeletethank you Wanda. She passed away when I was only 5 so I only have a few memories of her so I reply on these old pictures and a few stories to make her real to me.
DeleteThis project is amazing! Well thought out and tells a story!
ReplyDeletethank you Linda!
DeleteWhat a terrific piece - it feels like family history lesson as I go around viewing this enticing piece. You always find that one unexpected piece in your work that gives it that extra something. thanks fo sharing another homemade tale,
ReplyDeletethank you Robin - I appreciate you stopping by to read the story.
DeleteI love the thought and emotion behind this lovely project. There's so much more to now know beyond the pictures that gave back. Simply wonderful!!
ReplyDeletethank you Becca! I appreciate your kind words.
Deletethis is amazing and tells a beautiful evocative story. You truly are the queen of Distress Crayon colouring and collage layering.
ReplyDeleteThank you for the complement. I do love to color!! I find it very relaxing!
DeleteWonderful story about your Grandmother, Paula! This is a stunning project. So much love and care went into it. Not that you don't put love and care into all of your things. But this one has a special "something" about it.
ReplyDeletethank you Sue!
DeleteI love EVERYTHING about this!
ReplyDeletethank you for stopping by -appreciate it!
DeleteOh, Paula, what a glorious storyboard; this is a truly magnificent project! I am so touched by your family story, which is eerily similar to my own. I would have never had the idea to make such a magnificent piece to illustrate their story, but now, maybe! Thanks for all the great ideas and especially the way you pull all the bits and pieces together to form such a cohesive work of art! Bravo!❤️
ReplyDeletethank you so much Nancy! Glad you stopped by!
DeleteWhat a really interesting project. I've been doing some mixed media projects using photos of my ancestors as the focal point. The idea of creating a collage of multiple photos is really intriguing to me. Thanks for the idea!! And thanks for sharing the photos of your ancestor. What a beautiful young woman. I lived in the Azores for a little while many years ago (Dad stationed on the Air Force base there). Went to 1st grade there. And I spent many years living in the Boston area! AND(!) last year I was fortunate enough to finally be able to visit Ellis Island. It's a powerful spot especially since I had unearthed so much of my family's story. Thank you so much for doing all the work to post your project. Much appreciated. I've been watching Tim's Saturday live demos and appreciate very much seeing the techniques in action.
ReplyDeletethank you for stopping by and leaving such a nice comment. Glad you are enjoying the Sat Lives - I am too!
DeleteI love the details and story of this project!
ReplyDelete