Hello friends!
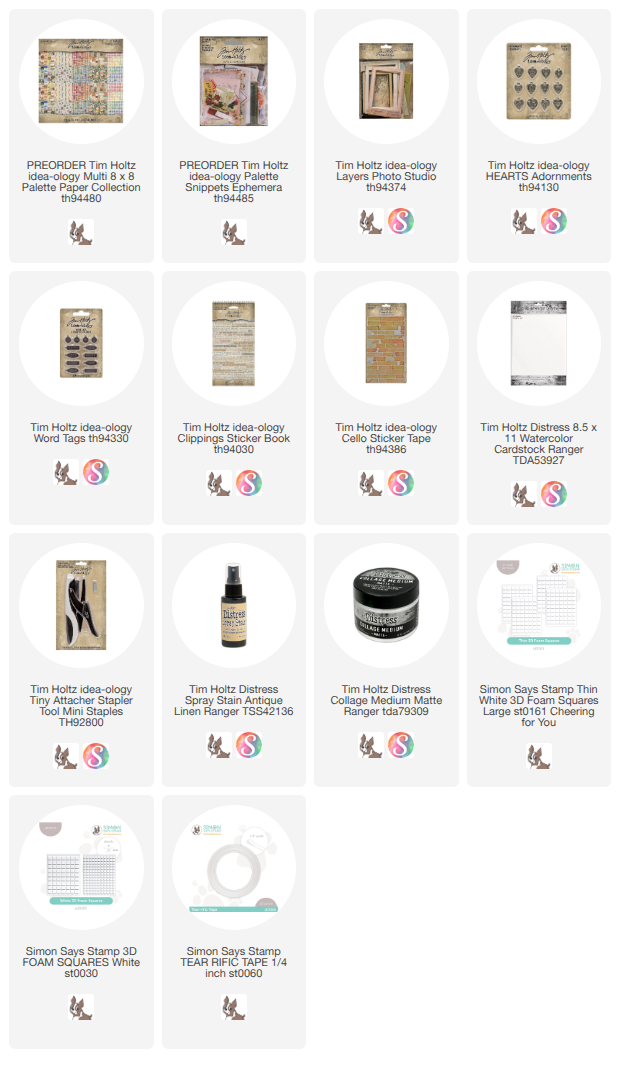
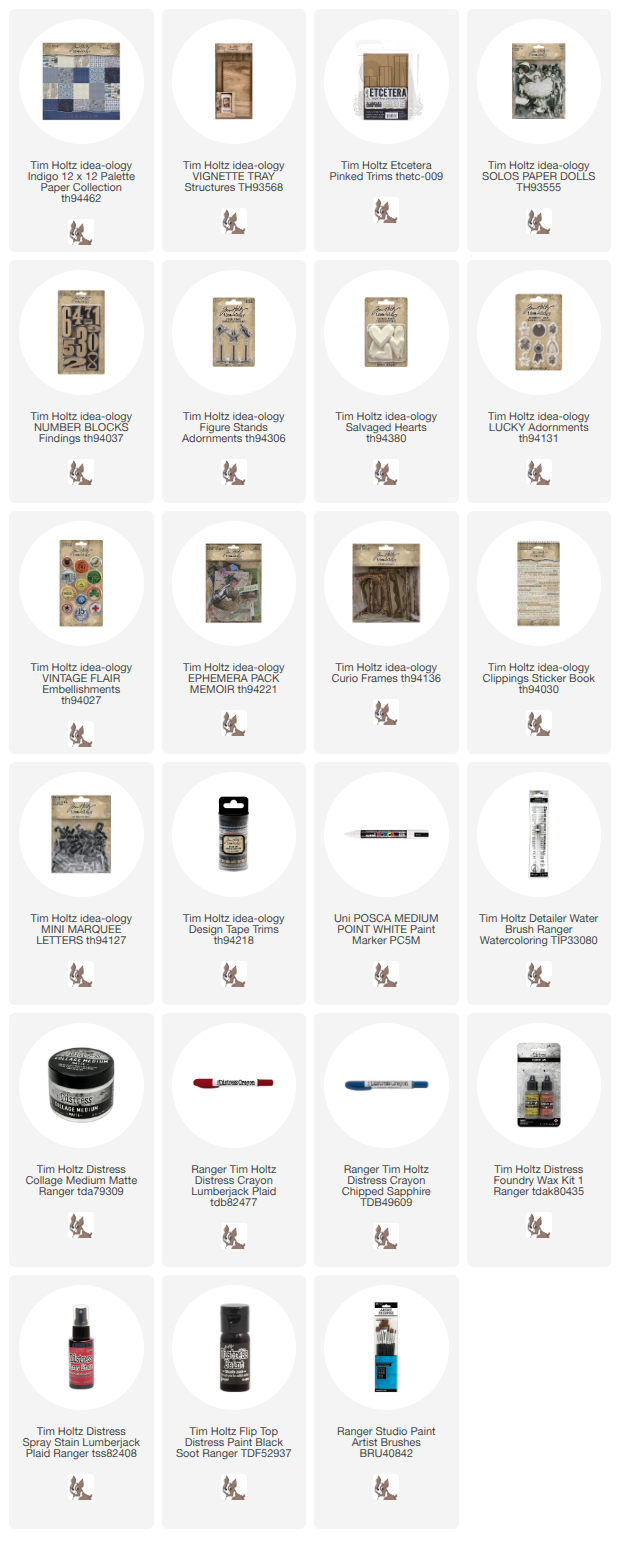
The final three colors of our Palette paper series are officially out: Purple, Charcoal, and Multi. Today, I’m diving right into the Palette Multi paper and mixing it with the new Palette Ephemera Snippets.
I'm just going to say it: this may very well be the cutest snippet ephemera we have ever created. There are 135 tiny, intricate pieces in a single pack! (Honestly, I’d buy it just for those darling one-inch tiny slide frames.)
These cards came together so easily using a mix of the new papers and snippets, popped up with foam squares for dimension, and finished off with a few fun extras.
Now lets get started!
I started by cutting Palette Multi paper (8x8") to fit the idea-ology Photo Studio frames. This is a new paper pack that was released along with Charcoal and Purple.
I am making two large and two small. I just used scotch tape on the back to hold the paper in place.
I needed a card base so I am using Distress Watercolor Cardstock. I cut it 1/4" wider and taller than the Photo Studio Frames, then scored it. I sprayed it Antique Linen Distress Spray Stain and used a paper towel to wipe the stain over the surface. Dry with a heat tool to speed up the process.
I also added Gathered Twigs Distress Ink on the edges of the cards to give it a little more dimenson.
Use Simon Says Stamp Tear-iffic Tape to adhere the Photo Studio cards to the card bases.
This is optional...but I took the cards to the sewing machine and stitched around the edge of the Photo Studio frame.
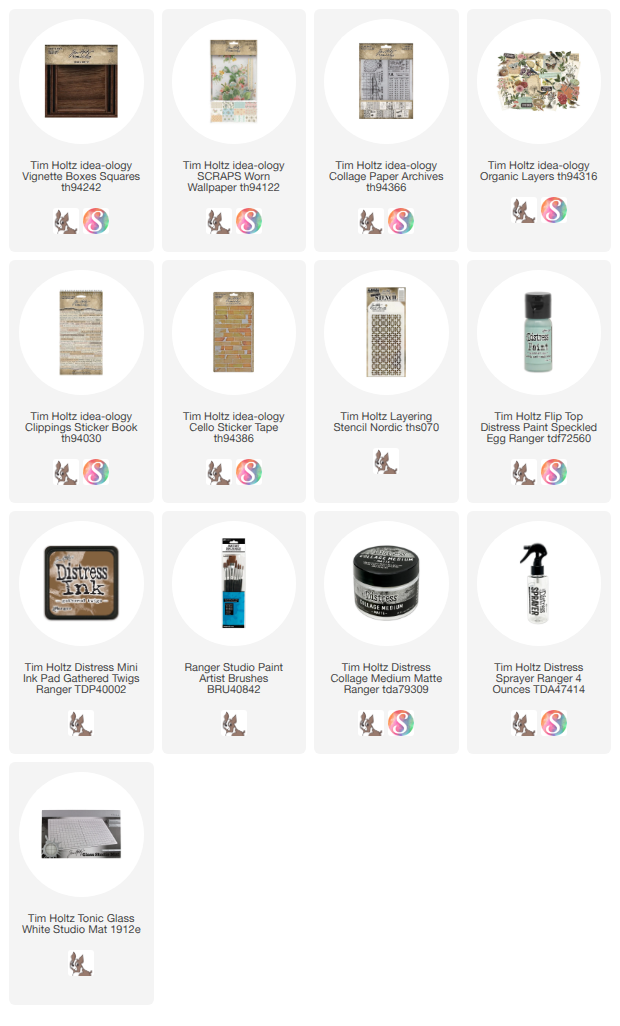
Next I created little clusters with the new Palette Snippets. I just needed a few pieces on each card to make it work. I also added a bit of Cello Sticker Tape and a Clipping sticker to each. String was wrapped around the inside edge and stapled at the top so it stays in place.
NOTE: I placed the Snippets I used, to the right of each card.
This one has an added xo tag from the Word Tags pack. I filled in the tag with Picket Fence Distress Crayon.
I added a purple label and a heart charm to the string on this one.
Here the are - ready for their close up!
You gotta admit - the new snippets are darling!!
now carry on,
paula