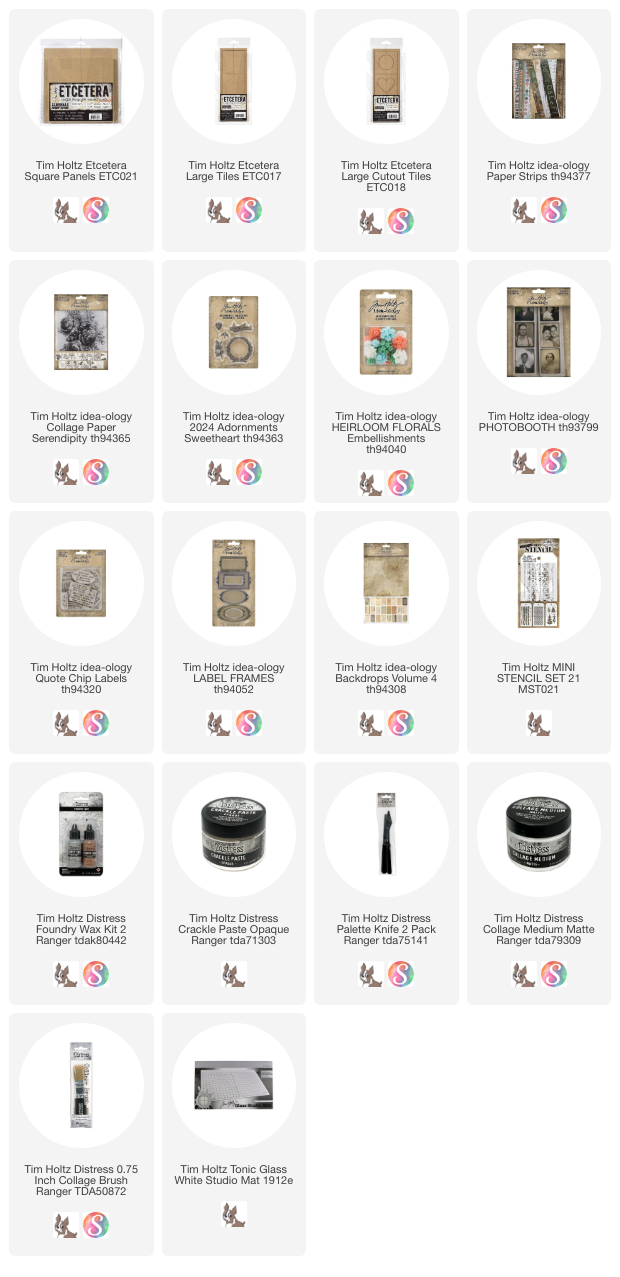
I had the idea to combine Paper Strips and Etcetera Tiles. So that is how this square Etcetera panel (8.5 x 8.5") began. Let's get started so I can share the process to make one for yourself or someone you love!
First, start by painting the sides of the Etcetera panel. I used the Distress Paint color, "Old Paper", because the color is similar to the paper I am going to use on the board. You can change up the color of the edge to suit your background paper.
Use a Tonic Precision Trimmer to cut 4 strips - each 1 1/4" wide. I used Backdrop paper (Vol. 4), which is 10" long so your strips are each 1 1/4 x 10".
For the panel, you need two strips that are 8.5" and 2 strips that are 6", so cut the length accordingly.
Adhere the strips to the board with Collage Medium. Add a layer over the top if you want to use Distress Crayon over the top.
Once dry, scribble the crayon around the edges and use a damp brush or a wet wipe to move it around
(set the board aside while we work on the other elements).Etcetera Tiles
You will need TWO packages of Large Tiles and one package of Cutout Tiles to make this project.
You can get away with only one package of Large Tiles if you are willing to sacrifice 4 of the Cutout Tiles as a second layer (something that will not be seen, but used just as a riser).
Starting with 4 Large Tiles, use Collage Medium to adhere idea-ology Paper Strips to each tile. There are so many to choose from in the package, that it's hard to choose.
Add a second Large Tile under each papered tile to give it height.
NOTE: This is where you could use a Cutout Tile as a riser, since it will be hidden by the top tile.
I chose a sheet from the Collage Paper Serendipity for the "plain" tiles. Because the leaves and flowers were small, I decided to fussy cut the paper rather than using a water line from a Detailer Water brush. Was it persnickety? Yes. But I didn't loose even one in the process. The Water Brush method works better when there is a patterned background to hide the residual paper. Can it ever be used on a light pattern like the linen weave? Well you be the judge. One tile was done with that method...see if you can you spot it?
The linen paper is from Backdrops Vol 4. I covered four more Large Tiles with it.
I have gauged where I want the leaves to go (they may look odd here, but I know what is going to be added later on). So I an ready to add the Collage Medium on the linen paper, and then again over the top of the leaves.
This is the result about a minute later. Literally.
It's magic, I tell you!
I made two with just Collage Paper.
And two, I add Crackle Paste Opaque through the Mini Nordic Stencil (that is part of set 21, if your asking). Once the Crackle Paste was dry, I used a Tiny Blending Tool to add Distress Ink over the Crackle Paste. Then I sprayed the surface with water to allow the ink to get into the cracks.
Here are the four linen tiles together.
If you are counting - we have used 12 Large Tiles so far.
Okay, can you spot the one that I used the Water Brush technique?
It's this one!
You can still see where I pulled the paper along the water line. I did a pretty good job as disguising it, but it can leave a halo when the paper is darker and has almost no pattern.
Okay, back to business...
A fifth tile has been covered in the linen paper. This is for the center so I decided to add some vintage lace across the front.
I also made a double bow with 1/4" seam binding ribbon that I colored with Spray Stain in Antique Linen and Tattered Rose. When I say, "double bow", that just means that you have a long ribbon (like maybe 30"). Fold it in half and even out the ends. Now just tie a bow.
NOTE: once I have the bow the right size and shape - I spray it with hairspray so it will keep its shape!
This is where the Cutout Tiles come in or maybe I should say one Cutout Tile with a heart. I punched out the heart, then added more Paper Strips to mimic the Large Tiles we started with. Use a cutting knife to cut around the heart. You might have to follow up with a bit of sanding!
Heirloom Roses
So I did this technique a few years ago but I don't think I ever documented the steps.
1. Gather Heirloom Florals to color (more than you think you need).
2. Shake Foundry Wax (Statue) till you hear the mixing ball. pour out a dime size puddle. If you need more, shake again, and pour out another dime size puddle.
3. Use your finger tip (
or a brush) to wipe the Foundry Wax on to the flowers.
4. Shake some Mushroom Alcohol Ink over the resin florals.
5. Quickly turn each flower upside down into a paper towel or wet wipe so the excess Alcohol Ink can run out.
6. Place flowers back on the deli paper and spray liberally with 91% isopropyl alcohol. It will allow the dark Alcohol Ink to rewet and run out a bit more. Leaving more of the base color showing. You can use as much or as little as you wish. It really depends on how much Alcohol Ink you used in the first place.
NOTE: I keep isopropyl alcohol in a 2oz Ranger Mister Bottle on my desk. I use it all the time to dilute Alcohol Ink (as we are doing here) and to clean my glass mat. Also, if you used a brush to add the Foundry Wax, use isopropyl alcohol to clean your brush. Works like magic.
7. Foundry Wax is heat stable so you can quickly dry the resin flowers with a heat tool. If you find that you have not removed enough of the Alcohol Ink, just spray again.
Admittedly, it's hard to take pictures of shiny things because the color is never exactly right, so I hope this photo does the technique justice. I LOVE how they turned out!! So vintage beautiful to me! Now we just need to use them on the project!
Use Collage Medium to arrange all the pieces on the center tile. And yes, I did add Foundry Wax to the "Sweetheart" Adornments piece for continuity.
The ribbon knot is glued to the lace beside the heart, so the Heirloom Floral can be partially on the heart and partially on the ribbon. Let dry completely before turning over.
I just love this all together!
I need a sentiment so I decided to use a Quote Chip and a Label Frame. They are so easy to use because they were sized to go together! No cutting needed!
Use Collage Medium to the nine Tiles to the Etcetera Panel. I worked very quickly to add the glue so that if there were any that needed to be adjusted, I could do that. But really, if you get the bottom row in the correct position, the rest will follow suit!
Once the tiles are in place, you can add the Quote Chip in the Label Frame with foam squares. I did a double stack under the right side and two thin foam squares on the left so that it is hovering over the four tiles beneath.
Now just two more tiles to finish!
Arrange three more Heirloom Florals below the Label Frame. Adhere with Collage Medium.
Stitch an idea-ology Photobooth (
or one of your own photos) to a piece of old paper.
Tear away the excess paper till there is just a bit left.
Add 4 thin foam squares to the back and add it to the top left square.
And there you go! I love the color scheme since it's right in my wheelhouse! The Paper Strips could not be any easier to to use, but they make a great impact in the overall piece.
Lots of close up photos...
Thanks for stopping by today. I appreciate you taking the time to come here to read my tutorials and maybe try the projects out. I'll be back shortly with another project, all about love!