Showing posts with label tim holtz. Show all posts

Thursday, October 15, 2026

Merry Christmas Display Panel

Hello friends,

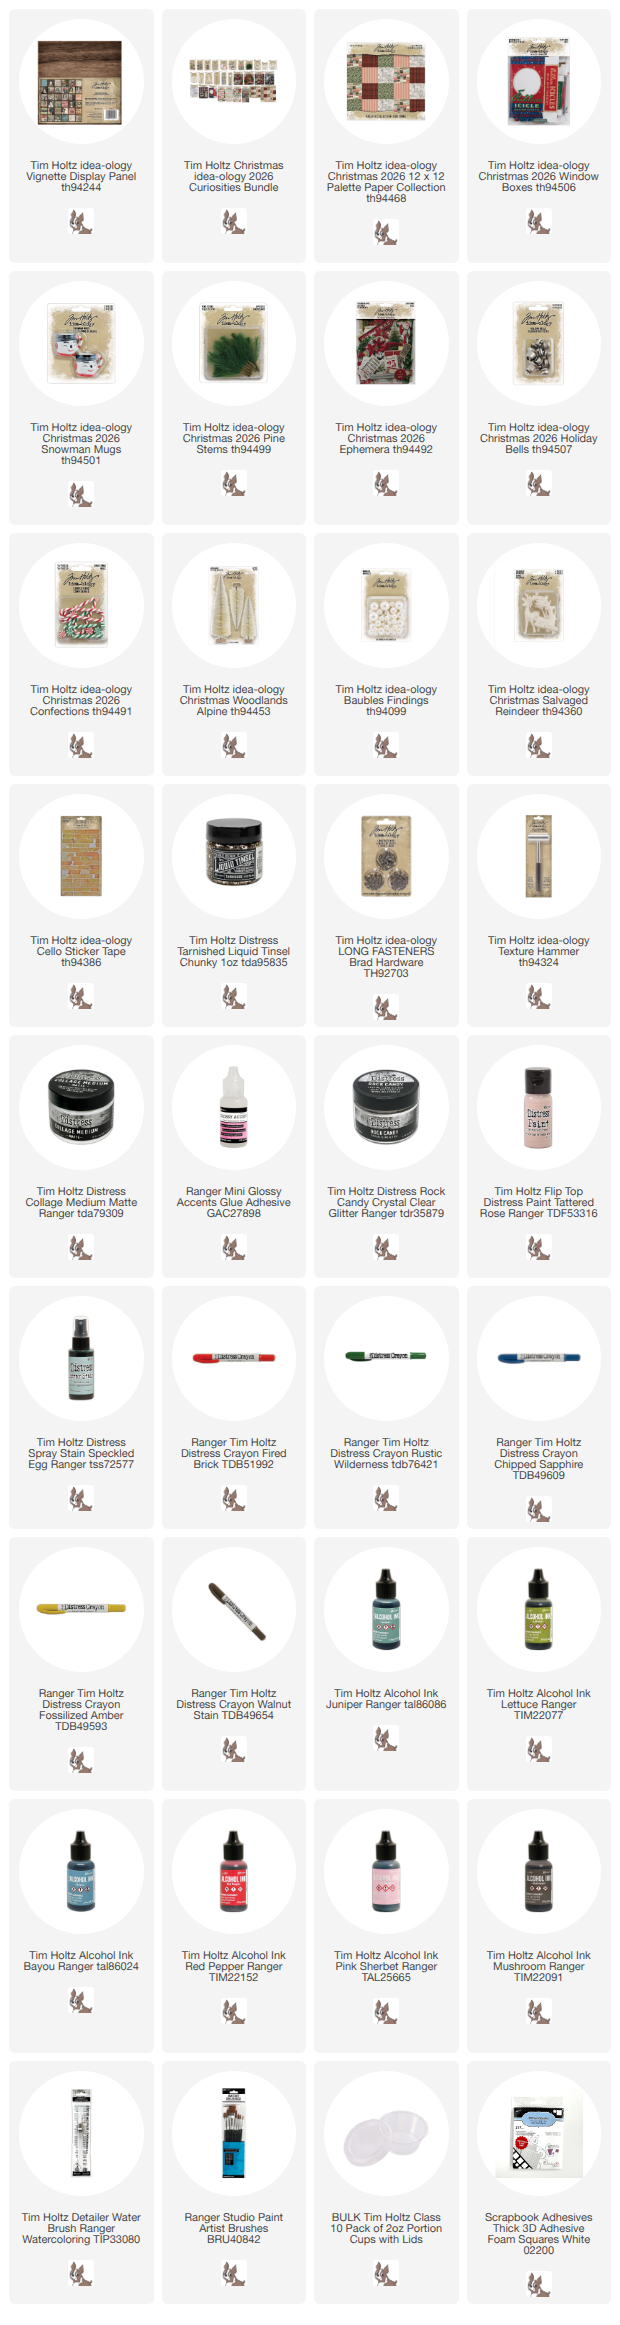
Happy to be here sharing a new Christmas project featuring the new idea-ology Christmas collection! From the festive Palette Christmas paper to the wonderful new Window Boxes, this project is just perfect for the season. Each Window Box features a unique scene to bring Christmas to life, complete with Alpine Trees sparkling with Liquid Tinsel as the ultimate addition to the display.

You can find the full project tutorial over on the Simon Says Stamp Blog. Your one stop shop for all things idea-ology Christmas!

Now carry on... (right over to the Simon Says Stamp blog!)
paula

Sunday, October 4, 2026

Merry Christmas Tray

Hello friends,

I'm here with the second project made for the idea-ology Christmas LIVE. This tray was purposefully created with a subtle colors. I wanted to show that Christmas doesn't always have to be red and green. I wish the photo did the project justice because it is beautiful in person. Just a calm winter scene.
As always, we start by adding paper to the Vignette Tray. I LOVE this paper we created from a small cigar box that Tim purchased. I am sad that much of it got covered up by the windows, but still glad I used it.  I cut thin strips of paper for the lip edge of the tray. You need to cut the paper 3/16th, which sounds hard but it wasn't...(it's just the mark between 1/8 and 1/4"). I used a rotary cutter and ruler, but I'm sure you can use a paper trimmer. I'm just not that skilled with a paper trimmer, lol.
I cut my paper about 8" long - mostly because this part will not show behind the Vignette Box...but also to preserve what left of the paper for something else (I told you I really liked it).
I covered the outside with more paper from the Backdrops paper pack. I didn't take a photo of the back but it is just a patchwork of papers.
Now the Vignette box. I liked this paper from the pack that has a winter scene and wanted to see if I could make it work to my advantage. Anyway, I followed the same process of adding the paper with Collage Medium, waiting for it to dry a bit, and then adding another layer over the top to seal. 
Once I had the box covered, I added it to the Tray with Collage Medium and set it aside to dry.
So lets start on the pieces that will fill the tray. One large Salvaged Snowman.
Then a barrel. I had the idea to chop the bottom half off but I didn't have a Dremel Tool handy so I thought I'd just give it a go using a awl and hammer. I did this on a self healing mat NOT on my glass Studio mat. Anyway, I just poked the awl into the barrel and hit it with the hammer. The side cracked and fell off and that was that. The tip of the awl was right where the sharp turn in the cut-out is.
I glued a very small piece of cotton batting to the top Barrel. Then I glued the ice skates to the top. Once they were secure, I added Glossy Accents and a Rock Candy mix to make it fit in with the scene.
I glued the Snowman and the broken Barrel to the Tray, then started on the sign and tree, This small sign is in the new Baseboards pack and it is just charming. I used hot glue to adhere the sign post to a small piece of chipboard so it would stand on it own. The base was then covered with more cotton batting as is the tree base.
Both pieces were added to the scene.
More cotton batting was added as a base for a snowy look.
Then colored baubles were added to fill the Barrel.
On the right, I fluffed up the cotton batting and added dabs of Collage Medium. 
The Rock Candy mix was sprinkled on top to add to the sparkly snow. You don't have to add as much batting as I did. I was going for a little snowy mound!
There are metallic or foiled pages inside the new Sticker Books. This book is called Traditional and the last two pages are silver and gold. I cut out part of the silver stars so I could use Mushroom Alcohol Ink over the silver to age them. It is very subtle but I still think it's worth the trouble.
I added the stars to the background between the trees. 
I also added another tiny tree in an empty spot between the Snowman and the Barrel.

Top Compartment
I added a transparency to the back of the large window. The transparencies are part of the Baseboard pack and come shaped like the window which is very convenient.
You could leave the window as is and you would be able to see into the background, however I decided to cut Mirrored the same shape as the windows. I thought the Mirrored would add additional light reflection. You could also use the mirrored as is, but I decided to take it a step further and add Mushroom Alcohol Ink with added Alloy in Gilded to break up the Mushroom. You will need to also add Blending Solution to the mix to make the Alloy stable. This is one of those techniques that is challenging because you can never replicate it exactly. But don't let at stop you! It is fun to mix everything and see what happens!
I wanted the Mirrored to sit away from the window transparency so I added 3D Foam Squares between the transparency and the Mirrored. I love that it looks like old mercury glass.
I added the windows to the tray with Collage Medium. There were so many angles that would work so it really depends on what you are putting in front of them.
I also added the bold, Merry Christmas banner at the top. It just fit perfectly in the tray! I painted small blocks in black to raise up the banner so it sits quite forward from the back of the tray.
I'm not sure if you can see it, but I used Glossy Accents over the letters of the banner and sprinkled it with Rock Candy.
Next up are the trees. I had previously sprayed the trees wit Spun Sugar and Speckled Egg Distress Spray Stain. Once dry, I added the Liquid Tinsel. I topped it off with a new Star Pin. I wanted these Star Pins for so long (like 10 years) and we finally were able to make them! I'm so happy!
I've added this new couple from the pack of Paper Dolls. I picked them so I could use the new tiny holly pieces from the Layers Botanical pack. I've added the holly to her hat and his coat. Again, something I have wanted for so long and we were able to add them to the pack. So, if you see these tiny little holly pieces, don't throw them away!!
I added more cotton batting and snow under foot so it mixes with the trees on the left.
I kept the details simple and just added some small baubles under the tree.

Now carry on,
paula
Wednesday, September 30, 2026

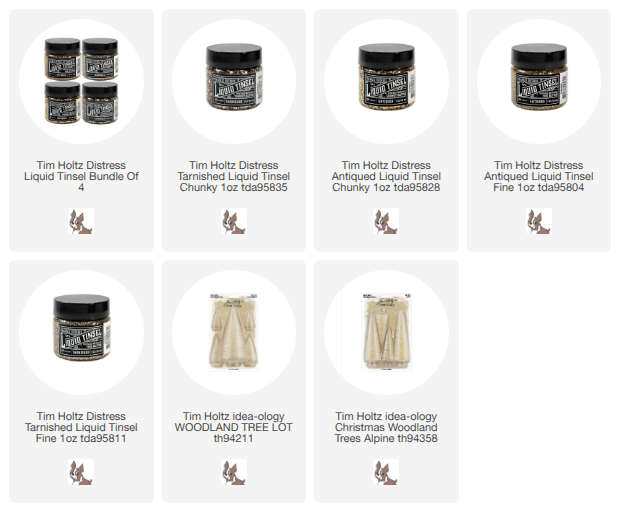
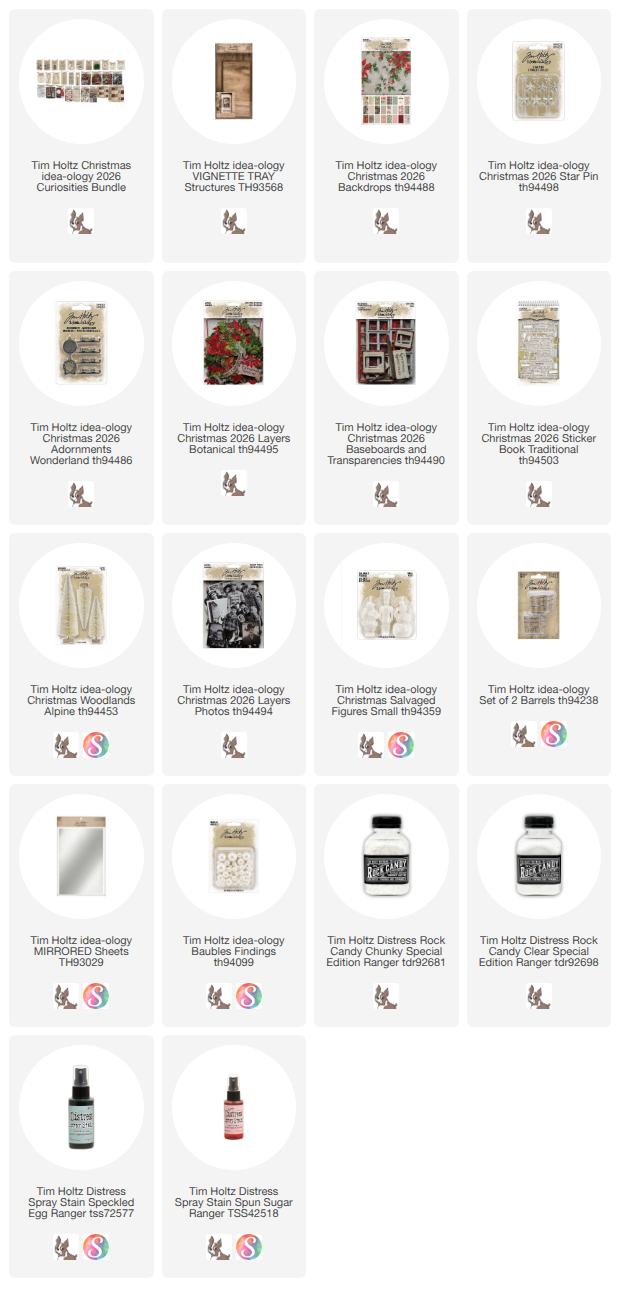
Liquid Tinsel: Tarnished and Antiqued

 Hello friends,

Today is a very exciting day...one I have been waiting for since I got to test the prototype product back in June! Liquid Tinsel is absolutely amazing. 

Tim Holtz Distress Liquid Tinsel suspends vintage-inspired metallic glitter in a translucent adhesive base for mess-free application. The fluid formula delivers twinkling shimmer or bold textured sparkle in fine and chunky sizes across two timeworn finishes: Tarnished and Antiqued. Perfect for adding nostalgic dimension to mixed media, cards, and creative projects. Simply brush onto your surface—as it dries, the clear adhesive shrinks to leave behind a textured glitter finish. 

  • Tim Holtz Distress Tarnished Liquid Tinsel Chunky 
  • Tim Holtz Distress Tarnished Liquid Tinsel Fine 
  • Tim Holtz Distress Antiqued Liquid Tinsel Fine 
  • Tim Holtz Distress Antiqued Liquid Tinsel Chunky 

I created two projects for the idea-ology LIVE on Saturday, Oct 3rd where I used Liquid Tinsel to make everything sparkle! I hope you'll stop by the LIVE on Saturday to see what I made and how I put the new Liquid Tinsel to use!

Now carry on,
paula
PS) Simon Says Stamp has the four pack on sale today ($19.87 for all 4 jars). Not sure how long that will last though!

Monday, September 28, 2026

New idea-ology Christmas!

Hello friends!

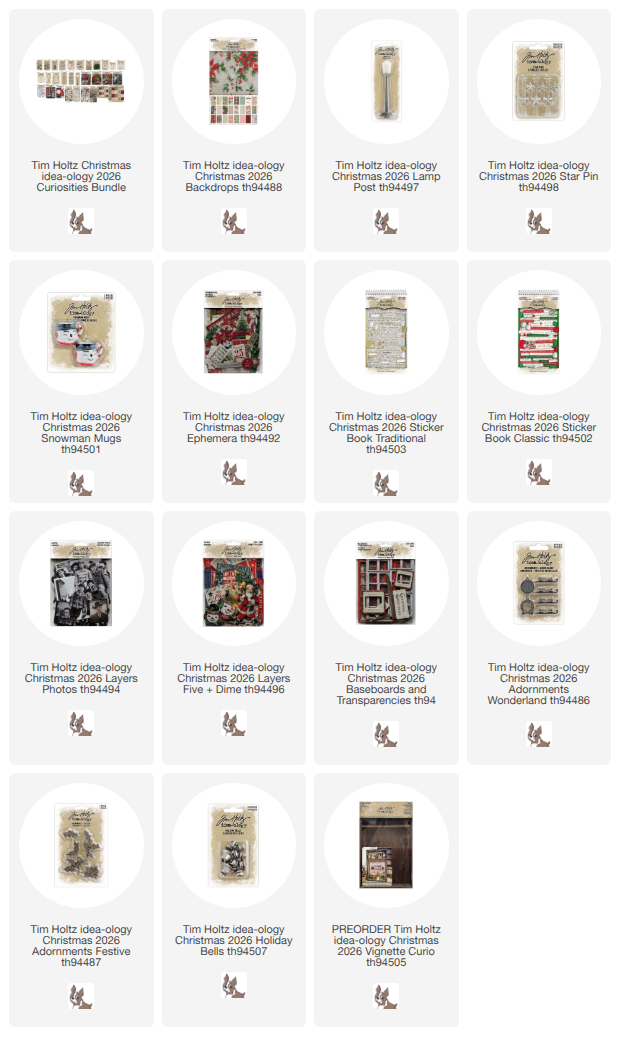
Now I know we said last year that we were done designing new things for idea-ology. Well... (insert drum roll) a new idea-ology Christmas Collection was just released today. It is such a happy release with so many details hidden in the packages! I cannot wait for you to see it! 
Tim will be sharing all the details, along with samples (and lots of up-close shots) on Saturday the 3rd on his YouTube Channel. Be sure to join us for all the fun!

Join us!
YouTube LIVE with Tim on Saturday, October 3rd!
9am PST/12pm EST/5pm UK


The New Collection!

Sunday, September 27, 2026

Christmas Card File 2026

Hello friends!

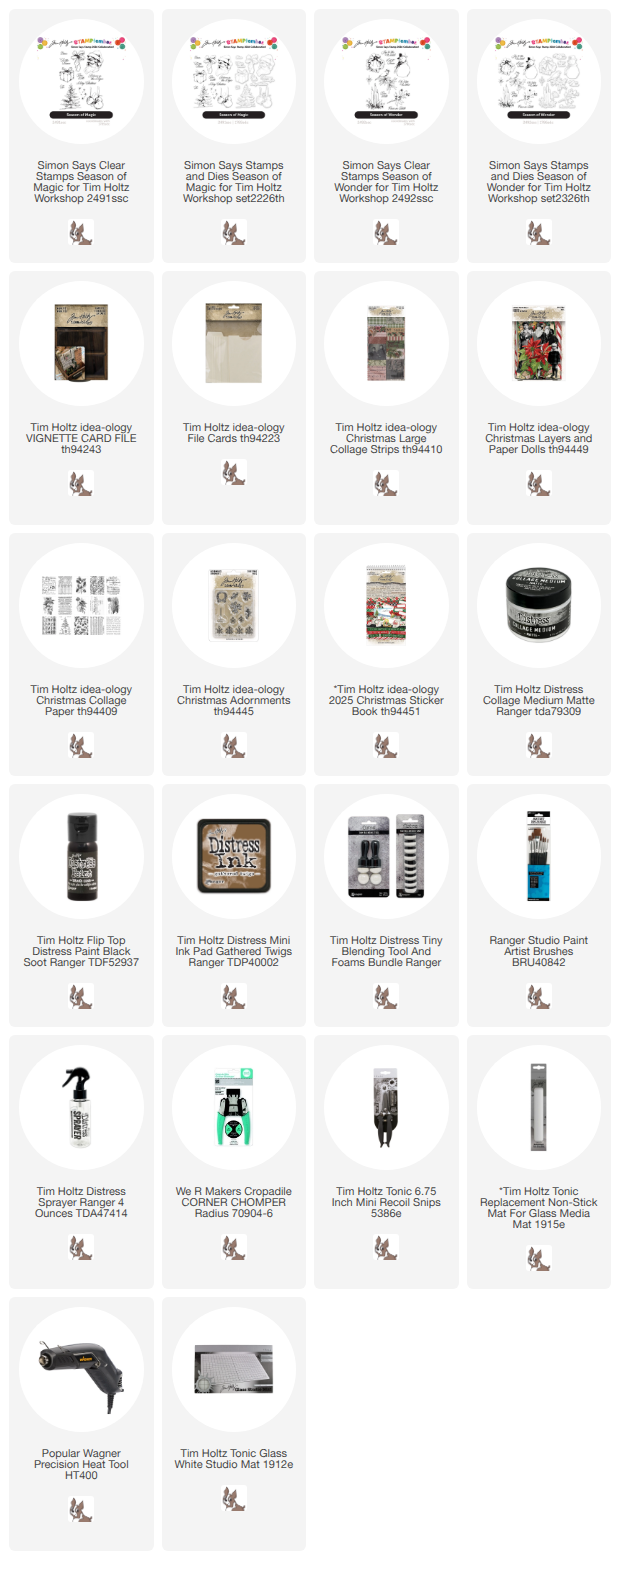
If you’re like me, you knew the Tim Holtz STAMPtember kit was a must have when it was released earlier this month by Simon Says Stamp. The kit was a tremendous value! Not only did it come with 2 stamp sets, but also the matching dies and other add-ons including 10 exclusive bottles of Distress Stain, cards, tags.
To make the Christmas Card File, I used the STAMPtember kit, an Idea-ology Card File, a pack of File Cards, plus and a mix of festive idea-ology Christmas products. The beauty of the Card File is that there’s no wrong way to build it! It works for any season or style—meaning once you start, you won't stop at just one. Plus, it’s a brilliant project for using up leftover scraps! 

If you would like to see how I created the Christmas Card File, follow the link to the Simon Says Stamp Blog for the information and lots of step-out photos! So many ideas for cards!


So many ideas for cards!
Now carry on,
paula

Tuesday, September 15, 2026

Haunted Memory Kit

Step into the shadows and create a hauntingly beautiful piece of Halloween decor. Standing at 11” tall, this Vignette provides the perfect architectural structure to showcase an eerie, miniature Halloween scene. Build an atmospheric world filled with old books, curious apothecary domes, and even a witch’s broom. The centerpiece? A cauldron brimming with bubbling ooze—just don't forget to put out the fire before it boils over!    

The kit comes with everything you will need + plenty of extra Halloween goodness from idea-ology. Also includes a 6 page booklet of color step-out photos, comprehensive written instructions and a list of Ranger mediums and basic tools/supplies. 

Frightfully packaged with care!  

*kit does not include Ranger wet mediums like glue and alcohol Ink.

Click on the link below if you wish to purchase the kit.  
The link will take you directly to PayPal.  If you wish to pay with debit or credit card, click on the box at the bottom of the PayPal login page (you do not need a PP account). 
The total cost for the kit is $129.00 + $12 shipping (US domestic only)
Kits will begin shipping Wednesday, September 16th.

We ship to the address connected to your PalPal account.
PLEASE make sure your address is correct before purchasing.


Monday, August 17, 2026

Here for the Candy

Hello friends!

Back again with another idea-ology Halloween project! This one features a double stack of Vignette Boxes packed with plenty of eerie idea-ology embellishments.

Each box was created as its own individual scene before being joined together to form a whimsical wooden tower. Those two Paper Doll brothers look like they’re strictly "here for the candy," and the Trick or Treat pumpkin overflowing with Confections is primed for picking. It’s definitely going to be a fun Halloween night!

All the details + step-out photos can be found on the Simon Says Stamp blog. Just click HERE.

Now carry on,
Paula
(Here is the link again)

Sunday, August 16, 2026

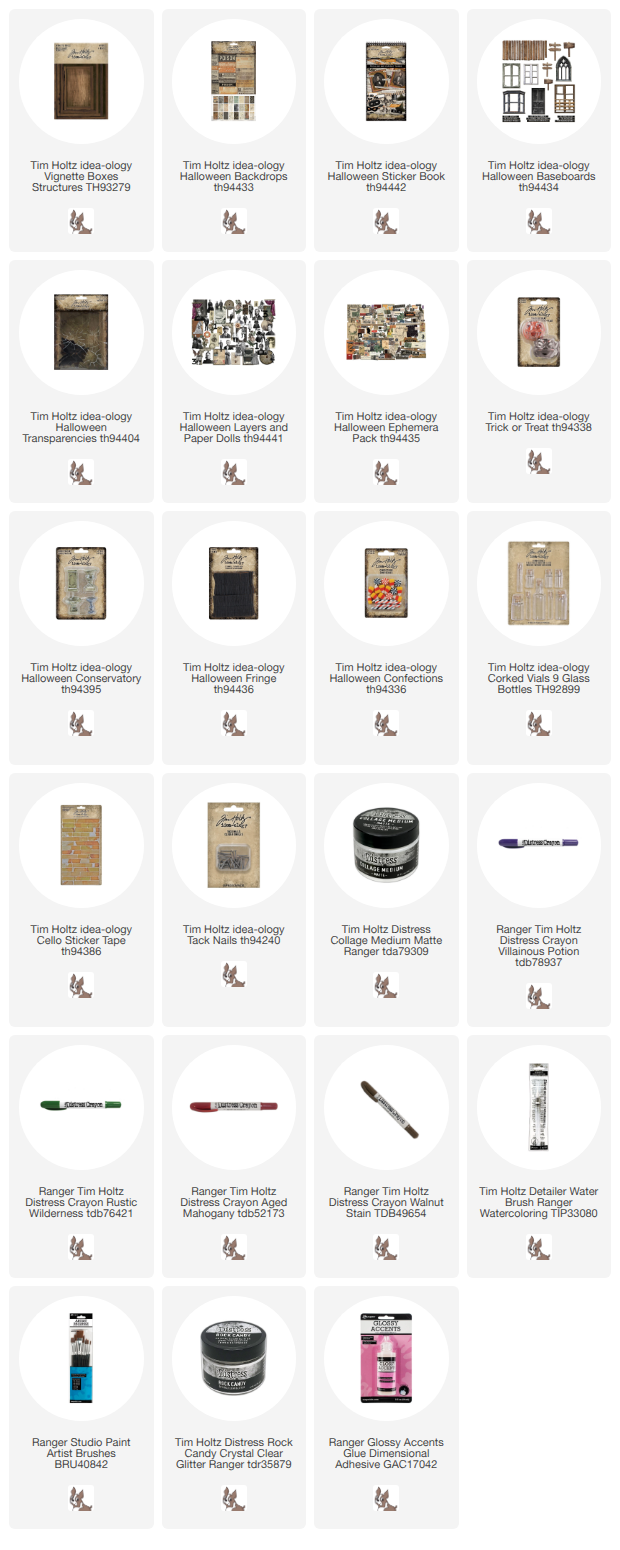
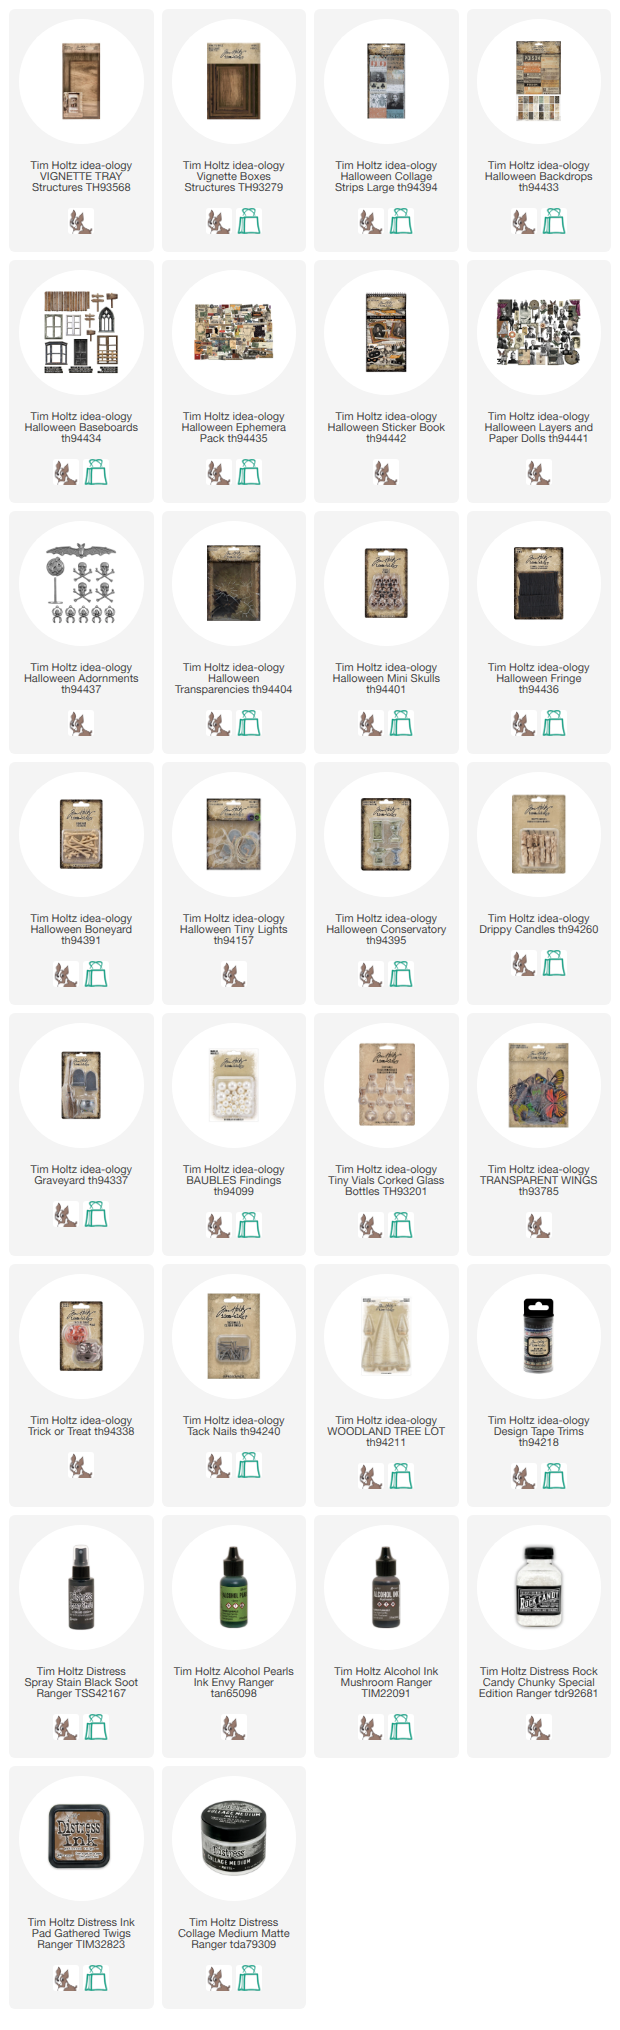
Halloween Vignette Tray - A Strange Thing Happened

Hello Friends!

I'm back today with another idea-ology Halloween project! Today’s project is a Halloween Vignette Tray filled with idea-ology goodness. To divide up the space and create unique little display niches, I added three smaller Vignette Boxes inside the main tray. See if you can spot them: the harlequin box featuring the number 31, the bottom-right box framing the boys, and the smallest box on the left piled high with skulls. Vignette boxes are perfect for breaking up a large space and giving you multiple places to tell your story.

Here is the basic plan to build the tray with any theme. Well, maybe you don't always need step 6 and 7, but all the other steps work with any theme or season.
  1. Paper on the tray (inside and out).
  2. Add the Design Tape (Trims) on the lip edge with Collage Medium. I did wipe black paint randomly over some of the tape to disguise some of the numbers.
  3. Paint the Vignette Boxes black, then add paper to the background.
  4. Glue the boxes into the tray.
  5. Start decorating!
  6. Once done, add the Baseboard planks with Tack Nails.
  7. Use thread (dyed with Gathered Twigs Ink) as a spider web and wind between the nails. 
Let's get started!
The entire tray (outside and inside) was covered with Collage Strips. Collage Strips are so easy to use because they mix and match. They make it look like you have done so much work collaging the images, when in reality it's all be done for you. 
You can also see the battery pack for the Tiny Lights. I drilled the hole through the tray for the lights once I knew where the cat would it would sit on the front.
Once the box with the 31 is secure, you can add the BIG Baseboard piece at the top. I added wood blocks to the back so the piece sits out from the background. Of course I added the Portrait and spiral to the background before adding the Baseboard with the added shattered window Transparency.
The fringe was added with Collage Medium. Then I added a little nest of sorts in the "shattered window" of the Transparency. NOTE: the skulls have added Mushroom Alcohol Ink that I added by dripping the ink over the top and moving it around with a cotton swab - a great way to get the ink into the eye sockets.
The box with the 31 is a fun one. I love the harlequin paper in the background which goes perfectly with the Fringe above, making it more whimsical that scary. The box is filled with a small Woodland Tree (sprayed black and rolled in Rock Candy), two Drippy Candles, and a Tiny Vial laying on it's side. The 31 is from the Layers pack and has been added with thin Foam Squares. 
You can see inside the box a little bit better in this shot. There are some melted wings on the right (more on those later on).
The Trick or Treat cat fit perfectly in the niche created between the boxes.  I filled the cat with purple Tiny lights and bones I previously rolled in black paint.
Here he is with the lights on! Magic!
The smallest box has skulls stacked inside with a ephemera piece, "keep in refrigerator". 
The spiderweb Transparency was cut and attached to the box with Scor-tape. You honestly can't tell the tape is even there! 
The niche that was created under the box is filled with tiny book and moss and an urn that I painted black. Don't forget to use Clippings from the Sticker Book on the spines of the books to make them look realistic.  
I filled the urn with small Bubbles I colored with Alcohol Pearls Envy.  So, so easy!
The last box is the floating boys. I use them over and over because they are just my favorite set since they can be sitting on something or floating. Here I added a 1/2 wood block to the bock so they float in the middle of the window.
I wanted to fill the bottom box with something, but I wasn't sure what. Then I remembered a project that I did quite a while ago and I decide to use the idea again. I took small butterflies from the Transparent Butterflies pack and melted them with an embossing tool. I used a wooden skewer to hold the butterfly in place when I was melting so they wouldn't shoot across the table. I also used a small paintbrush to add Mushroom Alcohol Ink over some of the butterflies (very random) so make them fit the theme. That small added detail made them look even better.
Just a view from the top!

I added a Tack Nail to the side to hang the broom from some added string.
It looks good with the lights off...
and on!

I'll see you tomorrow with yet another Halloween Vignette project...a little smaller, but just a fun!

Now carry on,
paula