Hello friends,
With time seeming to move at the speed of light, I'm determined to create at least one more assemblage piece before Christmas arrives! This Display Panel project is wonderfully adaptable to anything you have on hand—or perhaps, what's "leftover" from your other holiday makes. The project begins with a simple Vignette Panel, but quickly turns into an ode to my beloved Rock Candy Chunky! Let's dive into this fun, whimsical piece that could really punch up your decor this year!
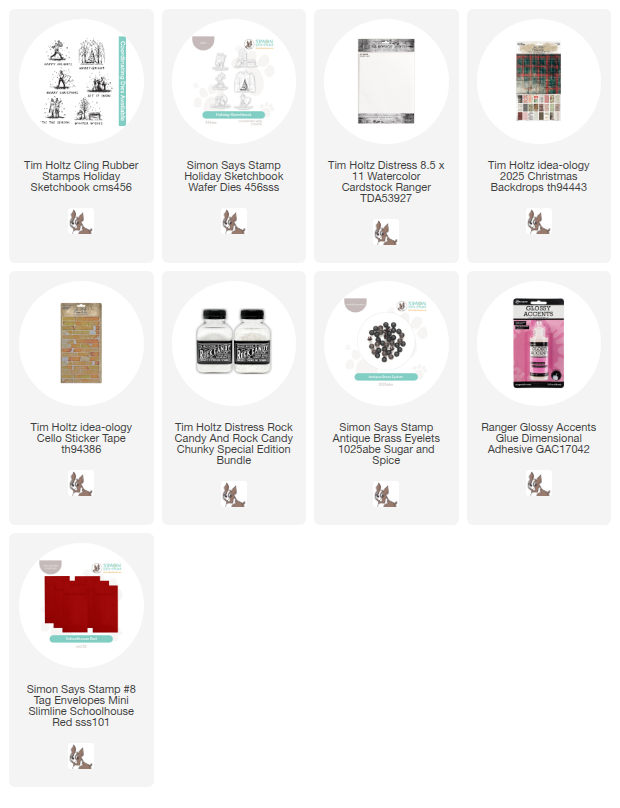
Start by added Backdrop Paper to the Display Panel. I used Collage Medium to add the paper, as well as seal it so I can add Distress Crayon over the top once it is dry. I also added Design Tape Trim in green. My very favorite tape to use on Christmas projects!
I needed to create a shelf for the project. Six inch Etcetera Trim pieces are the exact same size as the Garlands sign from the Emporium pack so they will work perfectly for the shelf. I used four Trim pieces in both wide and skinny (2 each).
The wide was glued to the Garlands sign, then another wide was added to the top (for the top of the shelf). I covered that with plaid Backdrop paper.
This might be a better shot - Basically, the large or wide trims are on the outside, the skinny or narrow trims are on the inside: to give the top strength and the back, which will used to glue the shelf to the Panel.
Same exact shot but with Collage Medium added.
Now you are ready to add the shelf to the panel.
Now add the shelf to the panel where the paper changes pattern (make sure it's straight!) Let dry a for at least 30 minutes before standing the panel up.
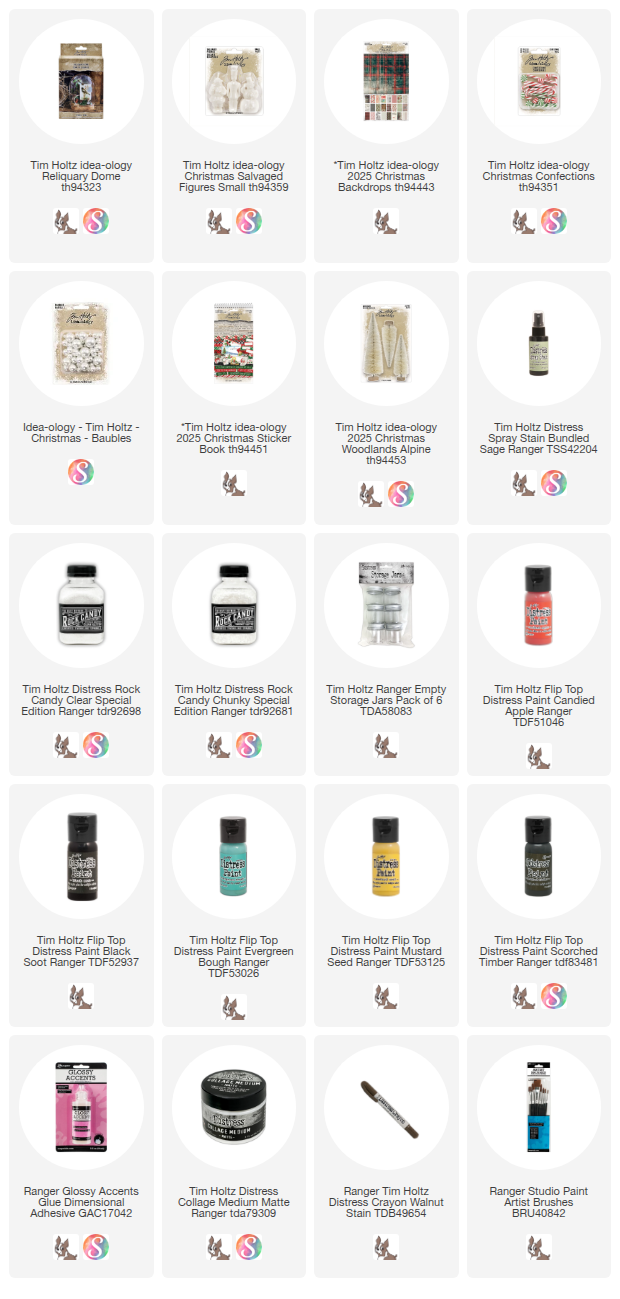
While that is drying, lets work on the Alpine trees. I have sprayed the two trees with Bundled Sage Spray Stain and dried them with a heat tool. To add the Rock Candy mix, I used a Splat Box to add Distress Resist Spray to the trees before adding the Rock Candy. You could always use Glossy Accents or Collage Medium to the tree instead of the Distress Resist Spray, but I like the overall effect best with the Resist Spray.
While the trees are drying, I put together a little window with a photo from an older SKU of Christmas Paper Dolls. We used to make a whole SKU just for Christmas (and we loved it) but then started adding them to the layers pack in later years. The packs are still available and I have linked them below (TH94290). Anyway, I added some color using Distress Crayons, then added the photo to the window from the Emporium pack.
You can see how I used the bingo chips to raise the window from the surface and give it a 3D effect.
Its hard to see that 3D detail in a photo, but it's there. A also added the strip below that is from the Emporium pack (use Thin Foam Squares).
Next, the Alpine trees are glued in with Collage Medium. I wanted the red bases to keep with the 50's theme of the Emporium pack.
NOTE
: I did have to trim off the back of the larger tree so it would sit against the panel.You can decorate the trees anyway you like. I'm going to use colored Baubles and something unusual, chenille trim (aka: cheap pipe cleaners from Hobby Lobby). I just sprayed it with Antique Linen Spray Stain to age it just a bit, then dried it with the heat tool. Admittedly, it took a bit to dry. Next time I think I would spray them and leave overnight to dry.

I cut small pieces and wrapped the tree with each piece, hot gluing the ends to keep them in place.
For the small tree, I used the two smallest Baubles and colored them with Crimson (MY FAVORITE) and Juniper Alcohol Inks.

I love how fluffy the pipe cleaners are!!

Now lets add some larger pieces from the Layers pack. I used the two poinsettia die cuts - one here and one on the left. I did add Glossy accents and Rock Candy to the layers for more 50's magic. These were added with Thin foam squares.
This might look like the same photos but another die cut piece has been added to the panel with regular foam squares.

And here is the left side. I cut the one poinsettia in half to make it fit under the shelf. Then used that piece on the right end.
You can see that piece added here.
I also added another piece of pine to mimic the right side. Layers, layers, layers!

Rip a few small pieces of cotton batting and start to place them around the tress with Collage Medium. Eventually I will add more cotton batting on the right, then a bit of Collage Medium on top and a sprinkling of Rock Candy mix.

Add Ephemera where you think it might appear natural. Mine is tucked up into the cut off piece of poinsettia. This is just the start of the bottom area. I will go on to add cotton batting with Rock Candy, an ephemera ticket and a word stick from the Baseboards Pack once the ticket is secure.
At the top I started adding ephemera with Thin foam squares. I could not help myself on the calendar, I just needed to add a nail at the top. Once I was done with this one, I just kept adding more ephemera pieces to fill in the space.
The tiny red bell is my favorite thing. The perfect size to hang from the nail with thread...
I cut up a candy cane and added the pieces to a small Corked Vile. Red and white twine was added to the neck and a little bell was hot glued in place. I also painted some Collage Medium over the cork and just the top of the vial so I could sprinkle Rock Candy over the top.
The candy bottle and a painted Salvaged Snowman (small size) was added to the right side. I also added a few more Baubles in Crimson and a couple pieces of candy. Once the Baubles were secure, I painted Collage Medium over just the top of the Bauble and sprinkled Rock Candy from above so that, like the bottle, it appears as if snow has fallen from above. Tiny bits of cotton batting were added between the Baubles, the Salvaged Snowman and the Corked Vile.
*distress paints were used to paint the snowman: Candied Apple, Evergreen Bough, Scorched Timber, Black Soot and Spiced Marmalade. He also has a wash of Walnut Stain Distress Crayon over the top.
Moving back to the bottom, I added a word stick from a pack of Baseboards. Because I scrunched up the ticket before I glued it down, the word stick just kinda fell into a groove. It looked like a natural place for it to go, so I left it. I did add another small red ticket but it's impossible to see in this shot.
You might also notice in the next couple shots that there is lots of Rock Candy at the bottom section. When I was done adding the "snow" to a few areas around the ticket, I used a paint brush to paint Collage Medium where the sides meet and even up on the back wall. I lightly sprinkled this area with Rock Candy so it takes on a sparkly effect at night!
Hopefully, this project will resonate with some of you! If you don't have time to make it this year, then maybe you can glean some ideas for your own makes that might still be in the works!
Now carry on,
paula


