
Today I am sharing the Christmas Card File I created for the idea-ology Christmas LIVE back in September. I love making Card Files because each group of three cards allow for order to the making process. I also love that you can work on just one group a day and be done in a week's time. Sometimes the cards are easy, and will take just 30 minutes or they might be more demanding a take a few hours. Either way, you can work the cards around what you have scheduled for the day. Then return when you have time and work on the next group until the box is full.

So here they all are! The one exception - I will need cards or #5 tags to slide into the pockets - that's a total of 9 Mixed Media Heavystock cards or tags. I will call them out when we get to the File Card.

Please note, all Paper Dolls were colored with Distress Crayons and sprayed with a Fixative.
I used Thin Foam Squares to slightly raise all Paper Dolls and much of the ephemera.
I also created a 50/50 mix of Rock Candy and Rock Candy Chunky in a empty jar. I used this mix throughout the project. Mostly over ephemera and before adding the Thin Foam Squares to the back.


 Inserts: Use Collage Medium to add Collage Paper to the inserts. Collage Medium goes both under and over the Collage Paper. Dry with heat tool. Scribble Distress Crayons in Rustic Wilderness and Walnut Stain on glass mat. Pick up with a damp Detailer Water Brush (no added water) and paint the images.


 Pocket does not come with insert, so I cut my own from Mixed Media Heavystock (2 3/4 x 4"). Add Collage Strips to the front, then round the corners. Use a Crop-A-Dile to punch a hole at the top and add an eyelet and string. I also added poinsettia Backdrop paper to the inside of the pocket so it shows when the card is pulled out.

 I made the inside of each zig zag very simple and easy by relying heavily on the Swirly Snowflakes and Bold Tidings stamp sets. I started each zig zag by stamping a saying from a Bold Tidings set. Then I added multiple Swirly Snowflakes over the length of the card. After that it was ephemera, stickers and Paper Dolls that had been previously colored. Much of the ephemera has added Rock Candy.
 The red plaid strip is from the Sticker Book.
 It's hard to see, but the holly on the bell has Rock Candy over the top.
 If a Paper Doll is too tall, just chop off the legs to make it work!


 Because the Card File was used in the Christmas Live, you can view the replay on Tim's YouTube Channel. The Card File comes up at the 1 hour mark and lasts for 11 minutes. It's a great way to see the Card File and how things open and close, the use of the Rock Candy, and see the depth of the raised pieces. You really get a sense of the texture and how the pieces work together. So I encourage you to watch that portion if you are thinking of making this project!


I'm going walk you through the cards/pockets made with the basic File Cards, then the cards/pockets made with the File Cards 2 pack. I did not use the pockets from the basic pack.
There is no "correct" order for working the cards. I usually start with the Tabbed Cards and work my way to the zig zag cards which take the most thought. Cards can be put into the Card File in any order.
I used Thin Foam Squares to slightly raise all Paper Dolls and much of the ephemera.
I also created a 50/50 mix of Rock Candy and Rock Candy Chunky in a empty jar. I used this mix throughout the project. Mostly over ephemera and before adding the Thin Foam Squares to the back.
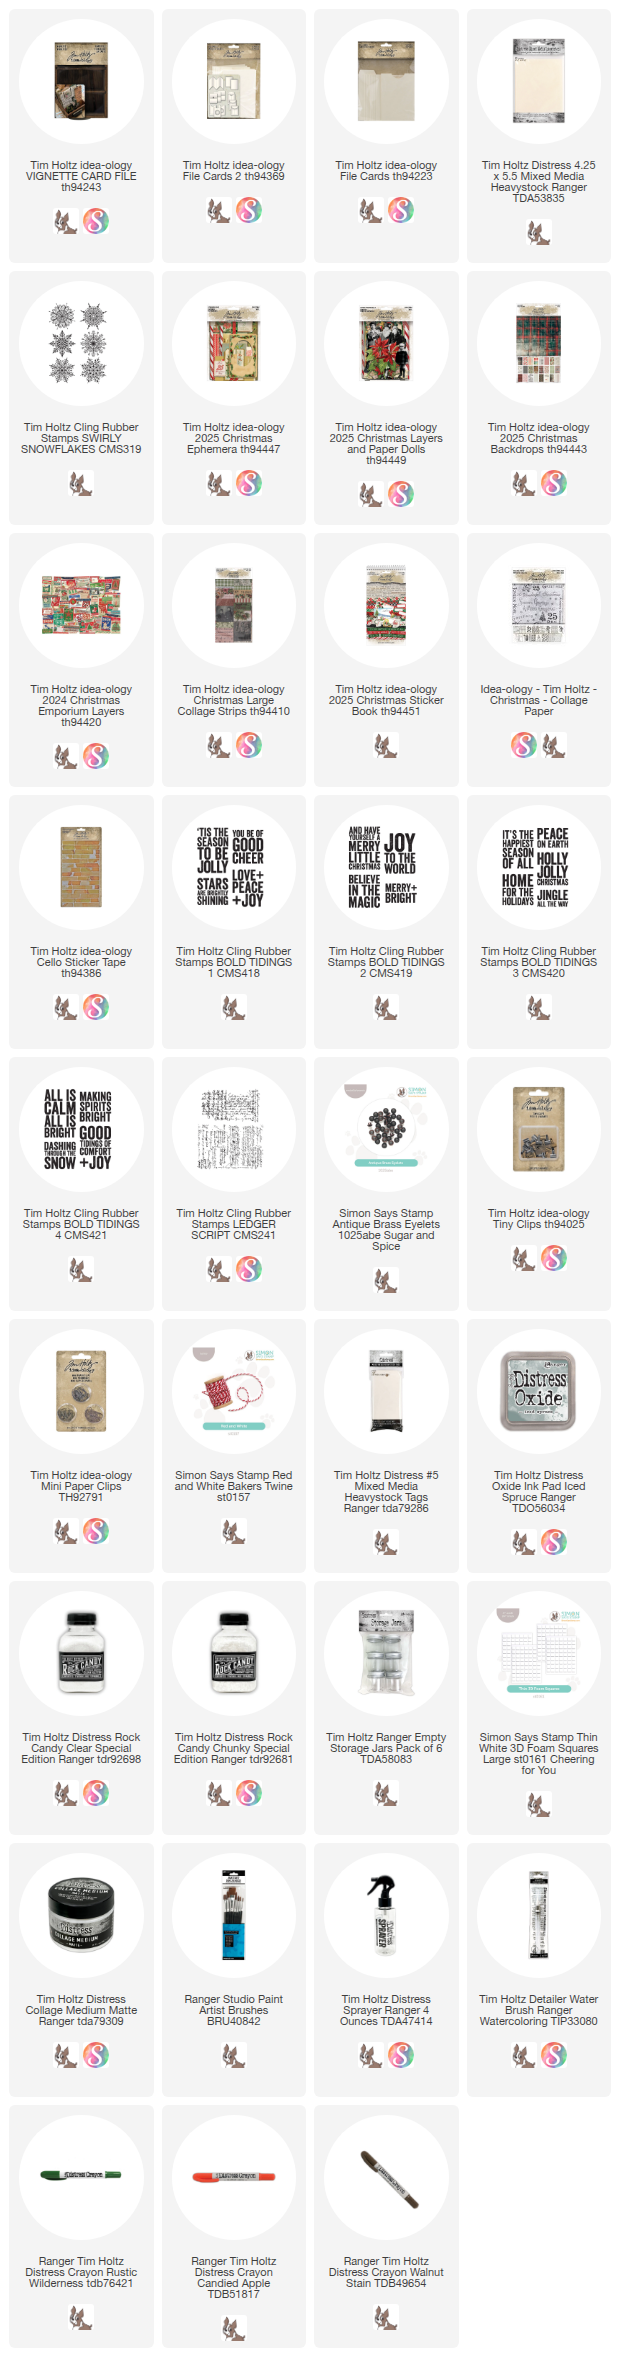
FILE CARDS
Tabbed Cards: Collage Strips and Christmas Sticker Book.
Notes: These are the easiest of all the cards. Of course they could be embellished more, but I kept mine simple, using just Collage Strips and some clippings from the sticker book. The Collage Strips make it look like you worked harder than you did!
Flat Cards: Backdrops, Paper Dolls from Layers pack, Christmas Ephemera, Christmas Sticker Book and Cello Tape.
Notes: Use Collage Medium to add pieces of Backdrop paper to the flat card. Round the corners. Add Cello Tape. Add ephemera and Paper Dolls with Thin Foam. The only thing that is not raised is the holly, because it slides slightly under the calendar that is raised.
Folded Cards: Collage Strips, Backdrop Paper, Christmas Ephemera, Cello Tape and string.
Notes: I used one Collage Strip per card and filled in the blank space with Backdrop paper. The three added ephemera pieces were covered with Collage Medium and sprinkled with a Rock Candy Mix before adding with Thin Foam Squares.
FILE CARDS 2
Library Pocket: Collage Paper, Backdrops, Christmas Ephemera, Christmas Sticker Book, Ledger Script stamp, string.
Notes: Pocket does not come with an insert. I used a #5 tag and cut it to 3 3/4" long. Stamp the background with the Ledger Script stamp. I got the watercolor look by inking the stamp, then spritzing it once with the Distress Sprayer before stamping. Add Backdrop Paper to the front of the pocket as well as embellishments like stickers and ephemera.


Envelopes: Collage Paper, Christmas Sticker Book, Bold Tidings 1 and 3, red string, eyelets.
Notes: Use Collage Medium to add Collage Paper to the envelope. Dry with heat tool. Scribble Distress Crayons in Rustic Wilderness, Candied Apple and Walnut Stain on glass mat. Pick up with a damp Detailer Water Brush and paint the image. Added Cello Tape makes it look like a real postcard.

Cards: Envelope does not come with insert, so I cut my own from Mixed Media Heavystock (2 3/4 x 4"). Use the Bold Tiding stamps to stamp the card. Round the corners of each card, then punch a hole with a Crop-A-Dile and add the eyelet.
Side Note: Simon Says Stamp now carries Antique Brass Eyelets!!! Seriously, these are impossible to find so I am over the moon that they now carry them!

Add string to the eyelet. Tiny stickers can be added to the ends of the string (from the 2025 Sticker Book). I backed the sticker with paper and then cut around the shape.

Pocket with Window: Swirly Snowflakes stamp, Collage Strips, Backdrops, eyelets, red string.
Notes: Stamp pocket with Stampers Anonymous Swirly Snowflakes using Iced Spruce Oxide Ink. I used the same "watercolor" technique when stamping.


Zig Zag Cards: Collage Strips, Christmas Ephemera, Christmas Sticker Book, Bold Tidings 2, 3 and 4 + red string, eyelets and various ribbons for closure.
Notes: The front of the zig zag books are covered in Collage Strips or Backdrops. The strips on the left side of two books are from the Sticker Book. Round ephemera has Rock Candy over the top. A Tiny Clip as used to close the green plaid book, whereas the other two books have a ribbon closure.


I pulled multiple cards From the Emporium pack to add to the card File (feed in between the other cards).

To make them a bit unique, I added ephemera with staples and Cello Tape or Mini Paper Clips. I even added clippings to some of the botanicals.

Now carry on,
paula
Always love you work Paula. You always have such beautiful work to share! Thank you!
ReplyDeleteI love your card files. I add to mine every year. Halloween and Christmas. thanks as always for sharing and all the inspiration.
ReplyDelete