Friday, September 25, 2020

A Strange Thing Happened

Hi friends,

Hope you are doing well and that you have found some time to be creative this week.  As always, there are a lot of irons in the fire around here!  

I'm happy to share one of my favorite Halloween makes today.  It is very simple to create if you have the right risers to help support everything beneath the surface.  Follow along and I'll show you how easy it is!

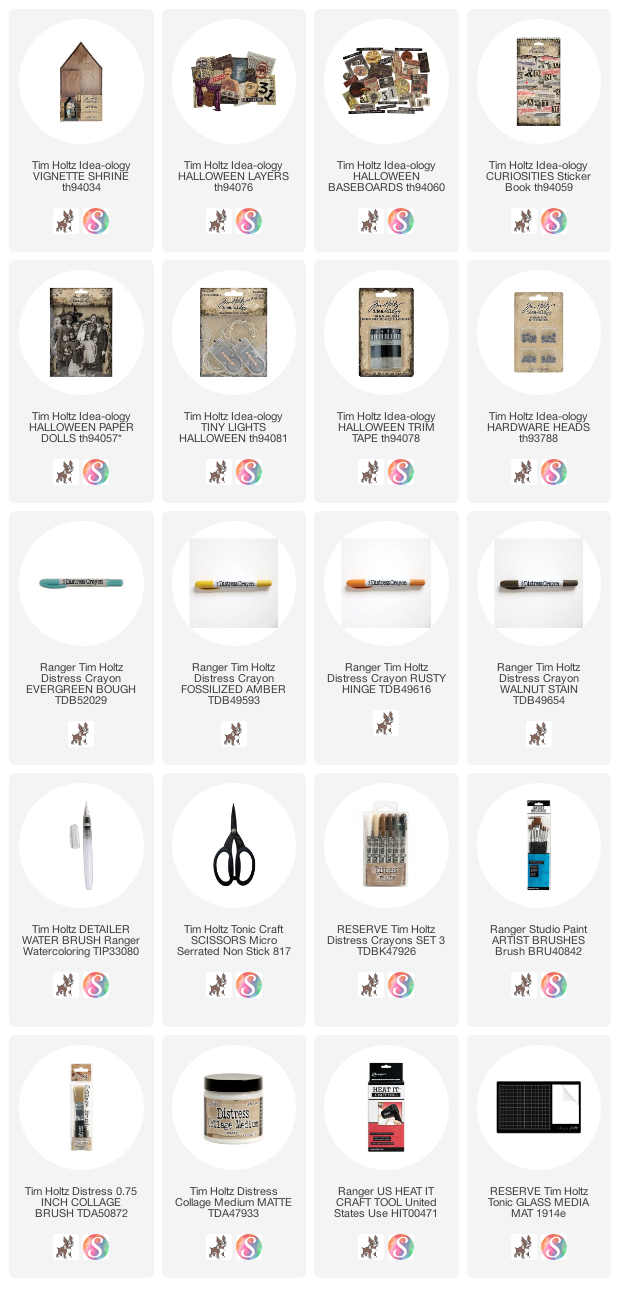
I started with a Vignette Shrine, which I covered in paper from the Halloween paper pad, Departed.  I used three different papers from the pack, covering the inside, outside and base.  Halloween Design Tape with the small script is on the lip edge.


I layered two paper inside the box for more dimension.  Once sealed with Collage Medium, I used Walnut Stain crayon to age it.
Halloween Layers - moon
Halloween Baseboards - word strip + advertising (the dollar is standing on)
Halloween Paper Dolls - girl
Halloween sticker Book - mask (I need a 100 of these)
Halloween lights - orange light string behind moon
You can slightly see in this picture that there is a 1/2" wood block holding up the advertising Baseboard.  There are also two more 1/2" wood blocks behind the girl the keep her suspended.  Her feet only rest on the edge of the advertising sign.
What could be more fun than adding lights?  It's easy to do too.
I drilled a hole in the back of the Shrine for the string of Halloween lights (there are one set of orange and one set of purple in the Halloween pack). I threaded the lights from the back to the front, winding it around the wood block holding up the moon.  It is easy to do as long as you adhere the wood block first, then the lights, and then the moon.


To create the lasso, I colored some string with Walnut Stain Distress Ink.  I tested it out to see how big the loop needed to be to reach her hand, then made the knot in the string.  Using Collage Medium, I looped it over the moon and adjusted from there, securing it to the back of the moon with Collage Medium.  I set it aside for 15 minutes while the glue set before working on the next bit.
You can see in this close-up shot that I cut the hand of the Paper Doll, ever so slightly, so I could wedge the string into her hand.  I also wiped a small bit of Collage Medium on the backside to secure it.
There is another trick with the string at the bottom of the Shrine.  With your thumb and fingertip, run Collage Medium down the lower half of the string.  Wipe your fingers clean, then quickly navigate the string into the position you want (something that looks natural).  Once the College Medium hardens, it is virtually impossible to move, yet it looks like you could pick it up.  Good stuff.
I should probably mention the Distress Crayons I used to color the moon and the dress.
moon - fossilized amber and evergreen bough
girl - dress rusty hinge with Aged Mahogany on her cheeks
Here you can see the wood blocks behind the girl.  She looks like she's levitating!

I hope you have enjoyed reading about this project. It truly is one of my favorites I have ever made!
Now carry on!  
Have a great weekend!
paula

Thursday, September 17, 2020

Nearest to your Heart

Hello friends,

Happy to be here today sharing another Crackling Campfire project.  This time I used a small Etcetera Tag for the substrate with a large Vintage Clip at the top. I didn't take too many picture when I was making this piece but hopefully I have enough that you can easily see how it was created.


I used paper from the Dapper Paper pad + Mixed Media Heavystock.

STAMPED CARDS:
  1. Spray Mixed Media Heavystock with Antique Linen Distress Spray Stain.  Rub spray stain with a paper towel and dry with a heat tool.
  2. Stamp with the Distress Damask stamp repeatedly to create a pattern using Distress Oxide Crackling Campfire.
  3. Spritz over card and allow the Oxide image to wick out before drying with a heat tool.

I used a combination of Crackling Campfire Distress Spray Stain and Distress Oxide in Chipped Sapphire to create the absolutely luscious distress cards.  I am so enamored with this color combination! 

I chose a Found Relative card to color with Distress Crayons.  There is not a Crackling Campfire Crayon yet, so I used Ripe Persimmon and added Milled Lavender dots/flowers to her shirt.  Chipped Sapphire for the background and her suit.  Aged Mahogany on the cheeks and Walnut Stain on his suit.  Much of this card was done by coloring directly on the card and smudging with my finger.  I created the halo effect using a cotton swab. 
I picked a label Frame for the Clipping Stickers.  I love that the rivet/brad is already on the frame so you don't have to find some to fit.
I also added Translucent Grit Paste over a Vintage Clip then once dry, colored it with a bit of Antique Linen and Black Soot Distress Paint.
I scribbled a bit of Weathered Wood Crayon directly over the dried Grit-Paste and added a small tag.  The number is from the Specimen Remnant Rub sheet.
Ephemera from the Field Notes pack was added to the collage.
You can see that I used Foam Squares to raise the Found Relative card as well as pieces of ephemera from the background.  I like Scrapbook Adhesives brand because not only do they come in the standard 3D foam but also thin.  The thin squares work for so many things, like the pink flowers below the card...they just needed a little lift!


The Vintage Flair button worked perfectly at the top of the card to balance the top and bottom of the collage.

I hope you will try out this color combination. I know it's not going to be everyones cup of tea but I hope you will give it a go before you decide!

Please take note of the releases we have coming up 
(you are going to need a calendar there are so many!)

now carry on,
paula

Wednesday, September 9, 2020

Crackling Campfire Framed Panel

You can find me today over on the Ranger "Projects" page sharing a Framed Panel I created using the new Distress color, Crackling Campfire.  I hope you will stop by to view the step-out tutorial for this easy project full of bright color.  Perfect for fall!


Now carry on,
paula

Tuesday, September 1, 2020

Fall Framed Panel

 Hello friends!

So happy to be here today to share another project I created with Crackling Campfire!  One thing I love about Crackling Campfire is how it pairs so beautifully with my favorite Speckled Egg.  It's like they were meant to be together!  Todays project spotlight features a grungy woodgrain background and leaves cut from a few Sizzix Thinlit dies.

Lets get started!

I'm using a Framed Panel for the substrate.  To start I painted the Frame itself with Speckled Egg Distress Paint and let it dry. Once completely dry, I wiped Texture Paste Crackle on the corners and let it dry for at least 30 minutes.  Set aside.

For the background of the panel:
  1. Adhere Woodgrain paper to the panel back with Collage Medium.
  2. Paint the surface of the Woodgrain with Distress Paint Speckled Egg.  NOTE: I painted it on, then wiped over it with a wet wipe to thin out the color and let more of the grain show through.  
  3. Once dry, rub Pumice Stone ink pad over the surface to bring up the grain pattern.  
  4. Using your finger, wipe on Texture Paste Crackle in random spots.  Immediately lay a stencil next to the Texture Paste then using a Palette Knife add more Crackle Paste through the stencil.  Repeat.  Then set aside to dry for at least 30 minutes.
  5. Using a damp paint brush, add Distress Crayons Walnut Stain and Peeled Paint over the Texture Paste to bring out the crackle finish.  Dab away any excess with a wet wipe.  I did the same technique to the Frame that had been set aside to dry.
Add the Framed Panel over the background with Collage Medium.  Set aside to dry.
Color a few Mixed Media Heavystock cards with Distress Spray Stain.  I used Crackling Campfire, Speckled Egg and Fossilized Amber, plus Oxide Spray Speckled Egg.
Cut out different shapes and sizes of leaves using the Skeleton Leaves and Fall Foliage Thinlits.
Layer the background of the panel with:
Salvaged Tag (string added) 
Lace Baseboard Frame (rubbed with Walnut Stain Distress Crayon)
Clock from Urban Layers pack (Evergreen Bough Distress Crayon rubbed in the middle of the clock)
NOTE:  This photo shows a Label Frame that I was testing...so many choices!  In the end I decided to use the Quote Chip instead.
Add the first layer of leaves to the collage.  I cut two of the same leave shape so it could continue down below the words that will be added next.
I love the sentiment on this Quote chip! I rubbed it with Walnut Stain crayon, then cut the right end like a flag and added the Tiny Clip on the left end.  It was added to the collage with 3D Foam Squares.
I added a few pieces of ephemera from the Field Notes Ephemera Pack plus the small leaves to fill in.  The 82 strip is from Layers Urban (same as the clock).  I colored the little bird from Field Notes with Distress Crayons and a paint brush.

You can see the layers of the leaves and the Baseboard Frame.  I used 3D Foam squares behind some of the leaves for depth.
I love the way the Framed Panel turned out.  Perfect for a Fall display.


I also love the leaves in the piece and it couldn't be any easier to make them using the papers colored with ink.  I sure hope you will try it.
Now carry on,
paula