Showing posts with label field notes ephemera. Show all posts

Tuesday, March 9, 2021

Better Together

 Hello friends,

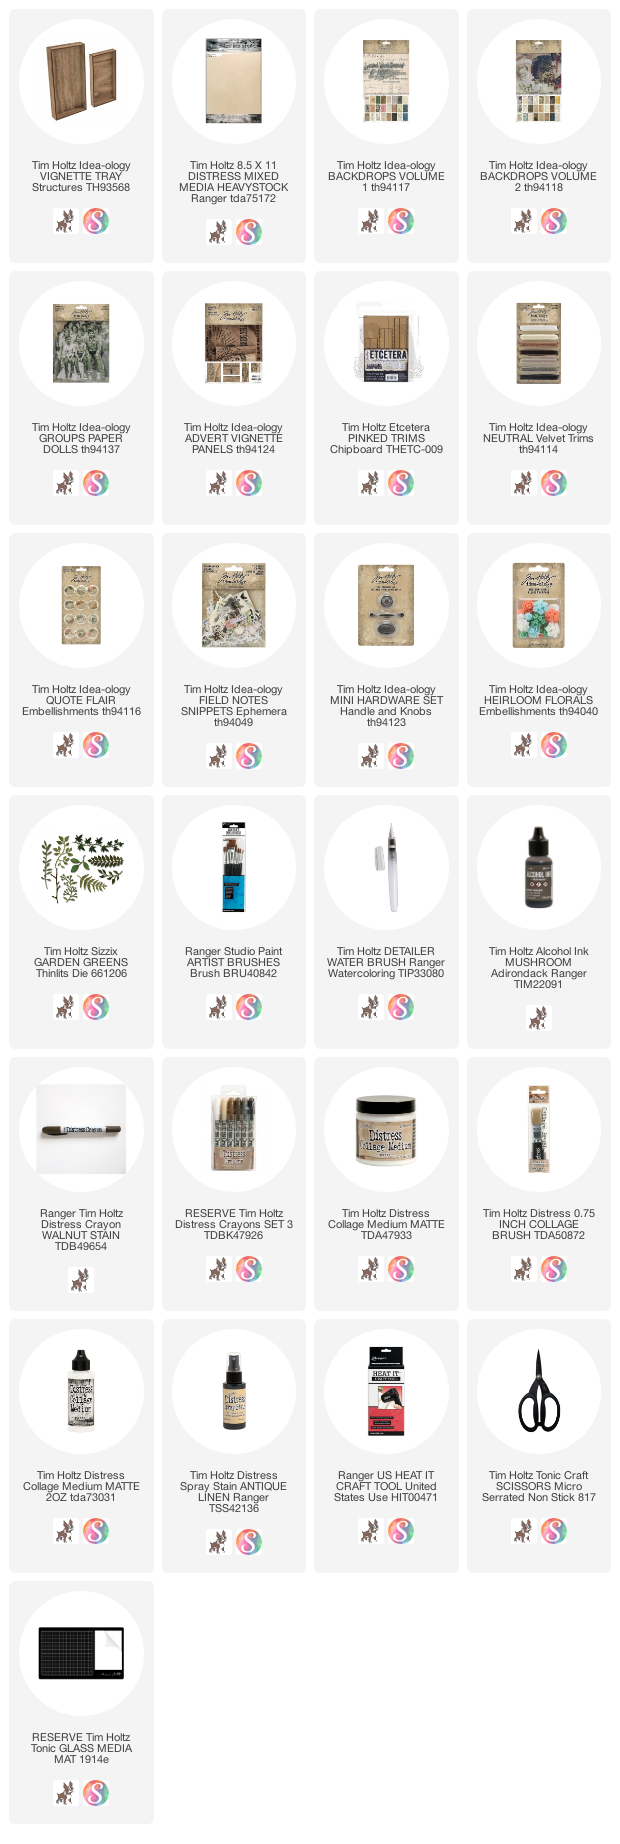
Today I am sharing one of the projects I made for the idea-ology release last month. This one is a favorite (okay, I liked them all) because I just love the three girls from the new "Groups" pack of Paper Dolls. They fit so well on the back of the large Vignette Tray!

I began by painting the sides of the tray with Pumice Stone Distress Paint, wiping away excess so that the grain of the wood tray still comes through.  
While the paint was drying, I cut used my Tonic Guillotine Trimmer to cut eighteen, 2 x 2" squares of Heavystock paper.  There are three squares across the Tray and 6 squares running down = 18 squares.  I found that once I had the squares cut I could easily add the Backdrop papers to the front with Collage medium, then trim them with scissors.  
Some squares have only one piece of paper, like the marbled book paper right in the center of this shot.  Then others have two, even three pieces (scraps).  No matter what I did to the square, I always kept to the 2 x 2 pattern size.
Once I was ready to adhere the squares, I did have to trim a few of the squares to fit the tray perfectly. I started with the bottom row of three and worked my way up to the top. Once I had them in place, I added the flowers, labels and stamps that crossed the borders of the 2 x 2" cards (like the blue label below). I also painted a layer of Collage Medium over the whole surface, rubbing it in with my hands to get rid of the brush marks. Once dry I was able to add the Walnut Stain Distress Crayon.

The next thing to work is the Vignette Advert Panels.  These are new wood panels that can be added to projects, or in the case of the the two largest, they can be use to fit the top of a Vignette Box to create a lid or hinged door.  I used the one marked with a red arrow.  

In the finished piece I combined the Advert Panel with an Etcetera Trim - Pinked to create the shelf.  I painted the pinked (sawtooth) trim piece with Black Soot Distress Paint (both sides) and set it aside to dry.  

The Vignette Advert Panel is a light wood and I wanted a very rich looking finish so I used an easy technique to make that happen.  Rub any brown distress ink color directly over the surface of the panel (it won't look very good at this stage) then with your finger, rub Collage Medium over the surface to allow the ink to "bloom" and become very rich in color.  Set aside to dry.  It's just that easy.
NOTE: I tested ink colors on the backside of the panel to I could find the right one before starting on the front - Walnut Stain was my choice with Vintage Photo as the runner up.

I drilled a hole on each side of the Panel just big enough to push eyelets from my stash into the hole (no glue needed). I added 3D Foam Squares to the back of the Advert Panel to raise it from the surface of the Tray, then ran the Velvet Trim into the holes. Once this is done, you can adhere the panel to the Tray.
I evened up the Velvet Trim and pulled it to the back side of the Tray where I used a hot glue gun to secure it to the inside back.
Use Collage Medium to add the black Etcetera Trim to the top of the Advert Panel. Once this is secure, you are ready to add the Paper Dolls and embellishments.

The Paper Dolls were tinted with multiple colors of Distress Crayons.  I kept them light and airy.  I love how the scarf of the girl on the right is blowing in the wind!  Since the original picture has their names listed, I know they are: (L to R) Helen, Nola May, and Wilma.  So welcome to the Paper Doll family, glad you are here!
The rest of the blog post today will focus on the Heirloom Florals and how I transformed them for this vintage piece.  The loose pieces are the ones I used for this Tray.
First of all, this is a recreation I what I did originally so the amount of ink will be a bit different than the finished piece. I dripped Mushroom Alcohol Ink over the flowers.  I would do this two or three at a time not all at once.
Then I took the felt that is normally on the tool and rubbed some of the Alcohol Ink away.  You can always wipe more away with Blending Solution added to the felt (I did not have to do that when working with 2 or 3 at a time).
Just as a reminder, you can easily get Alcohol Ink off your fingers using Hand Sanitizer.
Next I decided to cut up the resin flowers with my Tonic scissors. I cut the base off the tiny flowers so they would not stick up as much when using them in the garden. I'm going to be honest, this is the first time cutting them up and it worked out better than I even hoped.

I placed the tiny flower into the scissors and made a cut...turn the flower, make a cut, turn the flower, make a cut...until I had gone all the way around.  Little by little is the key!!

This is what it looked like once I cut through the flower.
For the larger one, (this one is admittedly harder to cut into the center because of the thickness) I cut a V shape pulling out three flowers.  After this cut, it was easy to split the larger piece in two.  My goal here was to get individual flowers.
Using the one piece, I cut each flower apart.  I only used two of these flowers in the finished piece.
You can see here that I used cheesecloth (Mummy Cloth will work too) to cover the top of the black Trim.  I added the Paper Dolls with a double stack of foam Squares, then filled in around their feet with a bit of shredded cheesecloth.  I also added a new Quote Flair, six sets of leaves (Sizzix Garden Greens) and the resin flowers, in that order.  I used hot glue to add each element.  It was especially helpful with the layers of leaves since hot glue gives dimension between the layers.  
I used tweezers to add the small flowers over and under the leaves.
The last item I aded was one of the new knobs from the Mini Hardware set.  I just dabbed it with a bit of Mushroom Alcohol Ink and glued into place with Collage Medium.  At that point I hung the Tray on the wall to give the glue time to set.  Easiest way to NOT knock it over.

I hope you liked the tray enough to give it a go even if you use a different substrate or size. I loved creating the patchwork and know I will do it again!

If you missed the Live with Tim showing all the new products and projects you can watch the replay here on Tim's blog: idea-ology release  You will not be disappointed!

now carry on,
paula

Wednesday, September 9, 2020

Crackling Campfire Framed Panel

You can find me today over on the Ranger "Projects" page sharing a Framed Panel I created using the new Distress color, Crackling Campfire.  I hope you will stop by to view the step-out tutorial for this easy project full of bright color.  Perfect for fall!


Now carry on,
paula

Tuesday, September 1, 2020

Fall Framed Panel

 Hello friends!

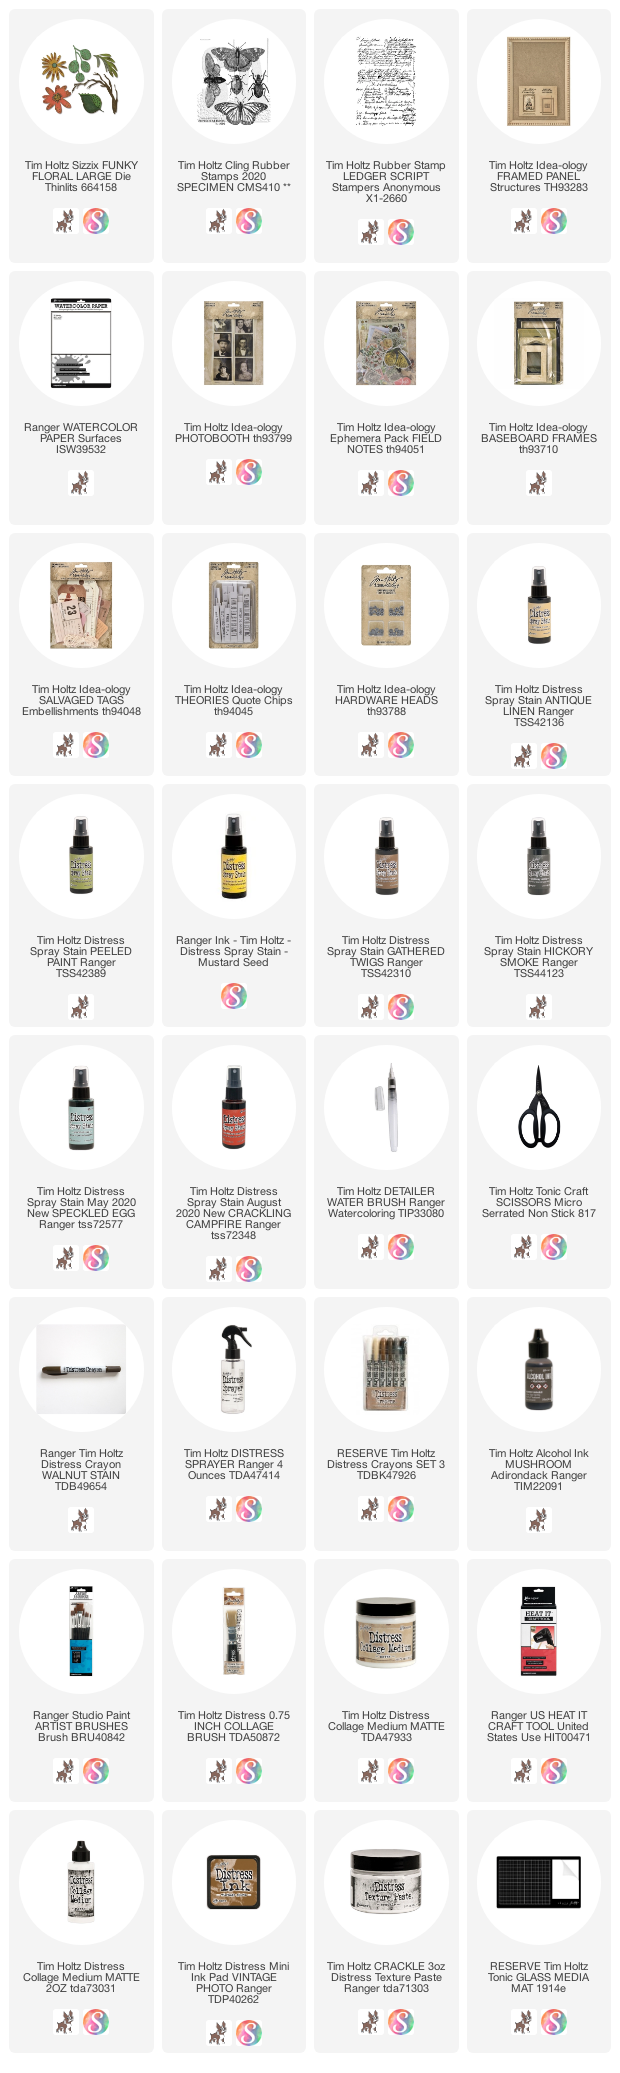
So happy to be here today to share another project I created with Crackling Campfire!  One thing I love about Crackling Campfire is how it pairs so beautifully with my favorite Speckled Egg.  It's like they were meant to be together!  Todays project spotlight features a grungy woodgrain background and leaves cut from a few Sizzix Thinlit dies.

Lets get started!

I'm using a Framed Panel for the substrate.  To start I painted the Frame itself with Speckled Egg Distress Paint and let it dry. Once completely dry, I wiped Texture Paste Crackle on the corners and let it dry for at least 30 minutes.  Set aside.

For the background of the panel:
  1. Adhere Woodgrain paper to the panel back with Collage Medium.
  2. Paint the surface of the Woodgrain with Distress Paint Speckled Egg.  NOTE: I painted it on, then wiped over it with a wet wipe to thin out the color and let more of the grain show through.  
  3. Once dry, rub Pumice Stone ink pad over the surface to bring up the grain pattern.  
  4. Using your finger, wipe on Texture Paste Crackle in random spots.  Immediately lay a stencil next to the Texture Paste then using a Palette Knife add more Crackle Paste through the stencil.  Repeat.  Then set aside to dry for at least 30 minutes.
  5. Using a damp paint brush, add Distress Crayons Walnut Stain and Peeled Paint over the Texture Paste to bring out the crackle finish.  Dab away any excess with a wet wipe.  I did the same technique to the Frame that had been set aside to dry.
Add the Framed Panel over the background with Collage Medium.  Set aside to dry.
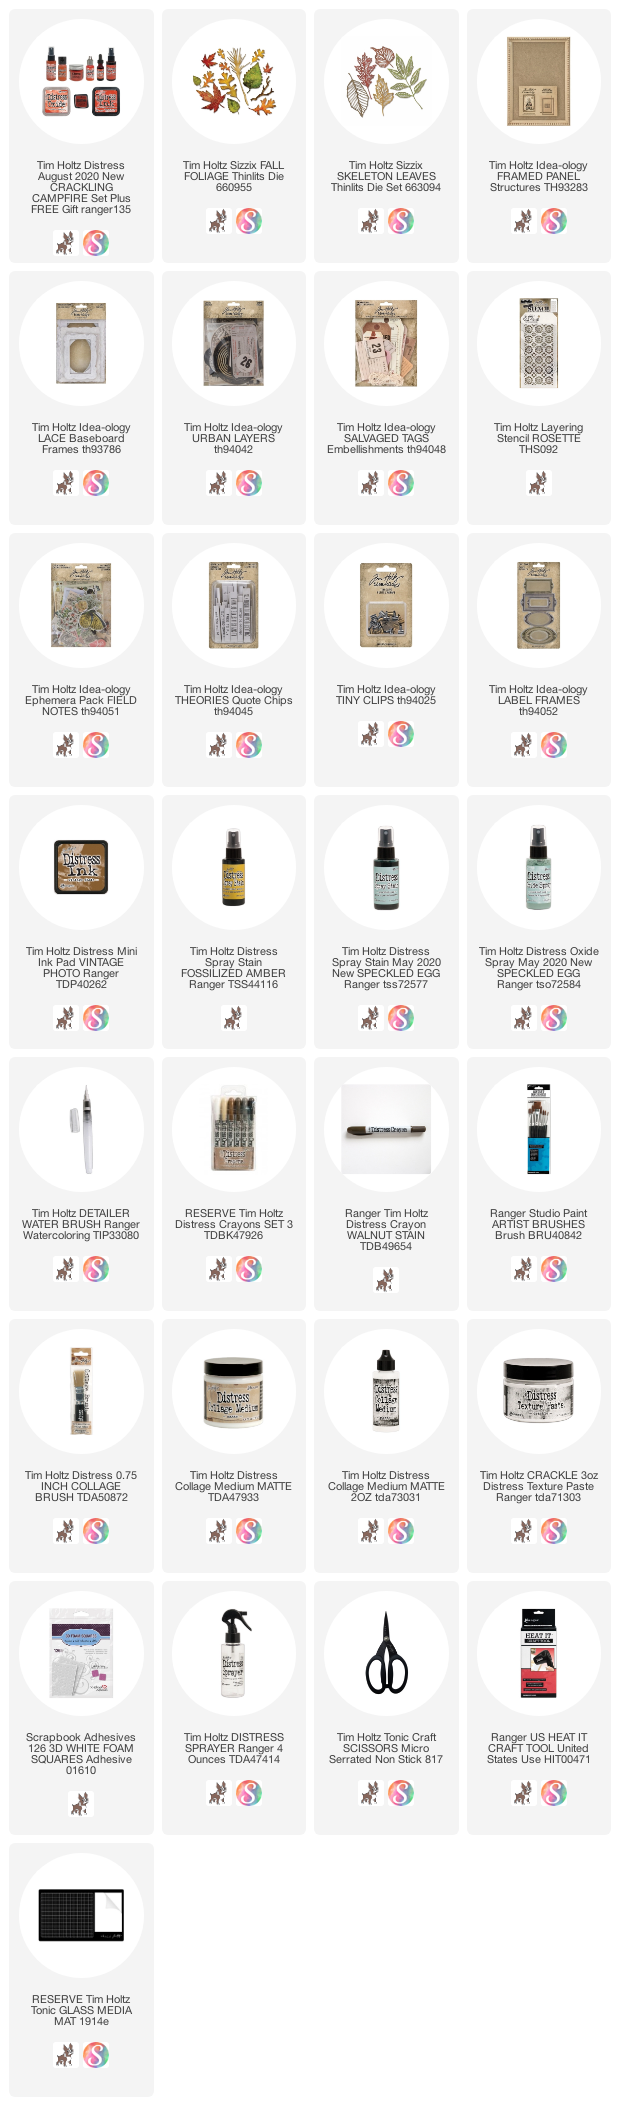
Color a few Mixed Media Heavystock cards with Distress Spray Stain.  I used Crackling Campfire, Speckled Egg and Fossilized Amber, plus Oxide Spray Speckled Egg.
Cut out different shapes and sizes of leaves using the Skeleton Leaves and Fall Foliage Thinlits.
Layer the background of the panel with:
Salvaged Tag (string added) 
Lace Baseboard Frame (rubbed with Walnut Stain Distress Crayon)
Clock from Urban Layers pack (Evergreen Bough Distress Crayon rubbed in the middle of the clock)
NOTE:  This photo shows a Label Frame that I was testing...so many choices!  In the end I decided to use the Quote Chip instead.
Add the first layer of leaves to the collage.  I cut two of the same leave shape so it could continue down below the words that will be added next.
I love the sentiment on this Quote chip! I rubbed it with Walnut Stain crayon, then cut the right end like a flag and added the Tiny Clip on the left end.  It was added to the collage with 3D Foam Squares.
I added a few pieces of ephemera from the Field Notes Ephemera Pack plus the small leaves to fill in.  The 82 strip is from Layers Urban (same as the clock).  I colored the little bird from Field Notes with Distress Crayons and a paint brush.

You can see the layers of the leaves and the Baseboard Frame.  I used 3D Foam squares behind some of the leaves for depth.
I love the way the Framed Panel turned out.  Perfect for a Fall display.


I also love the leaves in the piece and it couldn't be any easier to make them using the papers colored with ink.  I sure hope you will try it.
Now carry on,
paula

Tuesday, March 31, 2020

Please Pass The Cake

Hi friends!

I'm sharing a quick tag I created using Distress Paint as the real star.  I made some unconventional color choices that you might gasp at but trust me, it all works out in the end thanks to my favorite Distress Crayon.

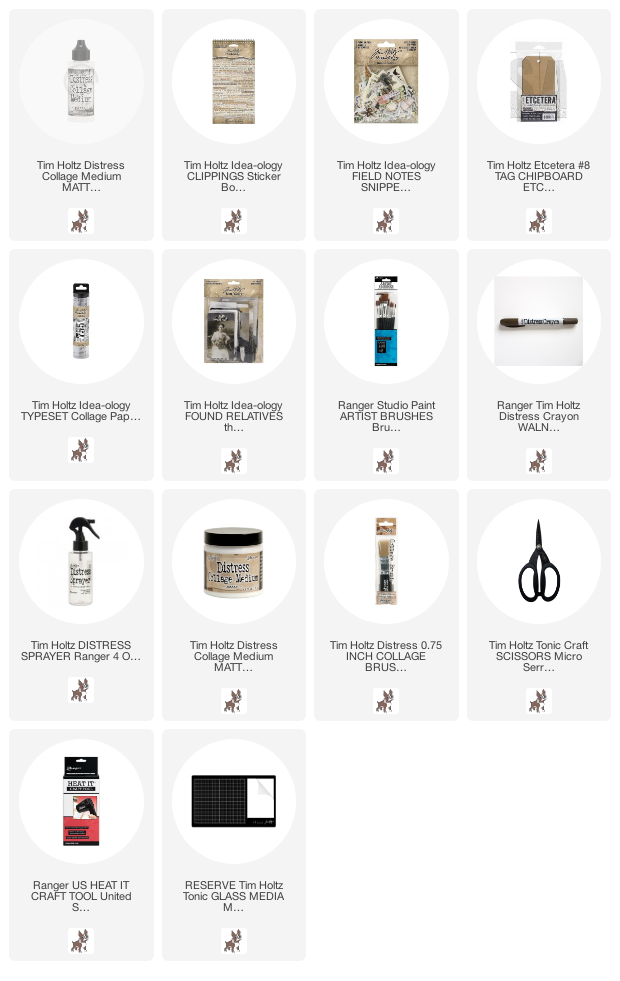
I gathered a few supplies to my desk. I'm using a #8 Etcetera tag as the base.
Paint the tag Black Soot and let it dry.
 Then start by painting some crazy stripes.  Use whatever color you have on hand.  Mine are Squeezed Lemonade, Broken China, worn Lipstick and Wild Honey.  I know, this is a bit garish!  (and it looks kinda like a fish from Finding Nemo!)
I ripped some Collage Paper into strips and glued it down with Collage Medium.  I added a second layer of CM over the top and rubbed it in with my fingertip to make it appear as sheer as possible (still garish, I know).
Once the top coating of Collage Medium is dry, scribble over the top with Walnut Stain crayon.  Totally changes it right?  I couldn't love this part more!
I cut up a Found Relative card to get this cute girl.  I ended up picking her because of her hat.  The flowers came from the Ephemera Pack: "Field Notes Snippets" (meaning that they are scaled smaller than the regular Field Notes Ephemera Pack).  The flowers are smaller so they fit better on her hat!
I did use Distress Crayons to color the Found Relative.  Faded jeans for the dress, Peeled Paint for her bow, Iced Spruce for the collar, Aged Mahogany for her cheeks.  All those colors worked very well with the flowers.
 The words came from the new Clipping Sticker book.
I decided to give her a little sophistication by adding three very small faux pearls to her hat.  My favorite thing about this photos is that new Collage Medium Glue bottle with twice the glue and a smaller tip.  Thank you Ranger for making the change!!!
 I just glued them in a cluster with one spot of glue.
I added a few more pieces from Field Notes Snippets package and also tied a blue ribbon in the top hole.
I just love how this turned out!  Simple but fun and really the color choices are endless!

I'm just kind of in love with this idea of transforming the basic black and white photos...my obsession continues!

Thank you for stopping by! Who knows what's next!!
now carry on,
paula