Here we are only a few days to Christmas!
I just wanted to pop in to share a quick make using the idea-ology Reliquary Dome and a lot of things I had out on my work table!

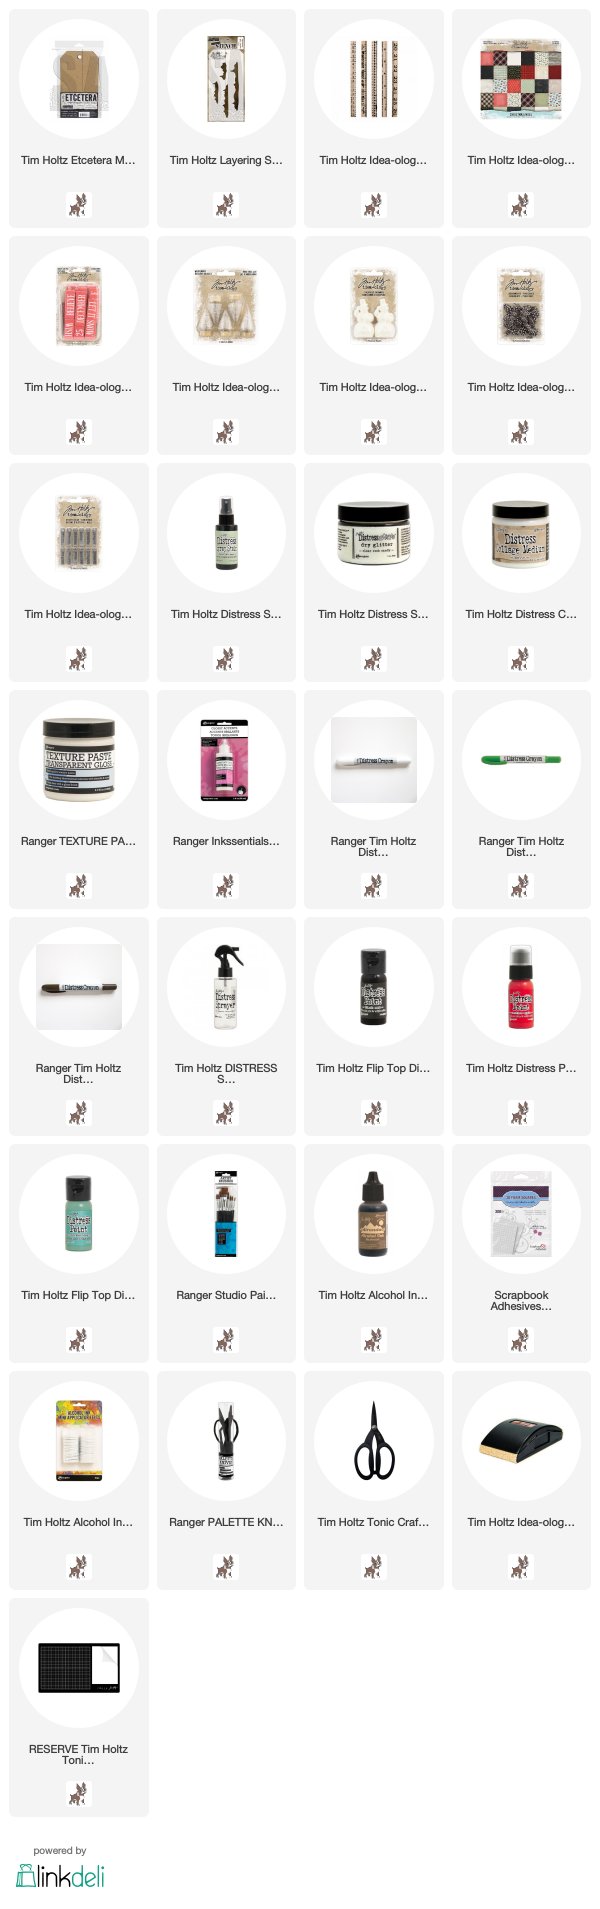
 Here you can see the back of the project. I want to talk about the candy cane pole the was added exactly the same way the signpost was added. The pole is made from a wooden stick meant for candy making. The stick comes with the ball at the top. I just had to cut the stick to the right size. I painted it white and gold, then wrapped skinny red tape around the pole to create the candy cane stripe. The gold "string" is a metallic floss found a Hobby Lobby in the embroidery floss section. I made the pole for a kit in 2024 and this was my original sample that I saved. Lucky me!


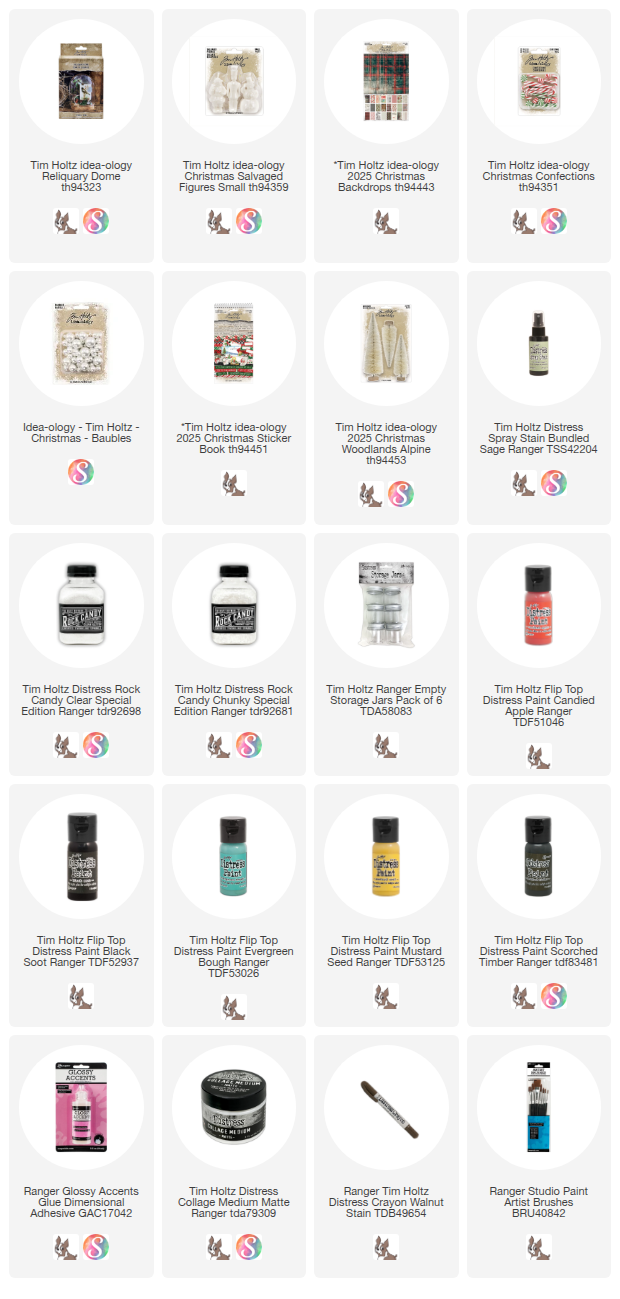

Here are the basic steps:
1. Paint the cork base with white paint.
2. Once dry, cut a strip of Backdrop paper the same size as the cork (I used two strips and pieced them together). Use Collage Medium to adhere the paper strips, clipping the paper at the rounded corners and over lapping the paper just a bit. This is an easy way to make paper wrap around a rounded surface.
3. Spray two Alpine trees with Bundled Sage Distress Spray Stain. Dry with heat tool then cut off the base and wire with wire cutters so the trees sit flat. Use hot glue to secure the trees to the cork base.
4. Paint a small Salvaged Snowman with Distress Paint. Let paint dry completely, then give him a wash of Walnut Stain Distress Crayon with a soft paint brush to bring out the details. Dry with heat tool. Use your finger to add spots of Glossy Accents on his hat and sides. Sprinkle a mix of Rock Candy and Chunky Rock Candy. Once dry, use Collage Medium to add him to the cork base.
5. Decorate the trees with Baubles and tinsel. Really anything you have on hand. I used Baubles left over from another project and the piece of tinsel was on my desk. I'm not even sure where it came from!
6. Use a sharp awl to dig out a small hole in the cork. Make the sign using a label and clippings from the 2025 Sticker Book. Hot glue a stick into the hole. Once secure, add the label to the signpost. NOTE: I did add a piece of heavy watercolor paper to the back of the label to give it strength.
7. Pull small pieces of cotton batting and add to the cork base with Collage Medium. Add more Collage Medium or Glossy Accents to the batting, then lightly sprinkle the Rock Candy mix over the top.
8. Use Collage Medium to add Confections that have been previously covered with Rock Candy.


Detail Shots
Here is what the cork base looks like when the paper is clipped to round the corner.

The signpost - the small hole you will need to dig out of the cork will be covered by the cotton batting.

The snowman with his touches of Rock Candy.

And the candy cane pole made from a candy stick.

I love this project because I was able to finish it in one morning! That was because I had many of the pieces already in my stash of Christmas, that I had prepared earlier or leftover from another project. Now that is my kind of crafting!
Now carry on,
paula