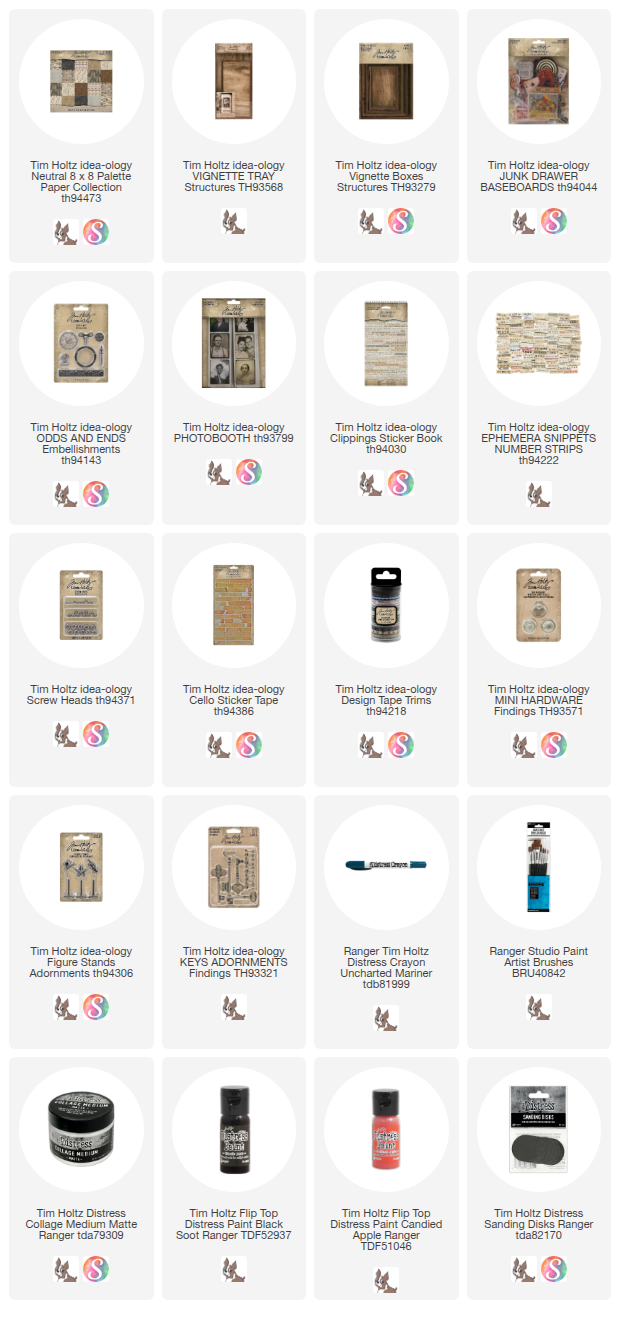
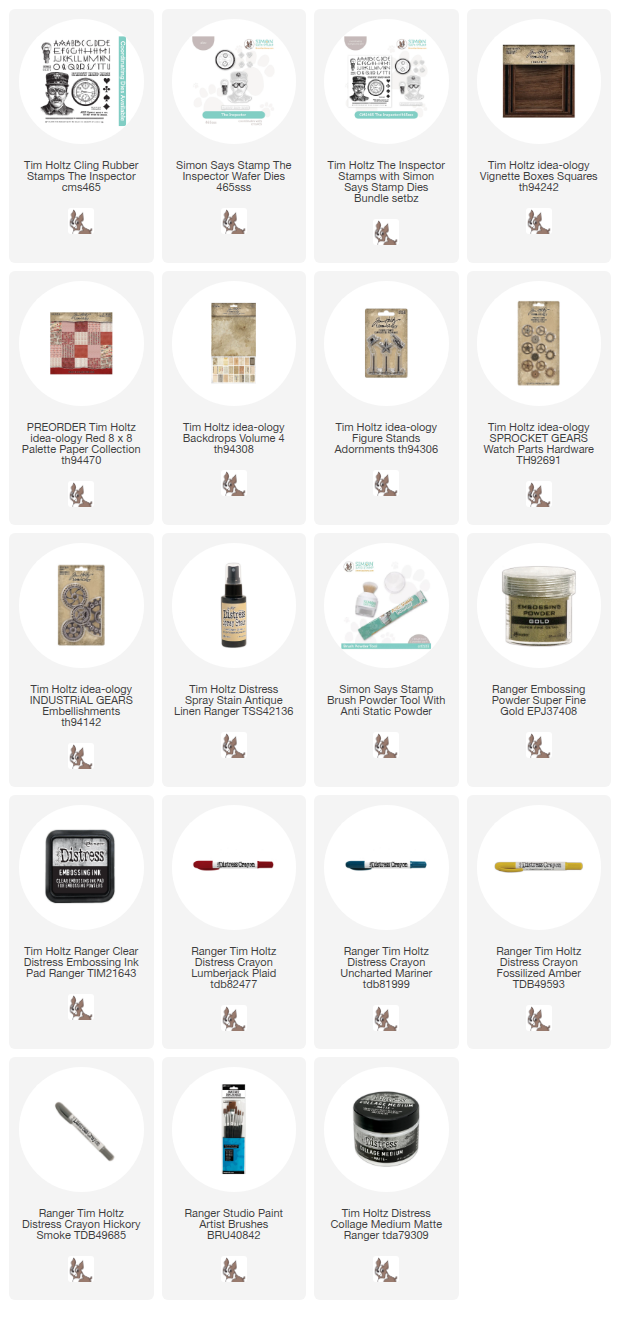
I'm back today with another idea-ology Halloween project! Today’s project is a Halloween Vignette Tray filled with idea-ology goodness. To divide up the space and create unique little display niches, I added three smaller Vignette Boxes inside the main tray. See if you can spot them: the harlequin box featuring the number 31, the bottom-right box framing the boys, and the smallest box on the left piled high with skulls. Vignette boxes are perfect for breaking up a large space and giving you multiple places to tell your story.
Here is the basic plan to build the tray with any theme. Well, maybe you don't always need step 6 and 7, but all the other steps work with any theme or season.
 Let's get started!
- Paper on the tray (inside and out).
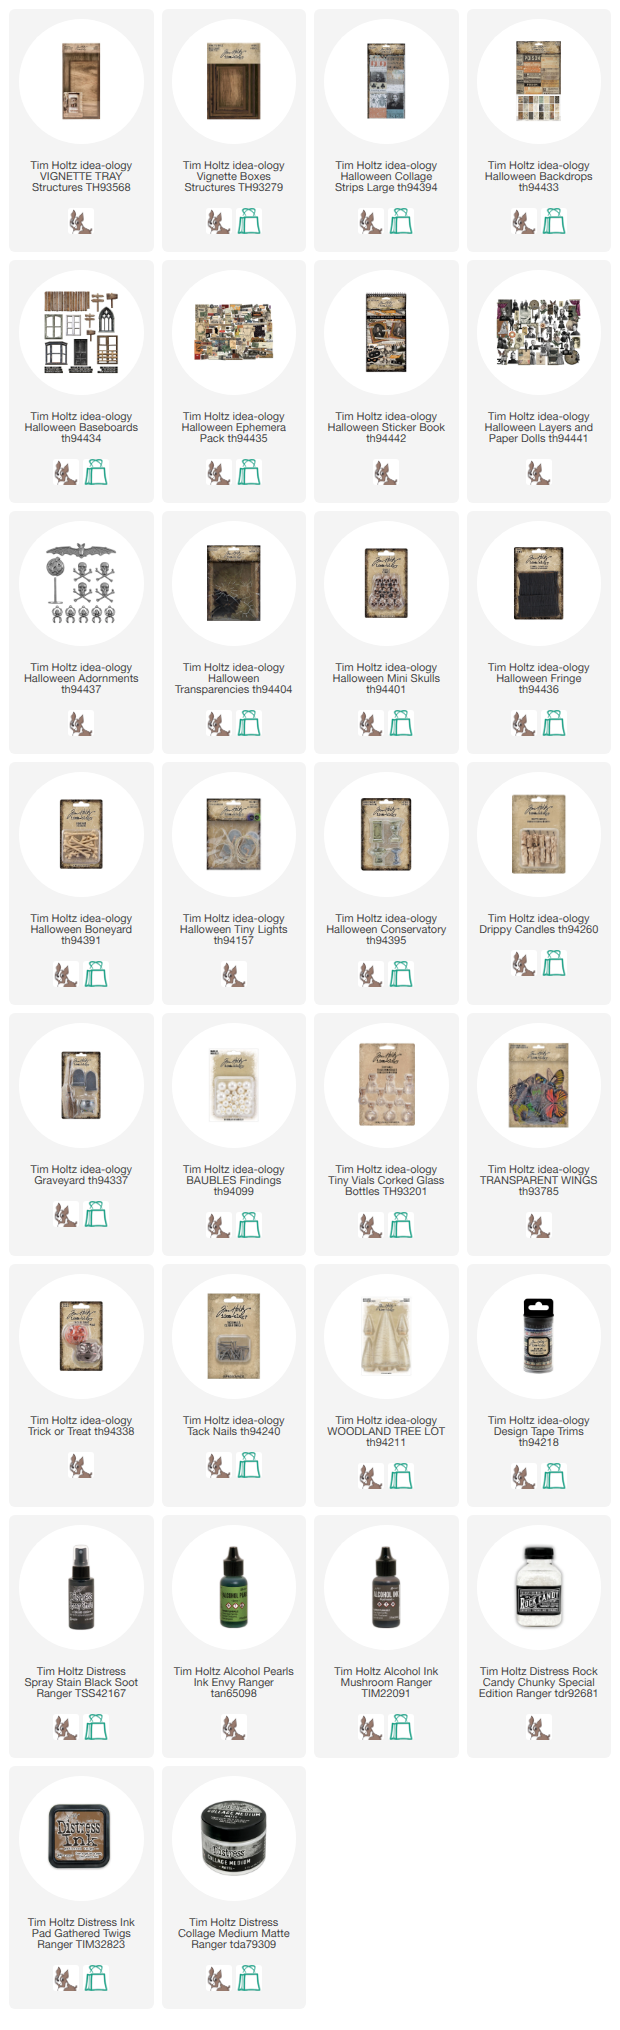
- Add the Design Tape (Trims) on the lip edge with Collage Medium. I did wipe black paint randomly over some of the tape to disguise some of the numbers.
- Paint the Vignette Boxes black, then add paper to the background.
- Glue the boxes into the tray.
- Start decorating!
- Once done, add the Baseboard planks with Tack Nails.
- Use thread (dyed with Gathered Twigs Ink) as a spider web and wind between the nails.

The entire tray (outside and inside) was covered with Collage Strips. Collage Strips are so easy to use because they mix and match. They make it look like you have done so much work collaging the images, when in reality it's all be done for you.
You can also see the battery pack for the Tiny Lights. I drilled the hole through the tray for the lights once I knew where the cat would it would sit on the front.
 Once the box with the 31 is secure, you can add the BIG Baseboard piece at the top. I added wood blocks to the back so the piece sits out from the background. Of course I added the Portrait and spiral to the background before adding the Baseboard with the added shattered window Transparency.
 The fringe was added with Collage Medium. Then I added a little nest of sorts in the "shattered window" of the Transparency. NOTE: the skulls have added Mushroom Alcohol Ink that I added by dripping the ink over the top and moving it around with a cotton swab - a great way to get the ink into the eye sockets.
 The box with the 31 is a fun one. I love the harlequin paper in the background which goes perfectly with the Fringe above, making it more whimsical that scary. The box is filled with a small Woodland Tree (sprayed black and rolled in Rock Candy), two Drippy Candles, and a Tiny Vial laying on it's side. The 31 is from the Layers pack and has been added with thin Foam Squares.
  You can see inside the box a little bit better in this shot. There are some melted wings on the right (more on those later on).
 The Trick or Treat cat fit perfectly in the niche created between the boxes. I filled the cat with purple Tiny lights and bones I previously rolled in black paint.


Here he is with the lights on! Magic!


 The last box is the floating boys. I use them over and over because they are just my favorite set since they can be sitting on something or floating. Here I added a 1/2 wood block to the bock so they float in the middle of the window.
 I wanted to fill the bottom box with something, but I wasn't sure what. Then I remembered a project that I did quite a while ago and I decide to use the idea again. I took small butterflies from the Transparent Butterflies pack and melted them with an embossing tool. I used a wooden skewer to hold the butterfly in place when I was melting so they wouldn't shoot across the table. I also used a small paintbrush to add Mushroom Alcohol Ink over some of the butterflies (very random) so make them fit the theme. That small added detail made them look even better.



The smallest box has skulls stacked inside with a ephemera piece, "keep in refrigerator".
The spiderweb Transparency was cut and attached to the box with Scor-tape. You honestly can't tell the tape is even there!

The niche that was created under the box is filled with tiny book and moss and an urn that I painted black. Don't forget to use Clippings from the Sticker Book on the spines of the books to make them look realistic.
I filled the urn with small Bubbles I colored with Alcohol Pearls Envy. So, so easy!


Just a view from the top!

I added a Tack Nail to the side to hang the broom from some added string.

It looks good with the lights off...

and on!

I'll see you tomorrow with yet another Halloween Vignette project...a little smaller, but just a fun!
Now carry on,
paula