Showing posts with label photobooth. Show all posts

Tuesday, April 7, 2026

Do All the Good You Can

Hello friends,

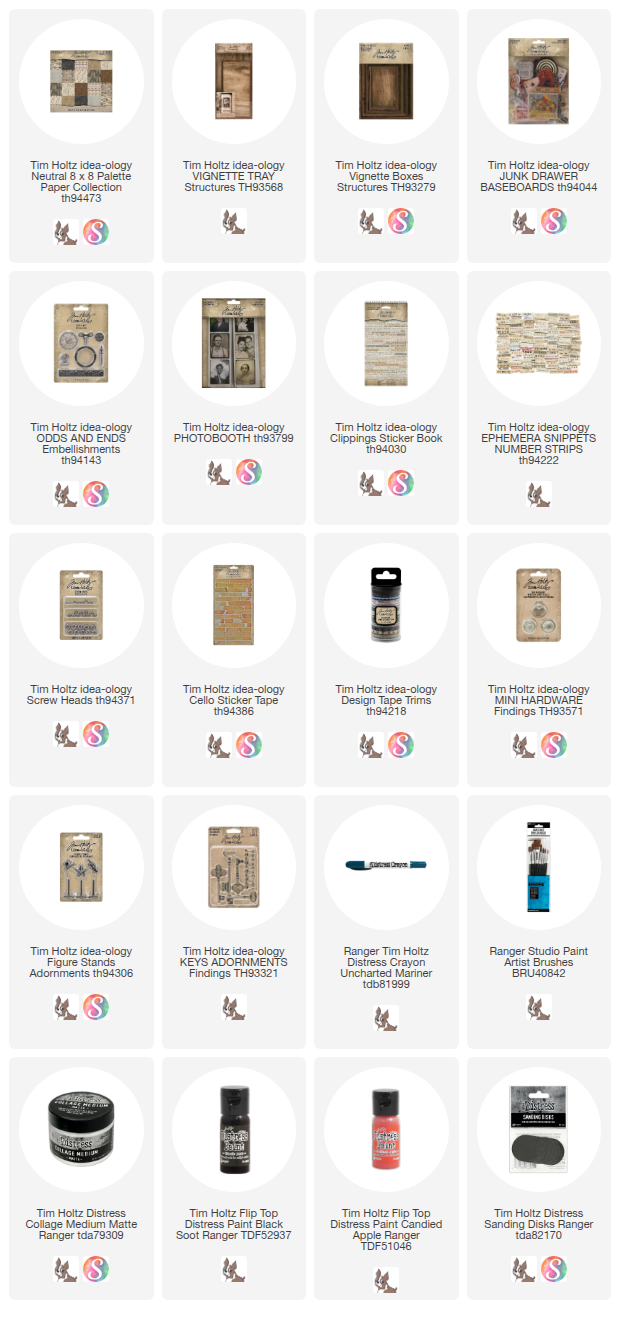
Stopping by with another Vignette project this week. I dug out an old SKU called Baseboard Junk Drawer for this one. I have always loved that SKU but only used pieces here and there over the years. Well today is different because I have use 7 pieces from the pack! Can you find them all before we get started?
Cover the small Vignette Tray with Palette Neutral Paper. This is one of my favorite packs because I truely love all the prints that come in the pack. I chose the Collage paper and the Map paper for the inside of the Tray. 
NOTE: the tape on the lip edge is from Design Tape Trims.
I chose the black gears paper for the sides and most of the back.
I created my own patchwork on the back to show off some of the other prints.
Once the Collage Medium over the paper was dry, I was able to add Walnut Stain Crayon over the seams between the paper inside the Tray.
I also painted two Vignette Boxes in Black Soot. At this point I wasn't sure how I would use them so I just painted the entire box. NOTE: these are the two smallest boxes from the Vignette Boxes pack.
Then sanded the edges with a Blending Tool with an added Sanding Disk.
So now that I have had some thinking time, I decided to add paper to the inside of the larger box and the "back" of the smaller box.
I used Collage Medium to glue the Vignette Boxes into the Tray. There are more way you could add them but this seemed like a good configuration for my purposes. Set aside to dry.
This little by will be my focal point. He is from the Photobooth pack.
I added the boy to a piece from the Baseboards Junk Drawer pack that fit nicely inside the larger box. A Clippings sticker was added to the bottom. 
Before I placed him in the Vignette Box, I added a bingo chip to the back so he sits forward in the box.
Now let me show you how I added all the other elements that make up this piece. There are SEVEN pieces from the Baseboards Junk Drawer pack (including the piece behind the boy). The others are: the elephant, the universal dominos, 65 tag, the black ruler piece, red star in a circle and the pencil case. 
I had the idea to have the elephant look as if he is turning the wheel with his head to raise the chain to bring the star up to him. I hope you can visualize it too!
Another pack that I used three pieces is: Odds and Ends. That includes the wheel, the porthole at the bottom and the metal Transfer Button on the Dominos Baseboard piece.
The 65 tag was added with Collage Medium then two Screw Heads were added to appear as if the tag is screwed into the box.
The strip of paper is from the snippets pack - Number Strips. I added some Cello Tape to the top of the strip.
The star is painted Candied Apple and is from the first Figure Stands pack. Again, the wheel that I painted bloc is from the Odds and Ends pack.
The bottom half is simple.
The jumble in the right corner is just that, a jumble. I cut the pencil case shorter so it would fit in the box. The key was just scribbled on with Distress Crayon and the string wrapped multiple times around the neck and tied in a bow. I glued the red star to the metal "porthole" that also had scribbled on with crayon. Then with decent amount of Collage Medium I piled everything together and just let it dry. Could not be any easier than that!
For the little boy I added the ruler at the back and some paper at the bottom for more interest. I might go back an add something else here, but for now I can't seem to thing of what. Maybe something from my vintage stash? I guess it's going to the be a work in progress.


Now Carry on,
paula
 

Wednesday, March 31, 2021

Start with a Grateful Heart


Hello friends,

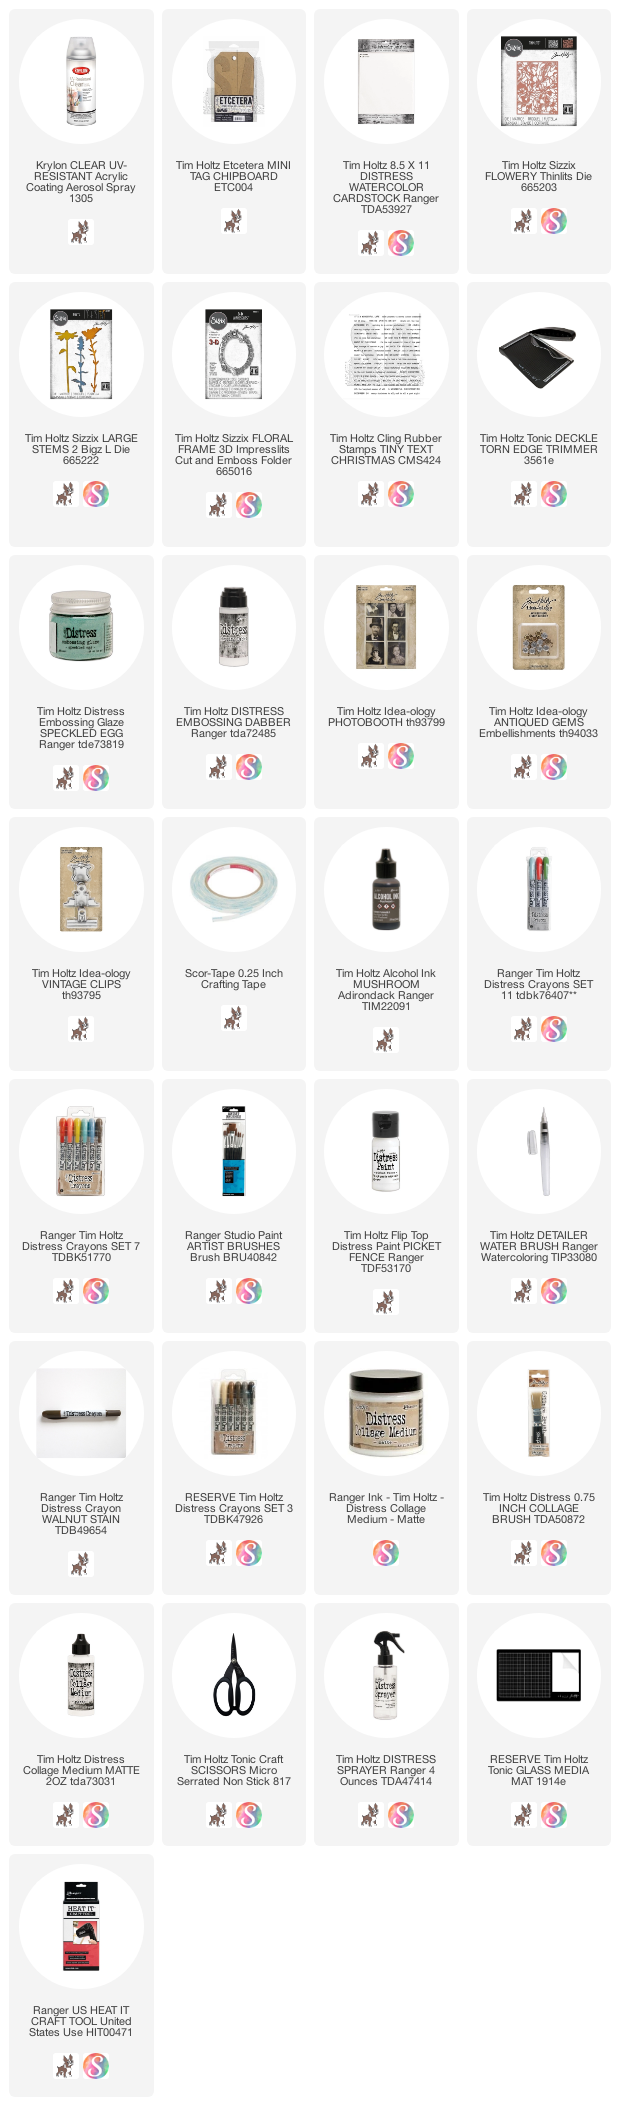
Just a short blog post today sharing a Etcetera Mini Tag I made using Sizzix dies.

I painted the Mini Tag with Picket Fence Distress Paint and let it dry completely.  

While the paint was drying, used Distress Watercolor paper and my Vagabond machine to cut TWO of the Flowery Thinlits to create a background for my tag. I chose the white watercolor paper because it is white to match the background I painted perviously. The string was added and some frayed cheesecloth (colored with Peeled Paint Distress Spray). I also added an Antiqued Gem hanging off the string.
I adhered the two die-cut pieces, one above the other, with Collage Medium matte. I bet you would have a hard time even seeing where the two pieces meet up? Look closely, the seam is hidden right below the string.
Once the Collage Medium was dry, I cut off the top corners that were overhanging the tag. Then the most important step...paint a layer of Collage Medium over the surface to seal the Watercolor paper to the tag. If you get too much build up in the flowers and leaves, use an old brush to wipe the excess away. It does not have to be perfect (and the Collage Medium with shrink as it dries) but there should not be any mounds of Collage Medium. Once dry, this slick surface will allow you to color over the paper with Distress Crayons.
I chose Crackling Campfire, Fossilized Amber, Evergreen Bough and Bundled Sage Distress Crayons but any color combination would work. Scribble the crayon over the raised portion in color "patches", then using your finger tip, rub the the patches of color so just the edges mix with the color next to it (wipe off your finger tip when changing color). Your goal is to keep true color in some parts, blending into the next color to fill in. At this point everything is water reactive so you can wipe the entire color story away, dry the surface, then start again. As you can see, I "colored in" the orange flowers and green leaves just by rubbing the excess crayon directly onto the surface of the tag.
Once I was happy with the finished result, I sprayed the surface with a clear fixative (Krylon or another brand).  It just takes a light spray over the surface to quickly seal the crayon in place.
The Long Stem 2 flower was cut from Watercolor paper and painted with Distress Inks.
The Sizzix 3D Floral Frame is also Watercolor Paper that has been embossed with Speckled Egg Embossing Glaze.  Once the Embossing Glaze is melted, scribble over the top with a Walnut stain crayon and rub into the design with your fingers to age and give definition.
I cut out a girl from the Photobooth pack (so you would be able to see the color in the background) then added a tiny hand-cut heart to her chest.
I finished up by creating vellum band with embossed words from the Tiny Text stamp from Stampers Anonymous. I used the Deckle Cutter to create the "torn" edge effect. The vellum was adhered on each end with Score Tape which seems virtually invisible when used to secure to the surface.

I hope you liked this fun tag and the technique that can be used for so many things.  I love the vibrant colors for Spring and the message that says it all.
thanks for stopping by..

now carry on,
paula


Friday, May 1, 2020

In My Heart of Hearts Tag Book

Hello friends,

Tim and I were having a conversation this week about an often asked question he gets, "what do I do with the tags I make?"  So I guess that was still in my mind when I decided to make a tag book, since really any background will work for this project. Follow along and I'll show you all the layers.
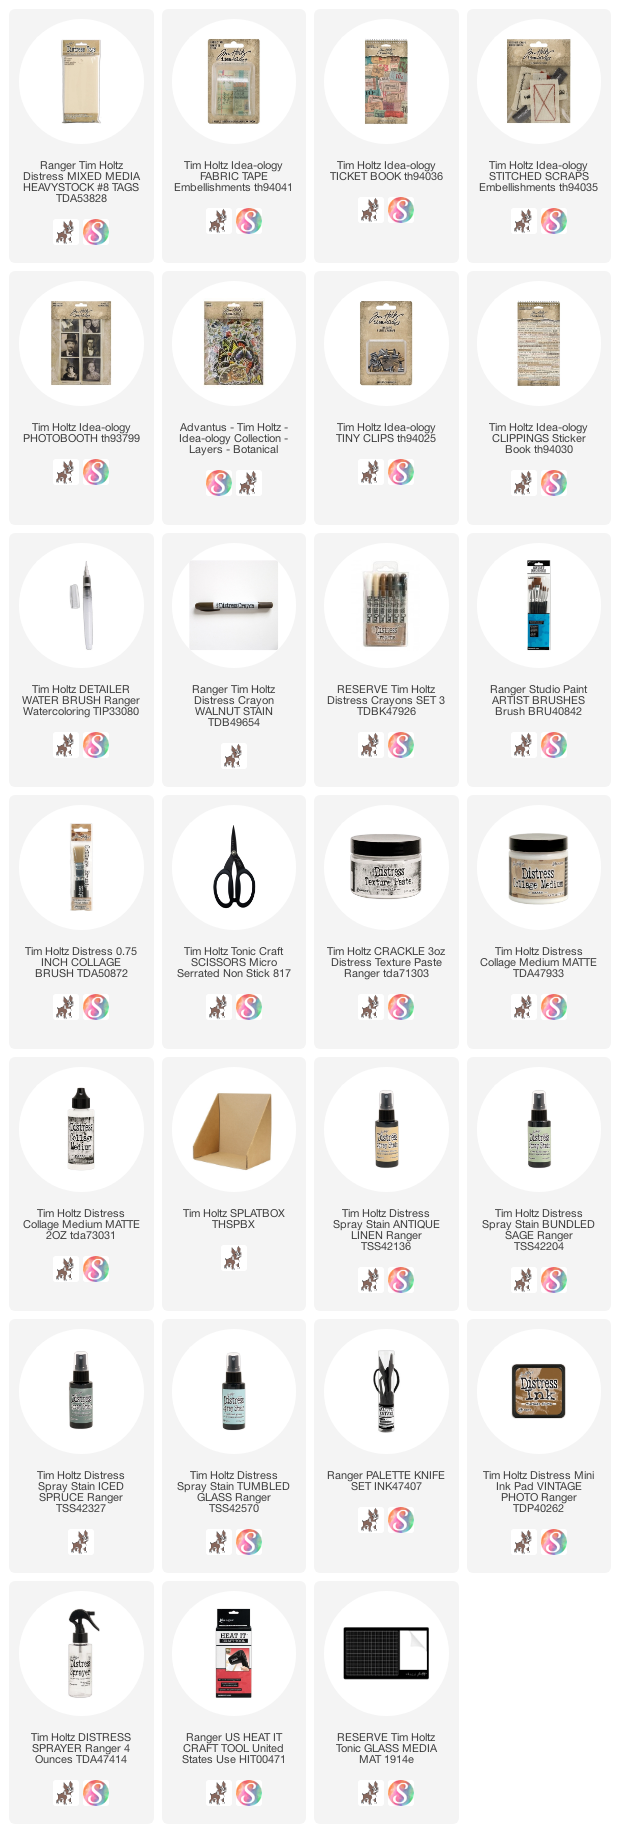
I chose five #8 Distress Heavystock Tags for the book but you could use as many as you like.  The Heavystock tags are made for holding up under multiple wet mediums.  They are by far my favorite tags for this kind of project where you want something that can take the inking, stamping, paste, and glue.
I placed all the tags next to each other and sprayed Antique Linen Distress Stain.  I quickly rubbed the excess away with a paper towel, because I wanted all-over color instead of the speckles the spray makes.  Once the tags were dry, I sprayed them with Bundled Sage, Iced Spruce, and just some small drops of Tumbled Glass. Let dry completely before moving onto the next step.
I chose two stamp sets, Flower Shop and Baroque, to stamps images using Archival Ink in Faded Jeans and Ground Espresso. It's important to use a permanent ink like Archival to maintain the stamped image.
Next step...Crackle Texture Paste using a palette knife and three different Layering Stencils: Mosaic, Digits, and Plus.
Once the Crackle Texture Paste is dry (about 30 minutes), use the Ink Blending Tool to add Walnut Stain Distress ink to the edges of each tag.  Then take the ink pad and rub directly over the raised surface of the texture paste.  If you get a bit on the background that's okay!
 It should look something like this when you are done.
Now take your Collage Brush and brush Collage Medium over the surface.  The wet medium will let the ink seep into the cracks in the paste and make the tag nice and sturdy when dry.  By added the Collage Medium it will also allow us to use Distress Crayons if you want to add more color over the Texture Paste.
 This is just a comparison between a tag with no ink and with ink/collage medium.
Next were going to add Fabric Tape to the backside to combine the tags into one long strip.  I left a VERY small break in the tags so they would fold easier.
 Done.
EMBELLISHMENTS
So I folded up my tag book and determined that I wanted at least 3 collages inside.  I chose three Photobooth pictures, one for each collage.
I used Distress Crayons to color each Photobooth then set them aside to gather the rest of the embellishments.
I thought I might use a few tickets from the new Ticket Book.  These tickets are perforated so you just rip out what you need.  I keep the leftovers (that I don't use this time) in a small plastic photo bin.
We've got tickets and photos so far, so let's add some flowers from Botanical Layers.  I picked a few flowers and a butterfly.  The butterfly was only black and white from the package so I colored it with Distress Crayons to give it some life.  All four pieces have Antique Linen Embossing Glaze added over the surface to add a vintage feel.

I gathered a few more things to use in the collages.  Stitched Scraps, Field Notes Snippets (much small than the regular Field Notes Ephemera), Clipping Stickers, some cheesecloth and vintage buttons.  Again, still guessing at this point what I will end up using.
Before I started the inside, I decided to sew along the edges of each tag to add texture/strings and secure the Fabric tape.  The tape is very sticky, but since I am going to be folding and unfolding I thought it might be a good idea.  I left all the sewing threads long - i'll trim them later if needed but I really like them long!
I found a skinny ribbon in my stash and tied up the book - leaving room for adding stuff inside!
I untied the bow and held on tightly as I stitched the ribbon to the front tag!
With that done, I'm ready to start the collages.
Collage Number One:  Everything is here...tickets, flowers, ephemera snippets, cheesecloth, only added the Tiny Clip (my favorite little addition).
Collage Number Two:  same M.O. + vintage button.
Collage Number Three: Hard to see the Stitched Scrap in the bottom left of the collage, but it's there.
Please click on the photo to see the entire tag book.
I just love the mix of materials, from the stamping to the Crackle Texture Paste...it just all works together!  I could see this book being much longer than it is because the tags are so fun the make.  This is definitely one of those "use up your scraps" kinda project because anything goes.

Thanks for stopping by!  
Now carry on,
paula