Showing posts with label ranger. Show all posts

Friday, December 17, 2021

Holiday Greetings

 Hello Friends,

Hope your week is going great. We are normally in the thick of Christmas baking for family and friends but this year our oven decided it was done for the season...so there is no baking till the parts arrive from Viking and the heating elements are replaced!  It's already been 10 days of toaster oven cooking at this house!  Let's hope we are not still cooking this way on Christmas or I am going to be cooking one Cornish game hen instead of a turkey! 

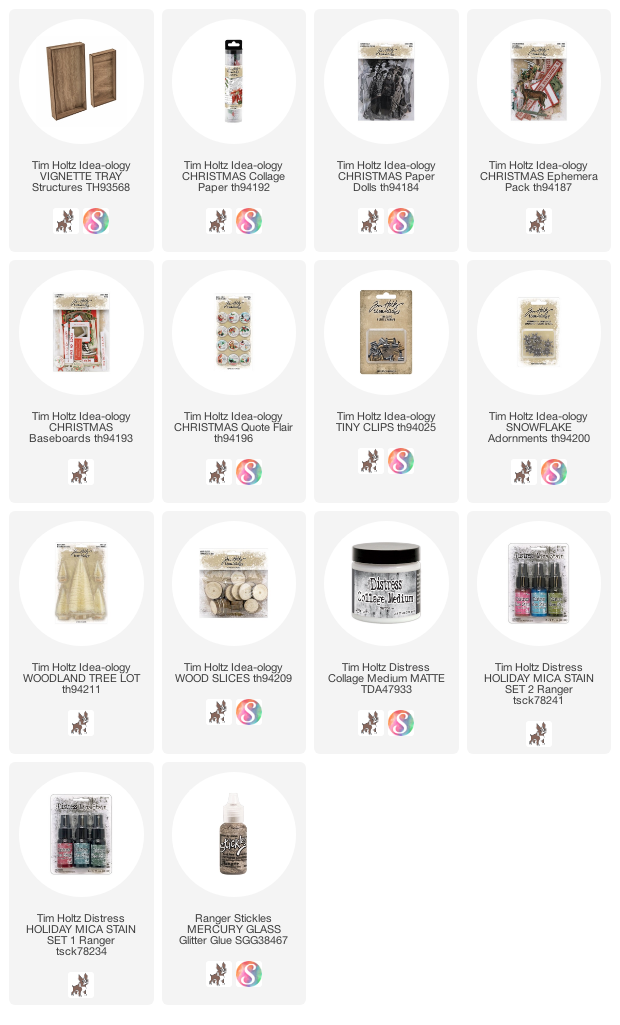
Today I'm sharing another of the makes using idea-ology Christmas.  This time it is my large Vignette Tray! Follow along and I'll walk you through it!

The tray was covered with our beautiful Christmas Collage Paper.  I added the Collage Paper with Collage Medium to the front of the tray.  The Collage Paper is 6" wide and so is the tray. That made it easy to roll out a 12" strip and cut it, to prepare to lay it into the glue.  We all know Collage Medium dries very fast so you must work fast, adding the Collage Medium across the tray surface.  
Once the Collage Paper has been pressed into the Medium, add a coat over the top.  Again, working quickly so the glue does not dry on you.  I had my Mica Stains, Tree Lott and Crooked Broomstick, at the ready so they could be sprayed or dribbled over the surface before the glue was dry.  If you spray after the glue is dry they will sit on the surface (since glue is a sealer) and never dry.
Let talk about the frame in the background.  The frame is part of the Baseboard Christmas pack that has multiple frames and other pieces to choose from.  
I wanted a little sparkle, so I quickly painted the surface with Collage Medium then added Clear Rock Candy glitter over the surface. Once dry to the touch, the frame was added to the the Tray with 3D foam squares. I could have filled in the window but I loved the look of the pine spray and did not want to cover that up.
The Paper Dolls are again, from a Christmas pack.  I used Distress Crayon to color their clothes.  Aged Mahogany was used for her coat and Chipped Sapphire was used for his.  I used the crayons directly over both coats, then wiped away the excess crayon with my fingertip.  For the collar of her coat, I used a Detailer water brush to get the sheer color over the fur.  I also used a detailer water brush to pick up some Fossilized Amber crayon to paint the blades on the skates, buttons on the coats and hats as well as the plaid on his coat. There are no lines on his coat, I just made up the subtle pattern.  Once the Paper Dolls are complete, add them to the surface with bingo chips so they sit a bit above the glittery frame.
I decide to use some of the Christmas idea-ology to create a small collage to the left of the frame. I used the plaid slide frame (also from the Baseboard pack). The rest is from the Christmas Ephemera with the addition of the flair button.
I added glitter to a red star from Baseboard pack.  I could of covered the red with the glitter but I decided to leave it showing like old ornament glitter that has been worn away.
You can see here how many levels there are.  All done using foam squares or bingo chips.  It takes a bit of trial and error before getting the right configuration but I love how it turned out.  
I added glitter to the 25 (Glossy Accents) and tucked a bit of shredded cheesecloth under the Tiny Clip for added texture.
And the little Woodland Tree...
I twisted off the base that is on the tree then sprayed the tree with Bundled Sage Distress Spray Stain and dried with a heat tool.  You only need half the tree, so use scissors to cut off the back of the tree so it can sit flat against the tray.  
I decided to use a Wood Slice for the base because it was thicker.  I used a flat head screwdriver and small hammer to split the wood circle in half.  Then used Collage Medium to glue the small paper measuring tape to the edge.  Once that was dry, I added the tree and base to the tray with hot glue.  The shredded cheesecloth and the metal snowflake were added with a little Collage Medium.
You could add any kind of embellishment to the tree that you wish.  I decided to keep it simple and just add some Mercury Glass Stickles to the tips of the tree.

So happy to share this collage tray with you today. I love Christmas projects and this is no exception.  The Baseboards and ephemera make it easy to find just the right piece to make everything merry!
now carry on,
paula


Friday, November 13, 2020

Rustic Wilderness - Fall

 Hello friends,

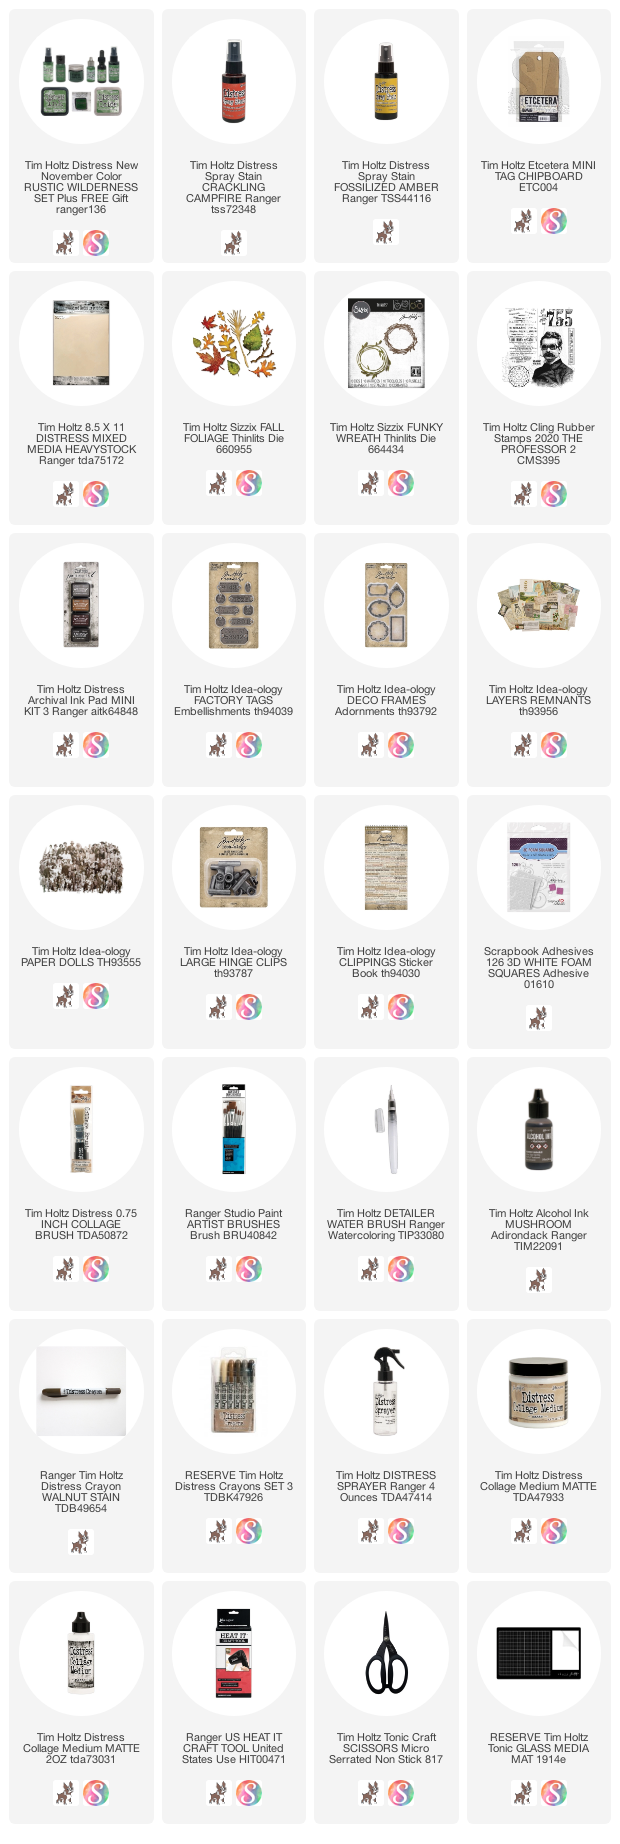
I'm sharing my "fall" project from the Rustic Wilderness release this week.   I started with a Mini Etcetera Tag since it seemed the right size for the Funky Wreath I wanted to use.
I cut a sheet of Heavystock paper about the size of the Mini Tag.  Then I sprayed Distress Ink Rustic Wilderness, Crackling Campfire, and Fossilized Amber onto my craft mat and pressed the Heavystock paper into the ink to pick up the color.  I dried it with a heat tool then went back into the ink two or three times to create the layered look I wanted.
After I created the main background, I made more inked cards to use for the leaves.  Some of them I dried right away and others I went back into the ink to add layers of color.  The fall colors are beautiful!
Once I had the cards done, I cut two of the Funky Wreaths (from cards that were only colored with Rustic Wilderness) and leaves from the Fall Foliage die set.  The leaves shown are the larger leaves in the set.  One thing I love about the die is that you get large, all the way down to tiny leaves, which worked perfectly for the project.
In this main photo, you can see that I adhered the large inked paper to the tag, cutting away the excess with a cutting knife and self healing mat board.  Once the paper was adhered, I stamped the text (The Professor stamp set) over the surface with Ground Espresso Archival Ink.  I did not use a stamping block, but rather "rolled" the stamped image onto the tag surface to create a worn effect.
I added the Public School card from the Remnants Layers pack to the surface with foam squares
  1. The Funky Wreath die comes with two wreaths + extra branches to add in.  As I said previously, I cut two sets from Heavystock paper I colored with Rustic Wilderness. Layer the wreaths together, adding in the extra branches.  
  2. Adhere the wreath to the card with Collage Medium - I tried not to press it down too much so it looked more realistic.  
  3. Add white paint to the recessed numbers from the Factory Tags pack and let it dry.  Pick up some Walnut Stain Distress Crayon with a damp paint brush and brush back and forth over the top of the white paint to grunge it up.  
  4. Ink a long piece of string with Walnut Stain Distress ink and dry it with a heat tool. Double the string, then thread the metal tag (so two pieces of string go into the hole at the same time). Wrap the string around the tag, coming around on the other side to create the bow.  This sounds much harder than it was to do in person!  Secure the metal tag with part of the foam square 
  5. Add the small colored leaves to the wreath.  I tried mixing up the colors and sizes so there are layers of leaves. 
  6. I also added a bit of cheesecloth under the bow.
The Paper Dolls were very easy to color.  Just color the bows with Distress Crayons Fossilized Amber and Faded Jeans using a Detail Water Brush.  Their cheeks are Aged Mahogany.
I wiped white paint onto a small Deco Frame and let it dry.  The frame was adhered to the card with Collage Medium so it sits off the surface of the tag.  I also added a few words from the Clippings Sticker Book.
To finish off the tag, I added a Larger Hinge Clip at the top.
I love this fall project.  It was easy to to create and very fun to incorporate the new color, Rustic Wilderness along with Crackling Campfire and Fossilized Amber to create such a wonderful Fall background.
now carry on,
paula

Monday, June 29, 2020

Focus on the Good

Hello Friends,

Today I have a post up on the Ranger Projects Blog featuring the new Distress color Speckled Egg!  I hope you will pop by to take a look at the steps to create this easy Mini Etcetera Tag.  Perfect for summer!

Now carry on,
paula


Wednesday, May 27, 2020

Ladies and Gentleman...

Hello friends,

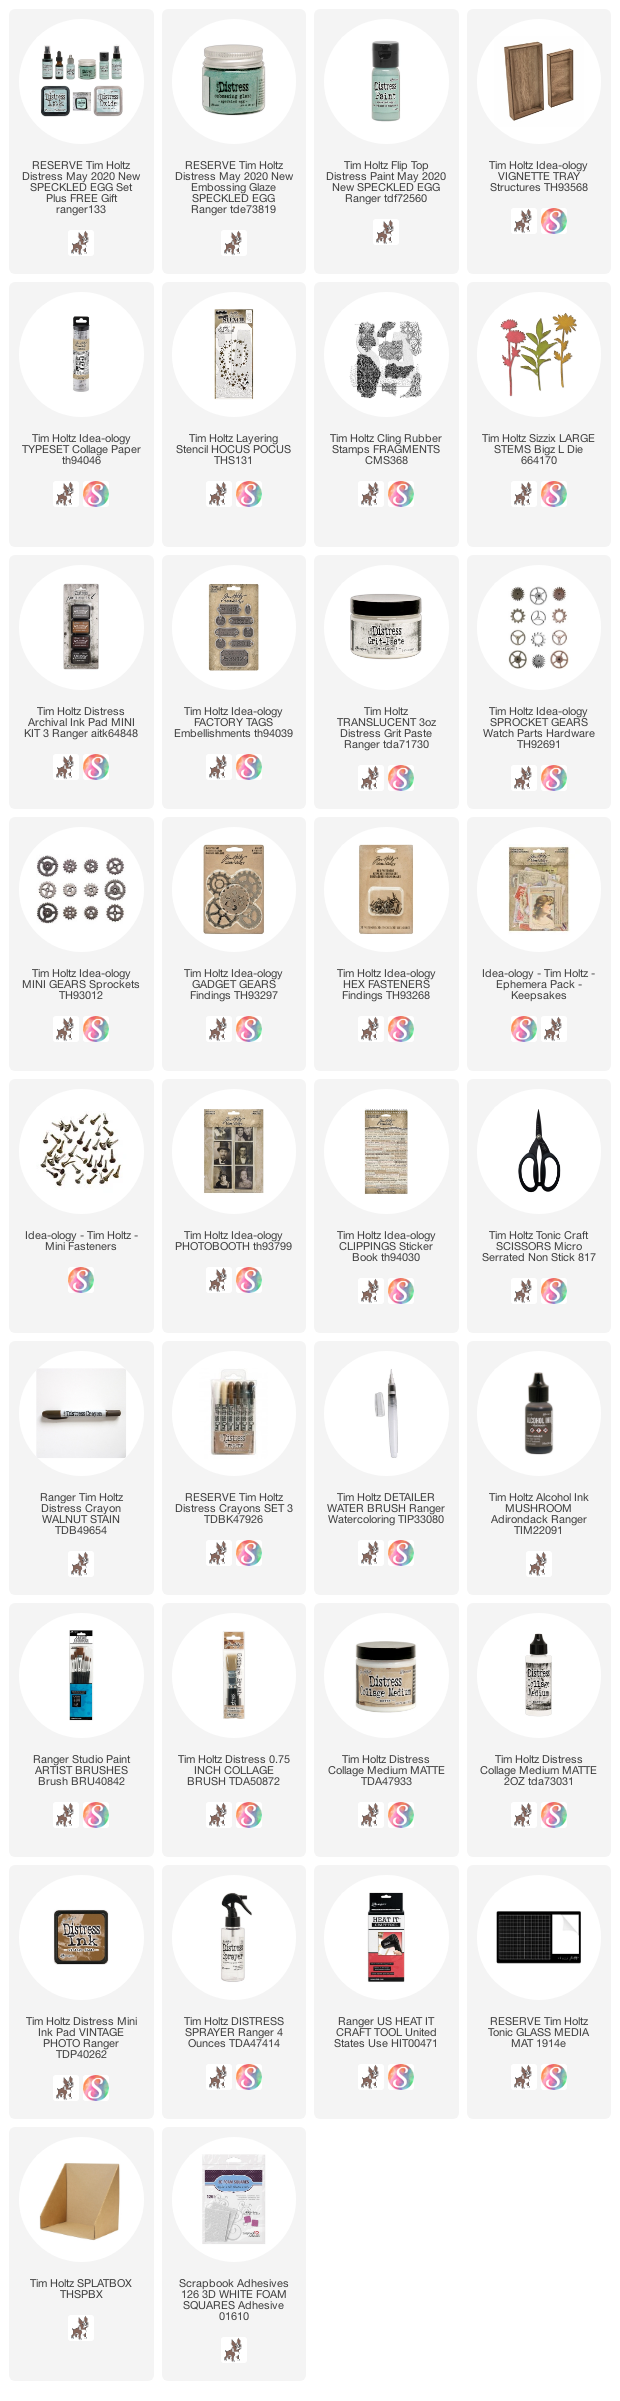
Today I'm sharing another project featuring Speckled Egg Distress Paint and Embossing Glaze. This was created using a small Vignette Tray flipped over to the back side.  I like doing this since it makes a great substrate for a collage and it's also very easy to hang on the wall when I am done.
I painted the wood surface with Speckled Egg Distress Paint and let it dry.  Next I added ripped pieces of Typeset Collage Paper to the surface using Collage Medium both under and over the paper.
Once the collage paper was dry, I used the Hocus Pocus Layering Stencil to add Distress Crackle Paste stars to the surface of the Vignette Tray.  I sprinkled on some Embossing Glaze in both Speckled Egg and Walnut Stain and let it dry completely before melting the Glaze with an Embossing Gun.
Once the Glaze was melted, I moved on to creating a layered collage of cards from the Remnants Ephemera Pack, using foam squares to build up some cards.  The Sizzix/Tim Holtz Large Stems is a BIGZ die so you are able to cut thick materials like chipboard.  This is exactly what I did, cutting the flower in chipboard so it would hold up under the Glaze layer.  I painted the chipboard in an off white and let it dry.  Then stamped with Vintage Photo Archival Ink using the Fragments stamp from Stampers Anonymous.  I dried it with my heat tool then followed the basic steps for glazing...add embossing ink, pour glaze over the surface, tap off and heat until melted.
It made a wonderfully shiny layer of glaze over the stamped Fragment image.  

The large stem was added to the collage with foam squares.
This Photobooth is one of my favorites - we call him "The Magician" which led to using the Clippings Stick "Ladies and Gentlemen", like he was starting a magic show.  I gave him some subtle color using Distress Crayons.  I tried to make it look like he had a yellow glow around him, like being in the spotlight on stage.  Again, he was added with foam squares to the collage.
The gears are a mix of Gadget Gears, Sprocket Gears and Mini Gears.  Each gear pack gets progressively smaller so they can be layered, then connected with a fastener.  I used a Hex Fastener on this one and a Mini Fasteners on the one in the next photo.
Before layering, I rubbed Speckled Egg Distress Paint on each gear and fastener.  Once dry, I added a bit of Translucent Grit-Paste in random spots and let that dry.  Distress Crayon Walnut Stain was scribble on the Glass Media Mat and picked up with a damp brush.  I used the brush to work in the brown color over the Translucent Grit Paste like built up dirt.  The last step was to use a small file to file/scrap right into the metal to reveal the gold color where all layers have worn away.
 You can see the scratch marks of the file much better in the second gear.
To finish the tray, I added the metal plate at the bottom - from the Factory Tags pack.  I rubbed white paint over the surface and into the recessed portion of the tag.  I also added Hardware Heads to each end as if it had been screwed to the board.
I hope you might find some inspiration in todays project.  I think my favorite part was seeing the transformation of the gears after adding the Speckled Egg paint and Grit-Paste.  Something I will be trying again in the future!

Now carry on,
paula

Saturday, May 23, 2020

Nice Girl From a Good Home
Hello friends,

What a fun week we have had seeing the excitement surrounding the the new color Speckled Egg!  Everyone seems so excited about the color itself and using it in their makes.  I love the color too!

My second project using Speckled Egg is a great for the beginner or the seasoned crafter.  Follow along and I'll show you the steps to make your own.
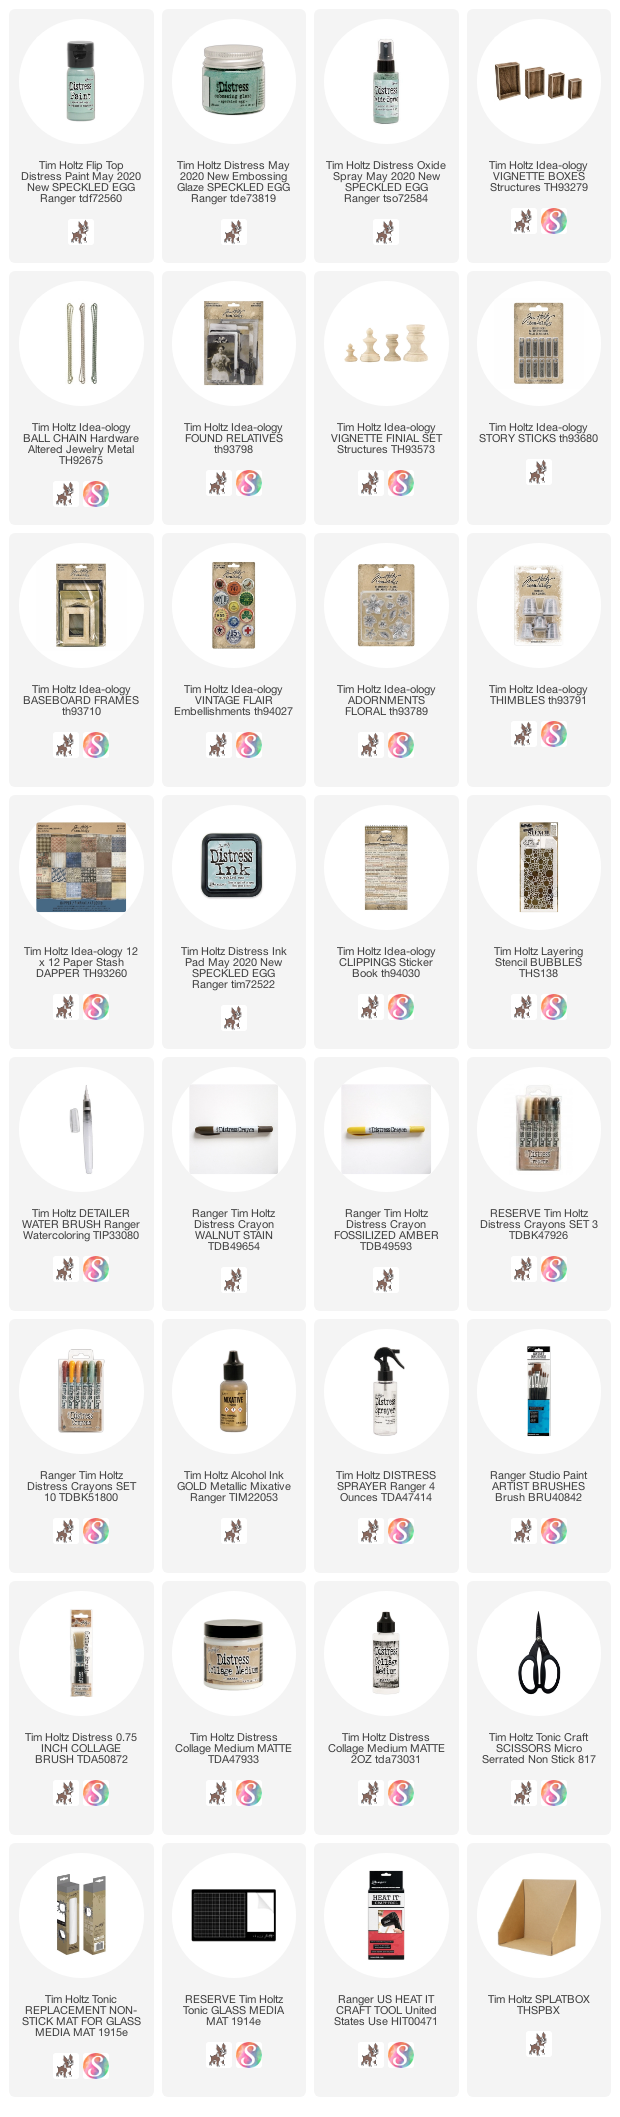
I am using the largest of the Vignette Boxes for this project but any size would work by adjusting the things inside.  To create the detail on the front, I used idea-ology Ball Chain.  You will need a decent layer of Collage Medium on the lip edge to keep the Ball Chain in place but probably not as much as you might think.  You can see in the picture that the Collage Medium is white under the chain but it's not sitting in globs of glue.  Use your Tonic Scissors to clip the chain at each corner.  You can adjust the chain after laying it into the glue but one you have it in place, leave it alone to dry.  Drying time will always depend on your climate and how much Collage Medium you used.
You can see here that the Collage Medium has become transparent during the drying time.  I know it looks like the Ball Chain is just sitting on the edge on the Vignette Box, but it's absolutely secured by the College Medium.  At this stage you are ready for paint.  Of course I chose to use the new Speckled Egg on both the box and Finial.
Once the paint was completely dry, I sanded the paint on both the box and finial.  Once I wiped away the dust, I scribbled on Walnut Stain Distress Crayon (even over the Ball Chain) and rubbed it in with my fingers and a damp paint brush.  
The background paper is a great grid pattern that can be found in the Dapper Paper Pad.  I adhered it to the very back of the box then painted a layer of Collage Medium over the top, which allowed me to color the background with Walnut Stain Crayon.  You might even be able to see, just up the in the top right, that I sprayed over the Crayon with Speckled Egg Oxide Spray.  I did not add water because I wanted it to just sit right on top of the brown Crayon work.  Small detail are worth it!
The Finial was glued to the top and left to dry in place (at least 20 minutes). 
While the Finial was drying, I chose a Found Relative to use in my project.  I used the Distress Embossing Pen to color her dress with Speckled Egg Embossing Glaze.  The Embossing Pen is PERFECT for getting into tight spaces like the ruffle around her neck and the flowers on her dress.  The Embossing pad or Dabber could never give you that kind of control.  I tipped the card up to see the shine of the ink (and make sure I had her dress covered), then followed the basic steps of using Embossing Glaze; pour, tap off, melt.  I painted the Flowers and the background with Distress Crayons and a detailer Water Brush.
I also used Distress Crayon and the Bubbles stencil to add a whimsical layer over the background.
A Baseboard Frame that I colored with Distress Crayons was added to the Found Relative before being placed into the Vignette Box.  I added the words, "nice girl from a good home" that can be found in the Clipping Sticker book.
The Adornments Floral are very cool metal flowers.  I think they get overlooked a lot because they are metal and not a pre-colored flower.  After I saw Tim using Embossing Glaze in one of his Saturday sessions I knew I wanted to use that technique on the flowers.  I chose three flowers from the group + three leaves, two small and one large.
I followed Tim's technique (which you can find HERE...it's right after the 1 hour mark) to Glaze the flowers.  As you can see, my flowers are three different colors.  Glaze is a translucent medium so it is effected by the layer or color underneath.  This makes it even more exciting to use, since you can very easily change up what a color looks like.  I rubbed the larger flower with white paint and let it dry before the Glaze layer was added.  The small flower on the left was rubbed with Speckled Egg Paint and the flower on the far left was rubbed with Evergreen Bough.  In this process, much is dependent on how much paint you use...it's a process of experimentation! Each flower came out wonderful with the added Glaze, but it was much easier to see the impact with the larger flower (or the butterfly Tim demonstrates in his technique video).  Again, be sure to watch Tim's technique for adding Glaze to metal before beginning the process.
I added the tiniest of faux pearls (colored with Mushroom Alcohol Ink) to the center of each flower and let dry before adding them to the box.  
The Thimble was colored with Gold Alcohol Ink Mixative, then rubbed with Walnut Stain Distress Crayon to create the aged appearance.  It works perfectly with the flowers and the Vintage Flair button.  I have to say, I love this detail shot! 
The last thing I added was the string on the Finial, that allowed me to add the Story Stick (love) and the Antiqued Gem dangle.  The Gems are one of my favorite little details to add to any project because we have made them to look old, no shiny metal here! 
Glad you have stopped by to view todays project.  I'll be back again next week to share more on Speckled Egg!
Now carry on,
paula

Wednesday, May 20, 2020

Reality #175

Hello Friends,

So fun to be here today talking about the newest color in the Distress Line, SPECKLED EGG!  It is a color that I have wanted for so long and trust me, it is beautiful!  I was able to create four projects for the new color Facebook Live.  I will be blogging all four projects by the end of May so if you are interested in learning how I created any of them, please come back often to see the posts.

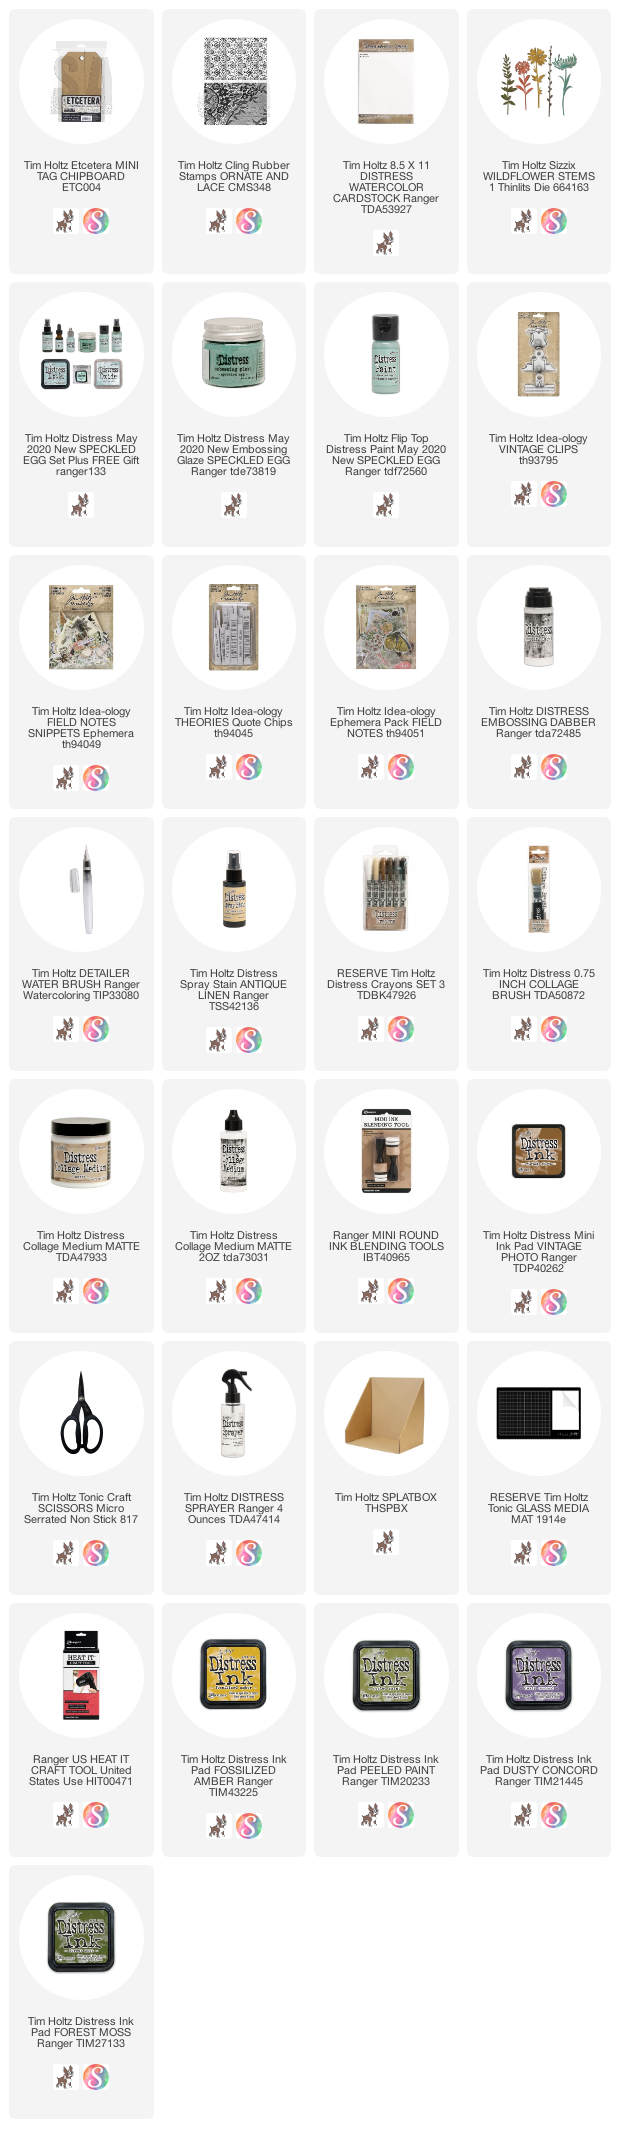
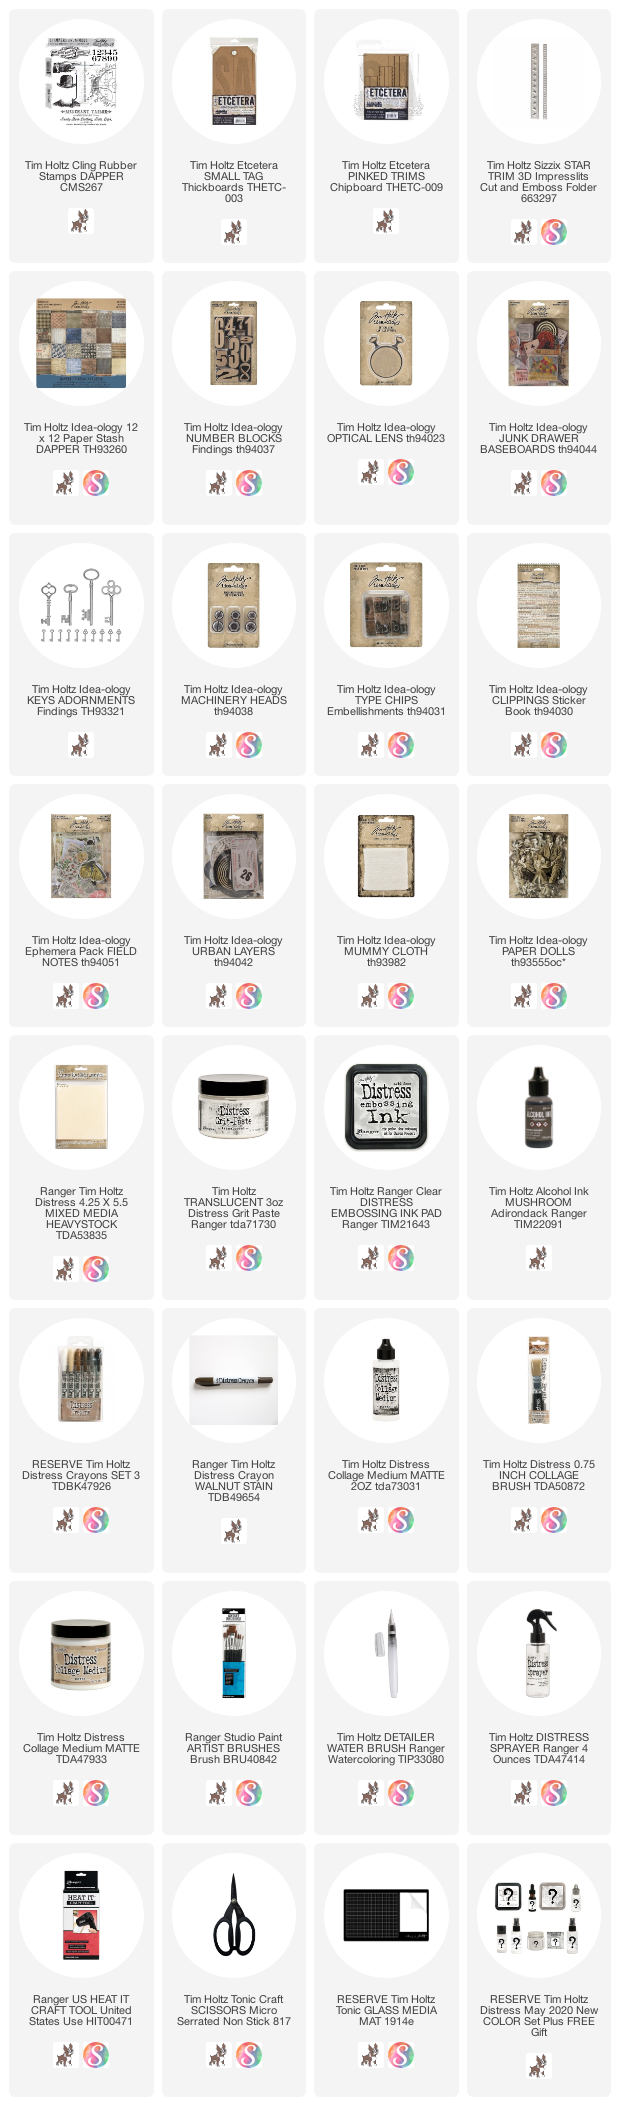
For today's project, I started with a small Etcetera Tag (5 1/2 x 10").  There are two kinds of paper used in the background: The patterned paper is from the Dapper Paper Stash.  I used the smaller scale 6 x 6" papers that are found at the back of the paper pad to work with the size of the small tag.  The second is Mixed Media Heavystock that I colored with Speckled Egg and Gathered Twigs Distress Ink.  I created a patchwork background with all the papers and adhered them to the tag with Collage Medium.  I haven't used the Dapper paper for a while but it is so awesome for a more masculine vibe.
I stamped the gears using the Dapper stamp set and Vintage Photo Archival Ink - something you can do even after the paper is glued to the tag, since it's made from thickboard and will not bend.
I used Translucent Grit Paste and the 'Stitches' Stencil from Stampers Anonymous to add the X shapes to the tag.  I sprinkled Speckled Egg Embossing Glaze over the top of the paste, tapped off the excess and let it dry.  After about 30 minutes (when the paste was dry), I melted the glaze with the embossing gun.
The shelf is the next thing I created since it grounds the collage.  I am using Etcetera Trims called 'Pinked' for the sawtooth edge it has.  You will need three, 5" pieces, two skinny and one wide one.
The wide is the base, the skinny is glued directly on top and the last strip butts up against the straight side to create the shelf.
I used the Star Trim 3D folder and Watercolor cardstock to create the strip for the shelf.  
A few important things to remember when using 3D folders:
1.  Lightly spritz the back of the paper before you place it in the folder.
2.  Run folder through the machine three times at an angle to create the best impression.
3.  Once it's taken out of the folder, dry it with the heat tool before embossing.
 Glaze as you normally would to complete the process.
Just for fun, I tested to see what happened if you colored the watercolor paper first and then used the Embossing Glaze.  The paper strip on the left had been colored with ink, run through the Vagabond machine, and then Glazed.  The strip on the right is the white watercolor paper.  As you can see, they are both good but the one on the right has some white showing.  I liked that look better than the strip with the extra step of coloring the paper.  Just a test, but worth taking into consideration.
I also did a few tests with just paper (no glaze involved) so I could see the difference in color depending on the paper you use.  Both colors are great but the white of the watercolor paper is more true.  Using Speckled Egg over Heavystock comes out a bit more green because of the base color of the paper... "manilla-lite" (as I like to call the color of Heavystock).  So be aware that your paper choice may change the color just a tad.  Personally I think it's like having two colors in one pad!
Anyway, lets get back to the project at hand.  In the project I painted the wood pieces with Distress Paint then added the Star strip across the front, covering the middle strip completely.  I did trim off one edge of the strip to make it fit just a bit better.
Here is the finished shelf on the tag.  Walnut Stain Crayon was also added to the wood parts to make it look as if it was one piece.
Once the shelf was secure, I moved on to the collage using pieces from Paper Dolls, Field Notes ephemera, Urban Layers, Junk Drawer Baseboards, Type Chips (1/2) and the wonderful Number Blocks.
I sanded the black edges of the Number Blocks and inked the numbers.  The blocks are great for piling up and and really grounding a foundation. They work perfectly to balance the tall man in the composition.
You know me, always coloring the Paper Dolls!  This guys suit is very dark so I decided to play that up by rubbing the crayon directly onto the suit and then rubbing away what I didn't need, leaving just a hint of blue.  The crayon color really makes a difference when bringing him to life.
Once I had my man, I could go looking for a Clippings Sticker to fit the story I'm telling.  To be honest, there were so many to choose from that it was HARD to choose just one!  In the end, I had to go with this one because it just fit him and that nonchalant stance.  The Optical Lens (one of my very favorite products) is perfect for the sentiment...and of course what I like best is that I could nail it to the wood board.
I added the big card from Junk Drawer in that sweet spot above the six (he looks like he is ready to play some cards, right?).  Then I had an idea, I'm in the midst of purging closets and drawers during lockdown and had run across a package of cigar bands I purchased a few years ago.  I thought it was the perfect vintage item to add across the card!
I added the large flower to fill in the space above his arm.  I told Tim, my guy is a "Renaissance Man": he loves grunge and flowers, lol.  The Adornments Key was one of the last things I added.  It fit perfectly between his hand and the Baseboard below.
Machinery Heads were a new addition to the line this year.  I love the giant metal pieces to really bring a bit of industrial to any project.  I rubbed the metal with white paint and once dry, pounced Mushroom Alcohol Ink over the surface to grunge it up.
For the tie at the top of the tag.  I used Spray Stain in Speckled Egg and Gathered Twigs to dye Mummy Cloth (yes, the stuff from the Halloween release).  I doubled it up to make it look thicker on the tag.

Thank you for stopping by to see my project.  Speckled Egg is a must have color, don't you agree?
Now carry on,
paula