Showing posts with label idea-ology Halloween. Show all posts

Monday, August 17, 2026

Here for the Candy

Hello friends!

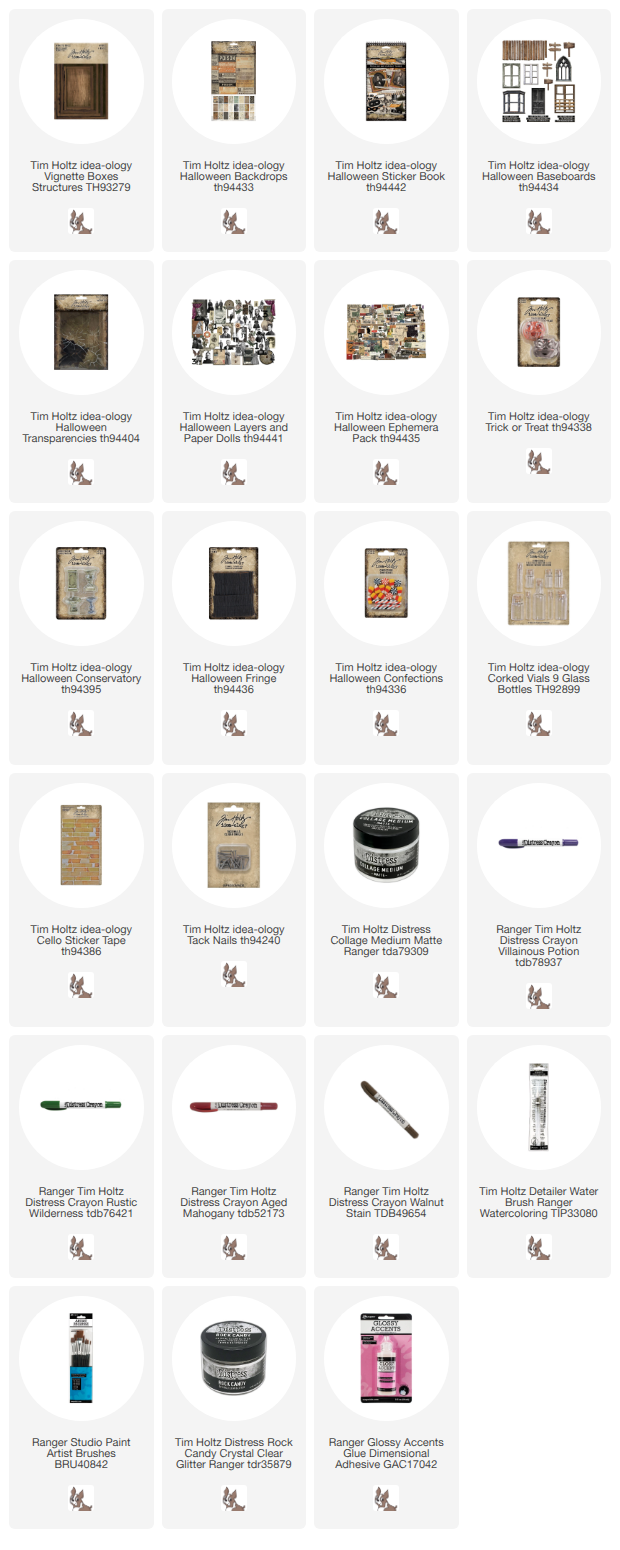
Back again with another idea-ology Halloween project! This one features a double stack of Vignette Boxes packed with plenty of eerie idea-ology embellishments.

Each box was created as its own individual scene before being joined together to form a whimsical wooden tower. Those two Paper Doll brothers look like they’re strictly "here for the candy," and the Trick or Treat pumpkin overflowing with Confections is primed for picking. It’s definitely going to be a fun Halloween night!

All the details + step-out photos can be found on the Simon Says Stamp blog. Just click HERE.

Now carry on,
Paula
(Here is the link again)

Saturday, August 15, 2026

A Strange Story - Pocket Folio

Hello friends,

Behind the scenes, I’ve been quietly cooking up something spooky! For the past month, I’ve been playing with the new idea-ology Halloween collection, and I’m thrilled to finally share this Pocket Folio with you all.

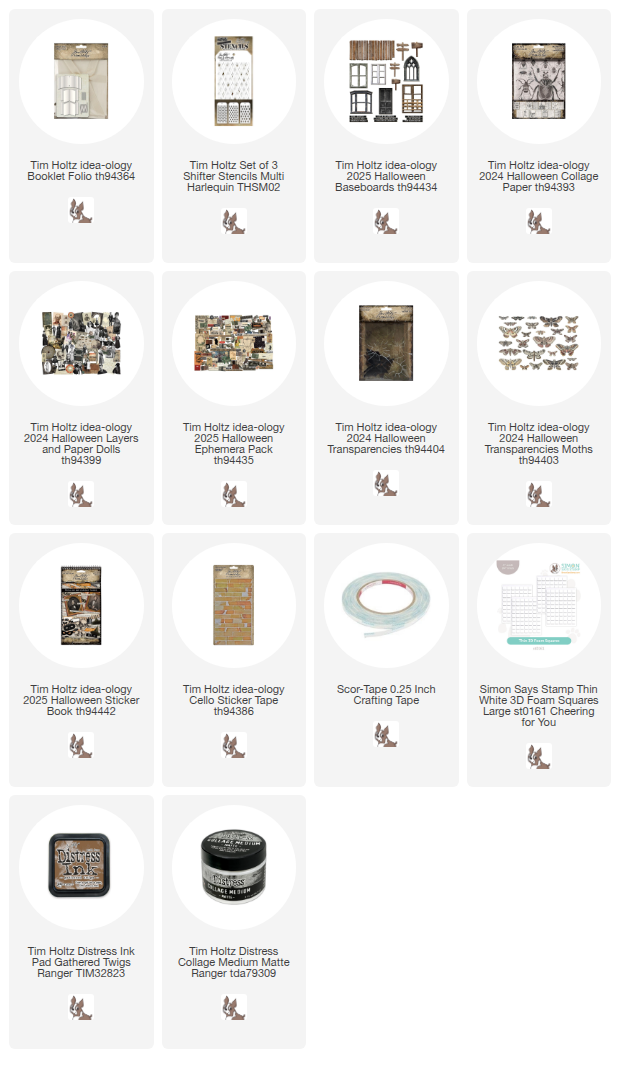
The best part? It comes together with just a handful of Halloween essentials: the Pocket Folio, Palette Paper Halloween, the Layers & Paper Dolls pack, Ephemera, and a Sticker Book. Because each of the six pages acts as its own self-contained scene, you can take your time and build it out page by page without feeling overwhelmed.


Inside Cover
I have used the new 8 x 8" Palette Halloween paper throughout the book. It really doesn't matter what paper goes where because they all coordinate perfectly.
The black measuring tape is from the Layer pack and the pinked black trim is from the Sticker Book.
*The Pocket Folio is a zig-zag book so I am calling each page a section.

Section One
All the Paper Dolls have been added with Thin Foam Squares so they appear to float over the page. I like to spray water on the thick Layers pieces (spider card) so I can tear and bend the edges after I have sewn around the edge. I also like to dip the Layers into a puddle of Gathered Twigs Distress Ink and use a heat tool to dry it. I takes time and effort to dry the ink over a slick surface, but its worth it every time.

Section Two
I wanted to close the pocket enough to contain the cards. So on this section I added an eyelet and sewed on some black seam binding. Once you untie the bow, the flap drops down and the cards are revealed.
I cut three cards to fit the pockets from Distress Heavystock paper. I also used three #5 tags (one in each pocket). Both were sprayed with Antique Linen Distress Spray Stain and splattered with ink. All stamping throughout the project was done with the Stampers Anonymous stamp set, "The Obscure" CMS471.

Section Three
More of the great Palette Halloween Paper and a Layers card. 
The label is from the Sticker Book and the word is from Remnants Rubs.
I had moss on my table from my other project and decided to add bits here and there.
Theres some good ink spots that were left when drying ink on a slick surface.

Section 4
I added numbers from the layers pack to the pocket, then stitched them into place before gluing the pocket on the right side to hold the cards in place.
NOTE: In the end, I added a eyelet to the pocket at the top of the left side because it kept coming unglued and I couldn't have that. 

Making the card and tag was fun because you really could do anything.  Just layer, layer, layer! Collage Paper, Layers, Ephemera, Remnant Rubs...it all work perfectly together! The transparent wings are from the Halloween Transparencies pack.
Collage Paper, ephemera, mini staples rubbled with Distress Crayon.

Section Five
This one is my favorite page. I love how the bug cards turned out. I stitched them on the machine, then added the ink (dipping and drying), then added them to the page with Scor-tape. The dipping and drying after the sewing is how the ink soaks into the thread...looks so good in person!
I made sure the cards were ripped and bent enough to push the moss into the rips. Collage Medium helps with that! Cello Tape really adds to the page (can't stop using this stuff on everything!)

Section Six
Last section of the zig-zag! 
This pocket is covered with paper on the inside because the pocket opens completely.

I added the clock from the Layers pack and some Clipping Stickers from the Sticker Book to the front of the pocket.

When the pocket is open, it reveals a card that has been stapled at the top. Again, more stamping, more ephemera and stickers.

Collage Paper background, Layers frame and a creepy Portrait. A little Distress Crayon to make her green!


Back Cover
The back cover was added after I had adhered paper with Collage Medium and the black pinked sticker from the Sticker Book. The stitching came last, before closing the flap to create a pocket.
I painted Collage Medium over a floral card from the Ephemera pack. Once dry, I stitched around the edge a few times. The crazy stitching was done by sewing over separate bunches of thread I wadded up. After the stitching was done, I fell back to my Gathered Twigs ink puddle, then dried the card with a heat tool. If you ask why the Collage Medium first?...it's because the Collage Medium seals the paper and makes it seemingly impervious to the ink. So when I dip the now coated card into the ink puddle, the cotton thread soaks it up and only small amounts stick to the card once it has been dried by the heat tool.


Hope you have enjoyed todays walkthrough of my Pocket Folio! 
See you tomorrow with another Halloween make!

Now carry on,
Paula

Wednesday, October 15, 2025

Halloween Book

Hello friends,

I hope you are ready for more Halloween! I know I am!
I created this book for the idea-ology Halloween Live last month and I thought I better share it since it is already Oct 15th! I have a hard time even believing that!
Palette Halloween fabric with the moths was absolutely perfect for the cover of the small book... and it was very easy to add to the cover using Collage Medium. 
This new gothic window is from the 2025 Halloween Baseboard Pack. I added paper and a spiderweb transparency to the background, with a Halloween Portrait sandwiched between the two. Kinda creepy!
The large moth and clipping sticker were also added and then the window was added to the cover.
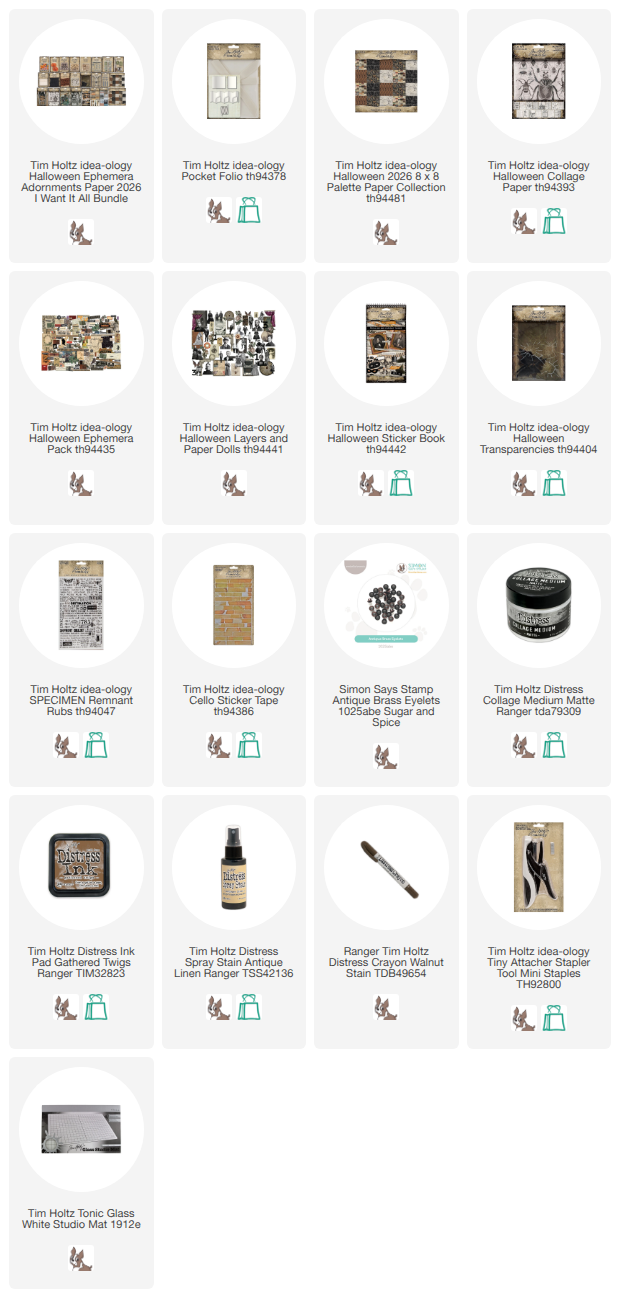
The book itself was made using the Booklet Folio as the base. When you open the package, there is a cover, two signatures, some twill and some string. We are only using the two signatures, everything else can be discarded or put away for another time.
The two signatures will be combined in the center of the book. To do that, I placed the signatures next to each other like this. Cut 1" off each page (so the last page of signature 1 and the first page of signature 2). These two shortened pages will be combined into a pocket in the next step.
I decided to take this shot after the pages have the first layers of Collage Medium and Collage Paper and ink so you can really see the difference in the pages. You can see I did not add any embellishment to the center cut pages so they could be put together to create the pocket using Scor-tape.
Here is the center "shortened" page (that is really a pocket now).
I added a large card from the Layers pack as the insert for the pocket.
Now lets talk about the pages of the book. I started by stamping the Exquisite floral (CMS453) on some of the pages (starting on page 5).  Then I used Collage Medium to add the Collage Paper Halloween. I also used a stencil from the Multi Shifter Harlequin set (three sizes of harlequin stencils come in one pack) to add Distress Ink Gathered Twigs. 
It would be easier to add the stenciling before you add the Collage Paper since the Collage Medium (once dry) becomes a sealer and it will not allow the ink to become permanent on the page. So on the page below, the glue really dictated where I could add the stenciling (but it worked out really well).

Pages 1 and 2
Three Ephemera pieces + Cello Tape
I always add a layer of Collage Medium over Ephemera - once dry, I use Walnut Stain Crayon to build up the grunge around the tape.
On page two, I used Scor-tape to add the transparent web, then stapled the bug at the top.
Peeled Paint Distress Crayon was rubbed over all the faces in the book. I used a wet wipe to remove some the crayon to give them a spooky feel. I NEVER tint the eyes but I just couldn't help it with this guy.
Pages 3 and 4
Just some large numbers from the Layers Pack + Cello Tape.
This is a much bigger frame but I didn't want to cover the background so I just cut out the oval shape for the people to sit in.
Pages 5 and 6
There is that Stampers Anonymous Exquisite stamp in the background.
Gosh he is my favorite! The crazy coloring turned out so good. 
We've made it to the center.
I added a strip from the Sticker Book along the edge to emphasize that it's a pocket.

I also added an eyelet with a Loop Pin and metal tags to the insert card, along with the phrase "there are others" (Sticker Book).

Pages 7 and 8
On the other side of the pocket, I kept it very simple with just a piece of ephemera.
On page 8 I had this idea to add transparent moths - I thought, adding them on a string so they can move back and forth was fun. 
Again, the build up of distress Crayon over the tape at the top is my favorite detail. (there is collage medium underneath from adding the collage paper).
I also love using the Clipping Stickers to add the words at the bottom. Cello tape really makes it look old and haphazard.  
Pages 9 and 10
I had a left over piece of a transparency that I just has to use up. I decided to make it a flip up window of sorts. I used the black label at the lower edge (sticker book) as a tab to lift the window and reveal the rest of the skull.
On page 10 I just wanted to have some fun by adding a mother as a hat! The words are perfect here!
There is that Exquisite stamp again.
Page 11 and 12 (last one!)
I just added the card with a Mini Paper Clip and some Clipping Stickers on page 11.
Then on the last page I added a flap (because I could). I just cut it from Mixed Media Heavystock, scored one edge and added it to the back of the book (with Scor-tape) so that it folds over to the inside.
Here you can see it opened up to reveal the man that has lost the only thing he has ever loved (or at least that is what his sign says!).


I hope you liked this one. It sure was fun to make and the fabric cover was so easy at the end. Just glue and go!

Now carry on,
paula